

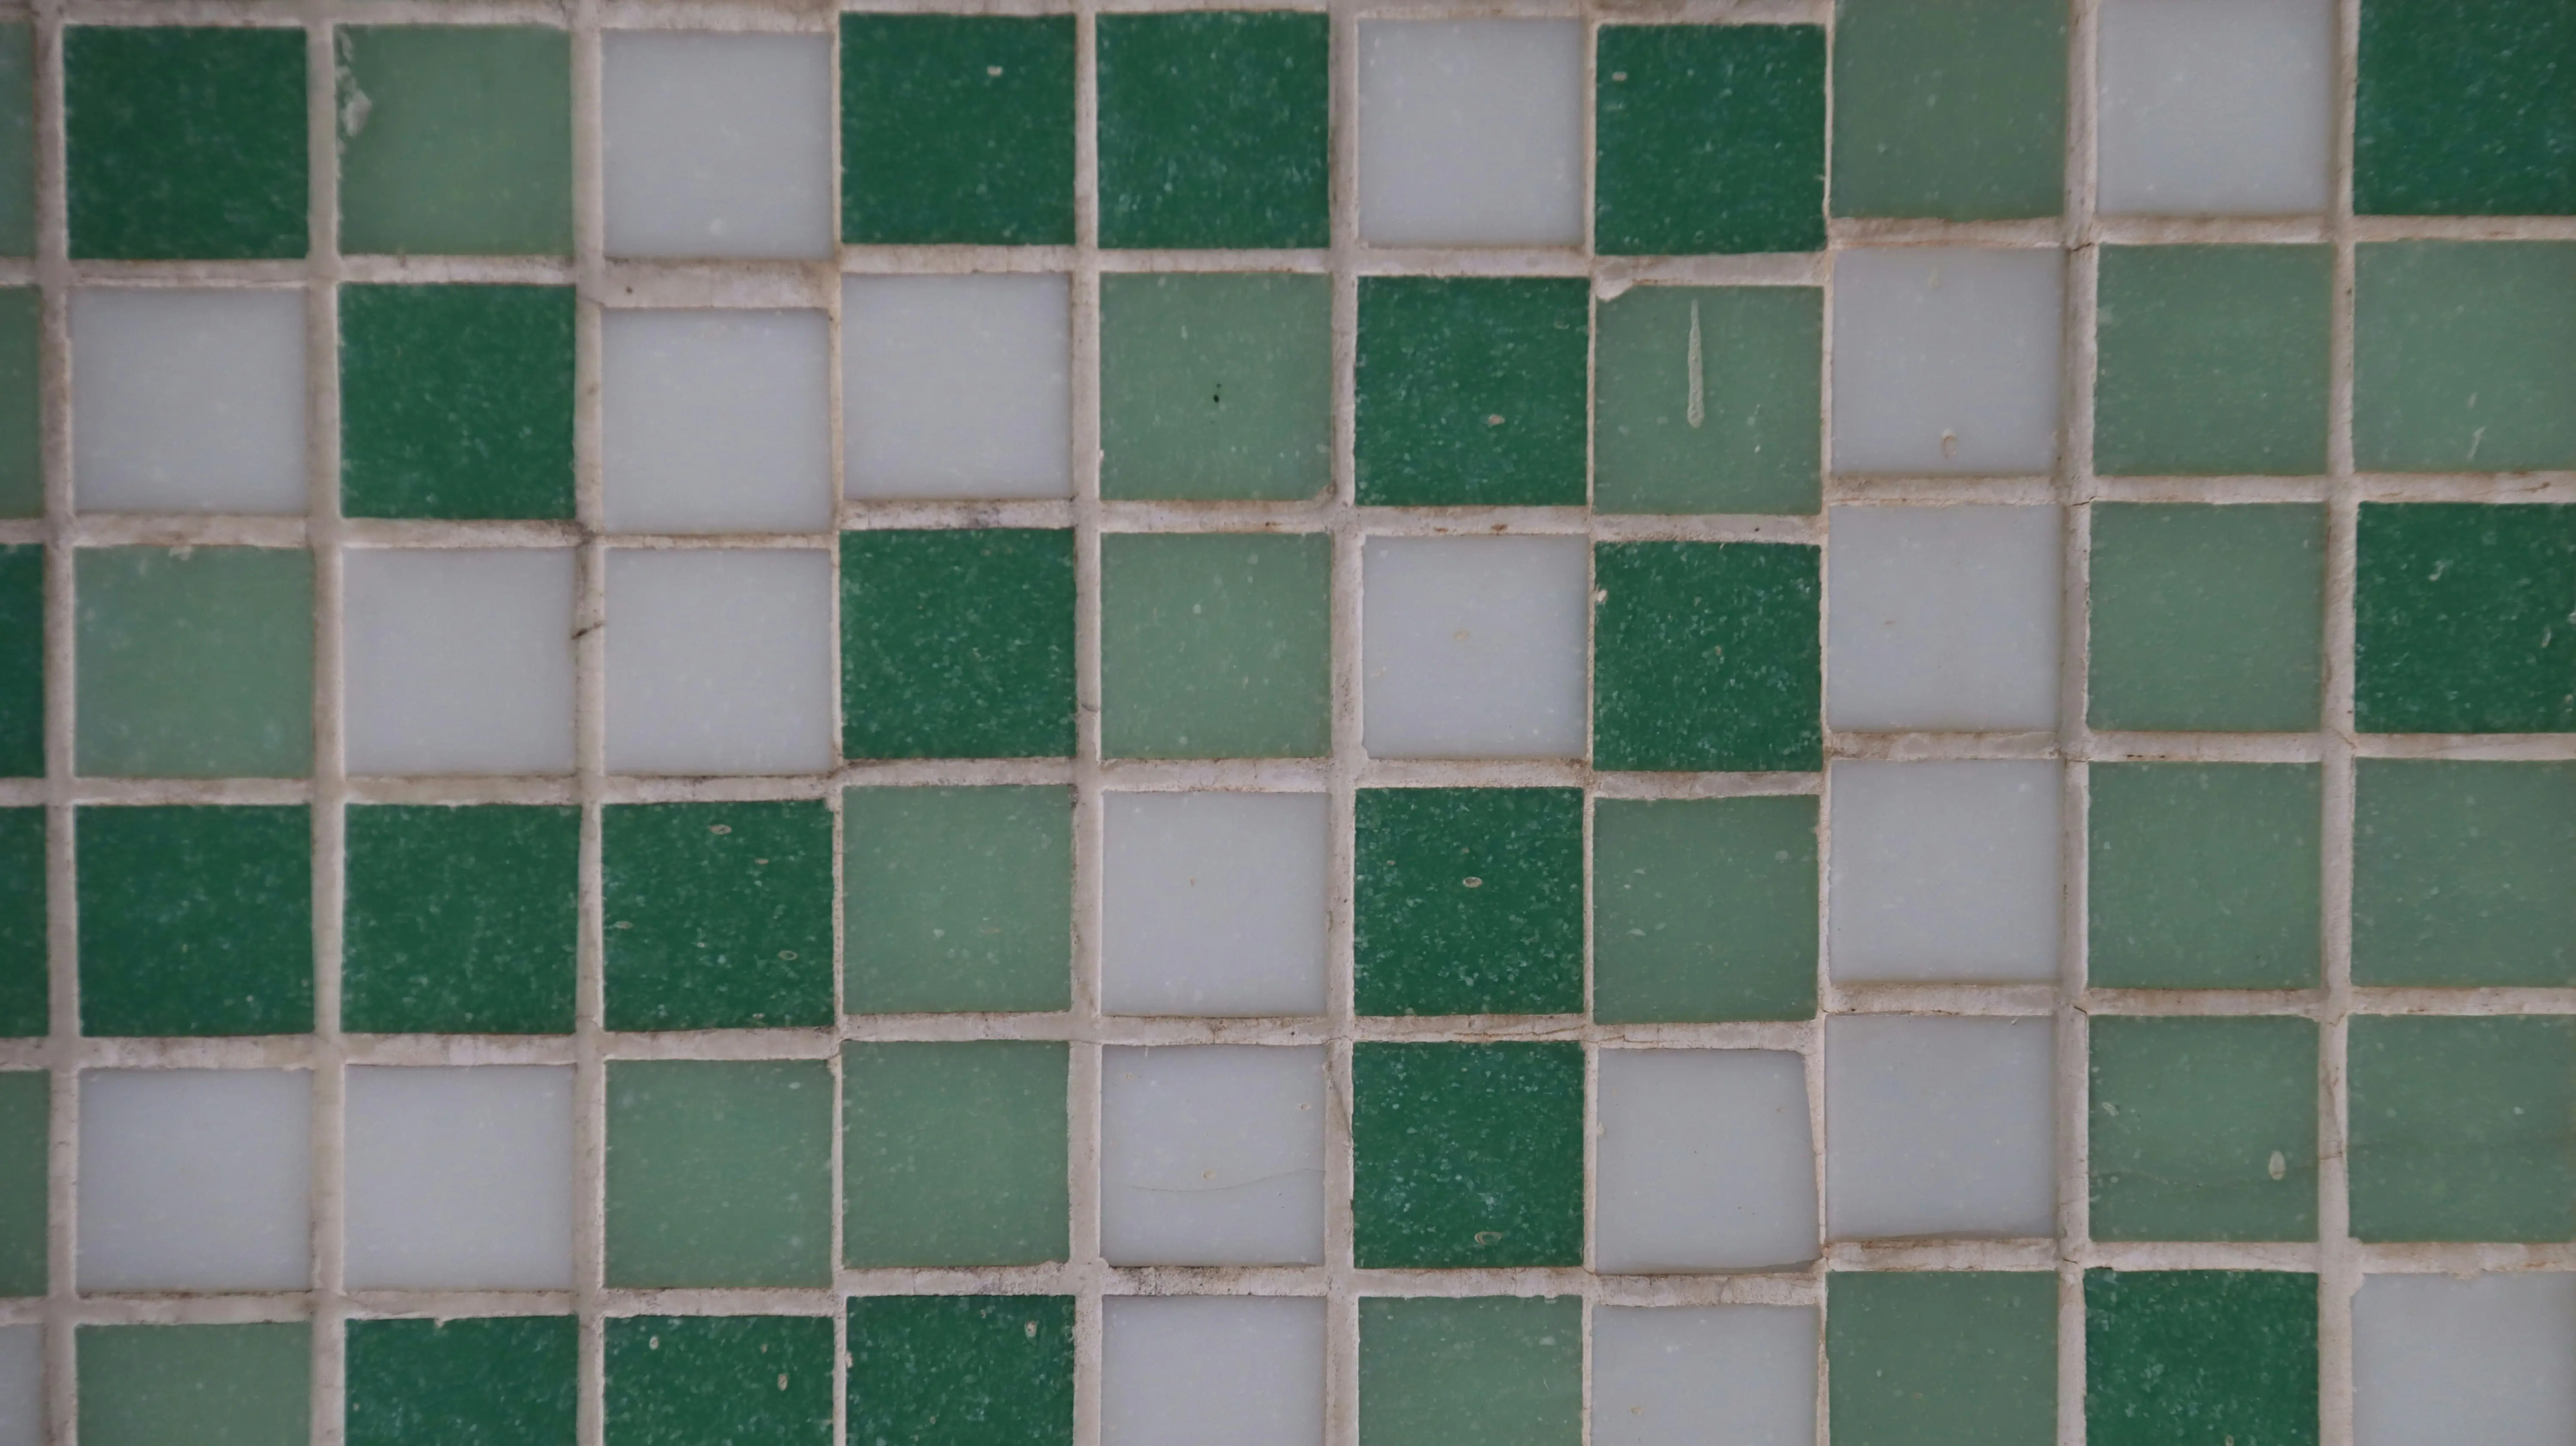
glass tiles offer a dazzling aesthetic, transforming ordinary spaces into extraordinary showcases of light and color. Their translucent qualities can make a room feel larger and more luxurious, making them a popular choice for backsplashes, shower walls, and decorative accents. However, the unique properties of glass-its transparency, brittle nature, and smooth surface-present distinct challenges during installation that differ significantly from ceramic or porcelain tiles. Successfully
Preparation is Key for Tiling Glass Tiles
Before you even think about mixing adhesive, proper preparation is paramount when
Choosing the Right Tools and Adhesives
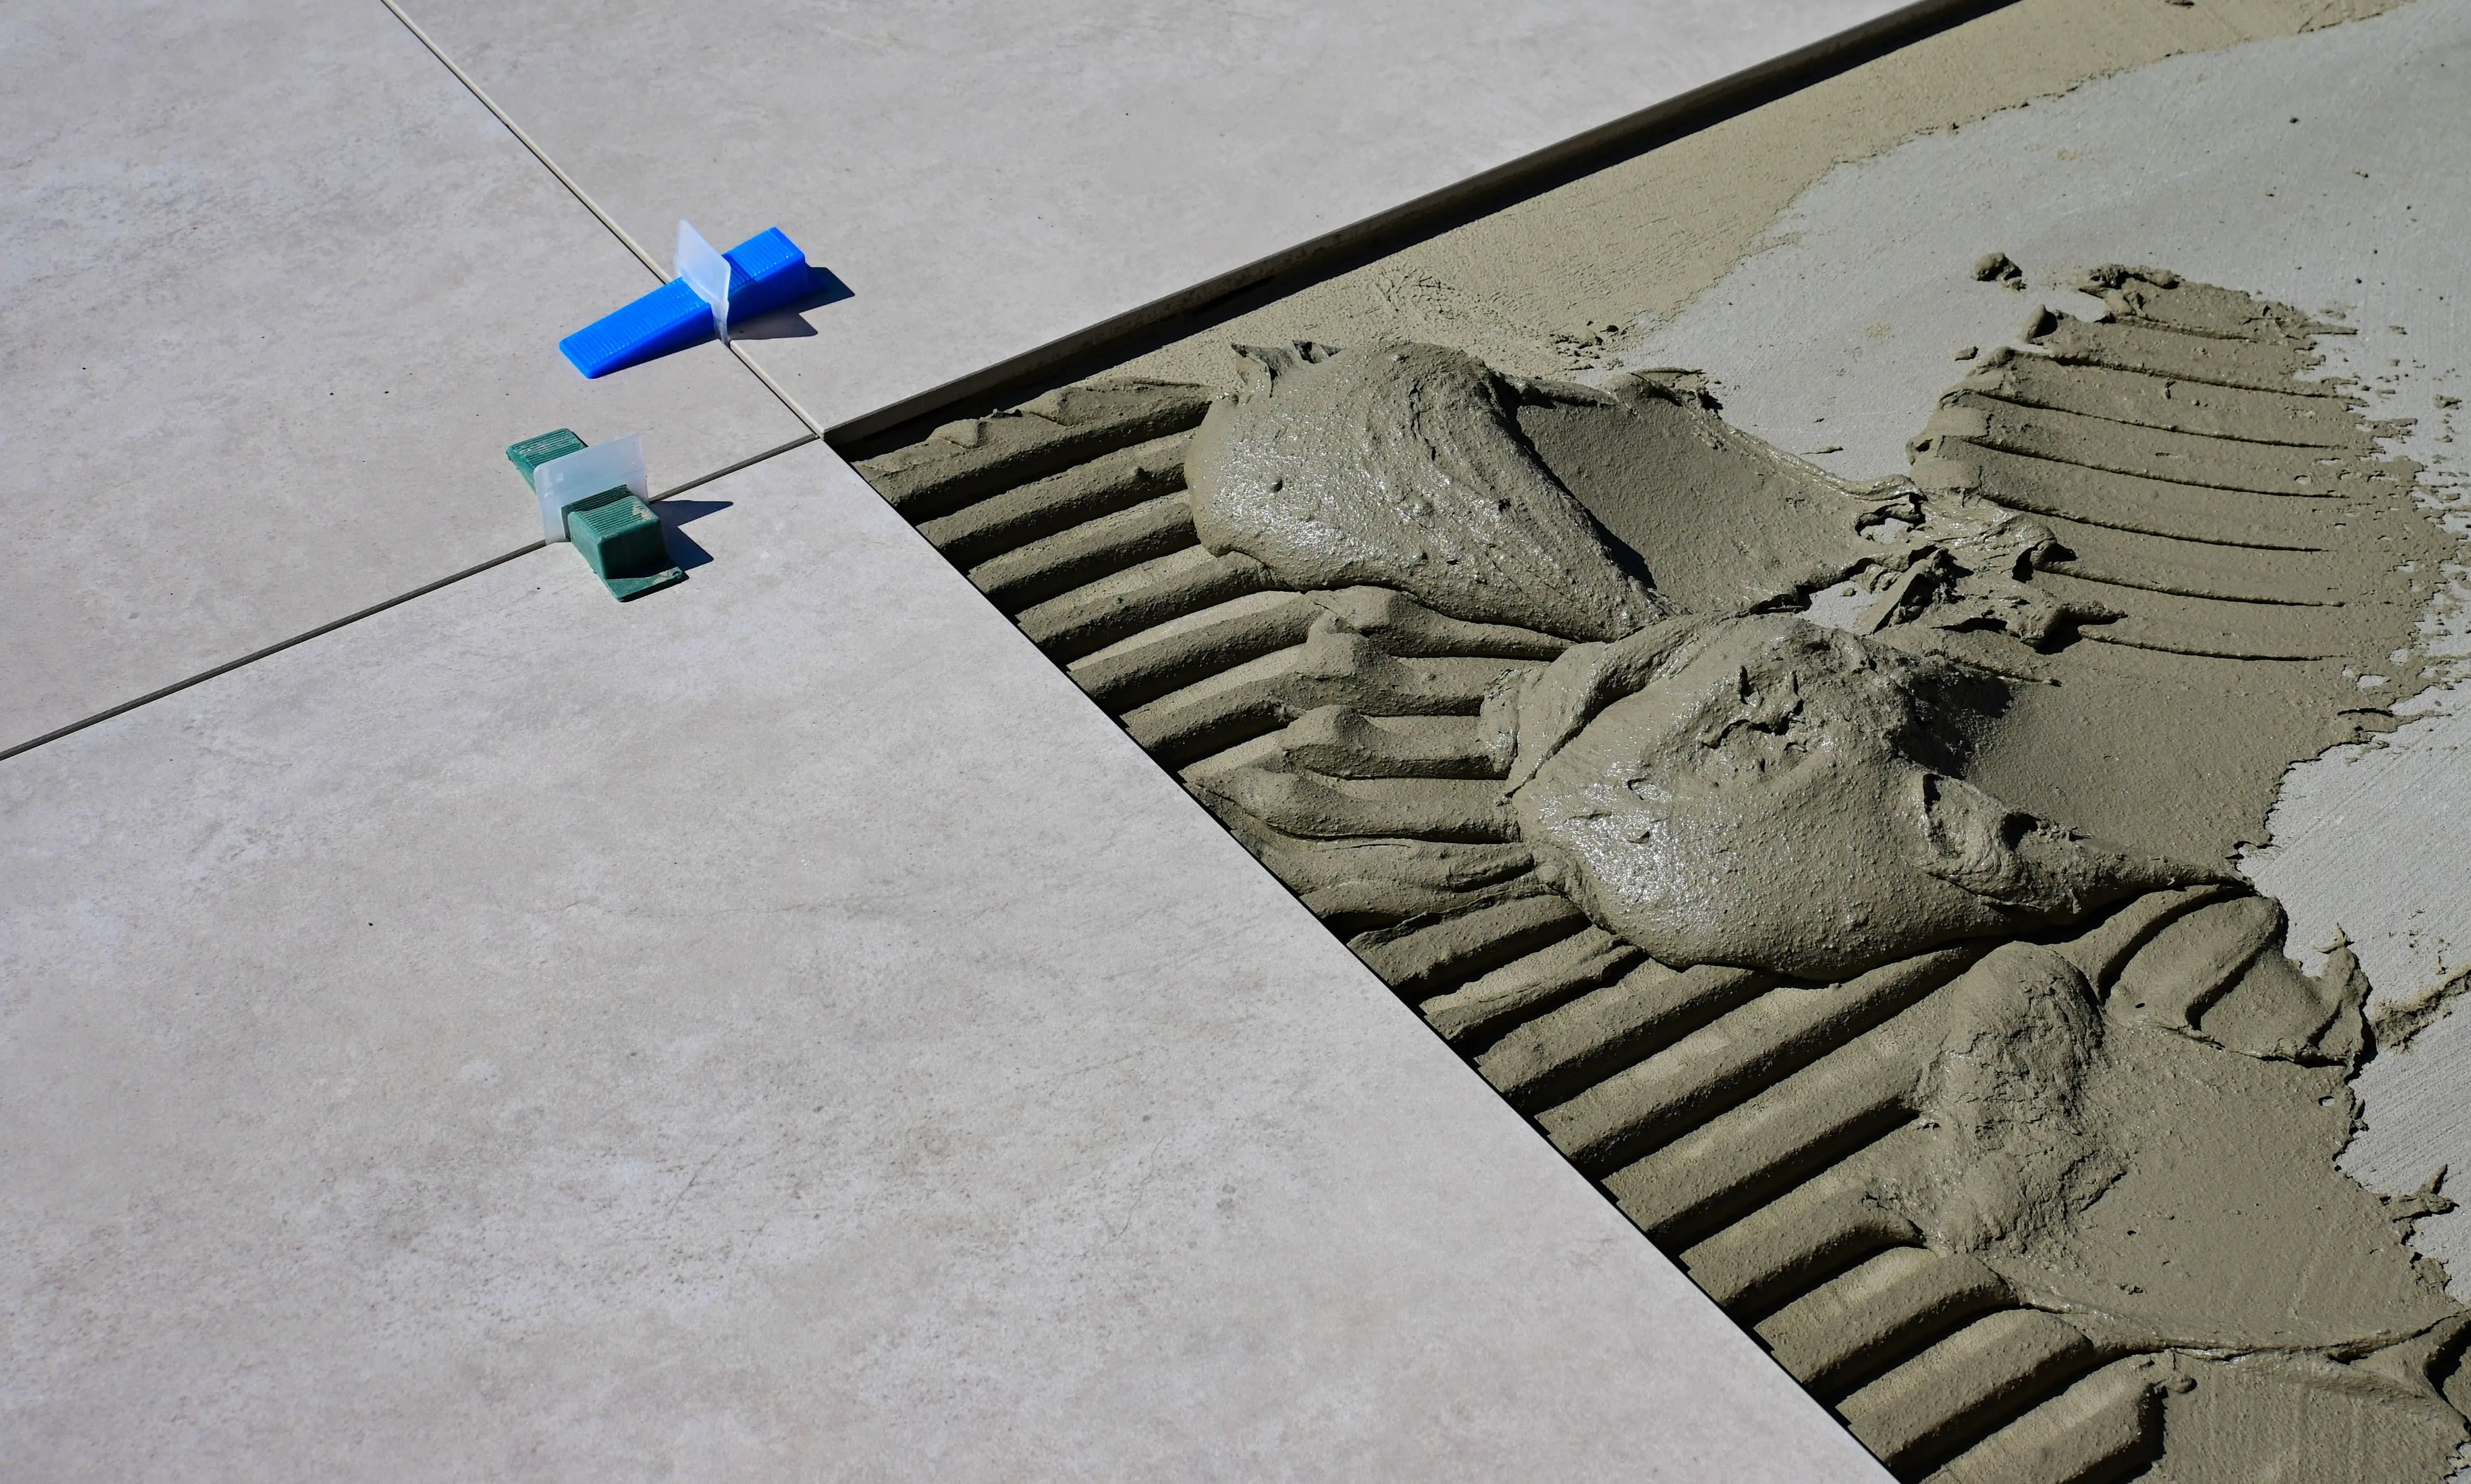
Selecting the correct tools and materials is critical for a successful glass tile installation. For cutting, a wet saw with a continuous rim diamond blade specifically designed for glass is essential to prevent chipping and ensure clean edges. Nippers designed for glass can also be useful for intricate cuts. When it comes to adhesive, opt for a high-quality, bright white thin-set mortar or a specialized glass tile adhesive. The white color is crucial to prevent discoloration showing through transparent tiles. Avoid gray or off-white mortars. Use a V-notch or U-notch trowel with the appropriate size for your tiles to ensure even coverage without excessive adhesive that could squeeze out and be visible.
Mastering the Cutting Technique
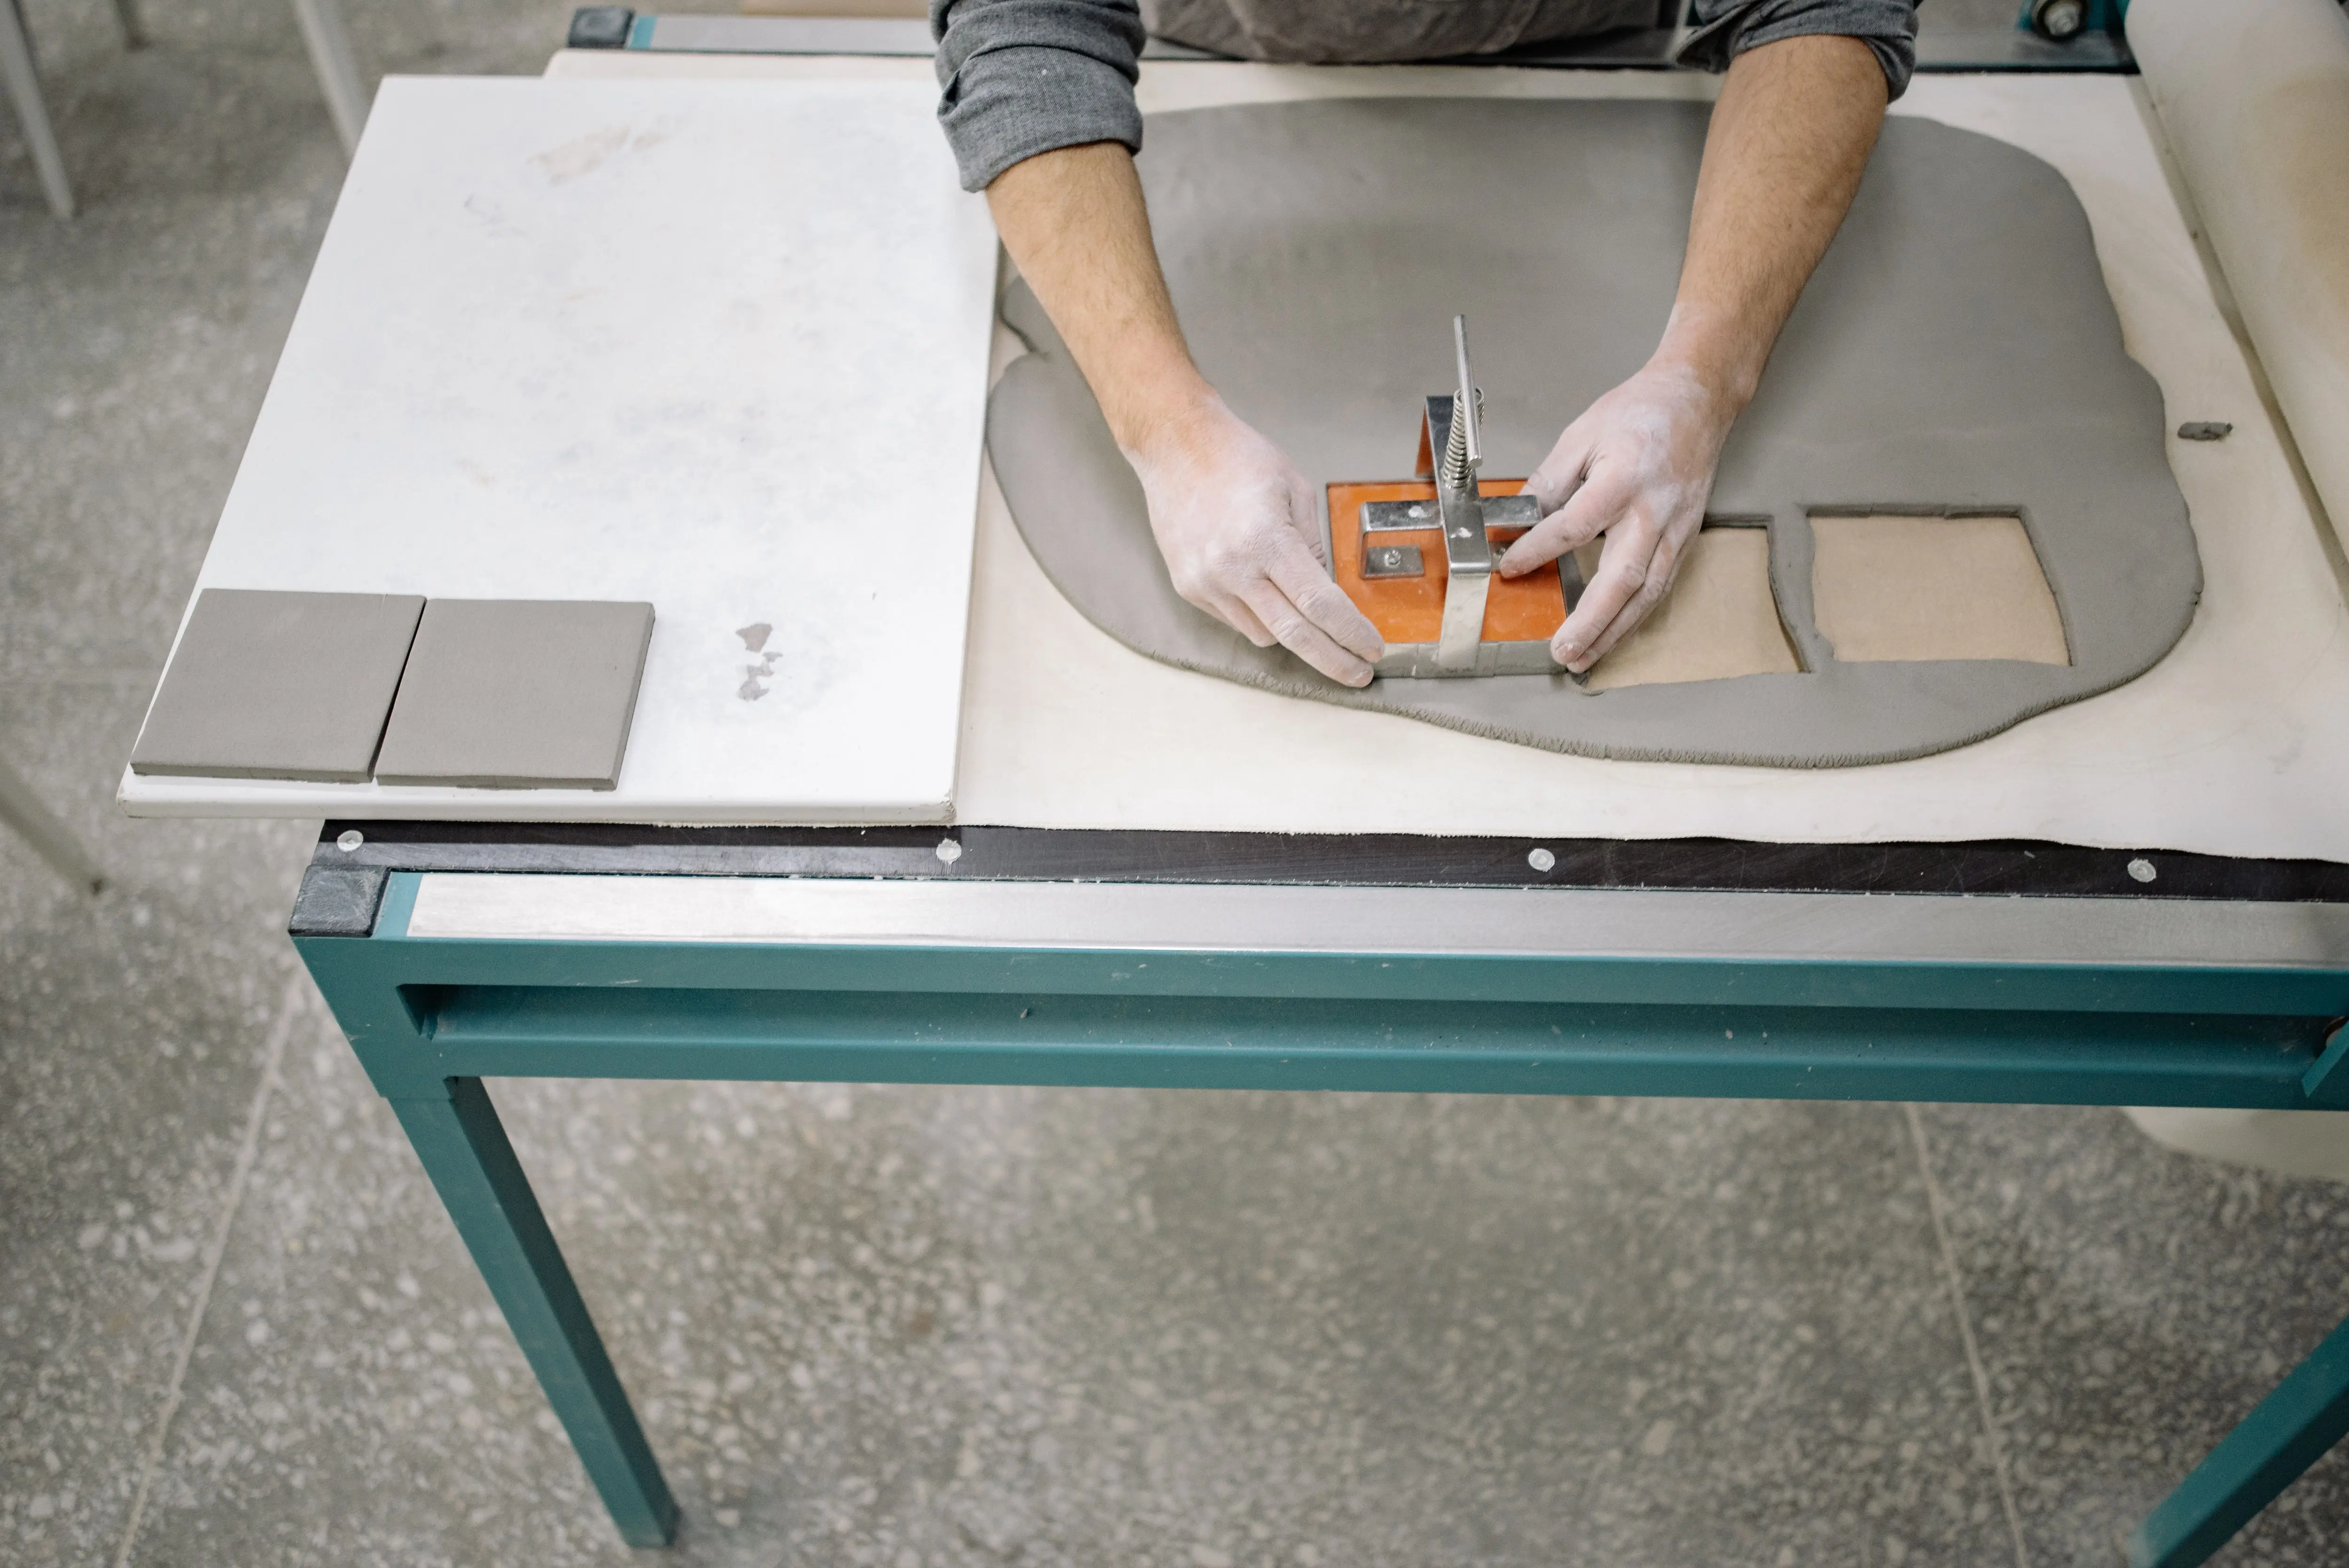
Cutting glass tiles can be intimidating, but with the right technique, it becomes manageable. Always wear safety glasses and gloves. When using a wet saw, ensure the blade is continuously lubricated with water and make slow, steady passes. Rushing will lead to chips and cracks. For small, intricate cuts, glass nippers can be effective. Score the tile firmly with a glass cutter and then use nippers to carefully break off small pieces. Practice on a few scrap tiles before tackling your main project. Remember that glass is fragile, so handle tiles gently and avoid putting excessive pressure on them during cutting or installation.
Achieving Perfect Adhesive Coverage
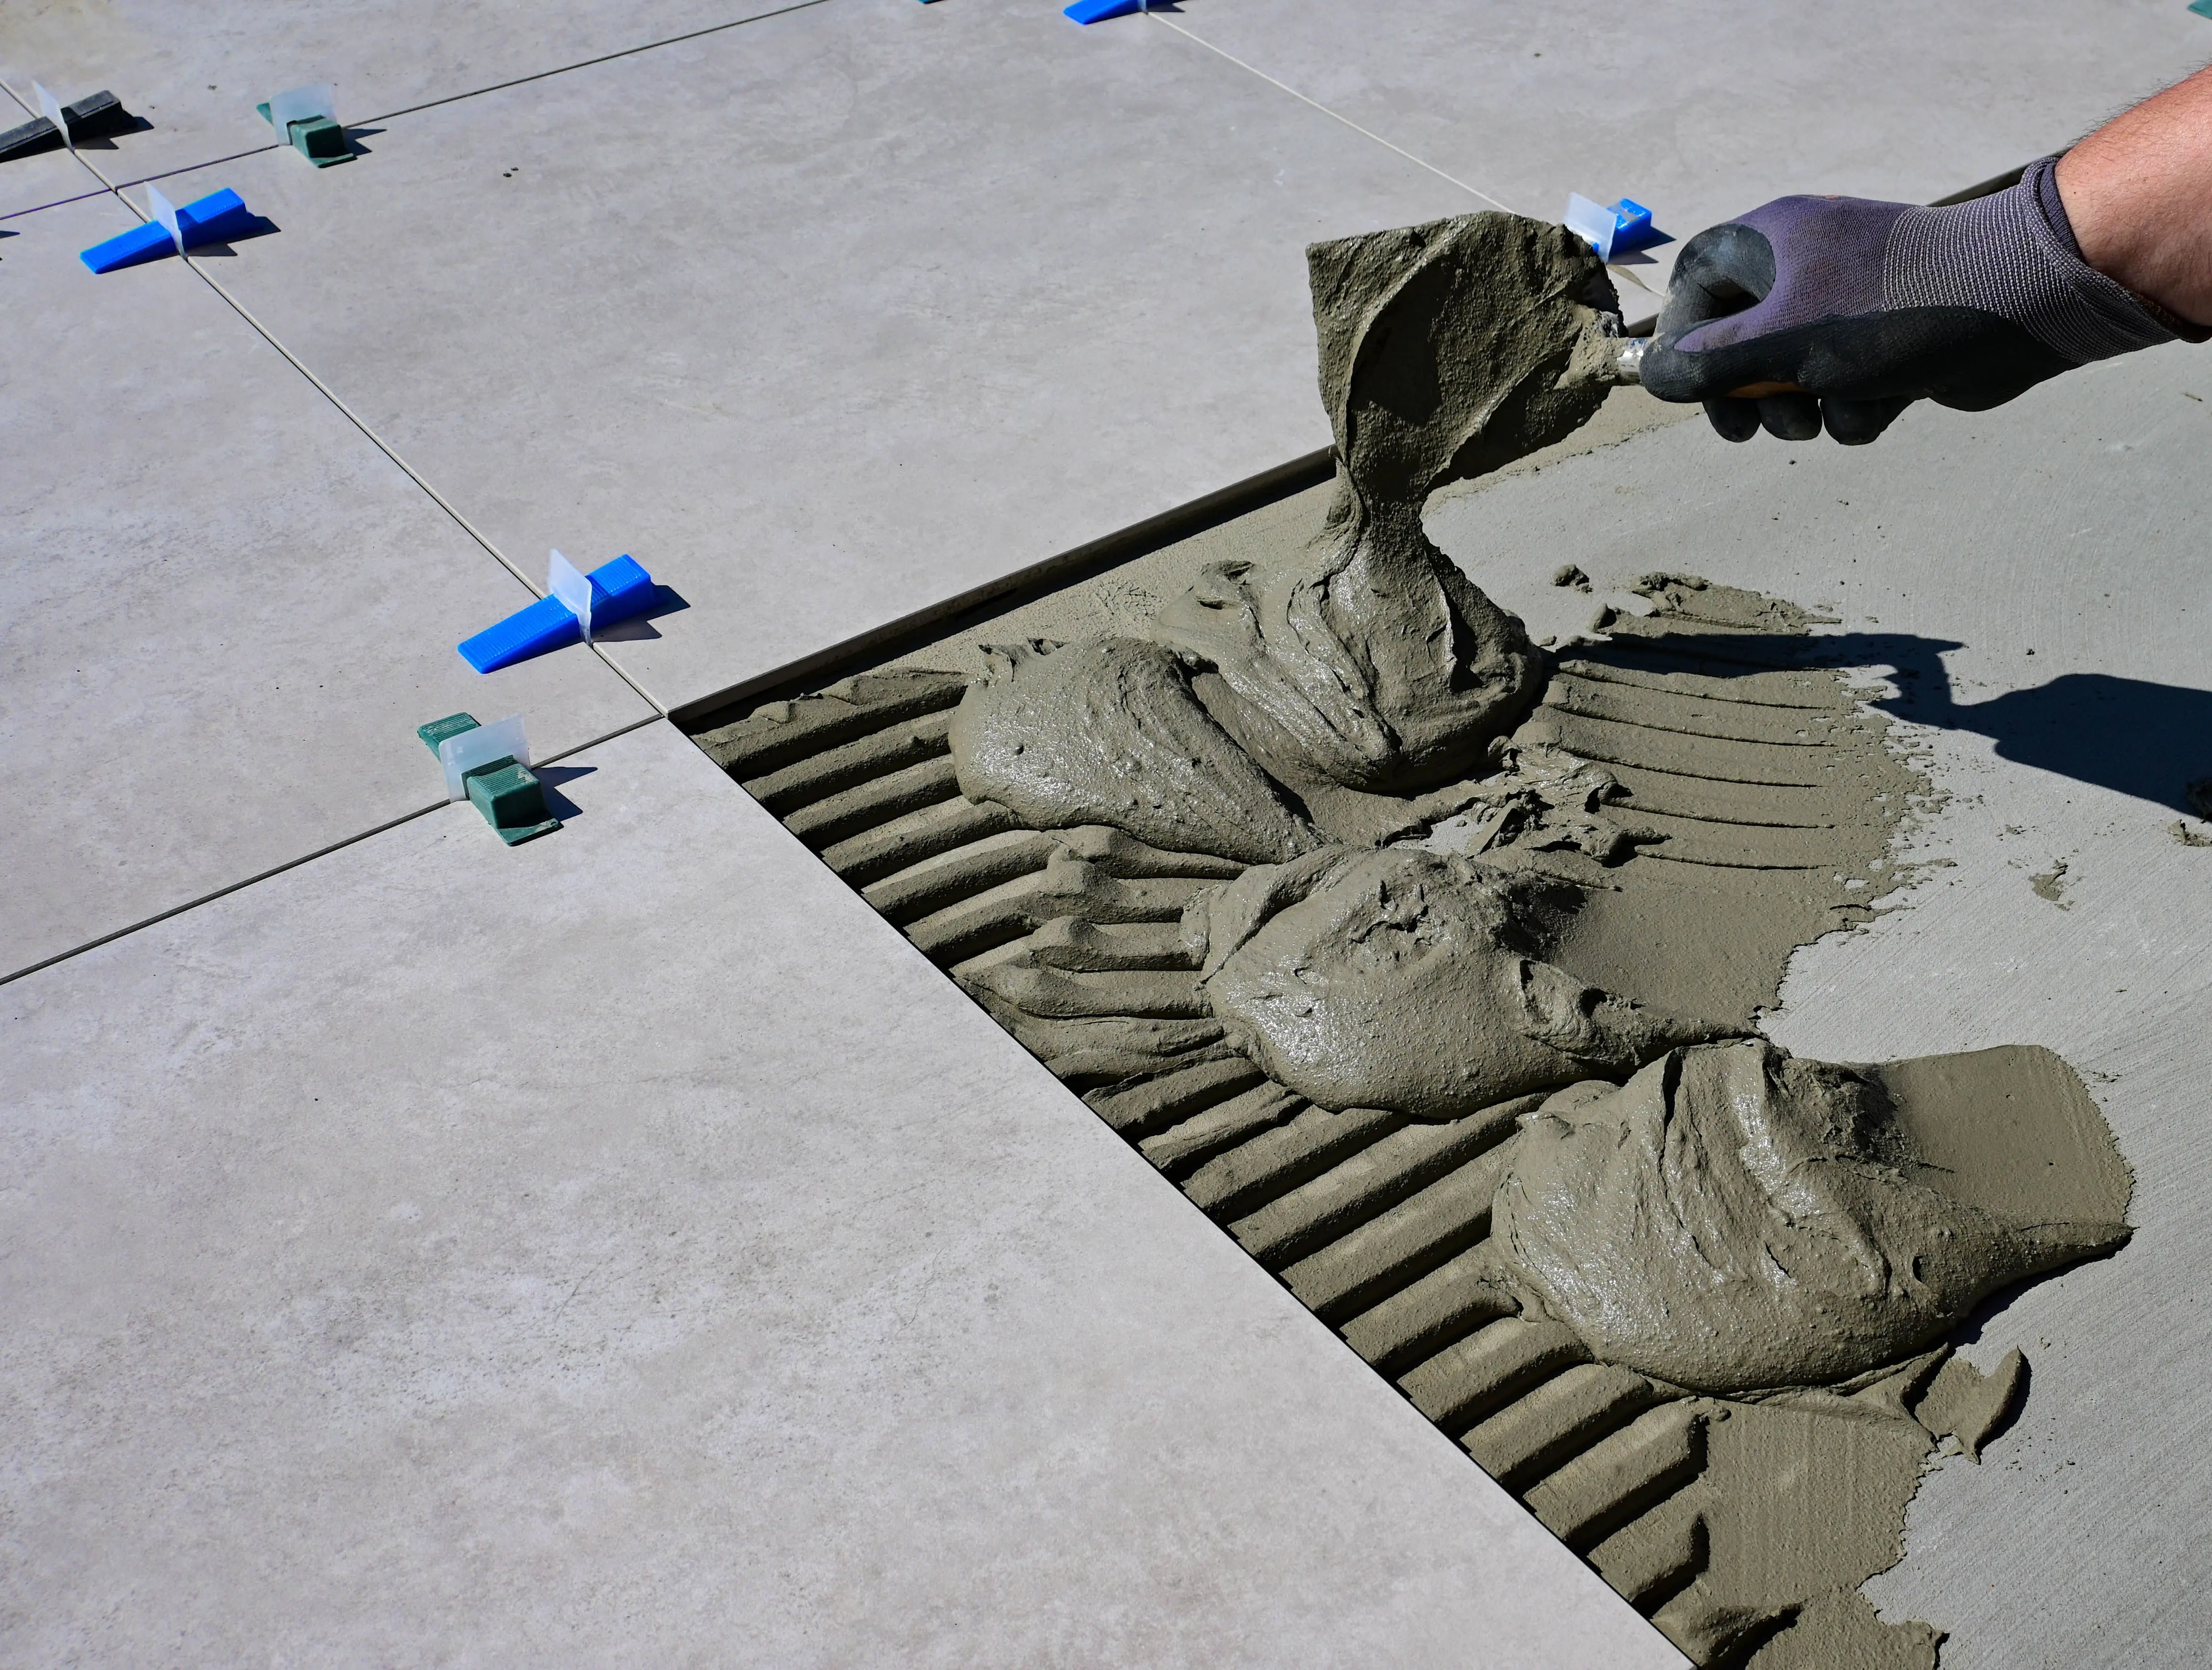
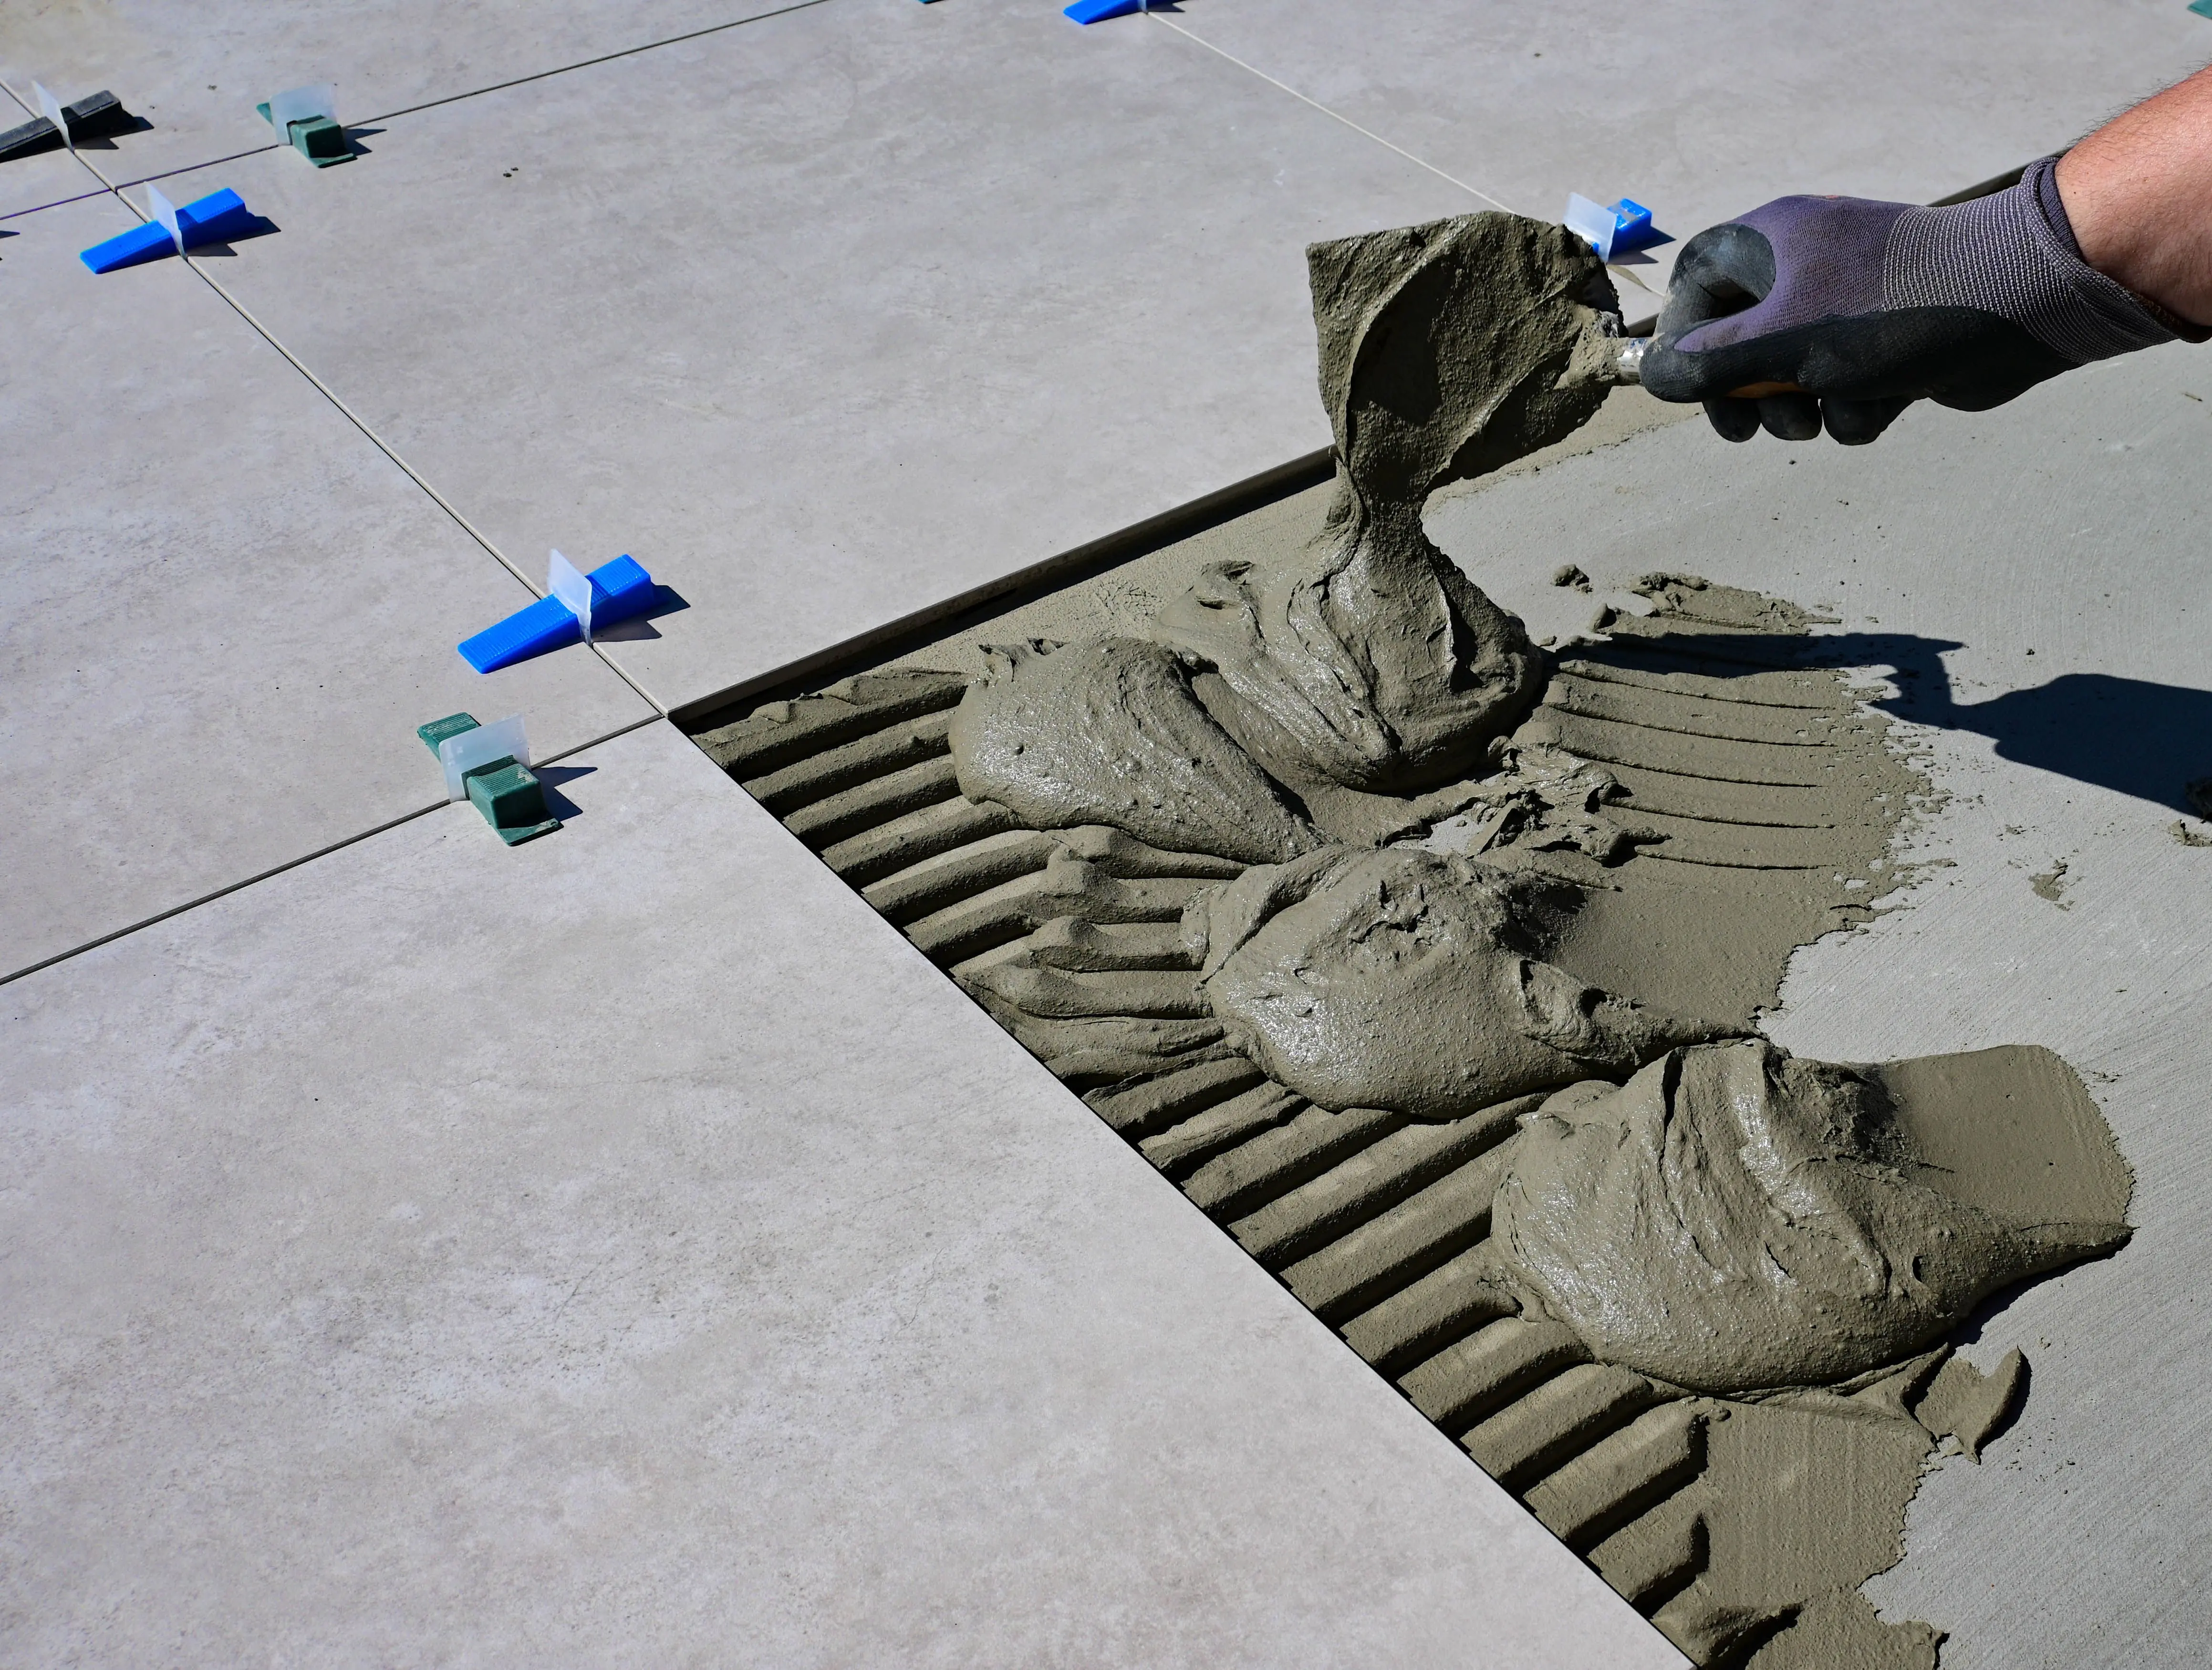
One of the most common issues with glass tile installations is visible adhesive lines or trowel marks. To avoid this, back-butter each tile with a thin, even layer of adhesive before pressing it onto the wall. This ensures 100% coverage, preventing air pockets and creating a uniform look. Use the flat side of your trowel to apply the adhesive to the back of the tile, then comb it with the notched side. On the wall, apply the adhesive with your V-notch or U-notch trowel, ensuring consistent ridges. When placing the tile, press firmly but gently, wiggling it slightly to ensure full contact and to squeeze out any excess adhesive that might show through.
Grouting Glass Tiles for a Flawless Finish
Grouting is the final step that brings your glass tile project together. Wait at least 24-48 hours for the adhesive to fully cure before grouting. Use a high-quality, unsanded grout for glass tiles. Sanded grout can scratch the delicate surface of glass. Epoxy grout is another excellent option, offering superior stain resistance and durability. Apply the grout with a rubber float, working in small sections and pressing the grout firmly into the joints. Wipe off excess grout immediately with a damp sponge, rinsing the sponge frequently. Multiple passes may be needed to ensure all haze is removed. Finish with a clean, dry cloth to buff away any remaining residue, revealing the true brilliance of your glass tiles.

Frequently Asked Questions About Tiling Glass Tiles
What kind of adhesive should I use for glass tiles?
You should use a high-quality, bright white thin-set mortar specifically formulated for glass tiles or a specialized glass tile adhesive to prevent discoloration and ensure strong adhesion.
Can I cut glass tiles with a regular tile cutter?
No, a regular tile cutter can cause chipping and cracking. A wet saw with a continuous rim diamond blade designed for glass or specialized glass nippers are recommended for clean cuts.
Why are my glass tiles showing trowel marks?
Visible trowel marks or adhesive lines usually occur due to insufficient back-buttering or uneven adhesive application on the substrate. Ensure 100% adhesive coverage without excessive thickness.
Do I need to seal glass tiles?
No, glass tiles themselves are non-porous and do not require sealing. However, if you use a cement-based grout, sealing the grout lines can help protect them from stains and moisture.
How long should I wait before grouting glass tiles?
It’s crucial to wait at least 24 to 48 hours for the tile adhesive to fully cure before you begin the grouting process. This prevents tiles from shifting and ensures a strong bond.
Conclusion: Master the Art of Tiling Glass Tiles
Successfully