
Introduction
If you’ve been wondering how to clean oven without spending a whole weekend scrubbing, you’re in the right place. Today I’m breaking down how to clean an oven using simple steps, a budget-friendly homemade oven cleaner, and a few pro tricks I’ve learned after many family dinners and late-night baking sessions. You’ll learn exactly how to clean inside of oven cavities, how to clean oven racks without ruining your manicure, and how to clean oven glass so it shines for your next roast or weeknight pizza night.
Pull on your favorite cleaning playlist and let’s do this together quickly, safely, and with results you can actually see and smell.
Understanding Oven Grime
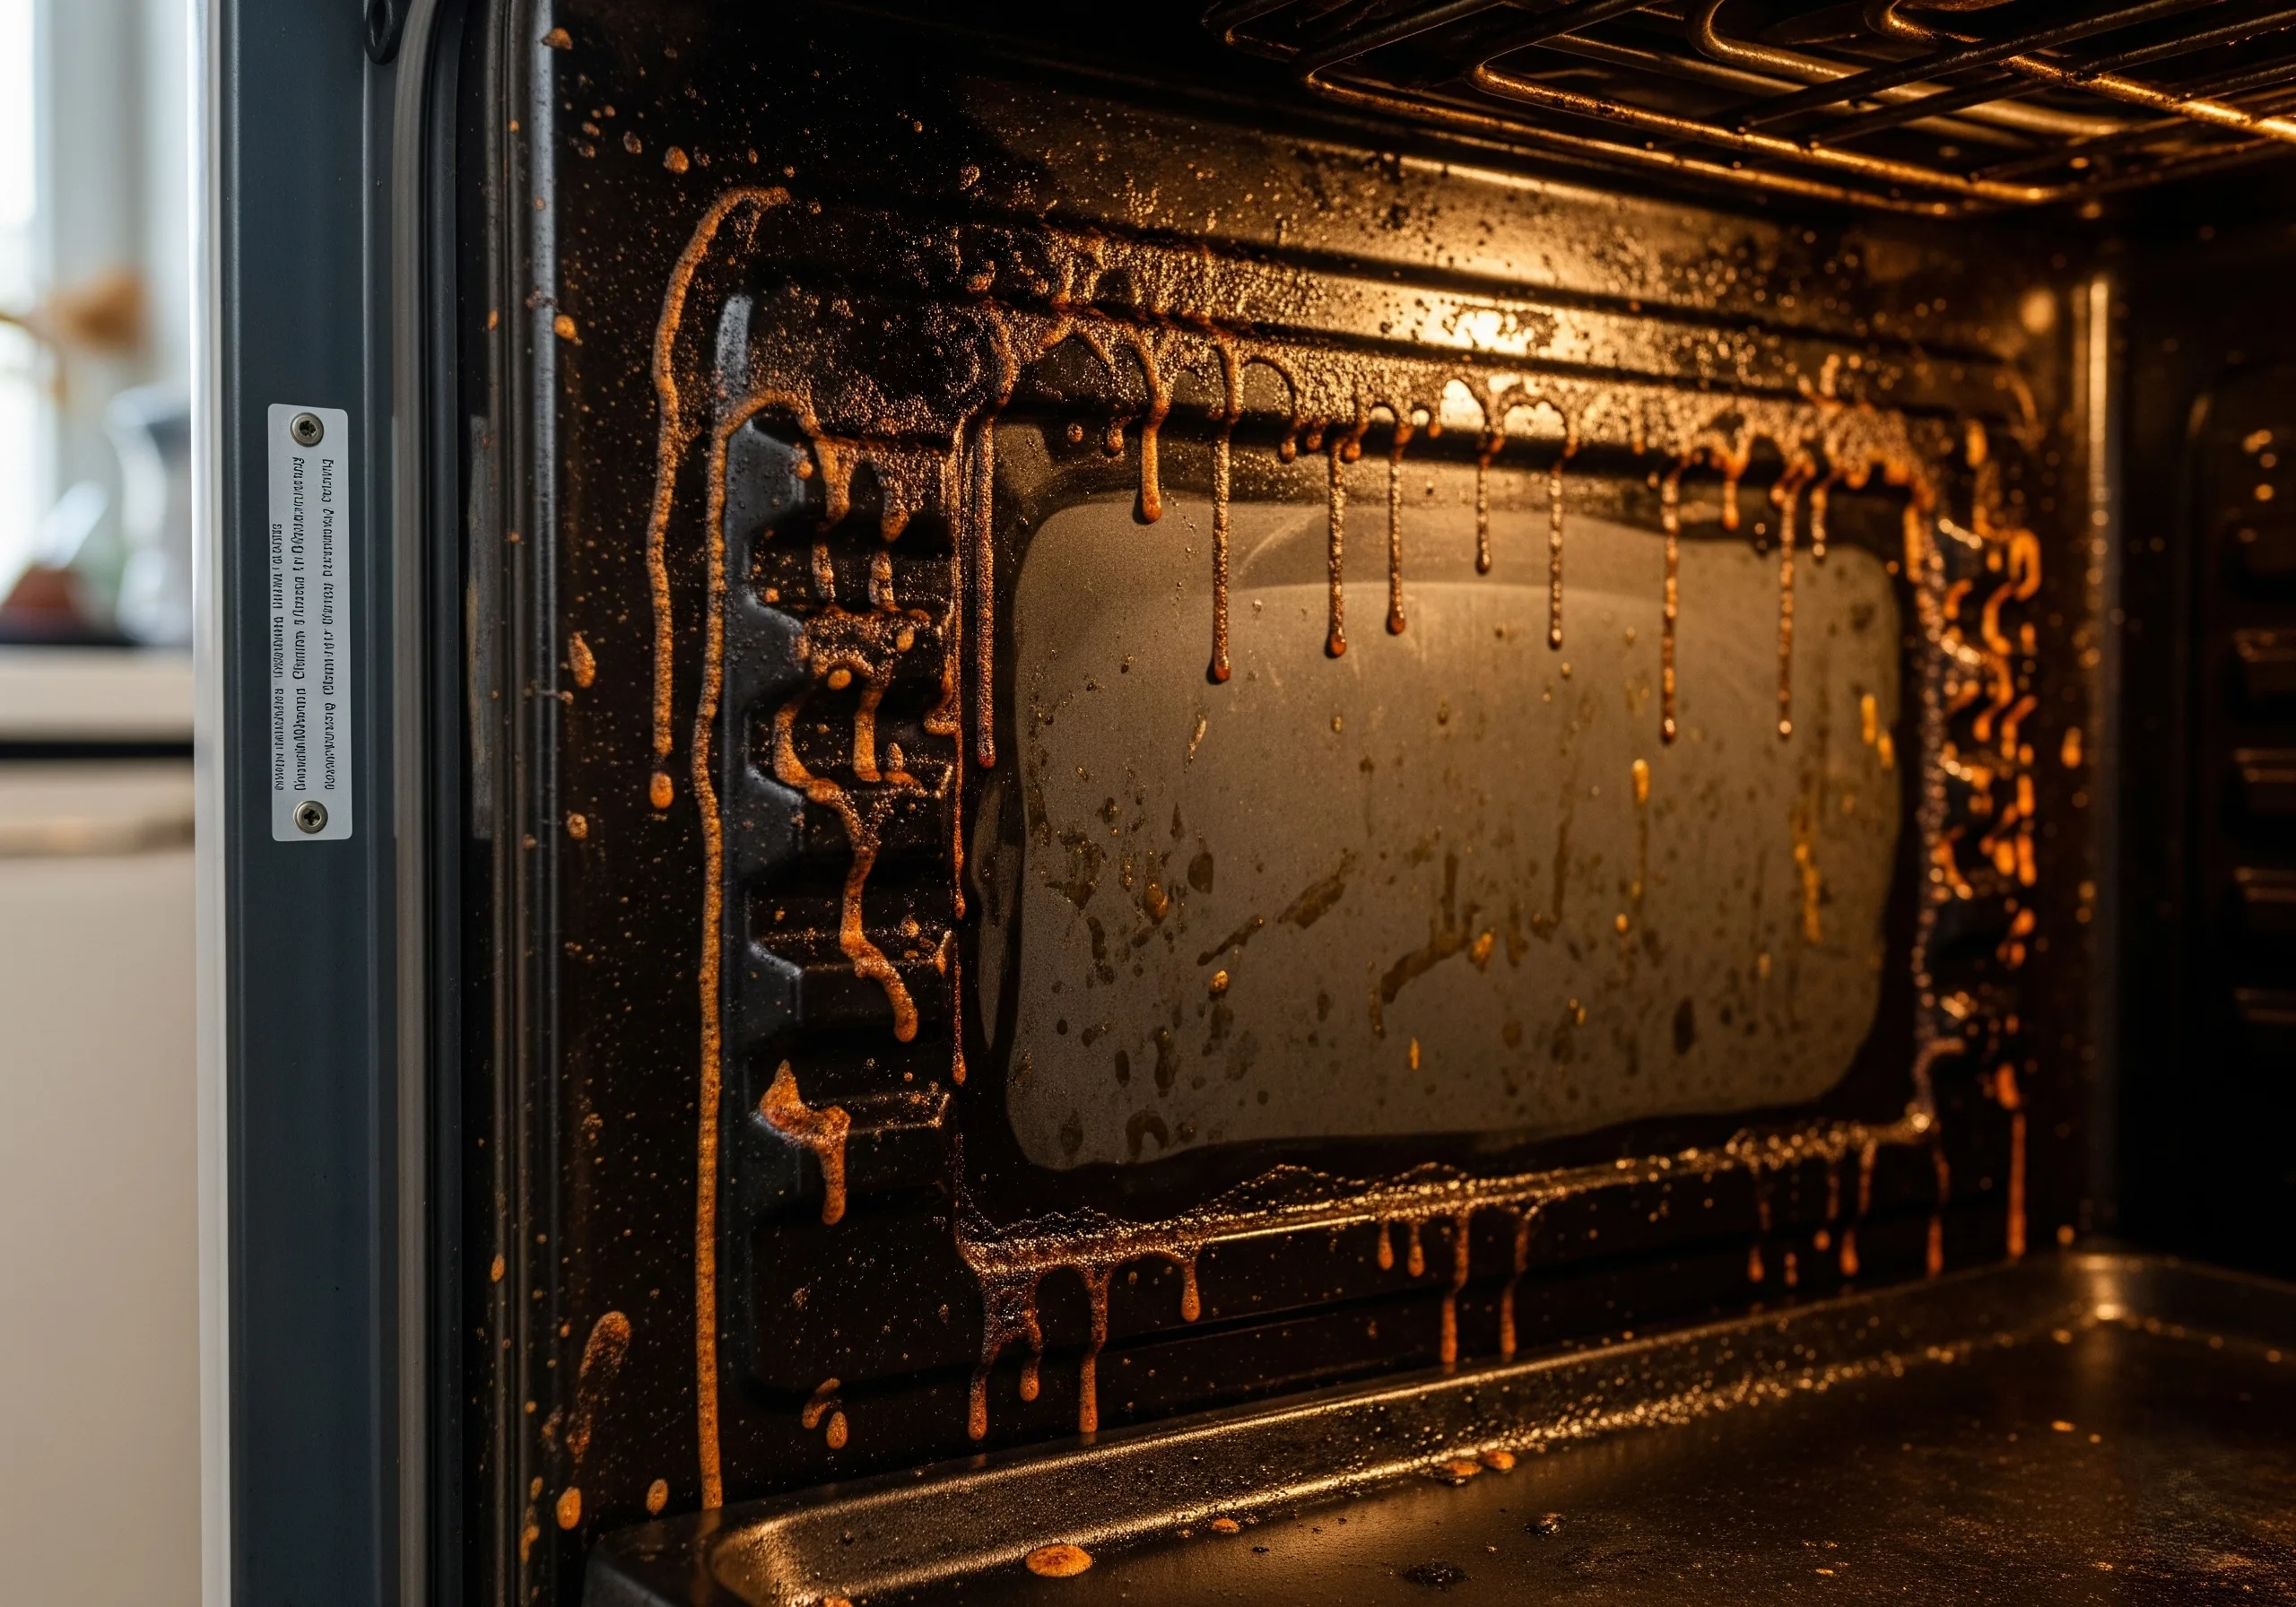
Oven grime isn’t just dirt; it’s a story. It tells on the butter that bubbled over, the apple pie that kissed the edges, and the lasagna that took a leap of faith. Over time, all those splatters and spills become a sticky, stubborn film baked hard onto your oven’s enamel walls, racks, and glass.
Thankfully, you don’t need to blast the self-clean feature every time (we’ll talk about when to use it). With the right routine, your kitchen won’t smell like smoke every time you preheat, and your oven window won’t fog up with a greasy haze.
Common Causes of Oven Grime
- High-fat roasts that spit and sputter when juices hit hot metal.
- Cheese and sugar drips that caramelize into a dark, glossy crust.
- Baking sprays and oils that aerosolize and settle as greasy film.
- Overflow from casseroles or pies that weld themselves onto racks and floors.
- Normal everyday use without a wipe-down cool-down ritual.
Importance of Regular Cleaning
Regular cleaning isn’t about perfection; it’s about performance and safety. A clean oven heats more evenly, helping your food brown beautifully without hot spots. It also reduces smoky odors and lingering flavors that can turn delicate dishes bitter. Most importantly, it lowers the risk of flare-ups from built-up grease. Think of it like changing the oil in your car: small habit, big payoff—especially before holidays when appliance repair appointments are backed up and home warranty plans get a workout.
Tools and Materials Needed
Let’s keep this real: you don’t need a cart full of pricey supplies to master how to clean oven surfaces well. Most of what you need is probably in your pantry or a single grocery run away. I’ll share both natural options and a couple of heavy-duty helpers so you can choose based on your oven type and comfort level.
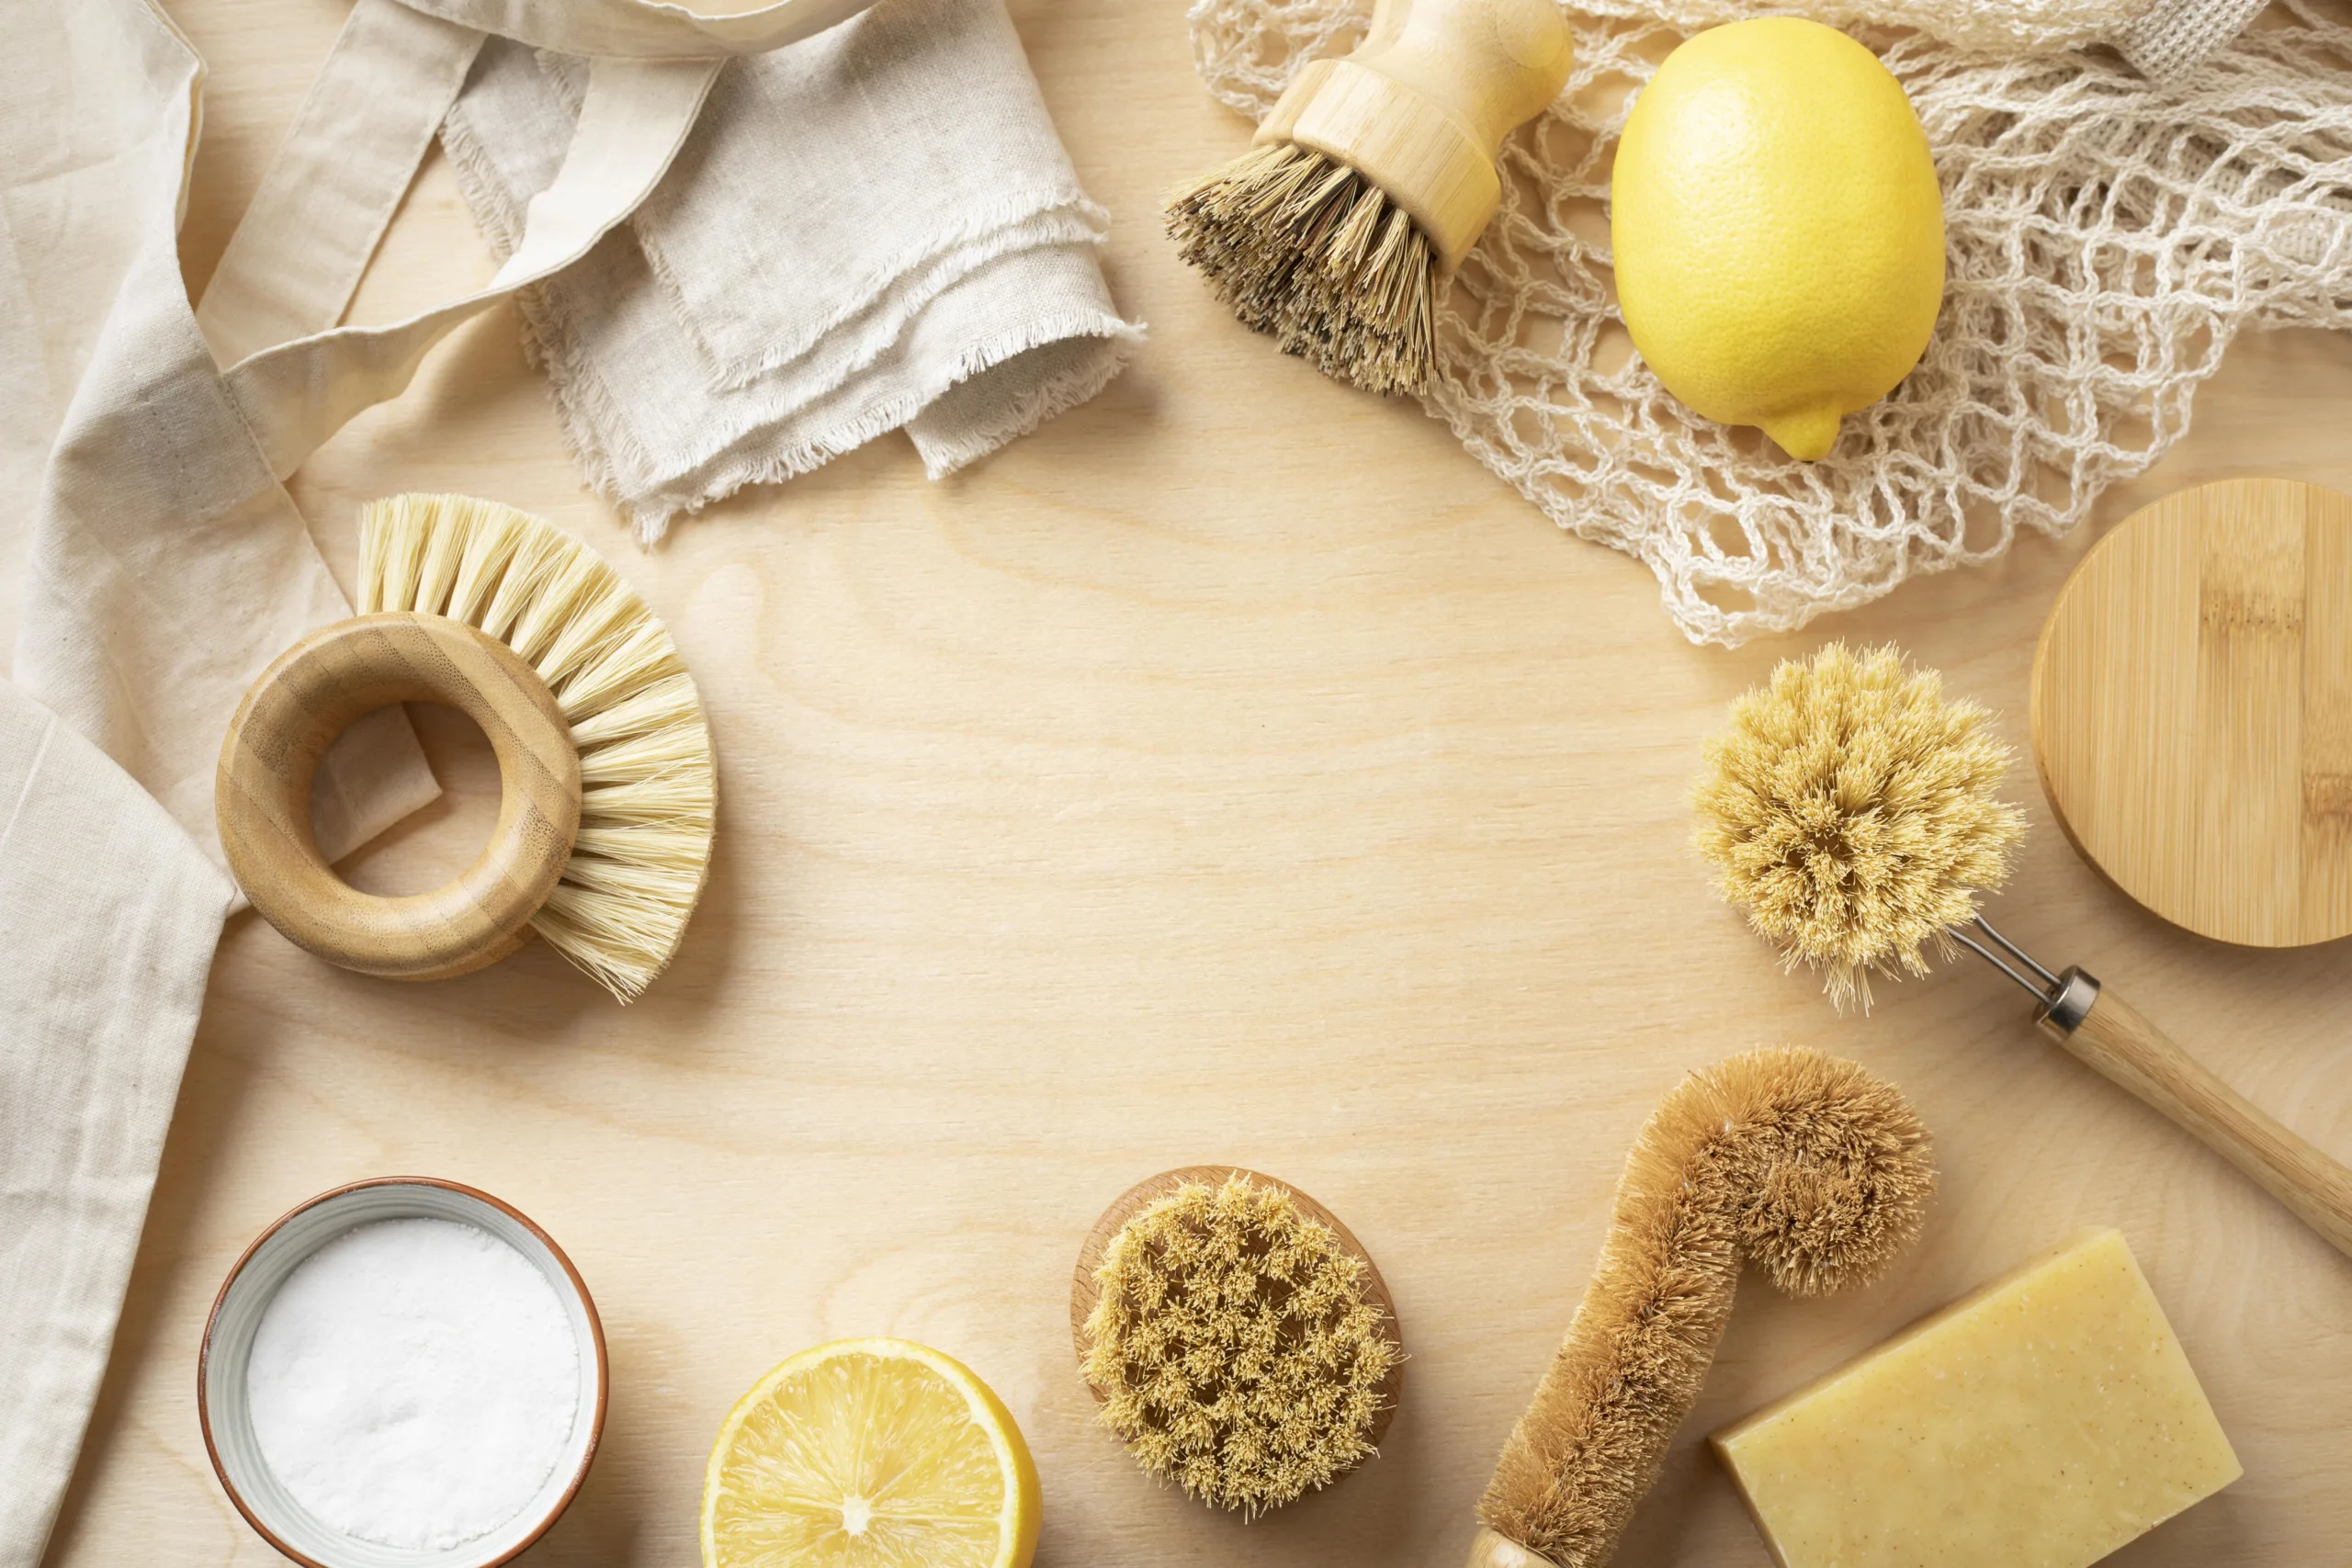
Homemade Oven Cleaner Ingredients
- Baking soda: The star. It’s a mild abrasive that lifts stuck-on gunk.
- White distilled vinegar: Reacts with baking soda to foam away grime.
- Dish soap (grease-cutting): Helps suspend oils and soften scorch.
- Warm water: For dissolving and rinsing.
- Lemon juice (optional): Adds extra degreasing and a clean scent.
- Hydrogen peroxide (optional): Great for white enamel stains use sparingly.
- Coarse salt (optional): A gentle scrub booster for extra-stubborn spots.
Mix to make a paste: 1/2 cup baking soda + 1 tablespoon dish soap + 2–4 tablespoons warm water until spreadable. For heavy grime, add 1 teaspoon white vinegar at a time and stir slowly it will foam.
If you prefer store-bought, look for fume-free formulas labeled safe for oven enamel and stainless steel. Always read the label and your oven manual first.
Essential Cleaning Tools
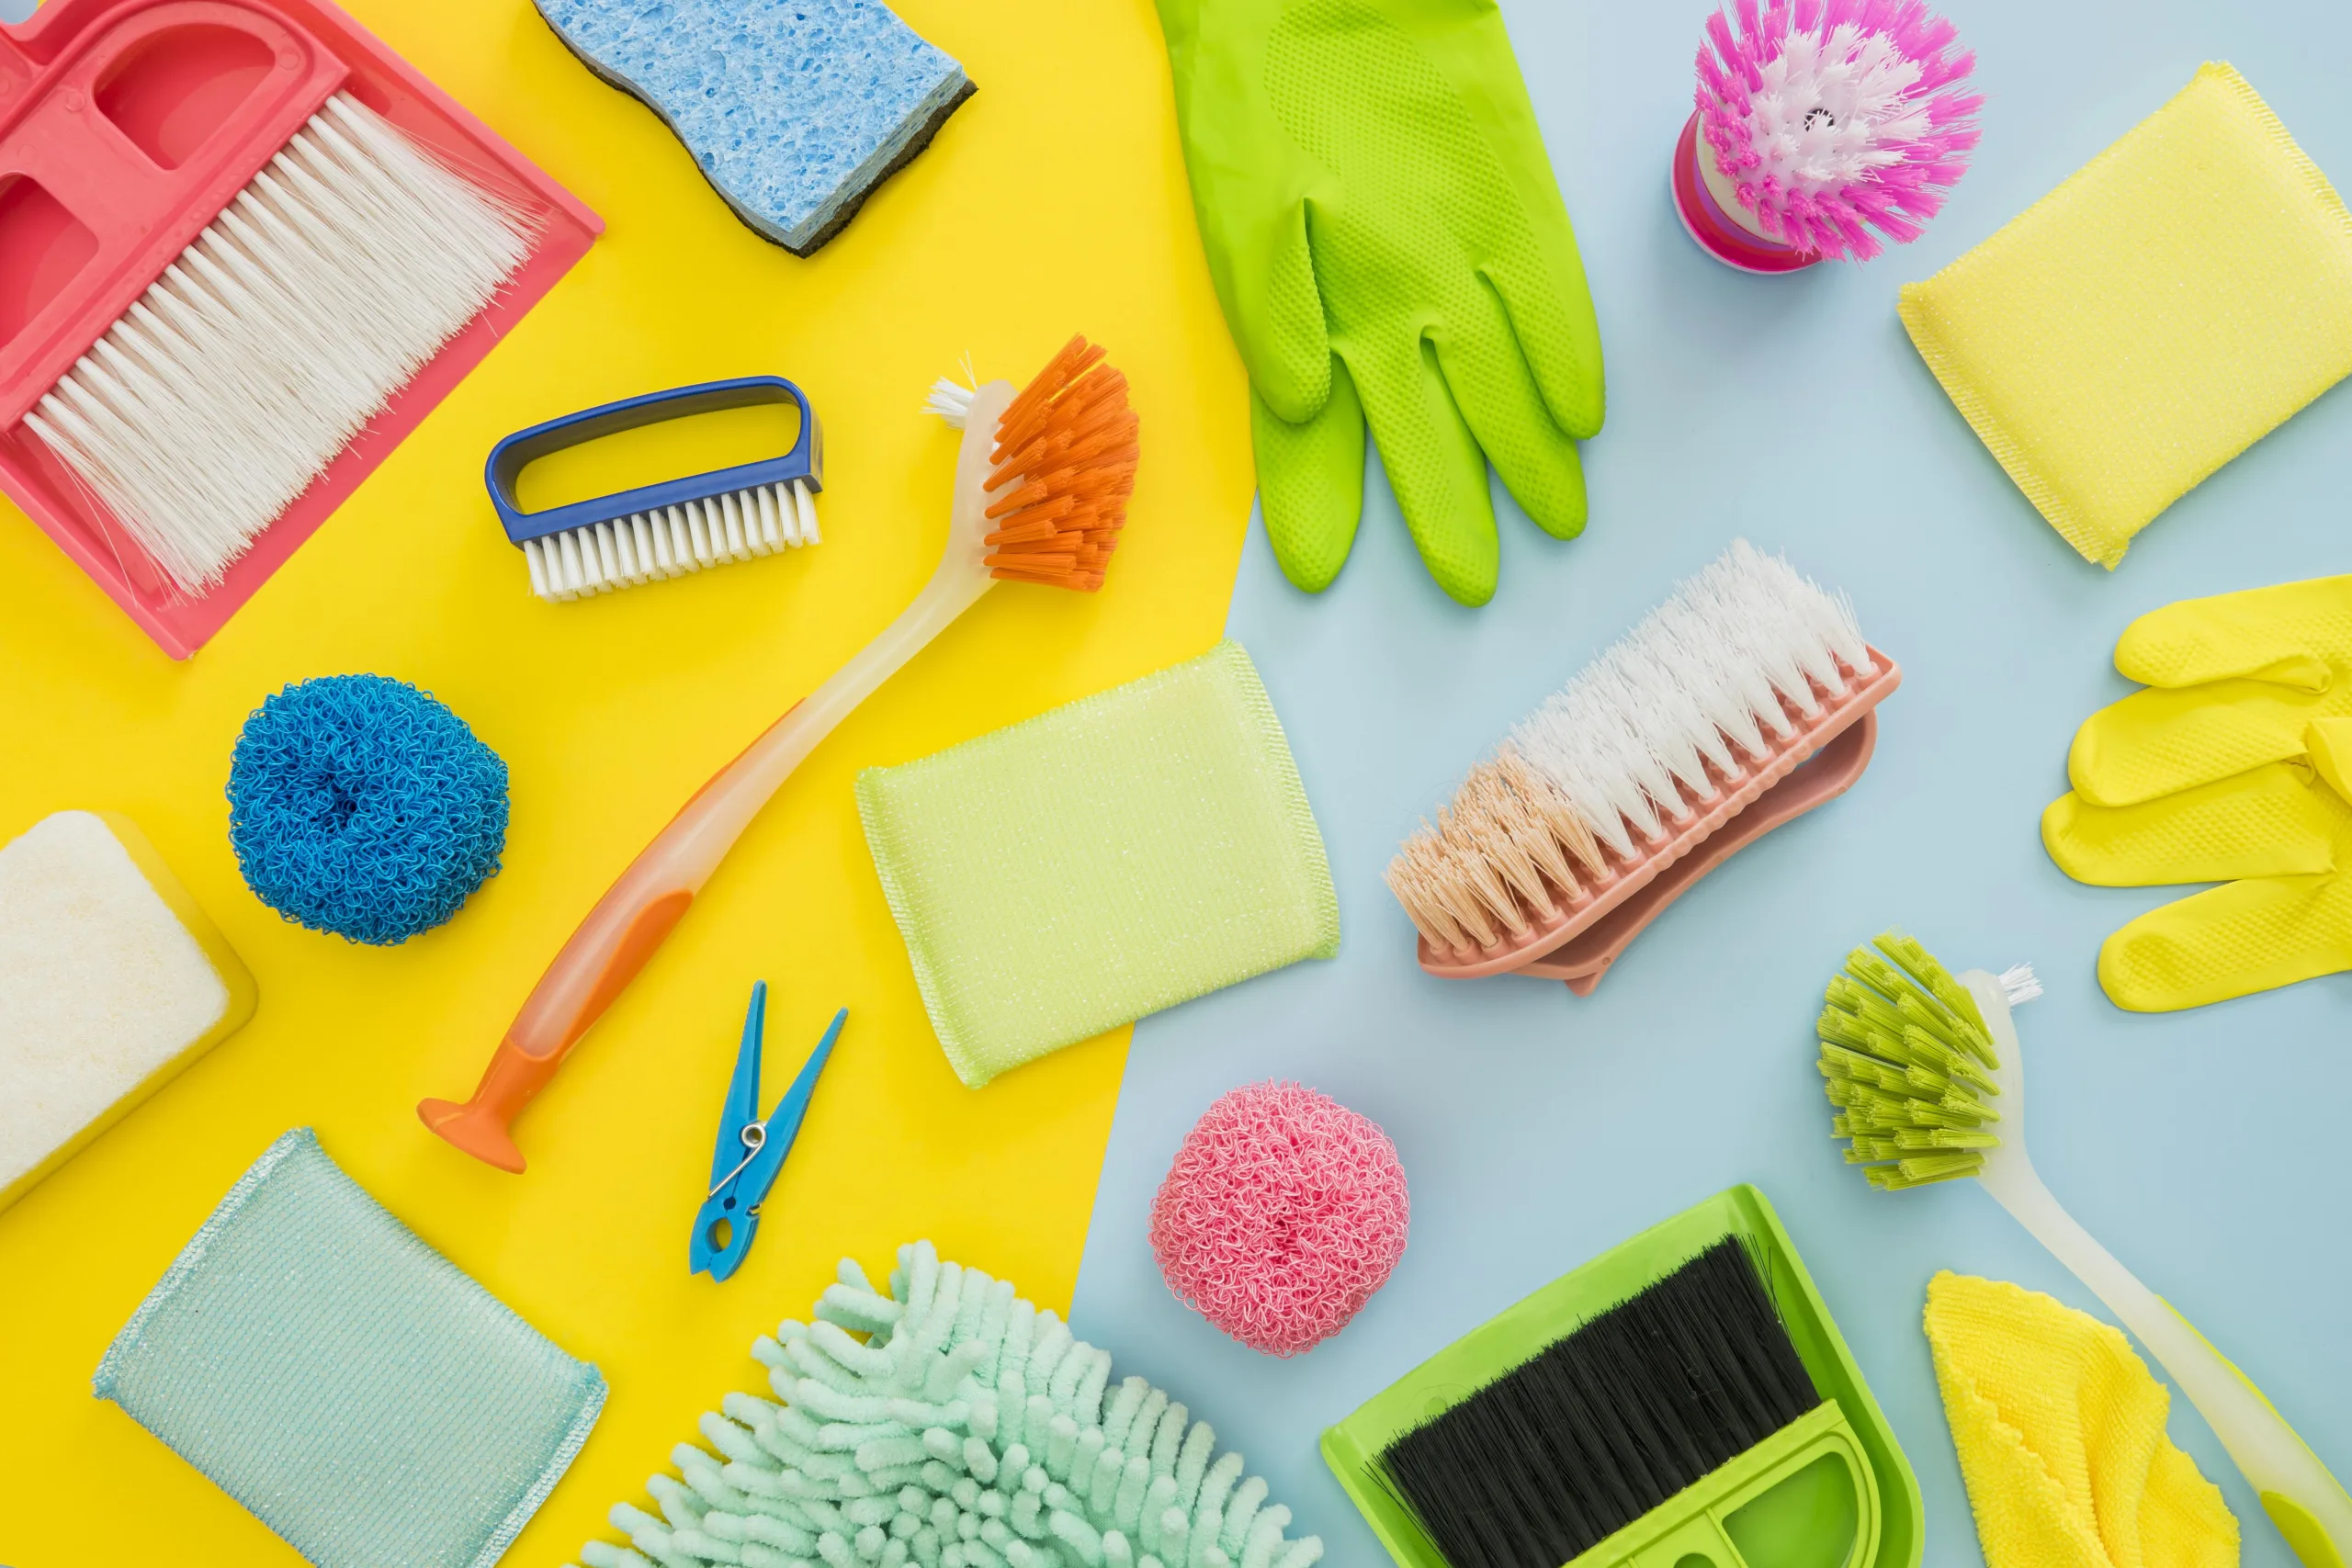
- Microfiber cloths and soft cotton rags
- Non-scratch scrub pads and an old soft toothbrush
- A plastic scraper or old gift card (surprisingly effective)
- A razor blade scraper for glass only (with care)
- A spray bottle (for vinegar rinse)
- Heavy-duty trash bags (for soaking racks)
- Nitrile or rubber gloves
- A small bowl and spatula or paintbrush for spreading paste
- A flashlight to spot hidden grease in corners
Pro tip: Lay down an old bath towel or cardboard under the open oven door to catch drips and protect your floor. This makes the whole “how to clean an oven” process feel less chaotic and more “I’ve so got this.”
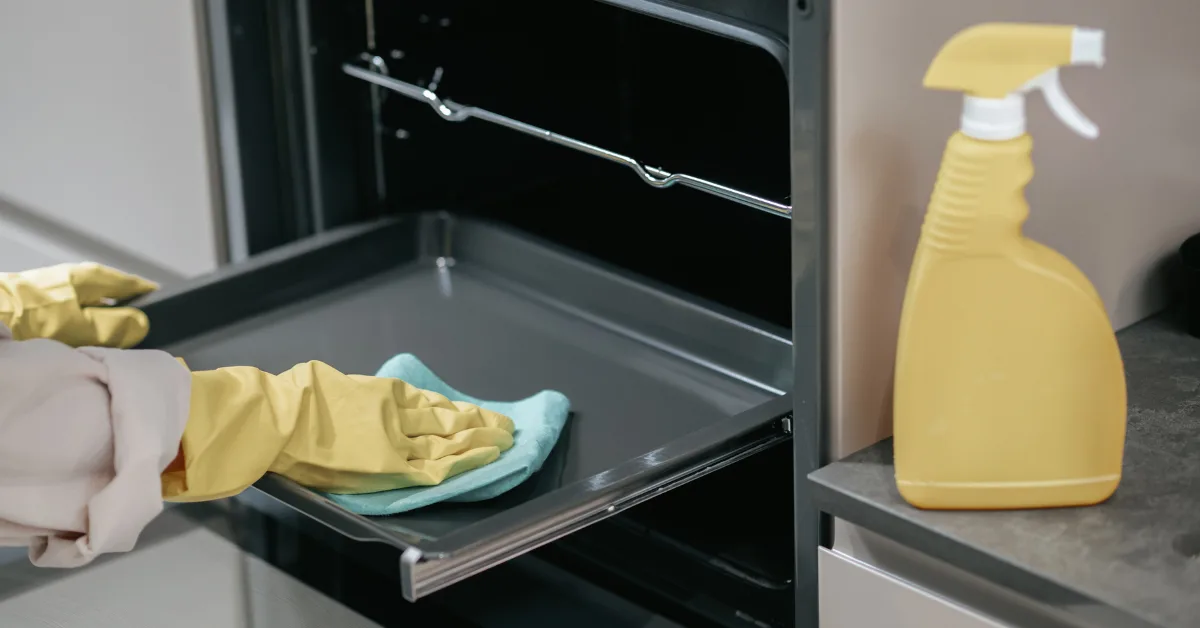
How to Clean Inside of Oven
The inside of your oven faces the harshest heat and the highest degree of mess. This method is gentle on enamel, tough on grease, and friendly to sinuses, perfect if you’re sensitive to strong chemical smells or just prefer a greener approach.
Pre-Cleaning Preparation
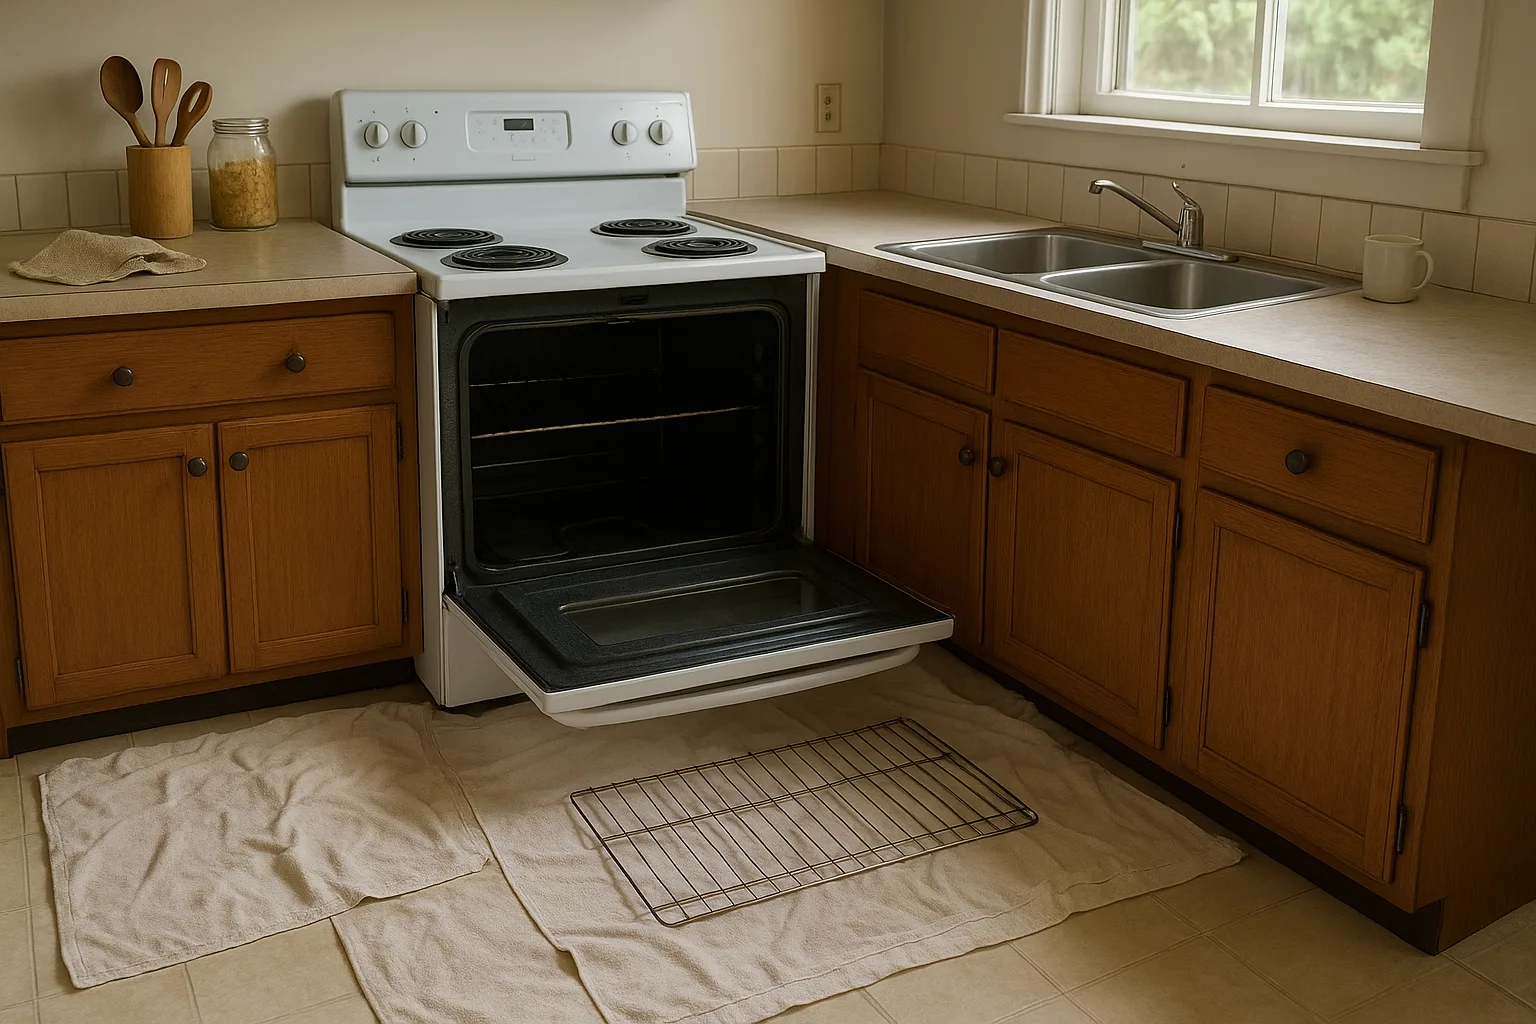
- Turn off the oven and let it cool completely. Unplug if you can.
- Remove racks, oven thermometers, pizza stones, and any foil liners (skip foil in the future more on that later).
- Vacuum out loose crumbs with a hand vac or brush them into a dustpan.
- Check your manual for any surfaces to avoid with water or abrasive cleaners, especially the heating elements or a hidden bottom element.
- Open a window or kick on the vent fan for airflow.
If your oven has a self-clean cycle, decide if you really need it. The self-clean option can be useful once or twice a year, but it runs extremely hot and can stress older components. If you have a home warranty or appliance insurance, check the fine print before using self-clean—some plans note that damage from extreme cycles isn’t covered.
Step-by-Step Cleaning Process

Make the paste
In a small bowl, combine baking soda, a squirt of grease-cutting dish soap, and warm water. Stir to a smooth paste, like frosting. If odors are heavy, add a splash of vinegar and a squeeze of lemon.Protect heating elements
If your oven has exposed coils, avoid pasting them. Wipe them gently with a slightly damp cloth only. For a hidden bottom element, you’re good to spread paste over the floor.Spread the paste
Use a spatula, gloved fingers, or a cheap paintbrush to “frost” the oven walls, floor, and door frame. Aim for a thin but opaque coat. Work paste into corners and around the fan cover if it’s a convection oven, but avoid pushing goop into vents.Let it dwell
Close the door and give it time—at least 20–30 minutes for moderate mess, 8–12 hours for extreme build-up. The dwell time is when the paste softens the carbonized layers so you won’t have to muscle them off later.Scrape and wipe
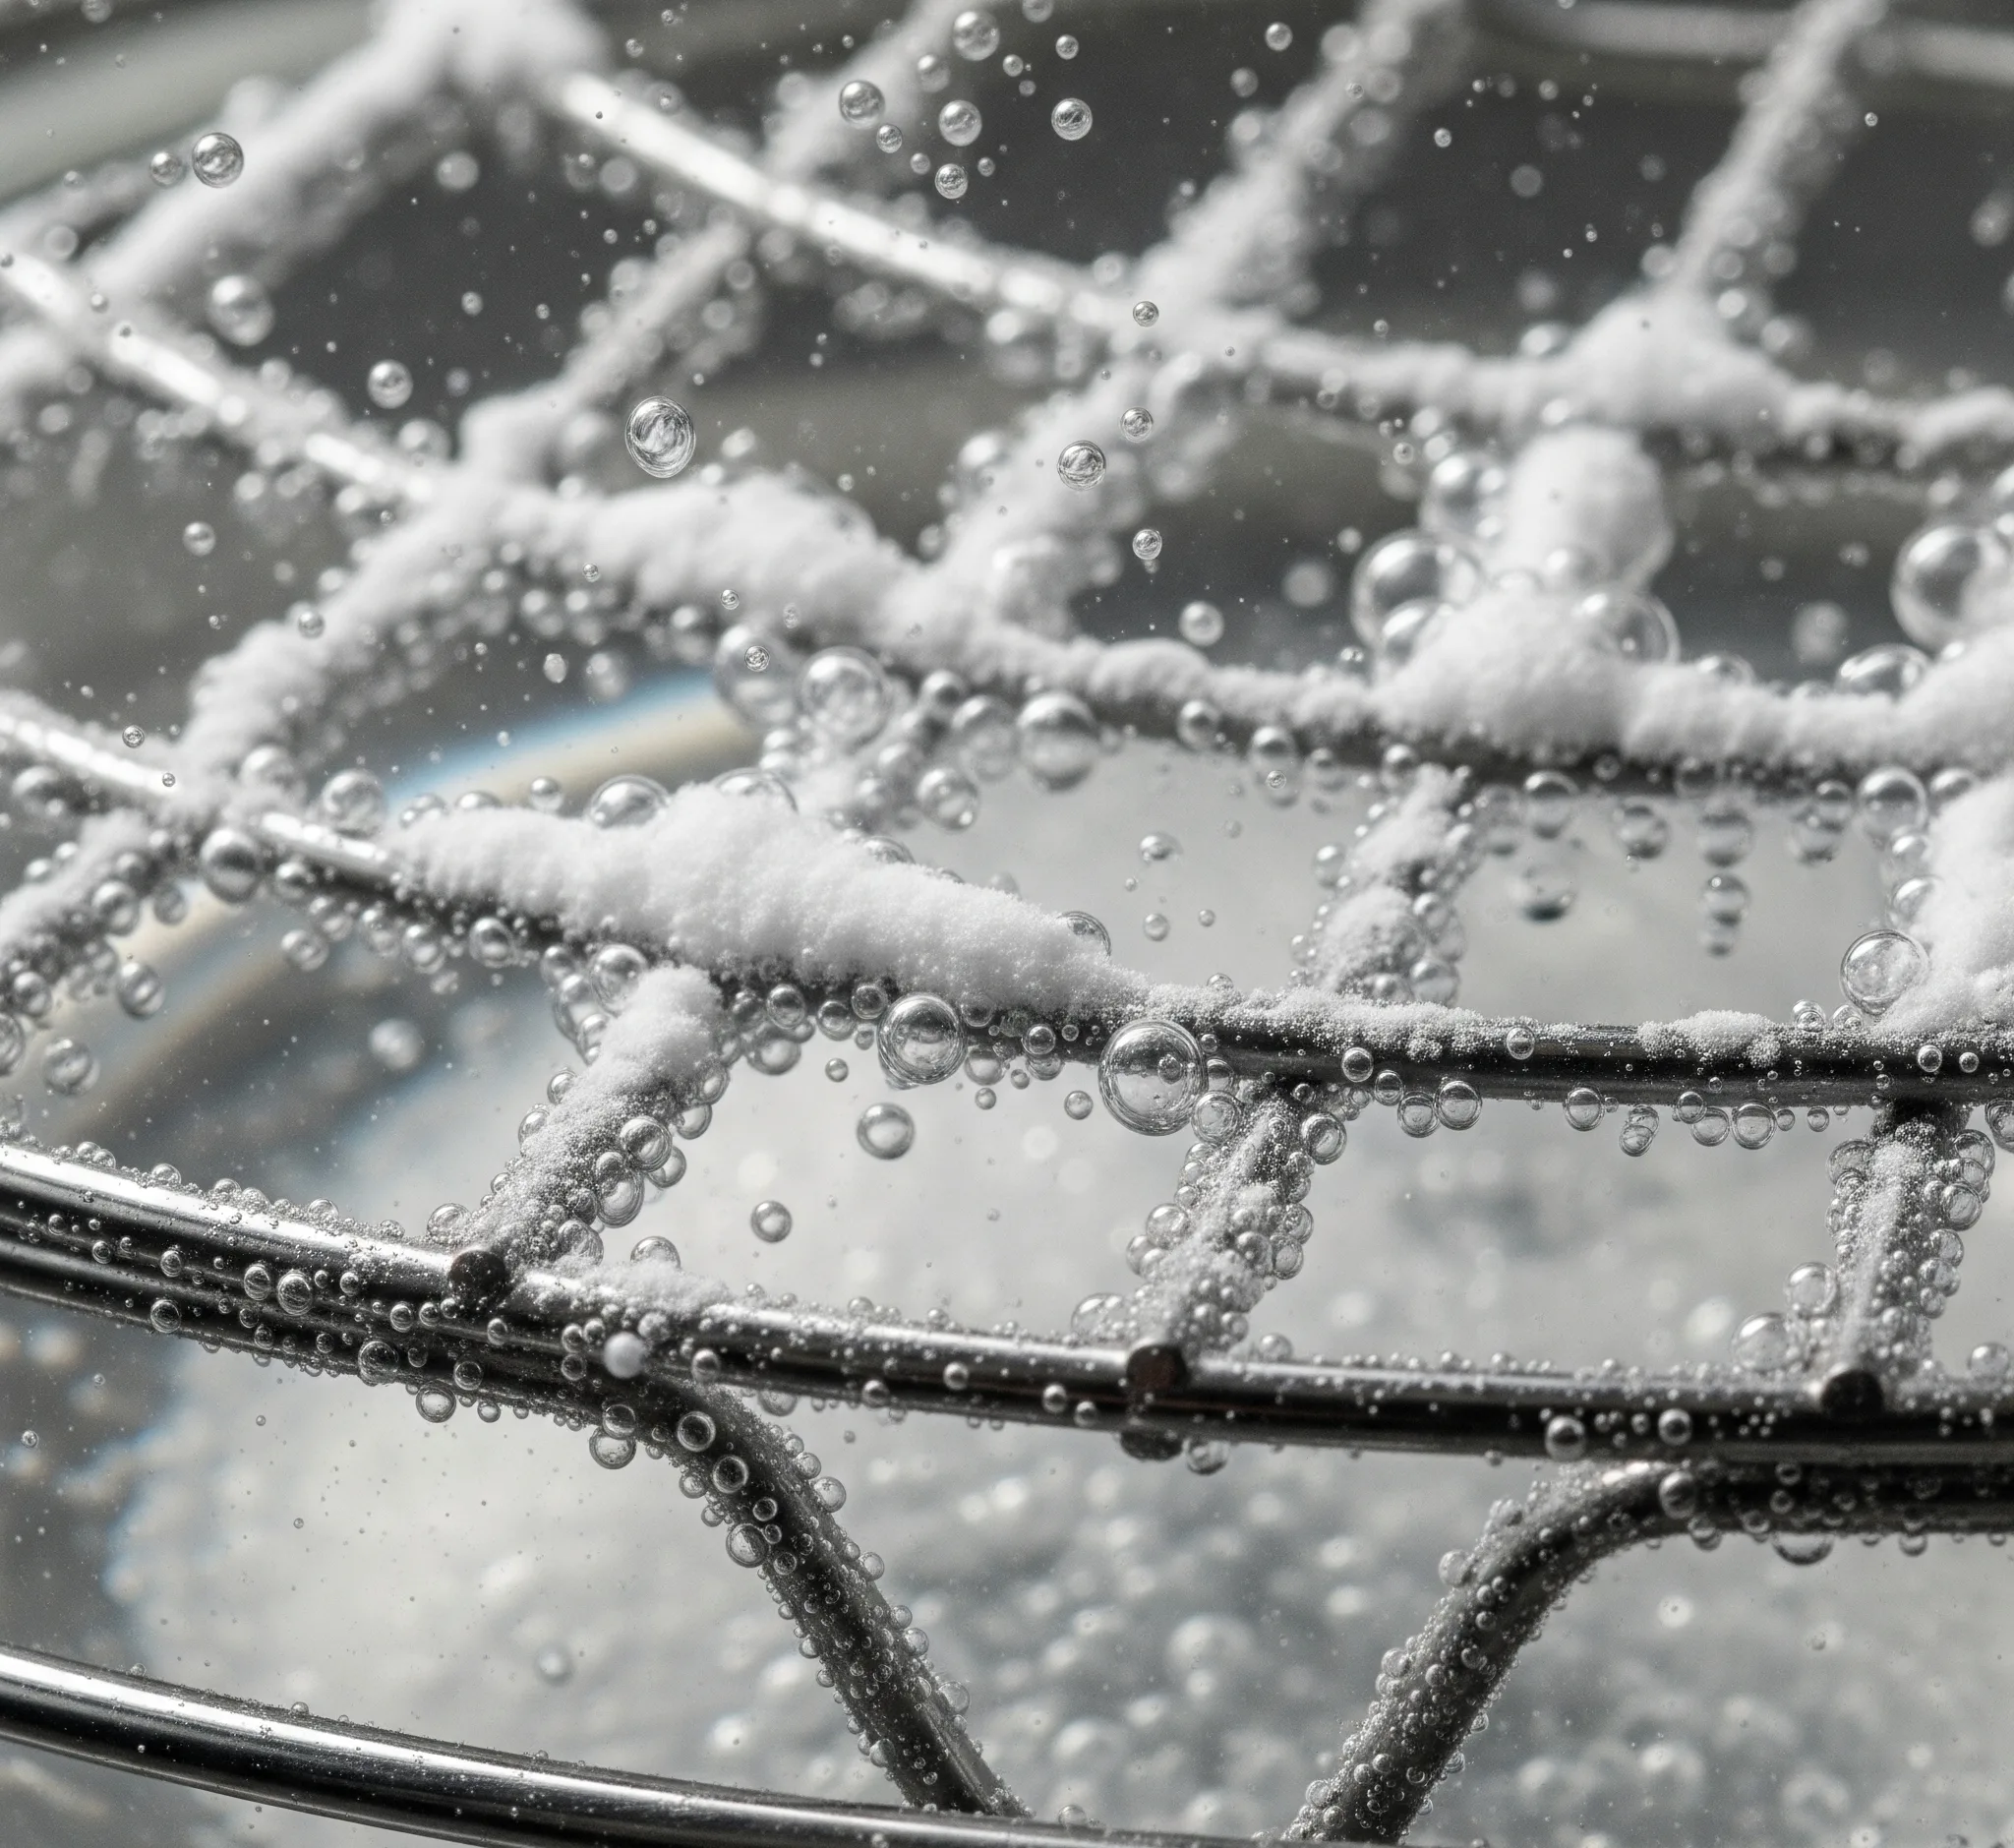
Use a plastic scraper or old gift card to lift softened gunk, wiping the scraper on a rag as you go. The paste will turn brown as it pulls up grime—that’s your sign it’s working.Vinegar rinse
Fill a spray bottle with equal parts white vinegar and warm water. Spritz the paste residue until it lightly foams. Wipe with damp microfiber cloths, rinsing and wringing often. Repeat until surfaces feel smooth and clean to the touch.Spot treat tough patches
For stubborn corners or caramelized sugar, apply a fresh dab of paste and let it sit 10–15 minutes. For scorched-on grease, sprinkle a pinch of coarse salt on a damp cloth with a little dish soap and rub gently in circles.Deodorize with a dry heat
Place a small, oven-safe bowl of water with lemon slices on the center rack. Heat the oven to 250°F for 10–15 minutes. Turn it off, let it cool, and wipe any condensation. Your oven should smell neutral with a hint of citrus.Final polish
Dry everything with a clean cloth. If the enamel looks streaky, a final pass with a barely damp microfiber and a drop of dish soap will leave it glossy.
This is the backbone of how to clean inside of oven cavities without harsh fumes or expensive products. If you bake frequently, a lighter version of this every month keeps things breezy.
How to Clean Oven Racks
Oven racks are sneaky. They’re thin, they’re shiny, and they collect mess from every direction. But once you know how to clean oven racks the easy way, it’s oddly satisfying—like restoring jewelry to a mirror shine.
Soaking Racks for Easy Cleaning
- Bathtub method: Line your tub with an old towel to prevent scratches. Lay the racks flat and fill with hot water until fully submerged. Add 1/2 cup dishwashing detergent (the kind for hand-washing, not a dishwasher pod). Let soak 2–6 hours or overnight for heavy build-up.
- Outdoor method: Place racks inside a heavy-duty trash bag. Add 1/2 cup of your homemade oven cleaner paste or a splash of household ammonia (do not mix ammonia with bleach ever). Seal tightly and let sit outside or in a well-ventilated garage for 2–4 hours. Open the bag away from your face; wear gloves. Rinse thoroughly with a garden hose.
If you’re sensitive to strong cleaners, skip ammonia and stick with the bathtub soak plus baking soda. It’s slower but kinder.
Scrubbing Techniques
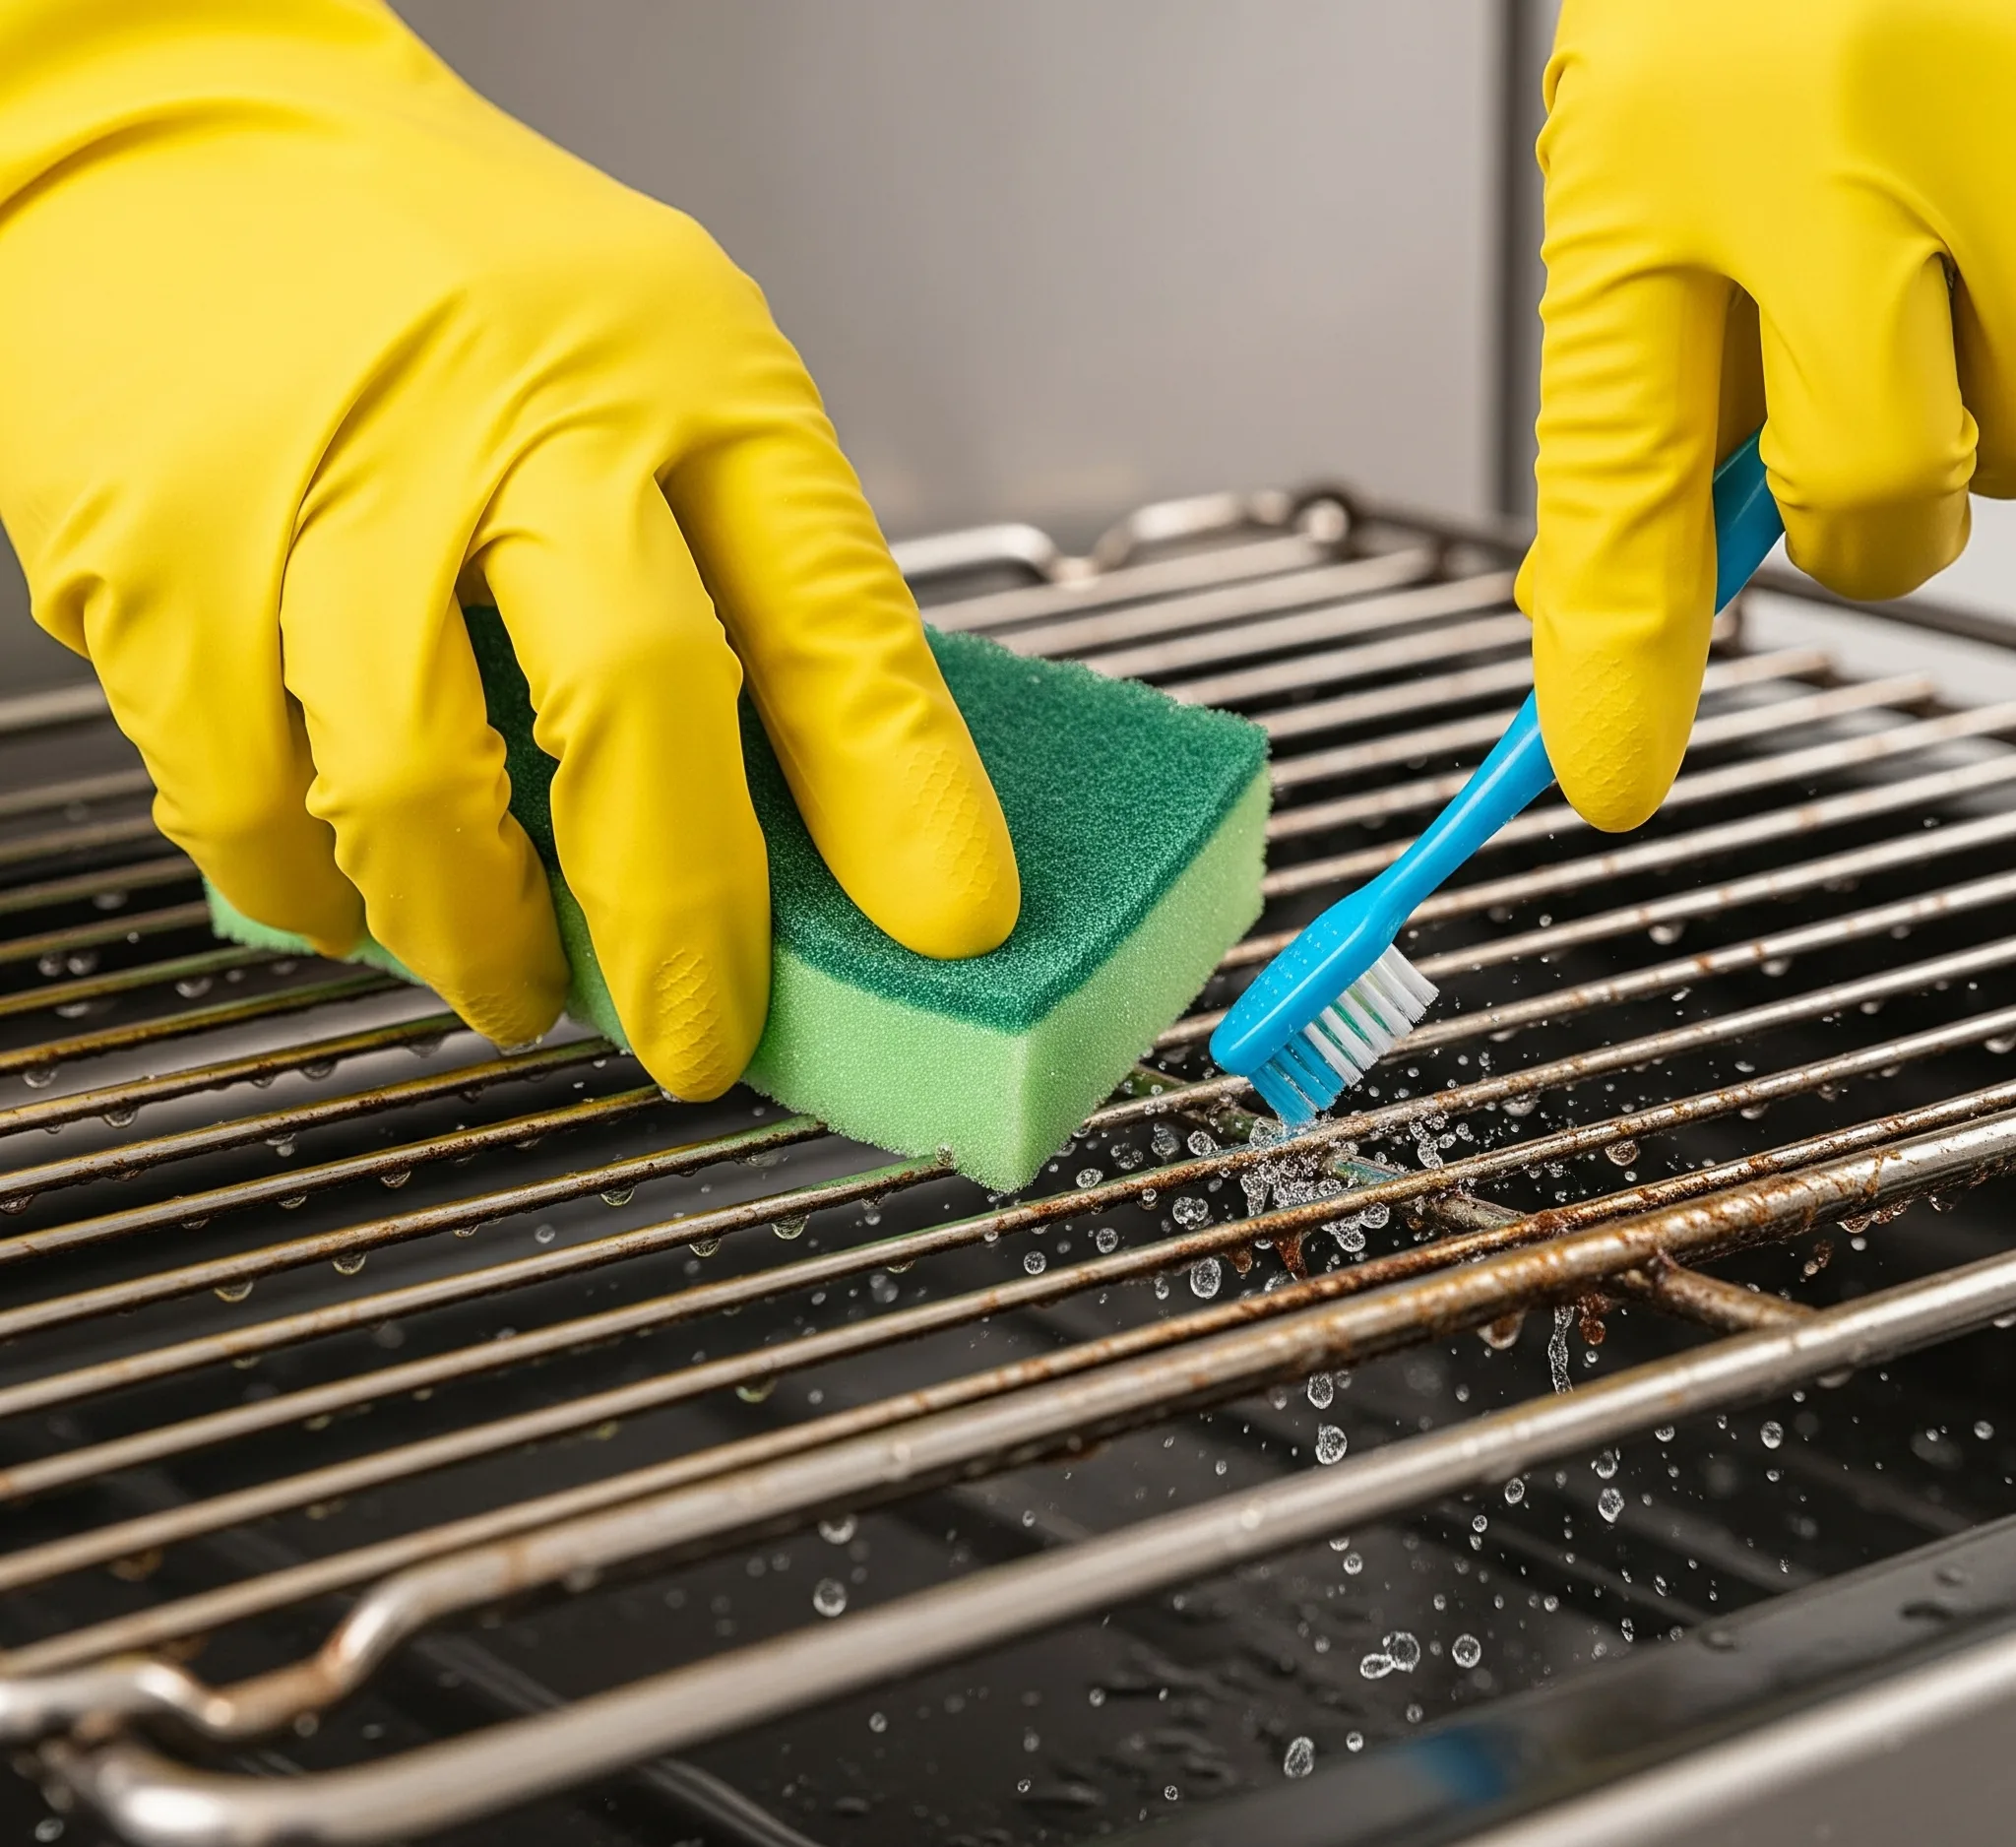
- For standard grime: Use a non-scratch scrub pad and a little baking soda paste. Work along the bars, not against them, to avoid snags.
- For carbonized drips: A nylon brush or old toothbrush helps get into corners and around the rack joints.
- For stubborn crust: A ball of crumpled foil can act as a mild abrasive on stainless racks (test first). Avoid on chrome-coated racks to prevent scratches.
- Rinse and dry: Rinse with hot water, then wipe dry to prevent water spots and rust. A quick polish with a microfiber cloth brings back the shine.
Once you’ve mastered how to clean oven racks, slide them back in and admire. It’s like putting fresh earrings on your oven, it just looks more expensive, more “designer kitchen,” and you’ll feel it every time you open the door.
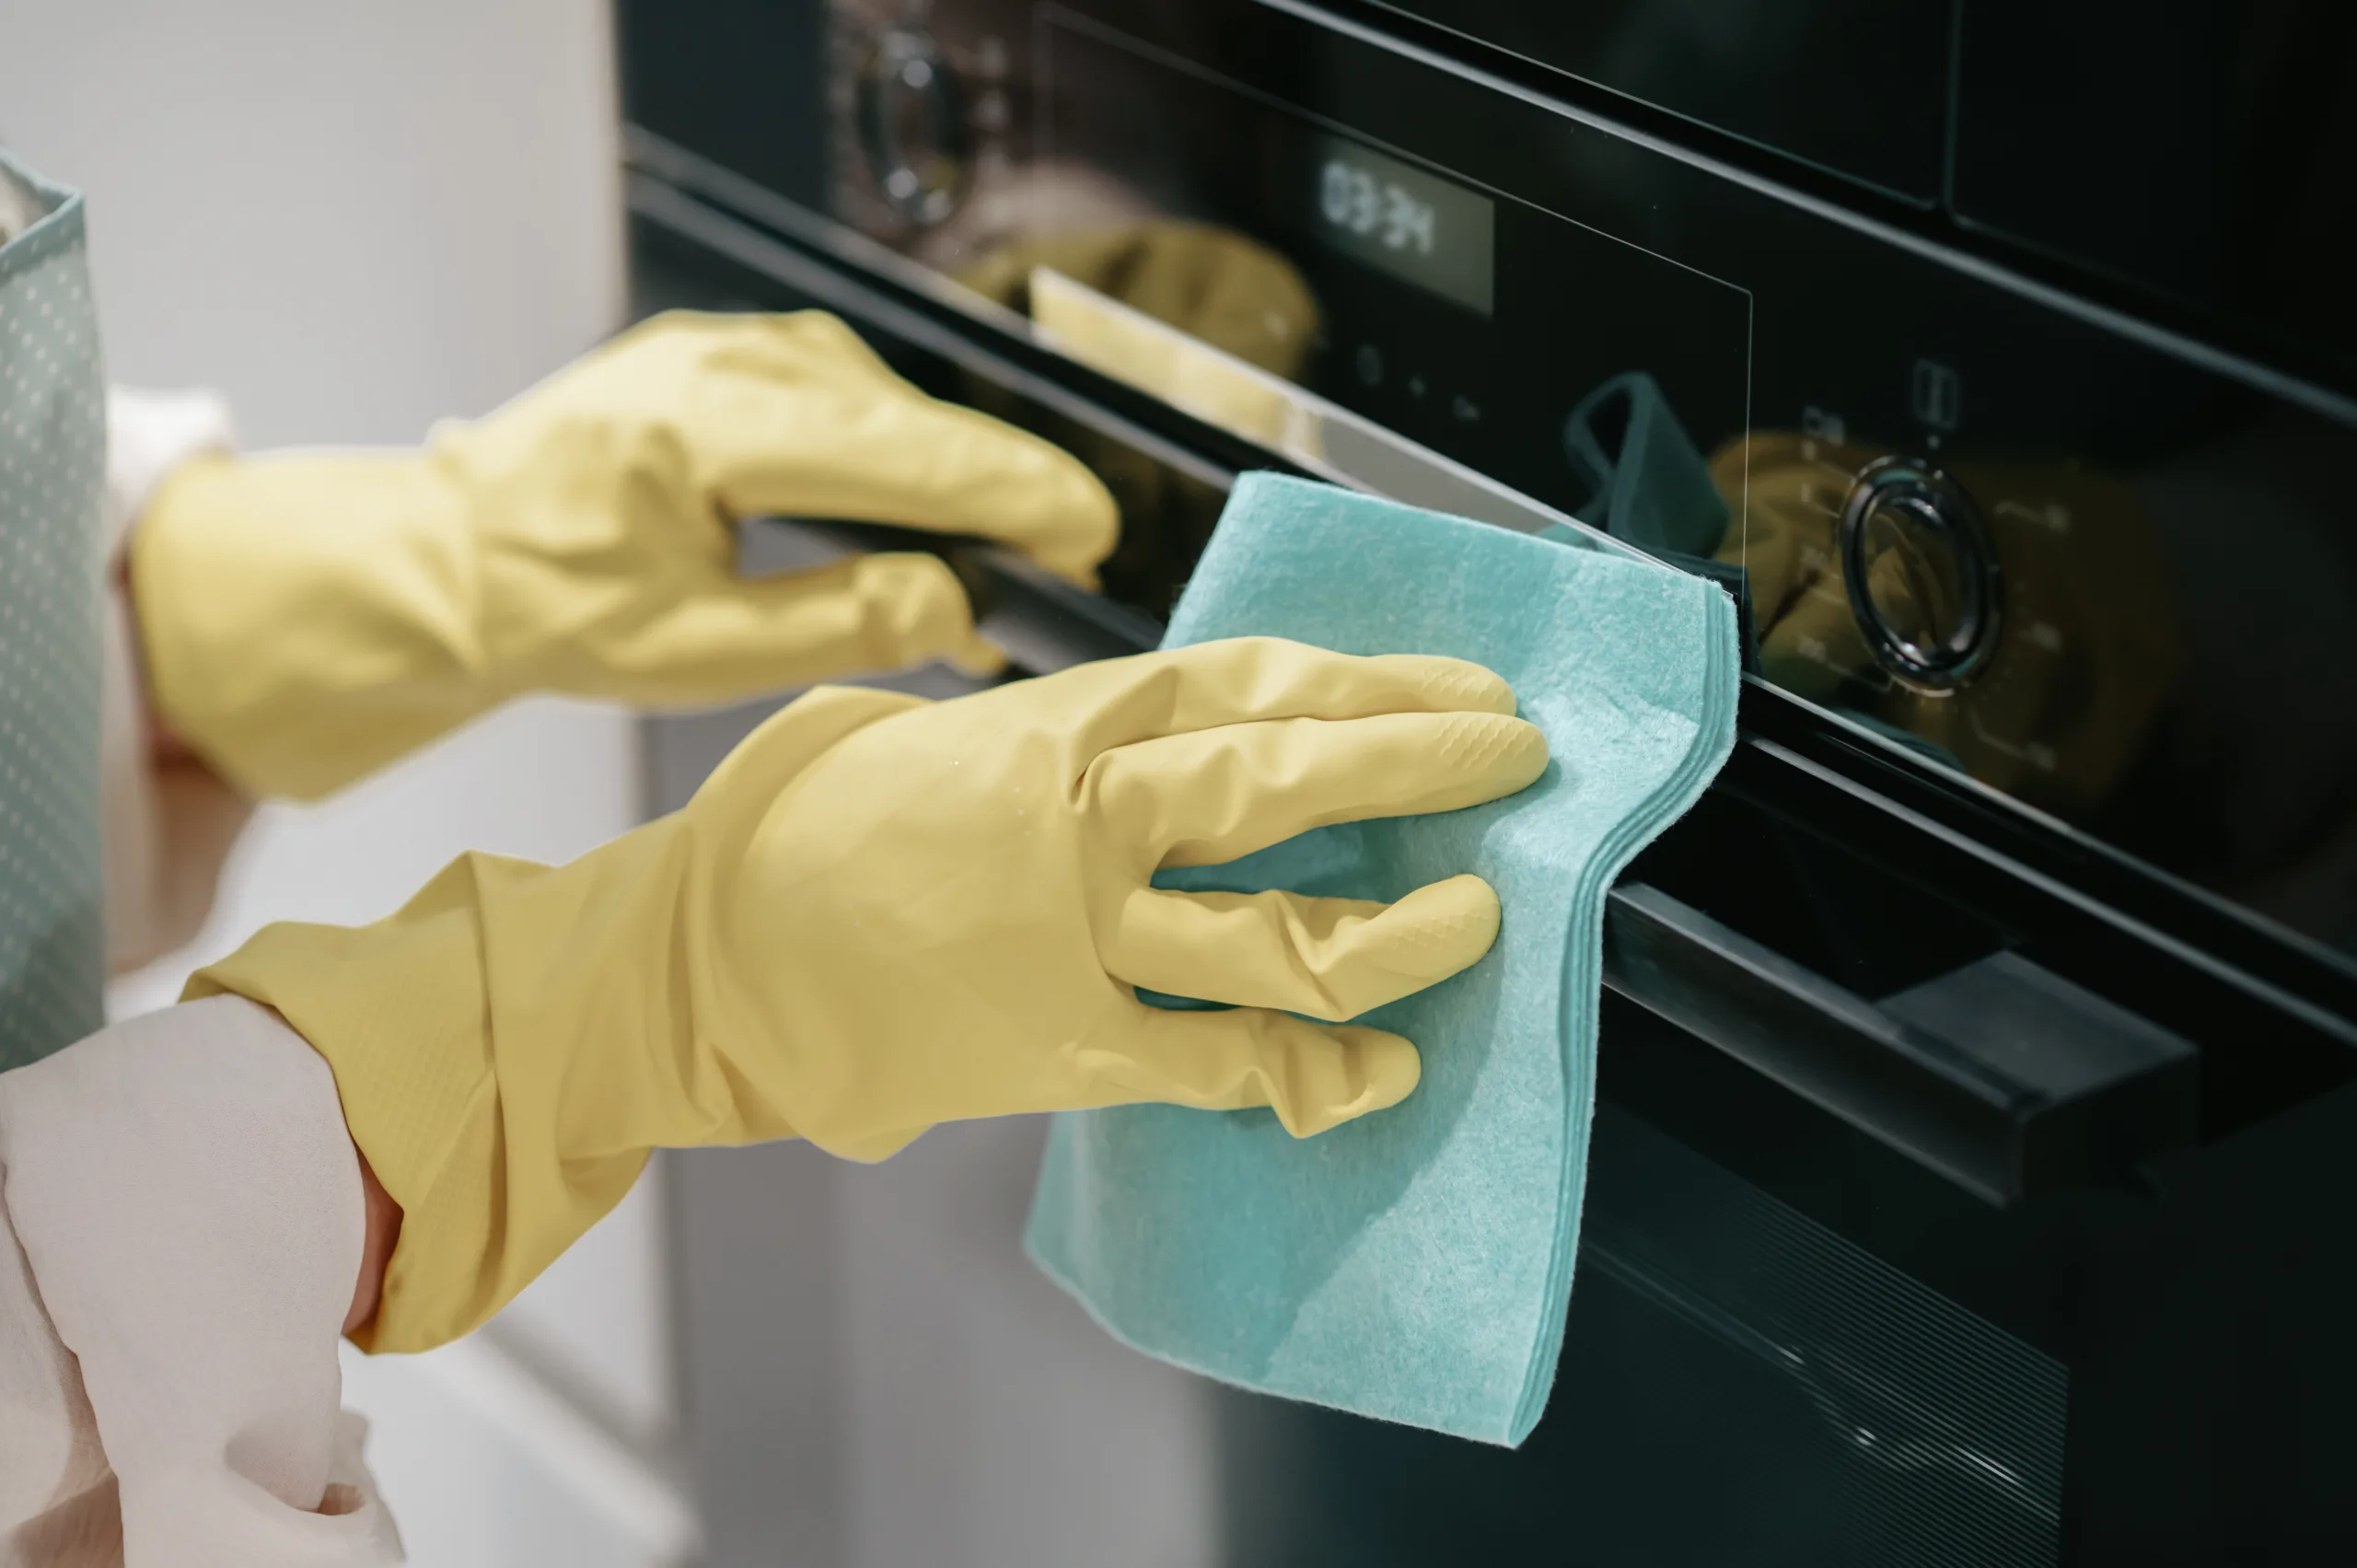
How to Clean Oven Glass
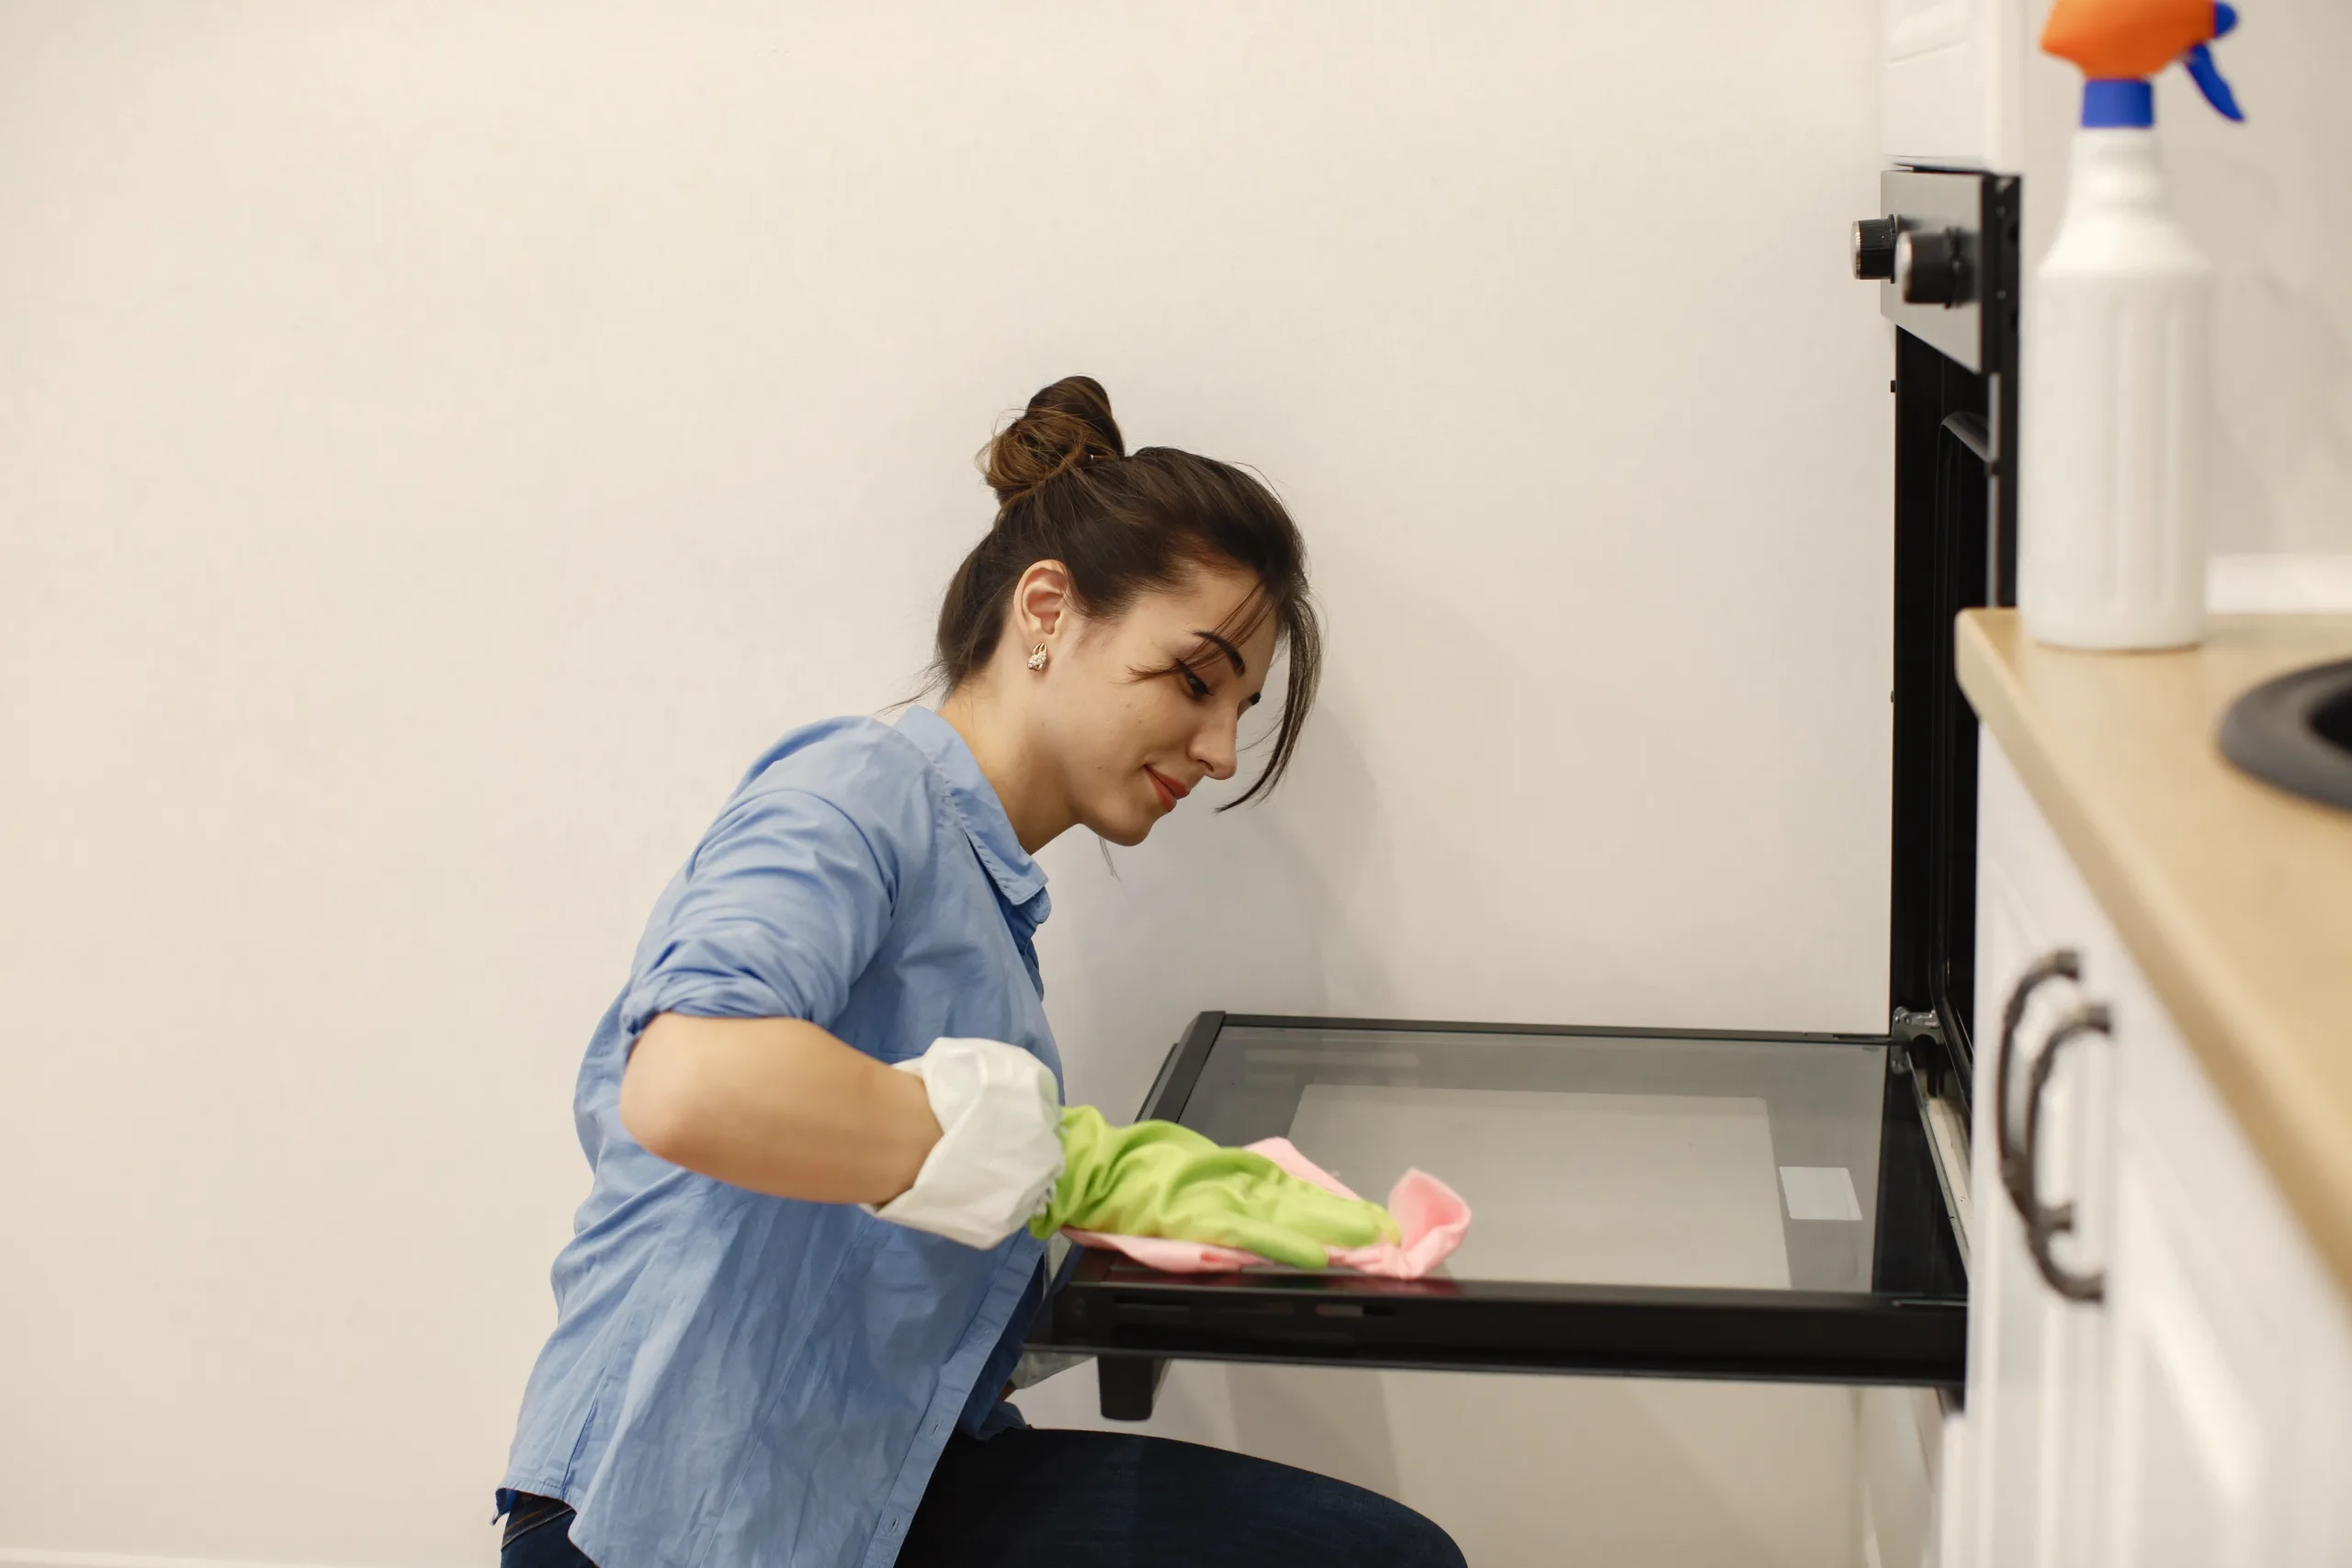
The window is your oven’s face and foggy, streaky glass makes even the newest range look tired. Luckily, how to clean oven glass is simpler than it looks with the right method and a steady hand.
Cleaning the Inside of Oven Glass
- Cool the door completely. You don’t want cleaner baking onto a hot pane.
- Lay the door flat (some models allow the door to be removed; if yours does and you feel comfortable, it can make cleaning easier).
- Spread a thin layer of the baking soda paste across the glass, avoiding the edges where the gasket and vents are.
- Let it sit 15–30 minutes.
- Use a razor blade scraper held at a very shallow angle—about 10–15 degrees—to gently lift baked-on spots. Keep the blade new and glide smoothly to avoid scratches.
- Wipe clean with a damp microfiber, then do a final spritz of vinegar and buff dry.
If you prefer a store-bought glass cleaner, choose one labeled safe for oven glass. Avoid ammonia if your manual warns against it or if your oven has a special coating.
Cleaning the Outside of Oven Glass
- Dust first with a dry microfiber cloth to remove flour, sugar, and crumbs that can scratch.
- Spray vinegar-water solution or your favorite streak-free glass cleaner onto the cloth (not directly on the panel to protect electronics).
- Wipe in overlapping S-shaped strokes and buff with a second dry cloth for a showroom sparkle.
If grease is stubborn near the handle, a tiny drop of dish soap on a damp cloth breaks through it easily. Always dry the trim and handle thoroughly to prevent spots and rust, especially if you have brushed stainless steel.
Tips for Maintaining a Clean Oven
Once you’ve done the big clean, protecting your results is the fun part. These habits are simple, quick, and keep your oven company-ready without panic-scrubbing before guests arrive.
Regular Maintenance Routines
- The “while-it-cools” wipe: After baking, when the oven is warm (not hot), wipe the inside with a slightly damp microfiber cloth. Heat helps loosen residue.
- Monthly mini-clean: Do a 15-minute touch-up with a small batch of paste on the worst corners and the glass.
- Rack rotation: Flip or rotate racks monthly so drips don’t build in the same spots.
- Grease-control bake: When roasting fatty meats, place a rimmed sheet pan under the main pan to catch splatters. Add a thin layer of water to the catch pan to minimize smoke.
- Steam refresh: Every couple of weeks, place a bowl of water and lemon slices in the oven at 250°F for 10 minutes, then wipe down. It’s a spa day for your oven.
Preventive Measures for Grime
- Use lids, foil tents, or splatter screens on casseroles prone to bubbling over. Leave a small vent so steam can escape.
- Avoid lining the entire oven floor with foil—it can restrict airflow, damage enamel, and void warranties. Instead, use a removable oven liner that’s rated for high heat and cut to fit.
- Trim pie fillings to 3/4 full and set pies on a parchment-lined sheet pan.
- Choose bakeware wisely: Dark pans brown faster and can encourage sticking. Consider light-colored or ceramic when cooking sugary dishes.
- Keep a “preheat patrol” habit: If you smell smoke as the oven preheats, pause and wipe before it bakes on again.
These small tweaks reduce the number of times you need a deep clean and keep your kitchen smelling like dinner not a campfire.
FAQ: Quick Answers to Common Oven-Cleaning Questions
Because I know you’re busy and sometimes you just need a fast yes-or-no before you commit.
Can I use the self-clean cycle instead of scrubbing?
Yes, but sparingly. Self-clean runs at very high temperatures that can stress older components and create intense fumes. Use it once or twice a year, and open windows. If you’re renting or covered by a home warranty, confirm you’re allowed to use it.What’s the safest way to clean a gas oven?
Turn off the oven and pilot if applicable. Avoid soaking the gas burner or orifices. Stick to paste on enamel surfaces and keep liquid away from the igniter. Ventilate well.How do I remove the oven door for easier cleaning?
Check your model’s manual. Many doors slide off with hinge locks; others require a screwdriver. If it resists, don’t force it. You can still clean effectively with the door attached.Can I use steel wool?
Only as a last resort and never on glass or enamel—stick to non-scratch pads. Steel wool can leave behind metal shards that rust.Is a homemade oven cleaner really strong enough?
Yes, especially with dwell time. The secret is patience, not pressure. Reapply paste on stubborn spots and let it sit longer.What about convection fan covers and light bulbs?
Wipe gently around them; don’t saturate with cleaner. Remove the light cover if it’s greasy, wash it with warm soapy water, dry completely, and reinstall.
Step-by-Step Recap: How to Clean an Oven (The Quick Card)
Because I love a good checklist you can screenshot or pin:
- Cool oven, remove racks, and vacuum crumbs.
- Mix baking soda + dish soap + warm water into a paste.
- Spread paste on interior (skip heating elements).
- Let it sit—20 minutes to overnight depending on grime.
- Scrape and wipe with damp cloths.
- Spritz vinegar to foam and lift residue.
- Rinse, dry, and deodorize with lemon water at 250°F.
- Soak racks in hot soapy water; scrub, rinse, and dry.
- Clean glass with paste and a razor at a shallow angle; buff.
- Reassemble, preheat briefly to ensure dryness, and enjoy the shine.

Final Thoughts: Your Oven, Your Rules
There’s no single “right” answer to how to clean an oven—only the method that fits your schedule, your tolerance for smells, and your cooking style. If you love roasting whole chickens every Sunday, aim for a monthly mini-clean. If your oven mostly sees frozen pizza, a quarterly refresh might be enough. The key is consistency and gentle products that work with, not against, your appliance.
You deserve a kitchen that makes you feel proud and at ease. Whether you prefer a totally natural homemade oven cleaner or a carefully chosen store-bought spray, today’s the day you reclaim that oven glow.
If you enjoyed this article, don’t forget to save it on Pinterest or share it with a friend!