
Welcome, fellow creative souls and lovers of vibrant expression! If you’ve ever gazed at a psychedelic swirl of colors and felt a surge of pure joy, then you’re undoubtedly familiar with the magic of tie dye designs. This timeless art form, with roots stretching back centuries through various cultures, has seen countless resurgences, proving its enduring appeal. From its humble beginnings to its iconic status in popular culture, tie-dye continues to captivate artists, fashion enthusiasts, and anyone looking to inject a burst of individuality into their wardrobe or home decor. But what makes a tie-dye design truly stand out? Is it the precision of the folds, the intensity of the dyes, or the sheer serendipity of the process? The beauty lies in all of these elements, allowing for an endless spectrum of creativity.
In this comprehensive guide, we’re not just scratching the surface; we’re diving deep into the mesmerizing world of tie dye designs. Whether you’re a complete novice eager to try your hand at this colorful craft or a seasoned tie-dye artist seeking fresh inspiration, you’ll find a wealth of information to elevate your projects. We’ll explore various techniques, reveal the secrets behind popular tie dye patterns for t shirts, and offer practical tips to ensure your creations are nothing short of spectacular. Prepare to unlock your inner artist and transform ordinary fabrics into extraordinary works of art. The journey into the vibrant realm of tie-dye begins now, and trust us, it’s going to be a colorful one!
The Enduring Appeal of Classic Tie Dye Designs
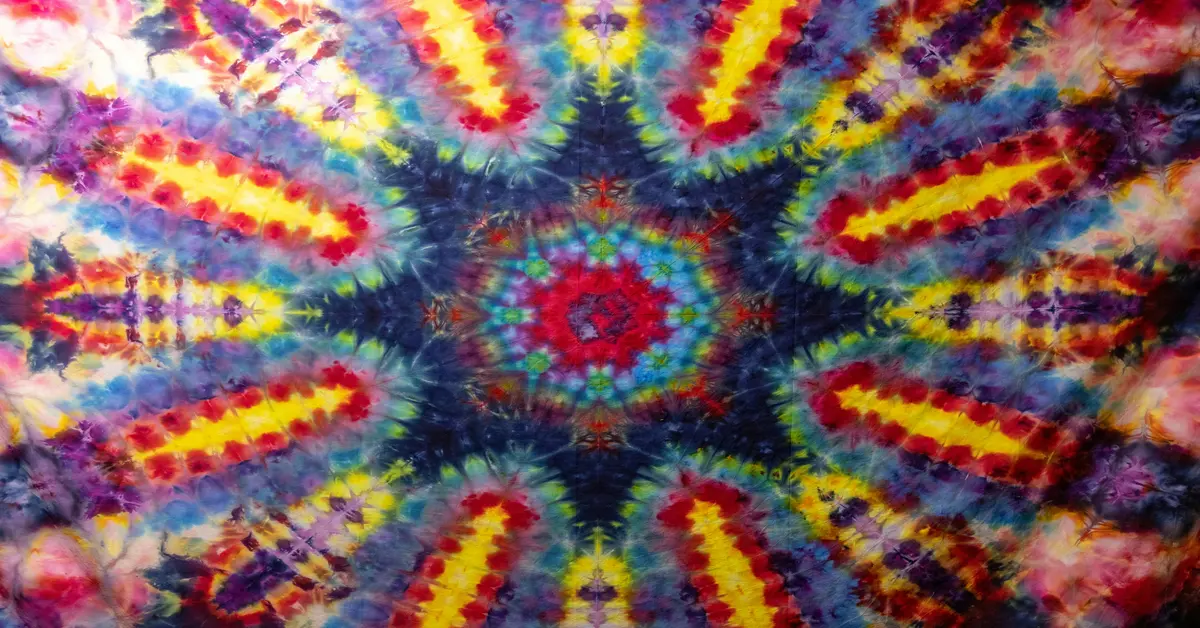
The allure of tie dye isn’t just about its aesthetic; it’s about the history, the artistry, and the personal expression it represents. Certain tie dye designs have transcended fleeting trends to become true classics, instantly recognizable and beloved by generations. These foundational patterns are often the starting point for anyone entering the world of tie-dye, and for good reason. They teach essential folding and dyeing techniques that form the basis for more complex creations. The traditional spiral, for instance, remains arguably the most iconic. Its hypnotic, swirling patterns are achieved by pinching a central point of the fabric, twisting it tightly, and then binding it with rubber bands. The placement of the dye colors around these banded sections dictates the final mesmerizing effect. Mastering the spiral is a rite of passage for any tie-dyer.
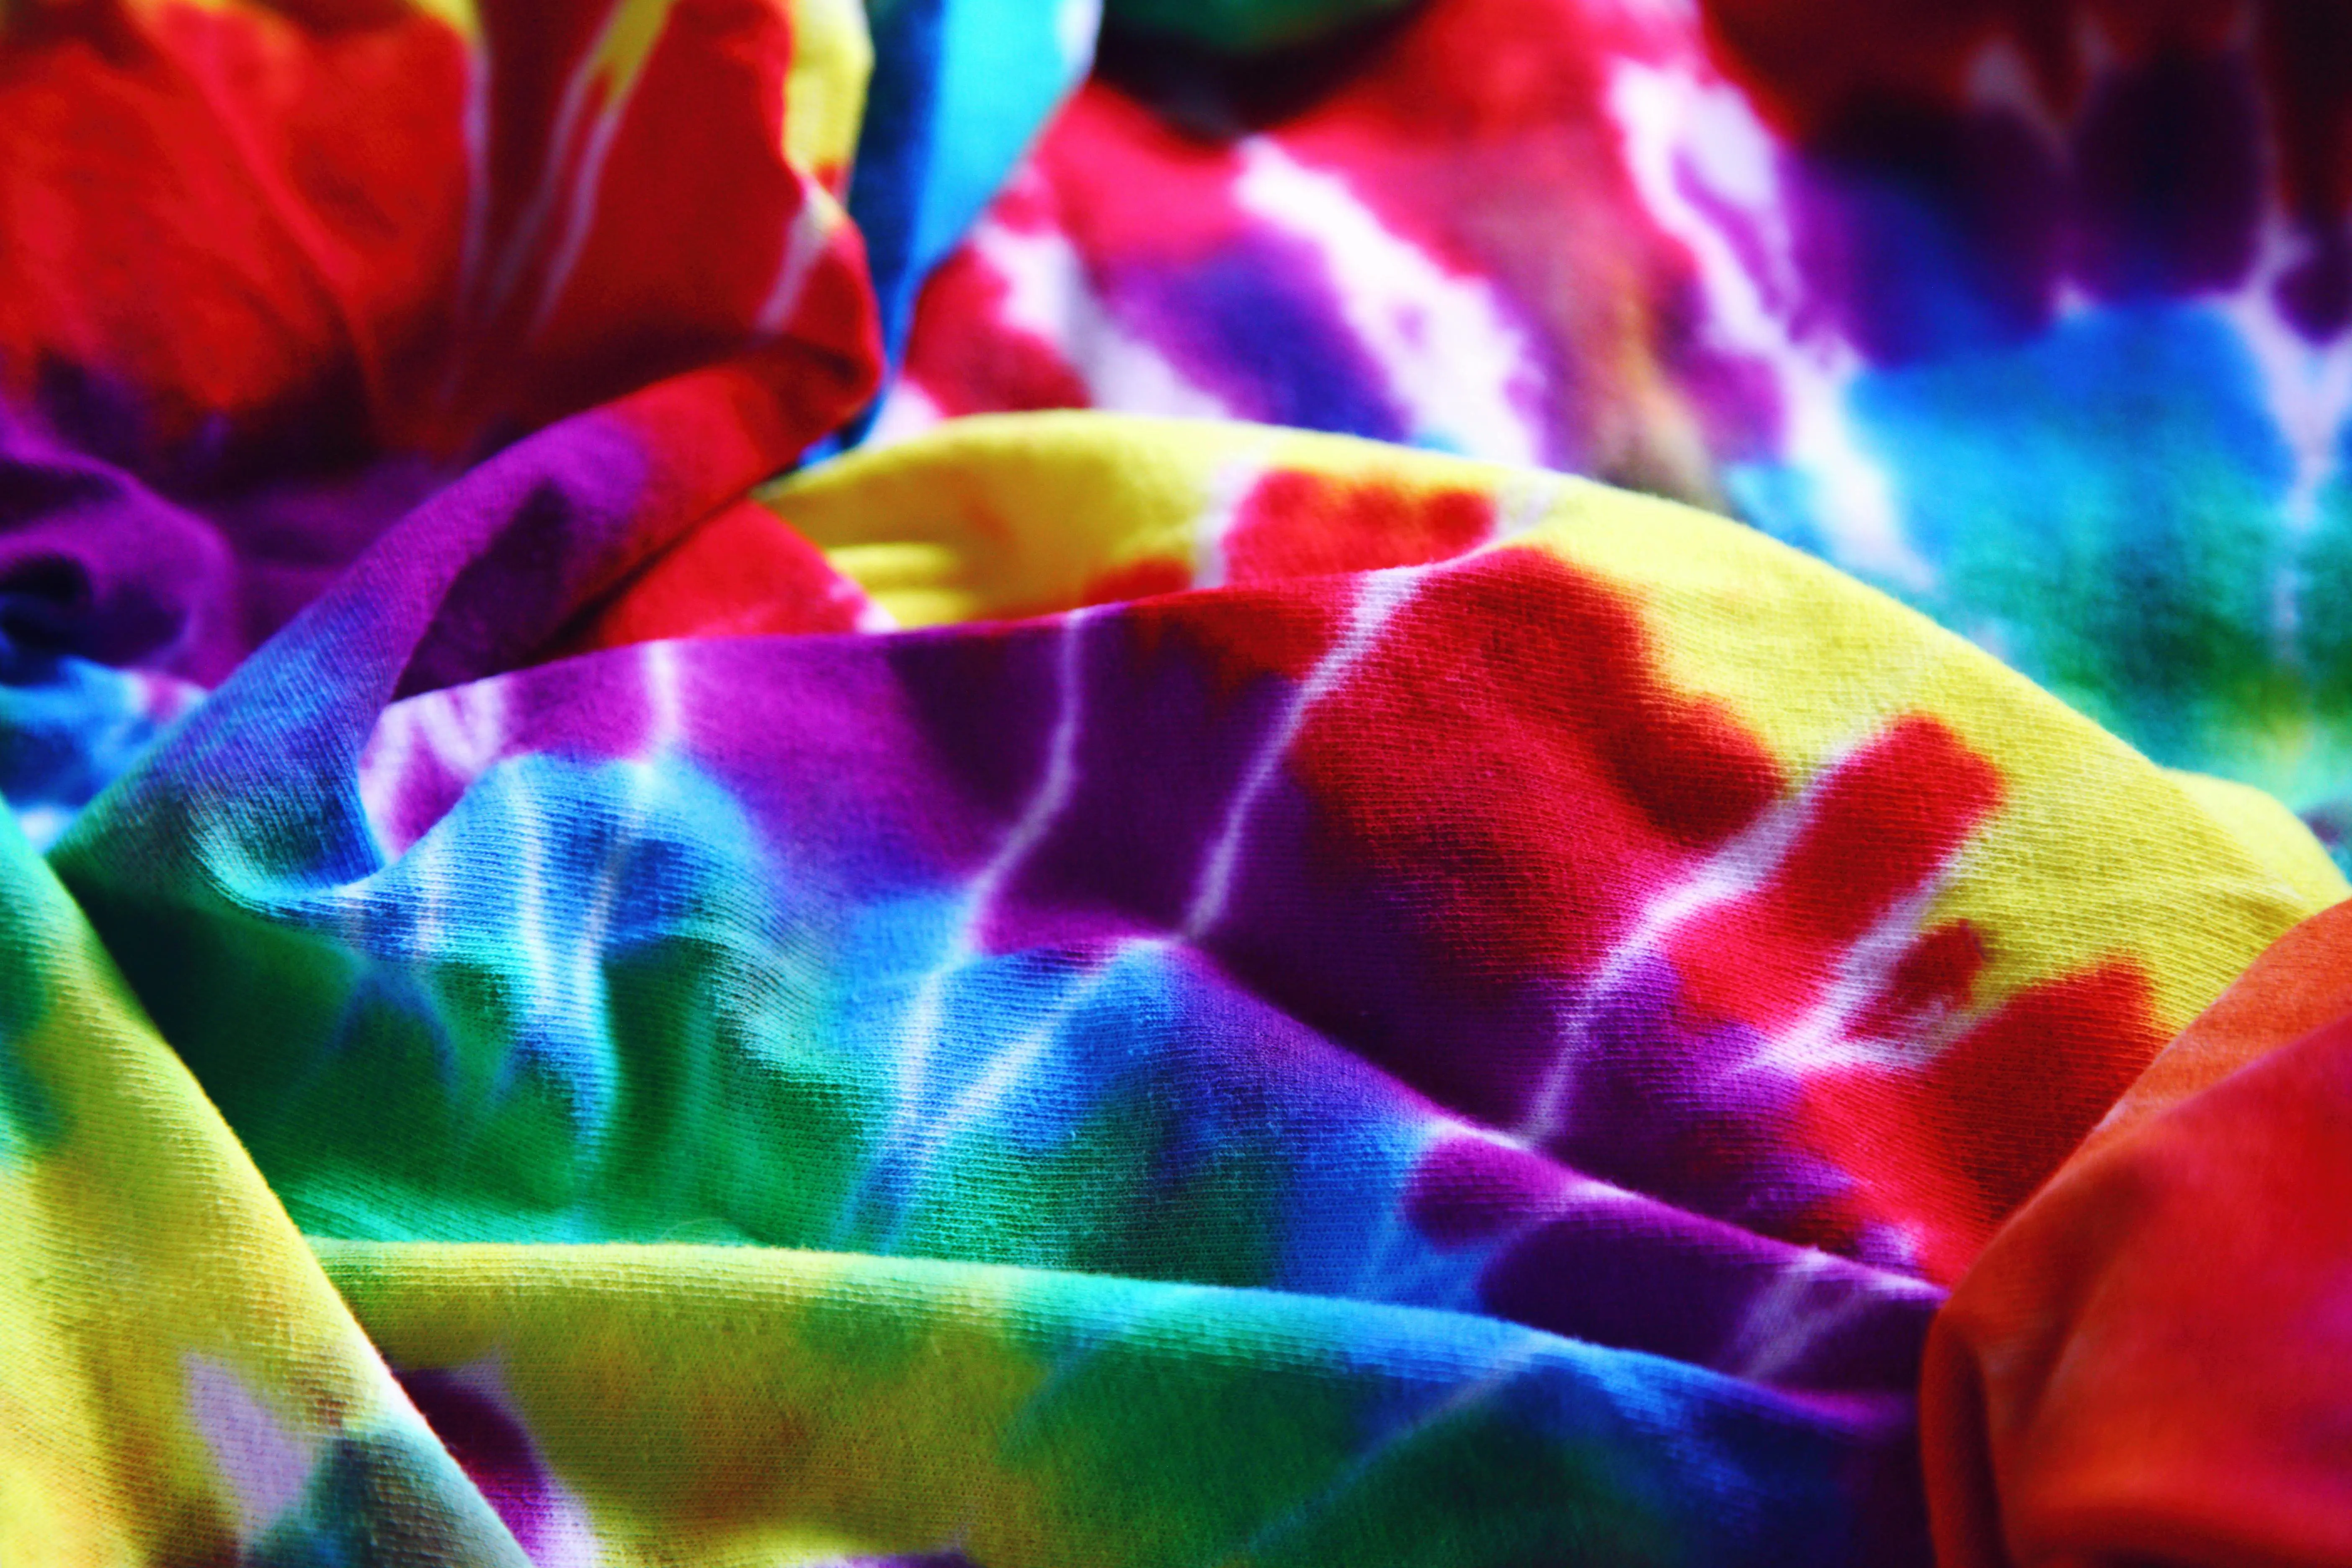
Beyond the spiral, other classic tie dye designs include the crumple, a technique that embraces spontaneity and organic shapes. Here, the fabric is simply crumpled into a ball and then bound, allowing the dyes to create unique, abstract patterns that are never quite the same. The bullseye, another timeless favorite, creates concentric circles by lifting a section of fabric, binding it, and repeating the process further down. Each of these classic designs offers a different approach to manipulating fabric and applying color, yielding distinct visual outcomes. Understanding these fundamental techniques is crucial, as they serve as building blocks for more intricate tie dye patterns. They are not merely simple patterns but gateways to understanding how dye penetration, fabric manipulation, and color interaction all play a role in the final masterpiece. Experimenting with these classics will not only hone your skills but also deepen your appreciation for the art form itself.
Mastering the Spiral: The Quintessential Tie Dye Pattern
The spiral is undoubtedly the most recognized and celebrated of all tie dye designs. Its mesmerizing rotation of colors is a testament to simple yet effective technique. To create a perfect spiral, lay your damp (but not dripping wet) fabric flat. Pinch the fabric at the center point where you want your spiral to begin. Using that pinch as your anchor, twist the fabric clockwise or counter-clockwise until the entire piece is gathered into a flat, circular disc. Once twisted tightly, secure the disk with several rubber bands, crossing over the center point like spokes on a wheel. The number of rubber bands will determine the number of sections for your colors. Typically, four to six sections work well for a classic spiral. Each section will receive a different color, or you can skip sections to create white spaces. Applying the dyes directly into these sections ensures crisp lines when the fabric is untied. This technique forms the basis for many other advanced tie dye patterns.
The Organic Art of Crumple Tie Dye Patterns
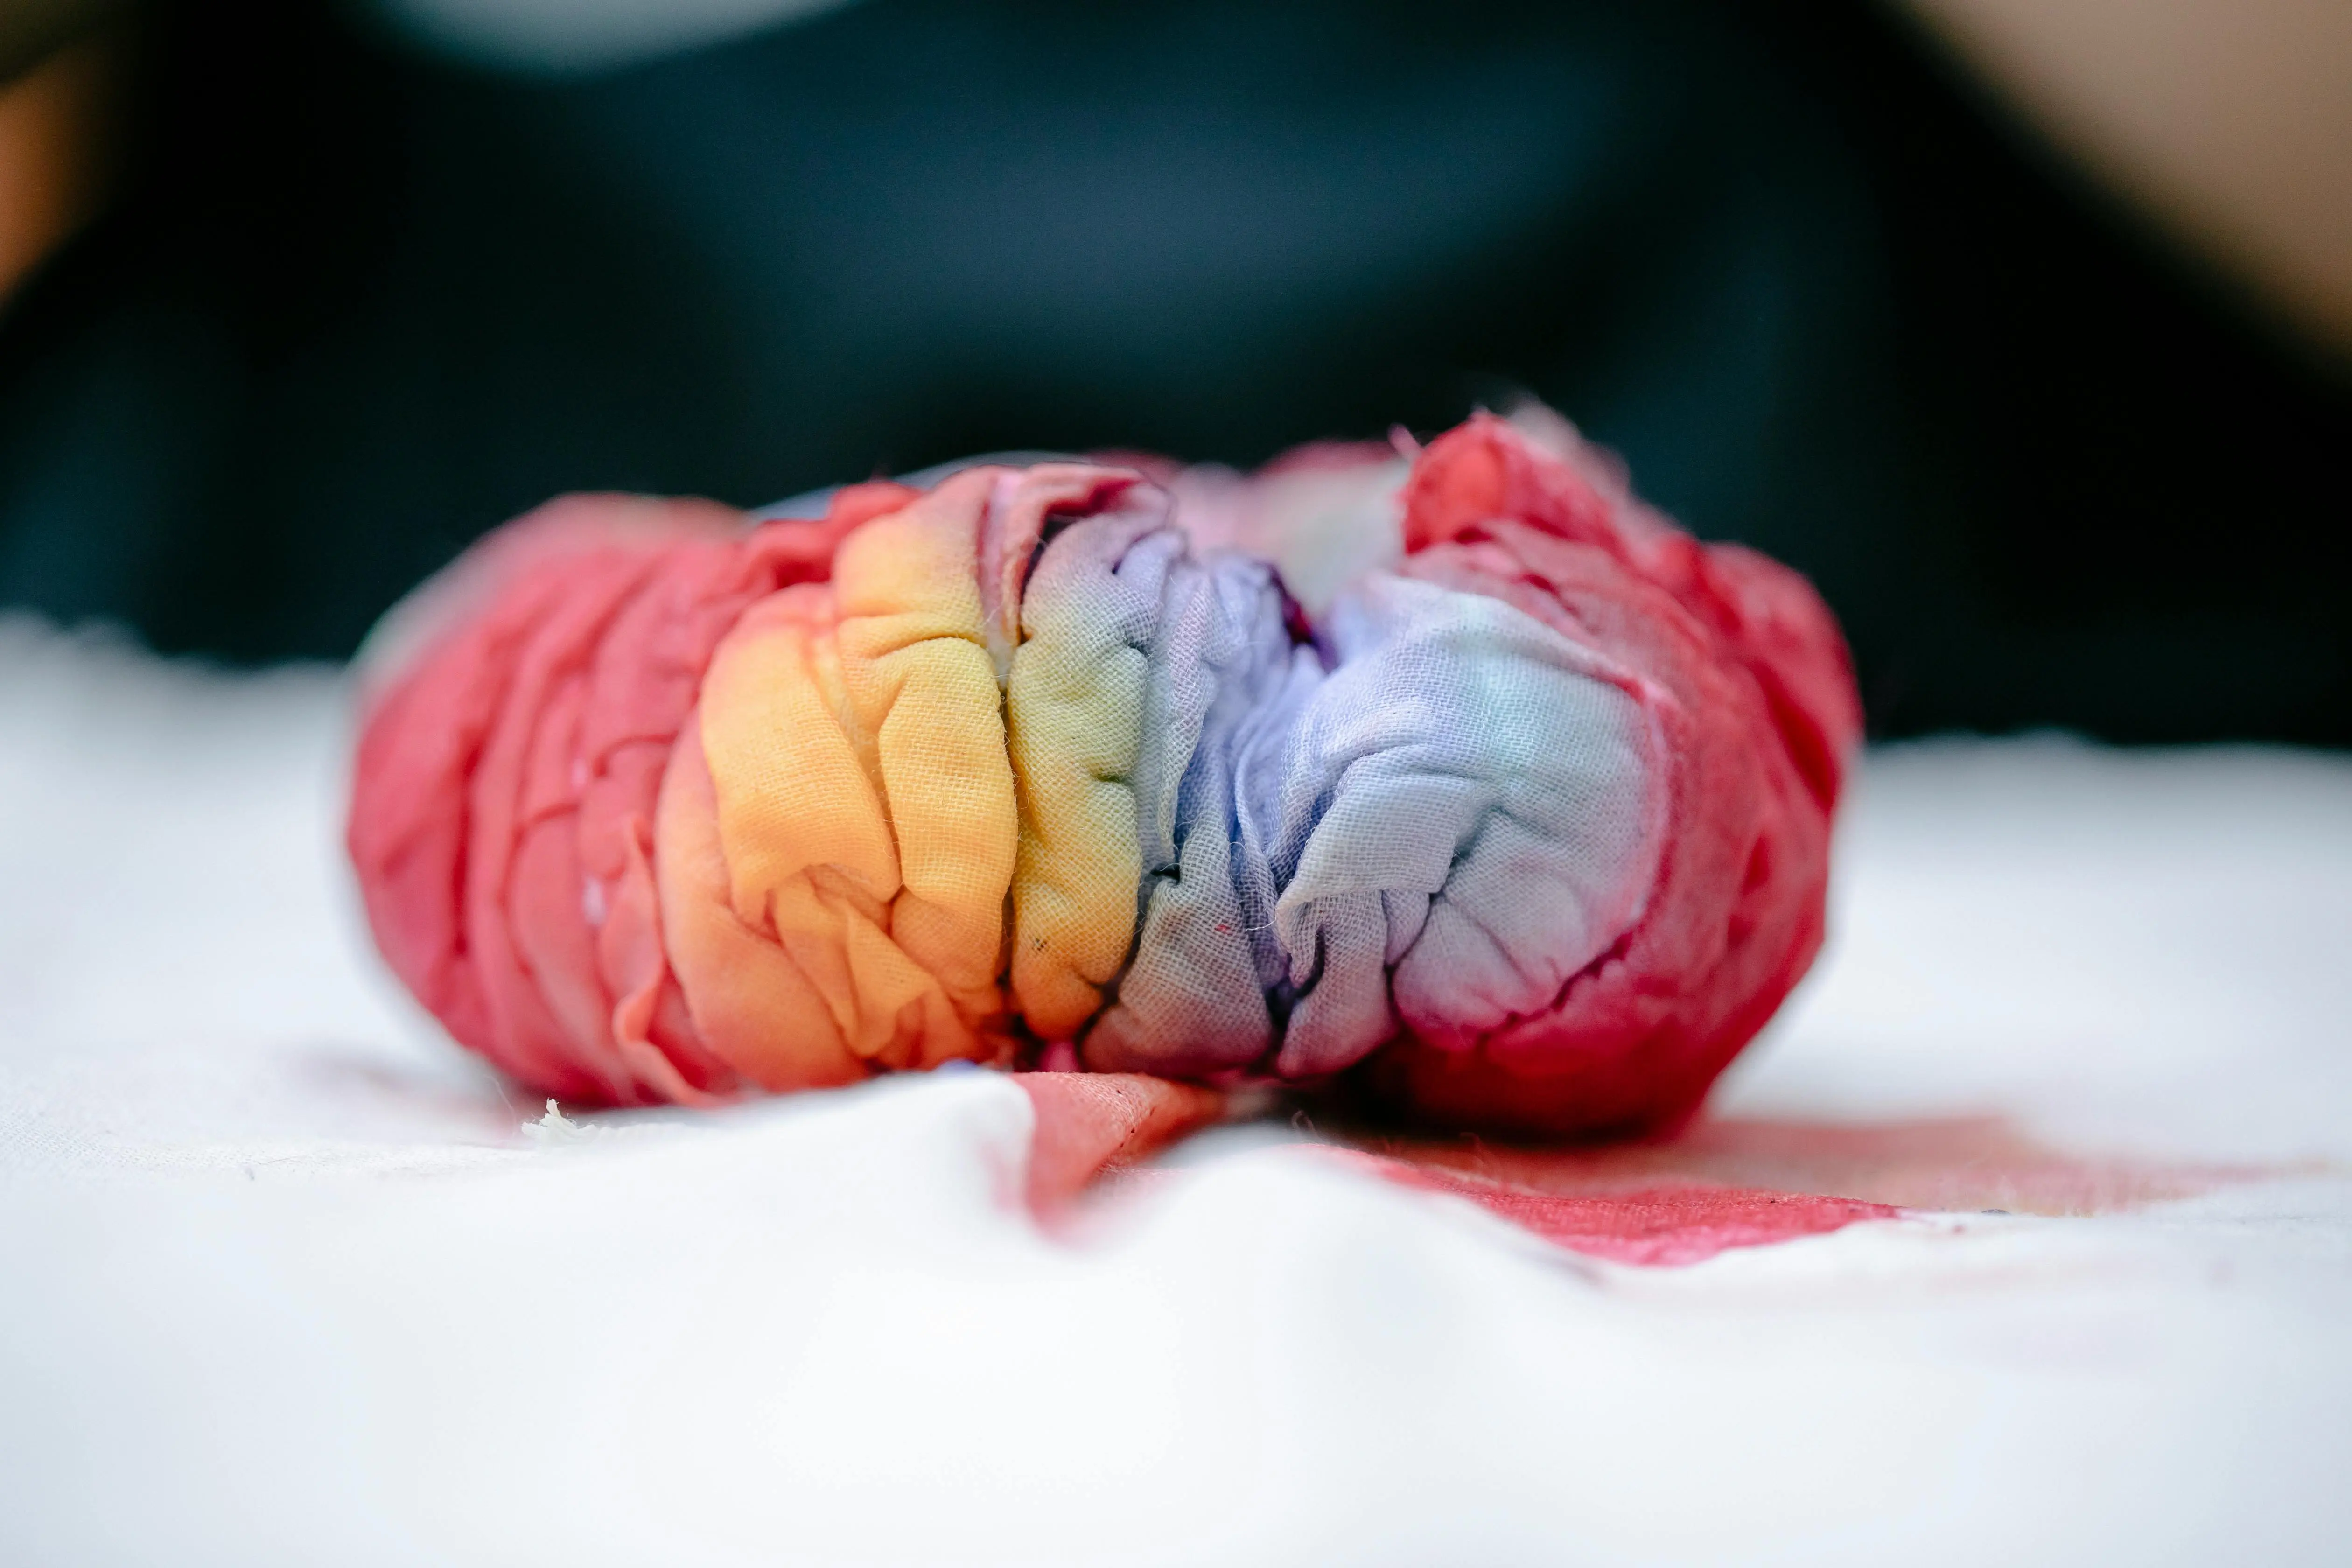
While the spiral offers precision, the crumple technique celebrates beautiful, unpredictable chaos. It’s one of the easiest tie dye designs to achieve, making it perfect for beginners, yet it produces stunning, fluid results that appeal to experienced artists too. For the crumple, simply lay your fabric flat and then gather it up into a tight, irregular ball. The more random the crinkles and folds, the more unique your final pattern will be. Once you have a compact ball, secure it haphazardly with several rubber bands, ensuring there are plenty of folds and crevices for the dye to seep into. Instead of distinct sections, the crumple technique involves drizzling and squishing various dye colors onto the crumpled fabric. The dyes will blend and marble in unexpected ways, creating a truly one-of-a-kind abstract piece. This lack of precise control is what makes the crumple so liberating and popular among tie-dye enthusiasts looking for organic, painterly effects.
Creative Tie Dye Patterns for T Shirts and Apparel
Moving beyond the basics, let’s explore some more intricate and exciting tie dye patterns for t shirts that can truly elevate your apparel. Once you have a grasp of the fundamental folding and dyeing principles, the possibilities become endless. One popular technique is pleating, which involves gathering fabric into accordion-like folds. These folds can be straight, creating stripes or grids when dyed, or curved, leading to wave-like or rainbow effects. The key to successful pleating is maintaining even folds and securing them tightly before applying dye.
Another fantastic method to create unique tie dye designs is the use of household items for resist techniques. Marbles, stones, or even small plastic toys can be placed within the fabric and tied off tightly. When dye is applied, the areas covered by these objects resist the dye, creating intriguing circular or irregular negative spaces. This method is particularly effective for adding texture and dimension to your designs. Furthermore, advanced folding techniques can create specific imagery, such as hearts, stars, or even mandalas. These often require precise measurements and careful binding to ensure the desired shape emerges. Each of these patterns, while more involved than a simple crumple, offers a rewarding challenge and the chance to create truly personalized garments. Experimentation with color placement and dye concentration will further enhance the uniqueness of your creations, ensuring your tie-dye apparel truly stands out from the crowd.
Exploring Advanced Folding for Unique Tie Dye Designs
For those looking to craft more intentional and complex tie dye designs, advanced folding techniques are the next step. One such method involves creating sophisticated stripes and grids. By meticulously folding the fabric into precise accordion pleats, either horizontally, vertically, or both, you can control the flow of dye to create defined lines. For crisp stripes, ensure your pleats are uniform and secured tightly with rubber bands or string. When dyeing, apply different colors to each folded edge or alternate sections to achieve a multi-colored striped effect. For grid patterns, you’ll engage in a double-pleating process, folding in one direction and then again in the perpendicular direction, essentially creating a checkerboard pattern once tied. These techniques demand patience and precision but reward the artist with visually stunning, geometric patterns that are surprisingly achievable with careful execution. They move beyond the organic flow of traditional tie-dye into a realm of structured beauty.
Shibori-Inspired Tie Dye Patterns for Elegant Apparel
Drawing inspiration from the ancient Japanese art of Shibori opens up a world of elegant and sophisticated tie dye designs. Unlike traditional American tie-dye which often uses vibrant, multiple colors, Shibori generally focuses on indigo dye and intricate resist techniques using stitching, clamping, and pleating. One popular Shibori technique is the Arazome method, where fabric is folded into precise squares or triangles and then clamped between two pieces of wood. The edges exposed to the dye absorb the color, creating sharp, geometric patterns. Another is Itajime Shibori, which involves folding and clamping the fabric into shapes like circles or squares before dyeing. The clamped areas resist the dye, resulting in crisp, angular designs. For those aiming for unique tie dye patterns for t shirts with a more refined and controlled aesthetic, incorporating Shibori elements can elevate your craft. While it often uses a more limited color palette, typically indigo, the focus on pattern and texture brings a distinct elegance to the finished product, demonstrating the incredible versatility of tie-dye principles.
Selecting the Right Dyes and Prepping Your Fabric
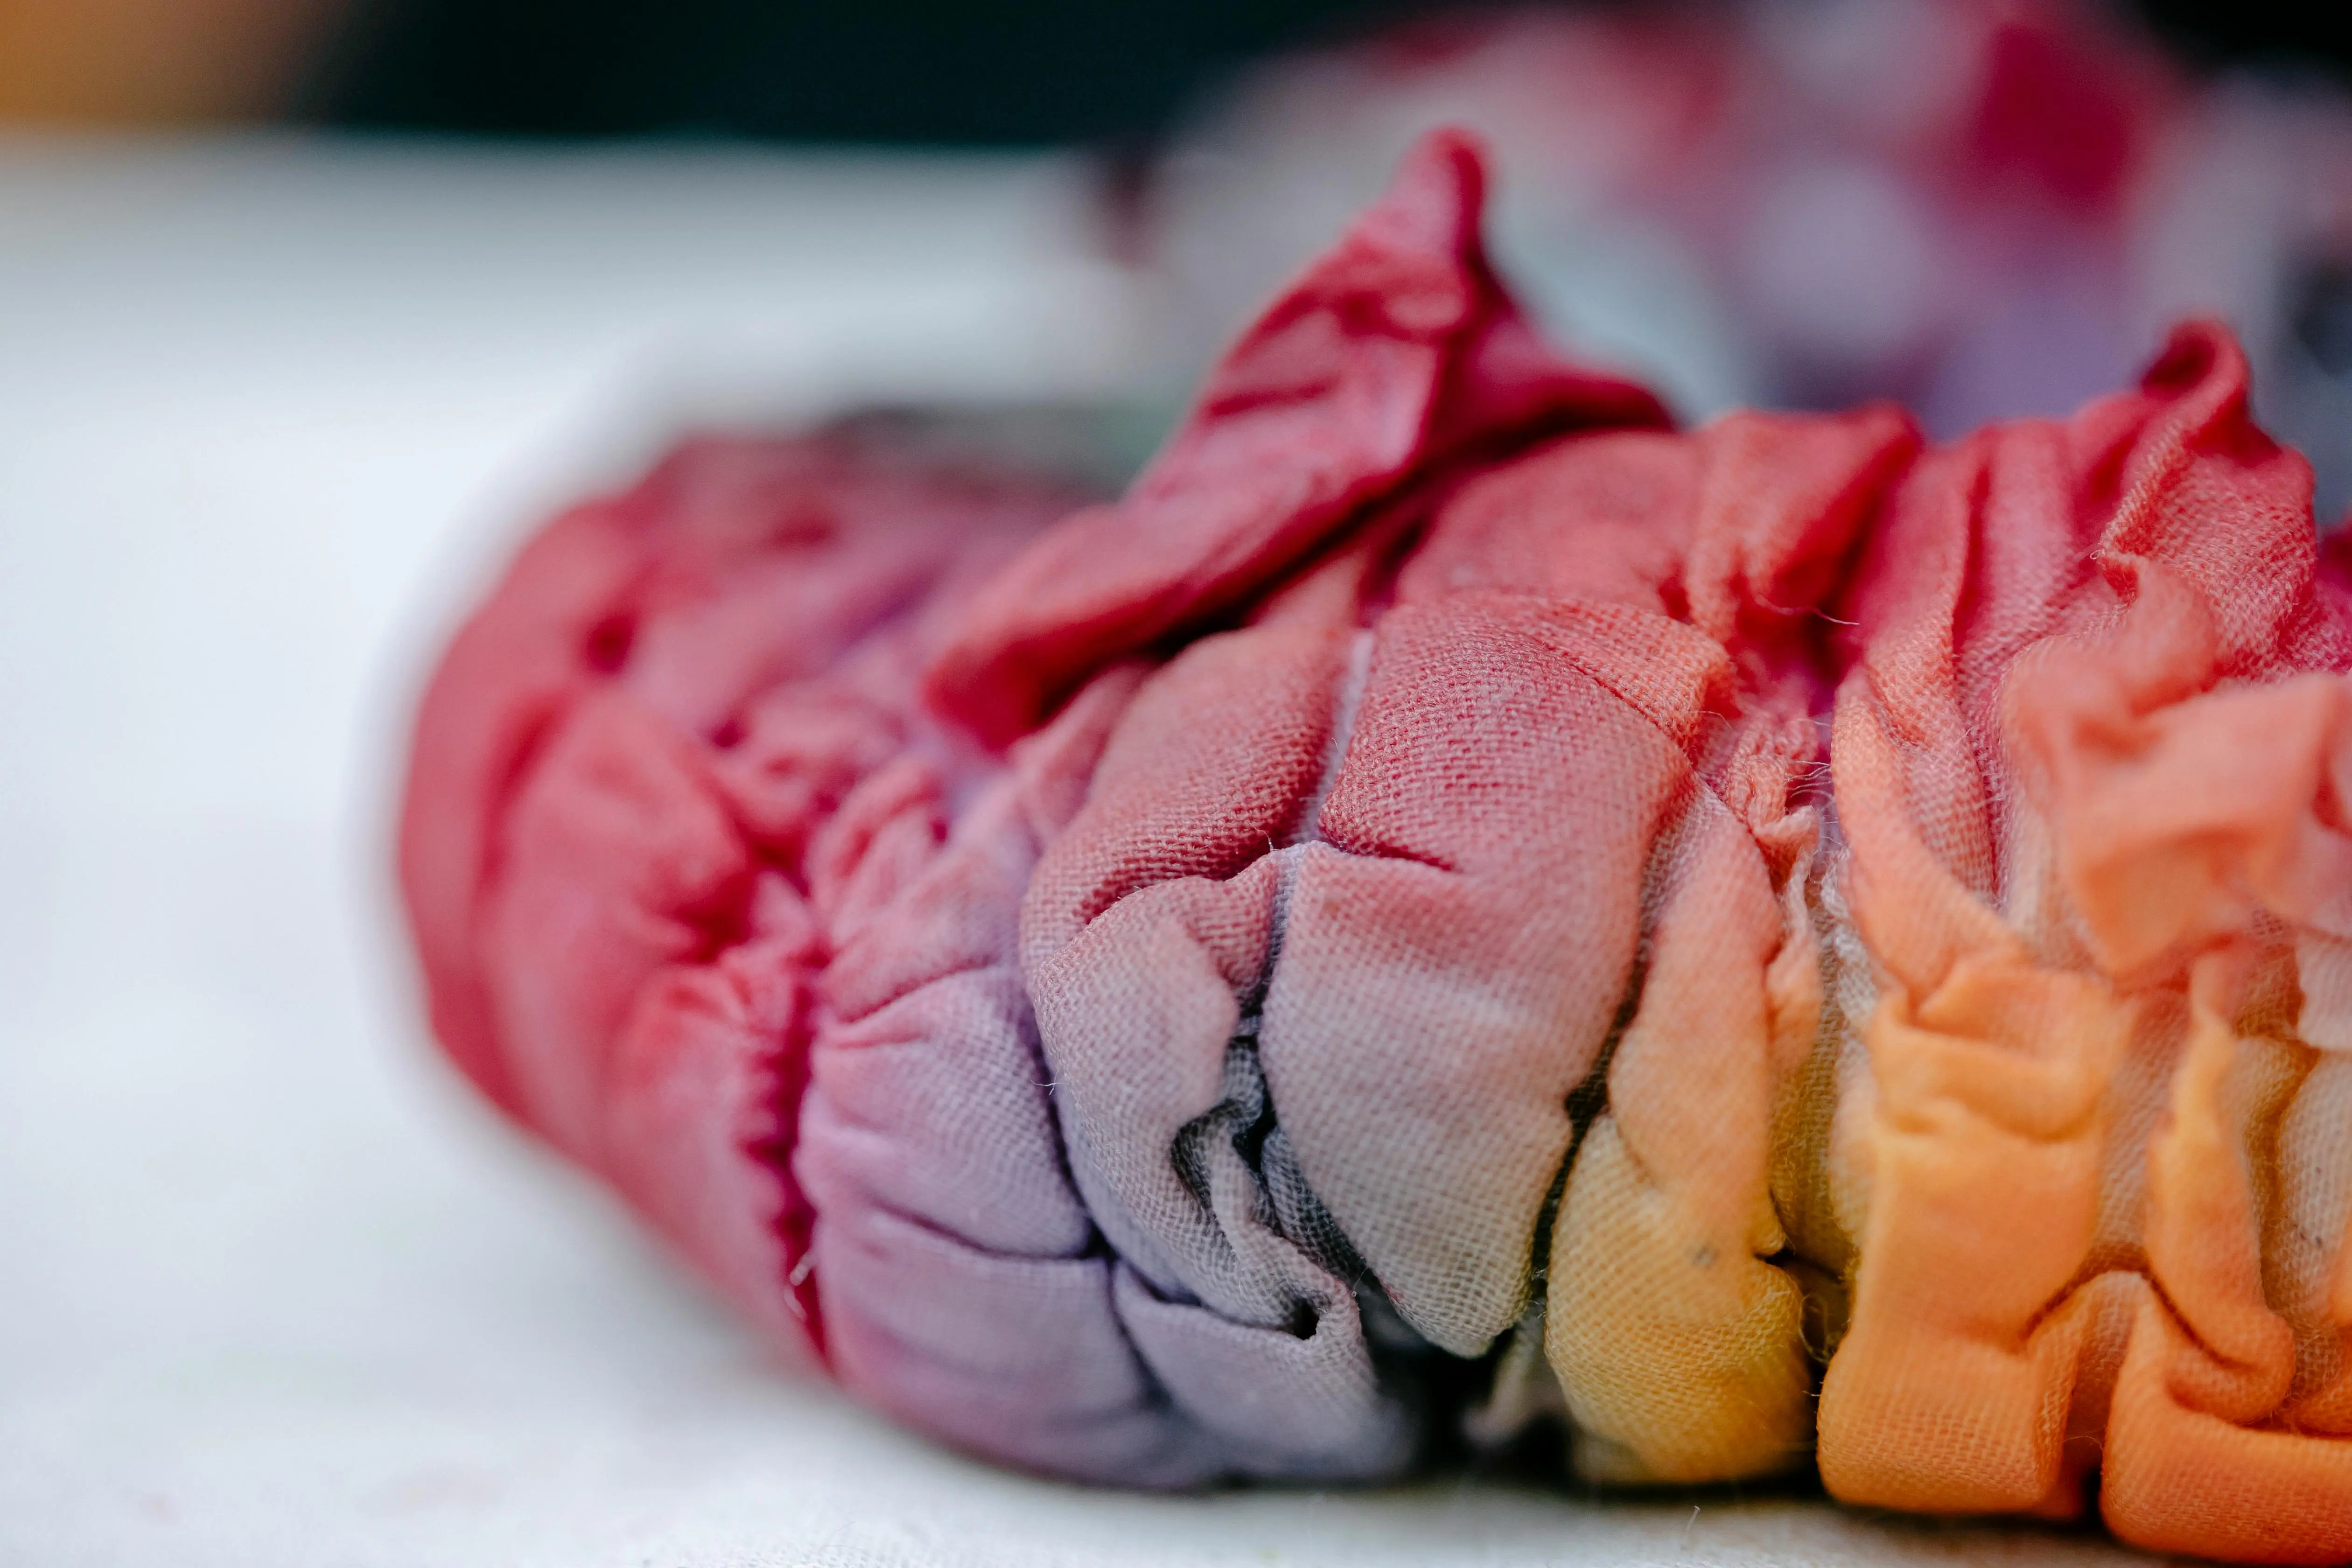
The success of your tie dye designs hinges significantly on the quality of your dyes and the proper preparation of your fabric. Skimping on either of these steps can lead to dull colors, uneven patterns, or dyes that bleed and fade prematurely. For vibrant and long-lasting results, reactive dyes are generally considered the best choice for natural fibers like cotton, rayon, hemp, and linen. These dyes chemically bond with the fabric molecules, ensuring excellent colorfastness and brilliance. While all-purpose dyes are available, they often produce less intense colors and are more prone to bleeding, especially after washing. Investing in a good quality reactive dye kit will pay dividends in the satisfaction of your finished projects.
Fabric preparation is equally crucial. Most importantly, your fabric needs to be pre-washed. This step removes any sizing, oils, or finishes that might be present from the manufacturing process, which can act as a barrier to dye absorption. Skipping this can result in patchy or uneven tie dye patterns. After washing, the fabric should be damp but not soaking wet. A damp fabric allows the dye to spread more easily and evenly. Additionally, for reactive dyes, a soda ash pre-soak is essential. Soda ash (sodium carbonate) raises the pH of the fabric, creating the alkaline environment necessary for the dye to chemically bond. This soak typically lasts 15-30 minutes, after which the fabric is wrung out before folding. These seemingly small steps are foundational to achieving professional-looking, vivid, and durable tie-dye creations.
Choosing the Best Dyes for Brilliant Tie Dye Designs
When it comes to infusing your fabric with stunning color, the choice of dye is paramount for vibrant tie dye designs. Procion MX fiber reactive dyes are widely regarded as the gold standard for tie-dyeing natural fibers such as cotton, rayon, linen, and hemp. These dyes form a permanent chemical bond with the fabric, resulting in colors that are exceptionally bright, fade-resistant, and wash-fast. They are available in a vast spectrum of hues, allowing for endless creative combinations. Unlike all-purpose dyes, which merely stain the fabric fibers and tend to fade quickly, reactive dyes become an integral part of the fabric itself. When selecting your dyes, consider purchasing primary colors (red, yellow, blue) as they can be mixed to create a rainbow of secondary and tertiary shades, offering greater flexibility and cost-effectiveness. Additionally, ensure you have soda ash (sodium carbonate), which is a crucial component that helps the dye bond to the fabric, ensuring rich, lasting results.
Essential Fabric Preparation for Lasting Tie Dye Patterns
Proper fabric preparation is a non-negotiable step for achieving successful and long-lasting tie dye patterns. First and foremost, always pre-wash your fabric. This step removes any manufacturing residues like sizing, oils, or dirt that could repel the dye and lead to uneven color absorption. Use a hot water wash cycle with a good detergent, and avoid using fabric softener, as it can also interfere with dye uptake. After washing, your fabric should be damp, not soaking wet – think of the consistency of a wrung-out sponge. Excess water can dilute your dyes, leading to paler colors, while dry fabric may not absorb the dye evenly. The next critical step, especially when using Procion MX dyes, is a soda ash pre-soak. Mix soda ash with warm water according to package directions and soak your fabric for 15-30 minutes. This raises the pH of the fabric, activating the cellulose fibers and allowing the dye to bond permanently. After soaking, wring out the fabric well, and it’s ready for folding and dyeing. These preparatory steps lay the groundwork for brilliant, professional-looking tie-dye creations.

Troubleshooting Common Issues with Tie Dye Designs
Even with careful planning, tie-dye can sometimes present unexpected challenges. Knowing how to troubleshoot common issues can save your project and help you achieve the desired tie dye designs. One of the most frequent complaints is dull or pastel colors, rather than the vibrant hues expected. This often stems from insufficient soda ash, not enough dye concentration, or the fabric being too wet, diluting the applied dye. To remedy this, ensure your soda ash solution is properly mixed and your fabric is adequately soaked. Also, don’t be shy with the dye; saturate the fabric sections thoroughly. For future projects, consider using a higher concentration of dye powder in your solutions.
Another common problem is inconsistent patterns or splotches where clean lines were intended. This can be caused by loose rubber bands, allowing dye to bleed into unintended areas, or by the fabric not being folded tightly enough. For precise tie dye patterns, ensure all bindings are very taut. If you find your colors bleeding excessively, it might be due to rinsing too quickly or with water that’s too hot. The initial rinse should be cold to help set the dyes, gradually increasing the water temperature as the excess dye washes away. Finally, if you’re experiencing dye fading after washing, it’s usually a sign of inadequate bonding, often due to insufficient soda ash or not allowing enough cure time (the period the dyed fabric sits before rinsing). Allowing your dyed fabric to batch for 24 hours at room temperature gives the dyes ample time to react and bond with the fibers, resulting in more durable and vibrant colors. Patience and attention to detail during each step are key to successful tie-dye outcomes.
Avoiding Muddy Colors in Your Tie Dye Patterns
Achieving crisp, vibrant tie dye designs without colors turning muddy is a common hurdle for many enthusiasts. Muddying often occurs when colors bleed into each other excessively, especially when complementary colors (like red and green, or blue and orange) are placed adjacent without enough fabric separation or when they mix too much during the batching or rinsing process. To prevent this, consider your color placement carefully. Leave white spaces between contrasting colors, or strategically place analogous colors (like blue and green) next to each other to create harmonious blends. Ensuring your rubber bands or string bindings are extremely tight is crucial; this creates a barrier that helps prevent dye from seeping into unintended areas. During the dyeing process, avoid over-saturating the fabric to the point where dyes pool excessively and run freely. Finally, the rinsing process is vital: begin with a cold water rinse while the fabric is still tied to flush out loose dye, then gradually increase the water temperature as you untie and rinse more thoroughly. This slow, cool rinse helps set the colors and prevents them from mixing improperly.
Ensuring Colorfastness and Longevity of Tie Dye Designs
The beauty of your tie dye designs deserves to last, which means ensuring excellent colorfastness and longevity. The most critical step here is allowing sufficient cure time, also known as batching time. After applying dyes, wrap your tied fabric in plastic wrap or place it in a sealed plastic bag to keep it moist and warm. Allow it to sit for a minimum of 24 hours, and ideally 36-48 hours, at room temperature (around 70°F or higher). This extended period gives the fiber reactive dyes ample time to chemically bond with the fabric fibers. If the fabric dries out too quickly or the temperature is too low, the chemical reaction will be incomplete, leading to less vibrant colors and poor wash-fastness.
After the batching period, careful rinsing is essential. As mentioned, start with a cold water rinse while the fabric is still tied, squeezing gently to remove excess dye. Gradually untie the fabric under cool, then increasingly warm, running water until the water runs clear. This process helps to wash away unbonded dye effectively without causing excessive bleeding. Finally, run the item through a hot wash cycle in a washing machine with a suitable detergent to completely remove any remaining loose dye. For the first few washes, always wash your tie-dye items separately or with like colors to prevent potential dye transfer. Following these steps meticulously will significantly enhance the vibrancy and durability of your tie dye patterns, ensuring they remain brilliant for years to come.
Beyond T-Shirts: Applying Tie Dye Designs to Other Items
While t-shirts might be the quintessential canvas for tie-dye, the art form of creating vibrant tie dye designs extends far beyond apparel. Virtually any natural fiber item can be transformed into a colorful masterpiece, opening up a world of possibilities for unique home decor, accessories, and gifts. Consider breathing new life into old denim jeans or jackets, creating a stunning statement piece for your wardrobe. The sturdy nature of denim holds intricate patterns beautifully, offering a different texture and weight compared to a typical t-shirt. Even canvas shoes, once primed, can become personalized works of art with a few carefully applied tie-dye techniques.
For home decor, think about tie-dyeing pillowcases, duvet covers, or even simple cotton curtains. These items can introduce a pop of color and an artistic touch to any room, reflecting your personal style. Imagine a vibrant wall tapestry or a set of hand-dyed cloth napkins for a unique dining experience. Tote bags, scarves, and even socks are also fantastic candidates for experimenting with various tie dye patterns. The key is to select items made from natural fibers like cotton, linen, rayon, silk, or hemp, as these absorb reactive dyes most effectively. Each item presents a unique challenge and opportunity for creative expression, allowing you to personalize your environment and accessories with the same vibrant energy found in your tie-dye apparel. Don’t limit your imagination; if it’s made of natural fabric, it can probably be tie-dyed!
Tie Dye Designs for Home Decor
Injecting personality and vibrant color into your living space can be effortlessly achieved through tie dye designs applied to home decor items. Instead of mass-produced goods, transform common household textiles into unique artistic statements. Think beyond the closet and consider items like cotton pillowcases or throw pillow covers. Simple spiral or crumple patterns can add a playful, bohemian touch to a sofa or bed. For a more sophisticated look, try Shibori-inspired folds on linen placemats or cloth napkins, creating elegant, geometric patterns that elevate your dining experience. Cotton curtains or even sheer voile panels can also be dyed to diffuse light beautifully and add a custom splash of color to a room. Larger items like duvet covers or bedspreads offer an expansive canvas for ambitious, multi-color tie-dye patterns, becoming the focal point of a bedroom. Even plain canvas tote bags, when tie-dyed, can serve as stylish storage solutions or decorative pieces when not in use. The options are limitless, allowing you to infuse every corner of your home with your unique artistic flair and a burst of personalized color.
Personalized Tie Dye Accessories and Gifts
Tie-dye isn’t just about transforming shirts; it’s also a fantastic way to create personalized accessories and heartfelt gifts. The ability to customize colors and patterns makes these items incredibly unique and cherished. Imagine a friend’s delight at receiving a hand-dyed scarf adorned with intricate tie dye patterns, crafted specifically to match their favorite colors. Cotton canvas tote bags, often overlooked, become incredibly stylish and practical accessories when embellished with vibrant tie-dye art. They make excellent gifts for students, shoppers, or anyone in need of a reusable bag with character. Even mundane items like socks can be elevated; a collection of tie-dyed socks in a custom color palette makes for a fun and unexpected present. For the fashion-forward, consider tie-dyeing a pair of plain white canvas sneakers, turning them into a bold statement piece. Headbands, bandanas, and even plain cotton baseball caps are also perfect small canvases for experimenting with different tie dye designs to create truly one-of-a-kind accessories. The personal touch and artistic effort involved make these tie-dyed creations far more meaningful than store-bought alternatives, offering a creative outlet and a way to share your passion.
FAQs About Amazing Tie Dye Designs
What are the easiest tie dye designs for beginners?
For beginners, the easiest and most popular tie dye designs are the crumple and the spiral. The crumple involves simply scrunching the fabric randomly and binding it, yielding organic and abstract patterns. The spiral, achieved by pinching and twisting the fabric from a central point, creates classic concentric circles. Both are excellent starting points for learning the basics of folding and dye application.
Do I need special dyes for tie-dyeing, or can I use fabric paint?
For authentic, vibrant, and long-lasting tie dye designs, you should use fiber reactive dyes, such as Procion MX dyes. These dyes chemically bond with natural fibers like cotton, making them colorfast and fade-resistant. Fabric paints sit on top of the fabric and can make it stiff; they are not suitable for true tie-dye effects where the dye permeates the fibers.
How do I prevent my tie dye colors from bleeding and becoming muddy?
To prevent colors from bleeding and becoming muddy, ensure your fabric is tightly bound with rubber bands or string to create clear resist areas. Use sufficient soda ash in your pre-soak, allow your dyed fabric to batch for 24-48 hours, and rinse correctly: start with cold water while the item is still tied, gradually untying and increasing water temperature as the rinse continues until the water runs clear.
Can I tie-dye synthetic fabrics like polyester?
No, standard fiber reactive dyes used for tie-dyeing will not work on synthetic fabrics like polyester, nylon, or acrylic. These dyes are designed to bond with cellulose fibers (cotton, rayon, linen) or protein fibers (silk, wool). Special disperse dyes are required for synthetics, and the process is often more complex, usually involving heat, making it less suitable for traditional tie-dyeing at home.
How long should I let my tie-dye design sit before rinsing?
For optimal vibrancy and colorfastness, you should let your tie-dyed fabric sit, wrapped in plastic to keep it moist, for a minimum of 24 hours at room temperature (70°F or higher). For even richer, more durable colors, allowing it to batch for 36-48 hours is often recommended. This extended cure time ensures the dyes have fully reacted and bonded with the fabric fibers.
Unleash Your Inner Artist with Incredible Tie Dye Designs
As we wrap up our vibrant journey through the world of tie dye designs, it’s clear that this art form is much more than just a fleeting trend. It’s a timeless expression of creativity, individuality, and pure joy. From the simplicity of a classic spiral to the intricacy of Shibori-inspired patterns, tie-dye offers an accessible and incredibly rewarding creative outlet for everyone. We’ve explored foundational techniques, delved into specific tie dye patterns for t shirts and beyond, emphasized the importance of proper dye selection and fabric preparation, and equipped you with troubleshooting tips to ensure your projects are a resounding success.
Remember, the beauty of tie-dye lies in its inherent unpredictability and the unique story each piece tells. Even with careful planning, there’s always an element of surprise, a magical reveal when the rubber bands come off and the colors unfold before your eyes. Don’t be afraid to experiment with new color combinations, different folding techniques, and a variety of items. Your imagination is the only limit to the incredibly diverse and stunning tie dye designs you can create. So, gather your supplies, choose your colors, and get ready to transform ordinary fabric into something truly extraordinary. Unleash your inner artist and start crafting your next colorful masterpiece today. The world is waiting for your unique splash of color!