
Are you ready to transform a plain, boring garment into a vibrant, personalized masterpiece? Learning how to tie dye a hoodie is a fantastic way to unleash your creativity and add a unique touch to your wardrobe. This classic craft experienced a huge resurgence in popularity, and for good reason! It’s fun, relatively simple, and the results are always eye-catching. Instead of buying an expensive, mass-produced tie-dye item, imagine wearing a custom piece that you designed yourself. This comprehensive guide will walk you through every step of the process, from selecting the right materials to setting your dyes and achieving stunning patterns. Whether you’re a complete beginner or looking to refine your tie-dye skills, you’ll find all the information you need right here to create a hoodie that reflects your individual style. Get ready to dive into the colorful world of tie-dye and craft a wearable piece of art!
We’ll cover everything from crinkle and spiral patterns to more advanced techniques, ensuring you have the knowledge to pick the perfect design for your tie dye hoodie. Beyond just the steps, we’ll delve into essential tips for color selection, fabric preparation, and proper care to make sure your creation lasts. So grab your supplies, put on some old clothes, and prepare for a fun, messy, and incredibly rewarding experience. By the end of this guide, you’ll be a pro at creating unique tie dye hoodie designs that truly stand out.
Gathering Your Essential Supplies for Tie Dye Success
Before you even think about twisting and dyeing, having all your materials ready is paramount for a smooth and enjoyable process. Nothing sours a creative session faster than realizing you’re missing a crucial item halfway through! The good news is that most tie-dye supplies are readily available and affordable. First and foremost, you’ll need your hoodie. For the best results, always choose a hoodie made from 100% cotton. Cotton fibers absorb dye wonderfully, leading to vibrant, long-lasting colors. Blends with synthetic fibers like polyester will not absorb dye as effectively, resulting in muted or patchy colors. A white or light-colored hoodie is ideal, as it provides a clean canvas for your dyes to shine. You can also experiment with light gray or pastel hoodies for interesting tonal effects.
Next up are your dyes. Procion MX fiber reactive dyes are highly recommended for their vibrant colors and permanence on natural fibers. These come in powder form and are mixed with water. Look for tie-dye kits that often include several colors, soda ash, and sometimes even rubber bands and gloves – a great starting point for beginners. Speaking of soda ash, this is a crucial ingredient! It acts as a fixative, preparing the fabric to accept the dye and ensuring the colors bond permanently to the fibers. Without soda ash, your colors will be dull and wash out quickly. You’ll also need rubber bands, lots of them, to create your patterns. String can also be used for more intricate designs. Don’t forget gallon-sized freezer bags or plastic wrap for letting your dyed hoodie cure. Lastly, protect yourself and your workspace: wear rubber gloves, old clothes, and cover your work surface with a plastic tablecloth or old newspapers.
Preparing Your Workspace and Hoodie
A well-prepared workspace is key to minimizing mess and maximizing your fun. Find an area that tolerates a bit of mess, such as a garage, basement, or even outdoors on a warm day. Lay down your plastic sheeting or newspapers liberally to protect all surfaces. Once your area is secure, it’s time to prepare your hoodie. Washing your hoodie before dyeing is a critical step. This removes any sizing, dirt, or oils that might repel the dye. Use a mild detergent and wash it without fabric softener, as fabric softener can also interfere with dye absorption. After washing, leave the hoodie damp. Dyes penetrate damp fabric much more effectively than dry fabric, leading to more even and vibrant results. If your hoodie dries out before you’re ready to dye, simply re-wet it and wring it out thoroughly.
Now for the soda ash solution. Refer to the instructions on your soda ash package for the correct ratio, but typically it’s about 1 cup of soda ash per gallon of warm water. Submerge your damp hoodie completely in this solution, making sure it’s fully saturated. Let it soak for at least 15-20 minutes. This step is non-negotiable for achieving brilliant, long-lasting colors. After soaking, wring out the hoodie thoroughly but do not rinse it. You want it damp with the soda ash solution, not dripping. The soda ash prepares the cotton fibers to chemically react with the dye, making the colors permanent. Handle the soda ash solution with gloves, as it can be an irritant to skin.
Mastering the Art of Folding and Tying for Your Tie Dye Hoodie
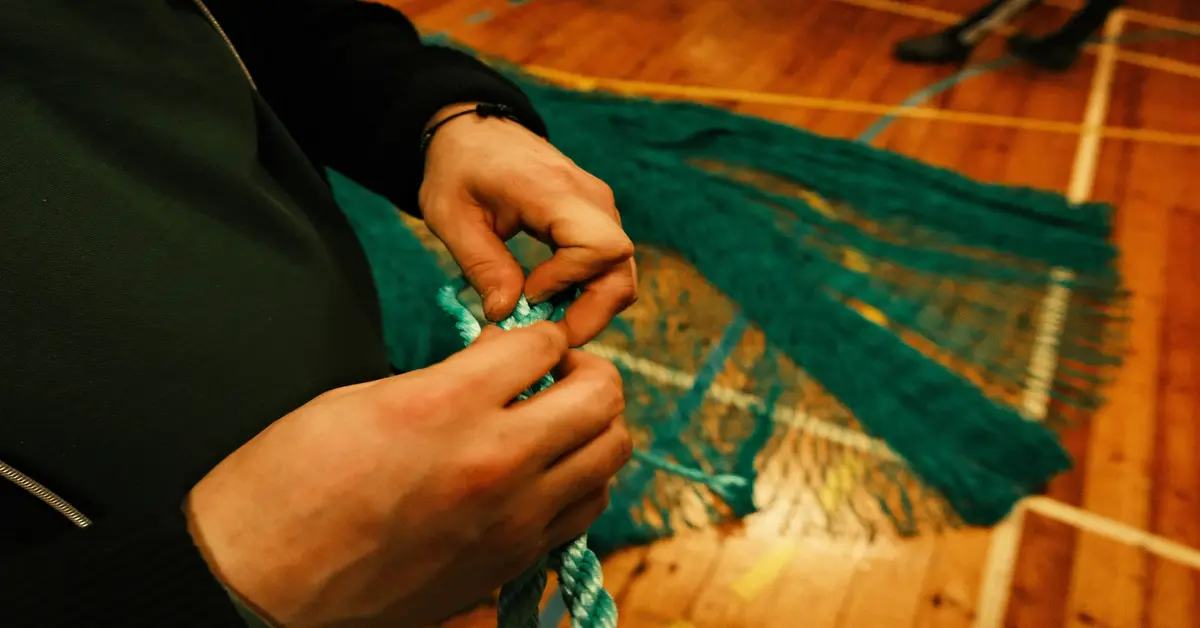
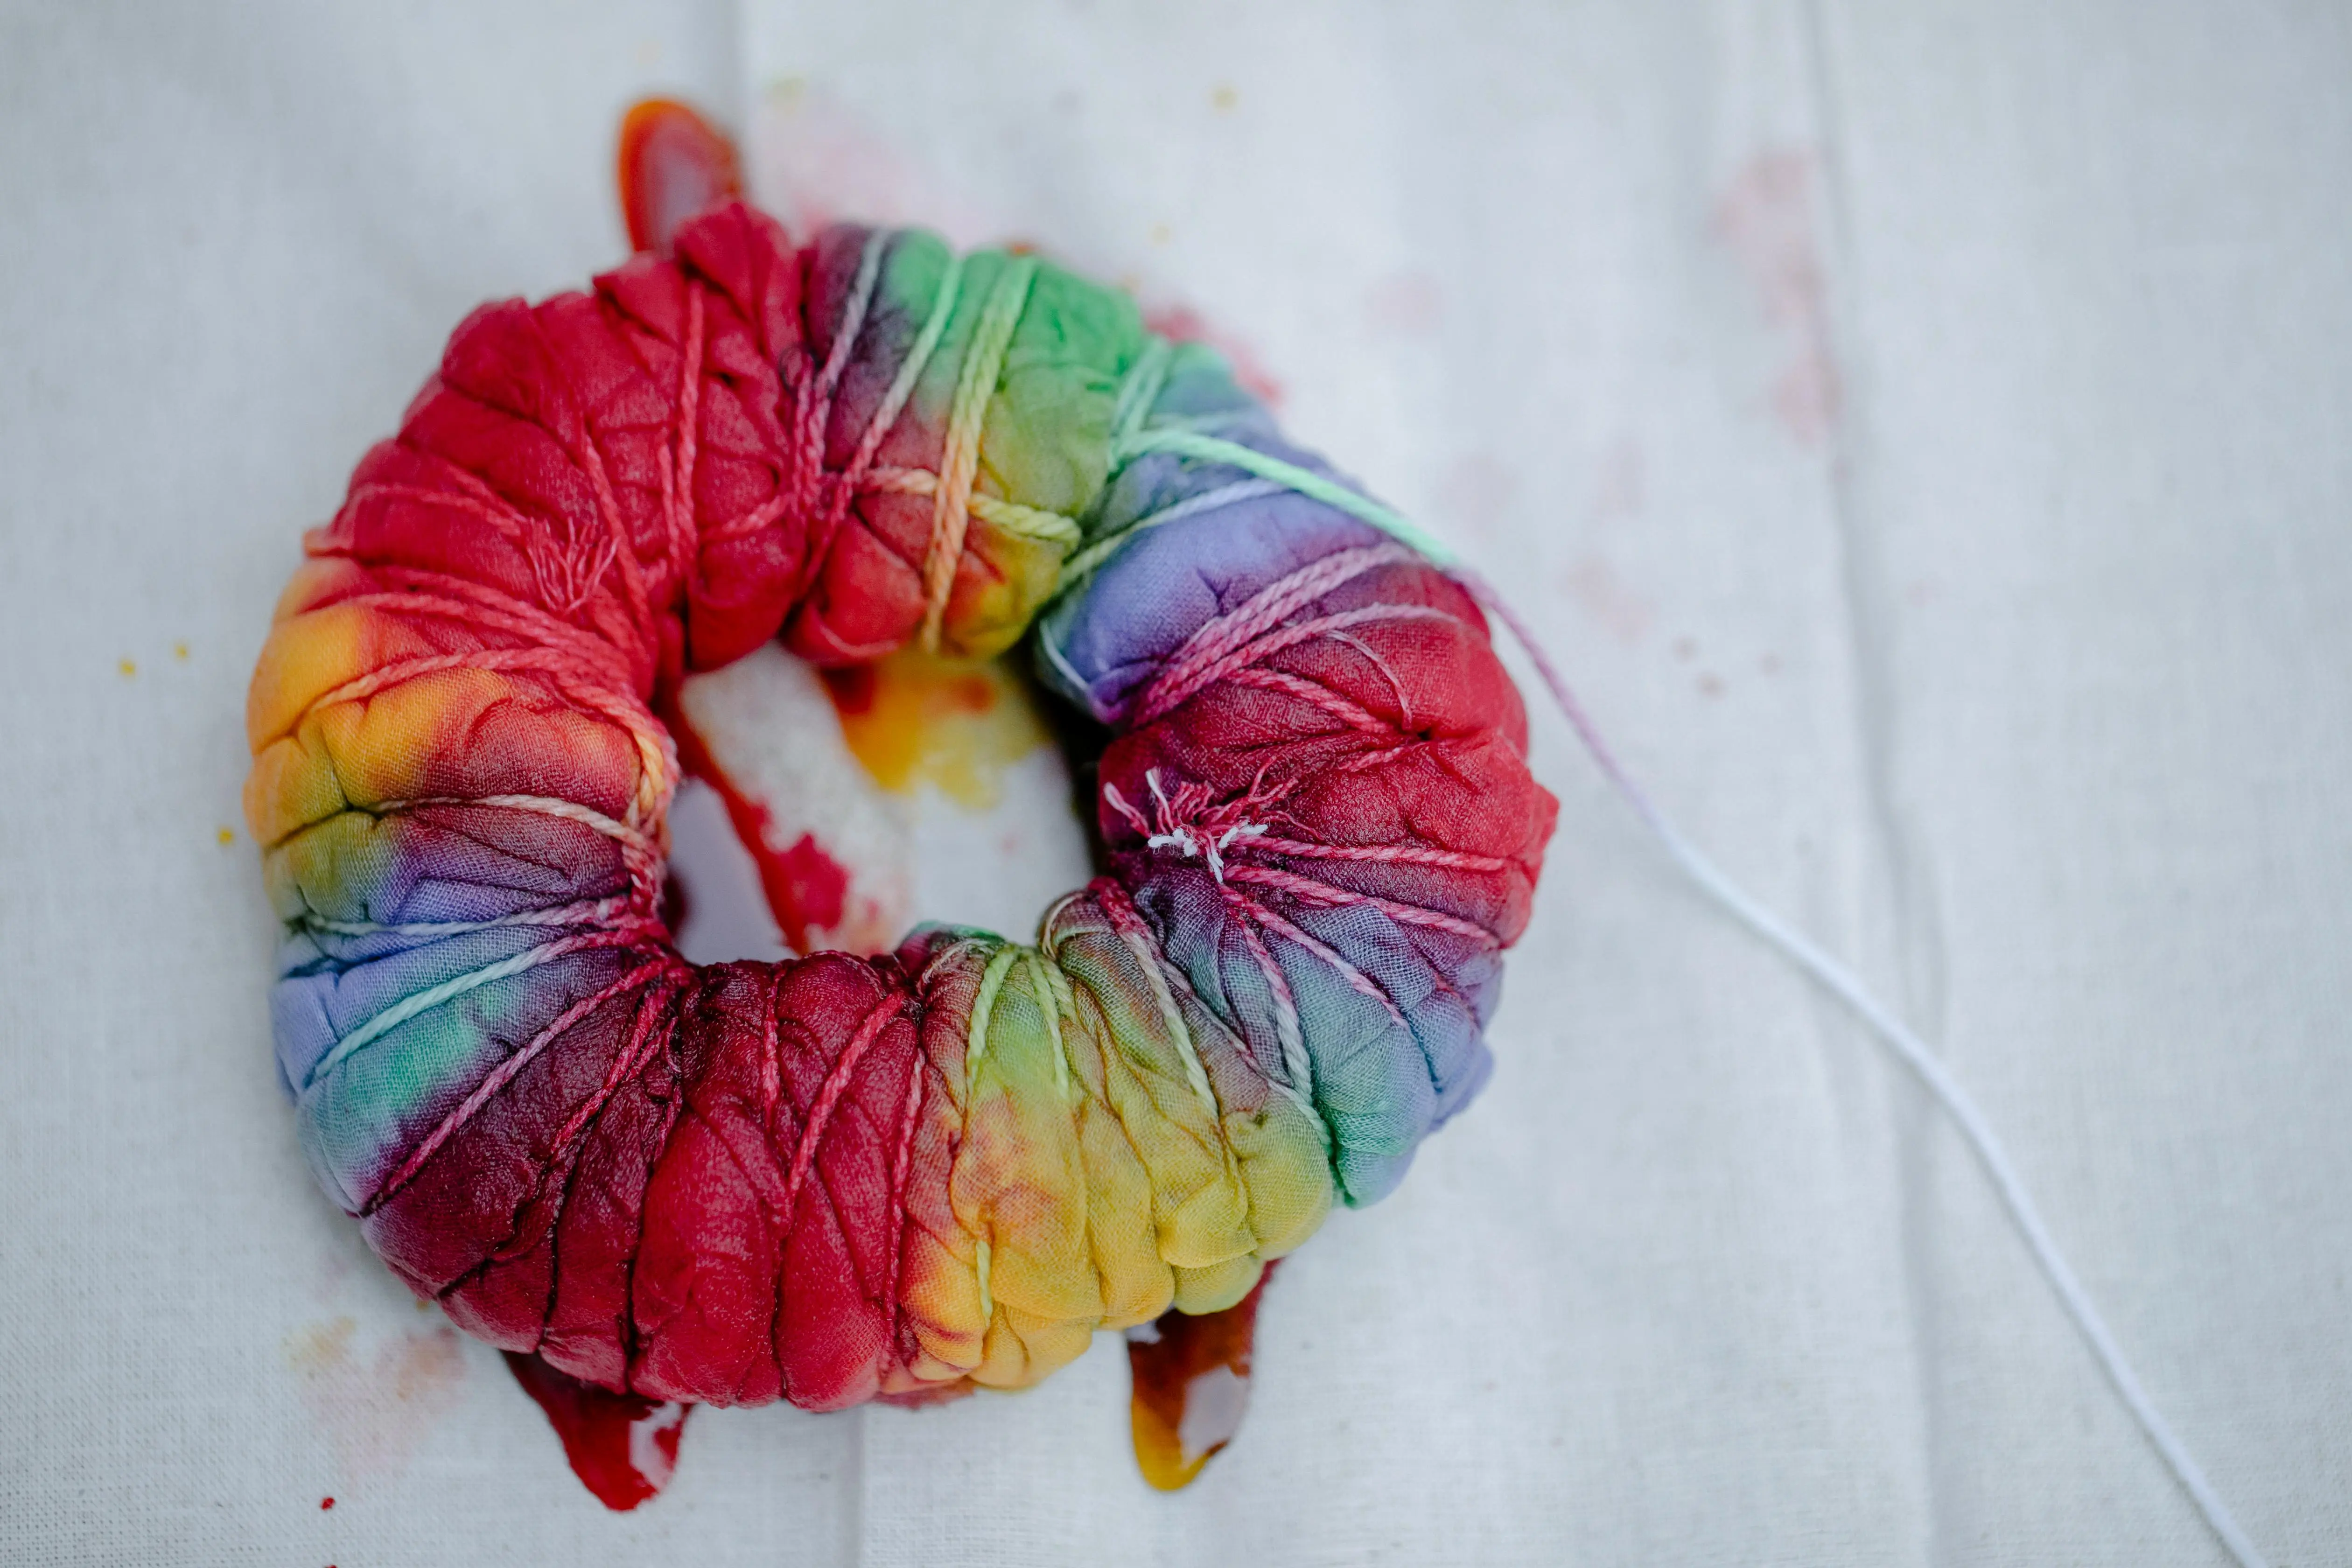
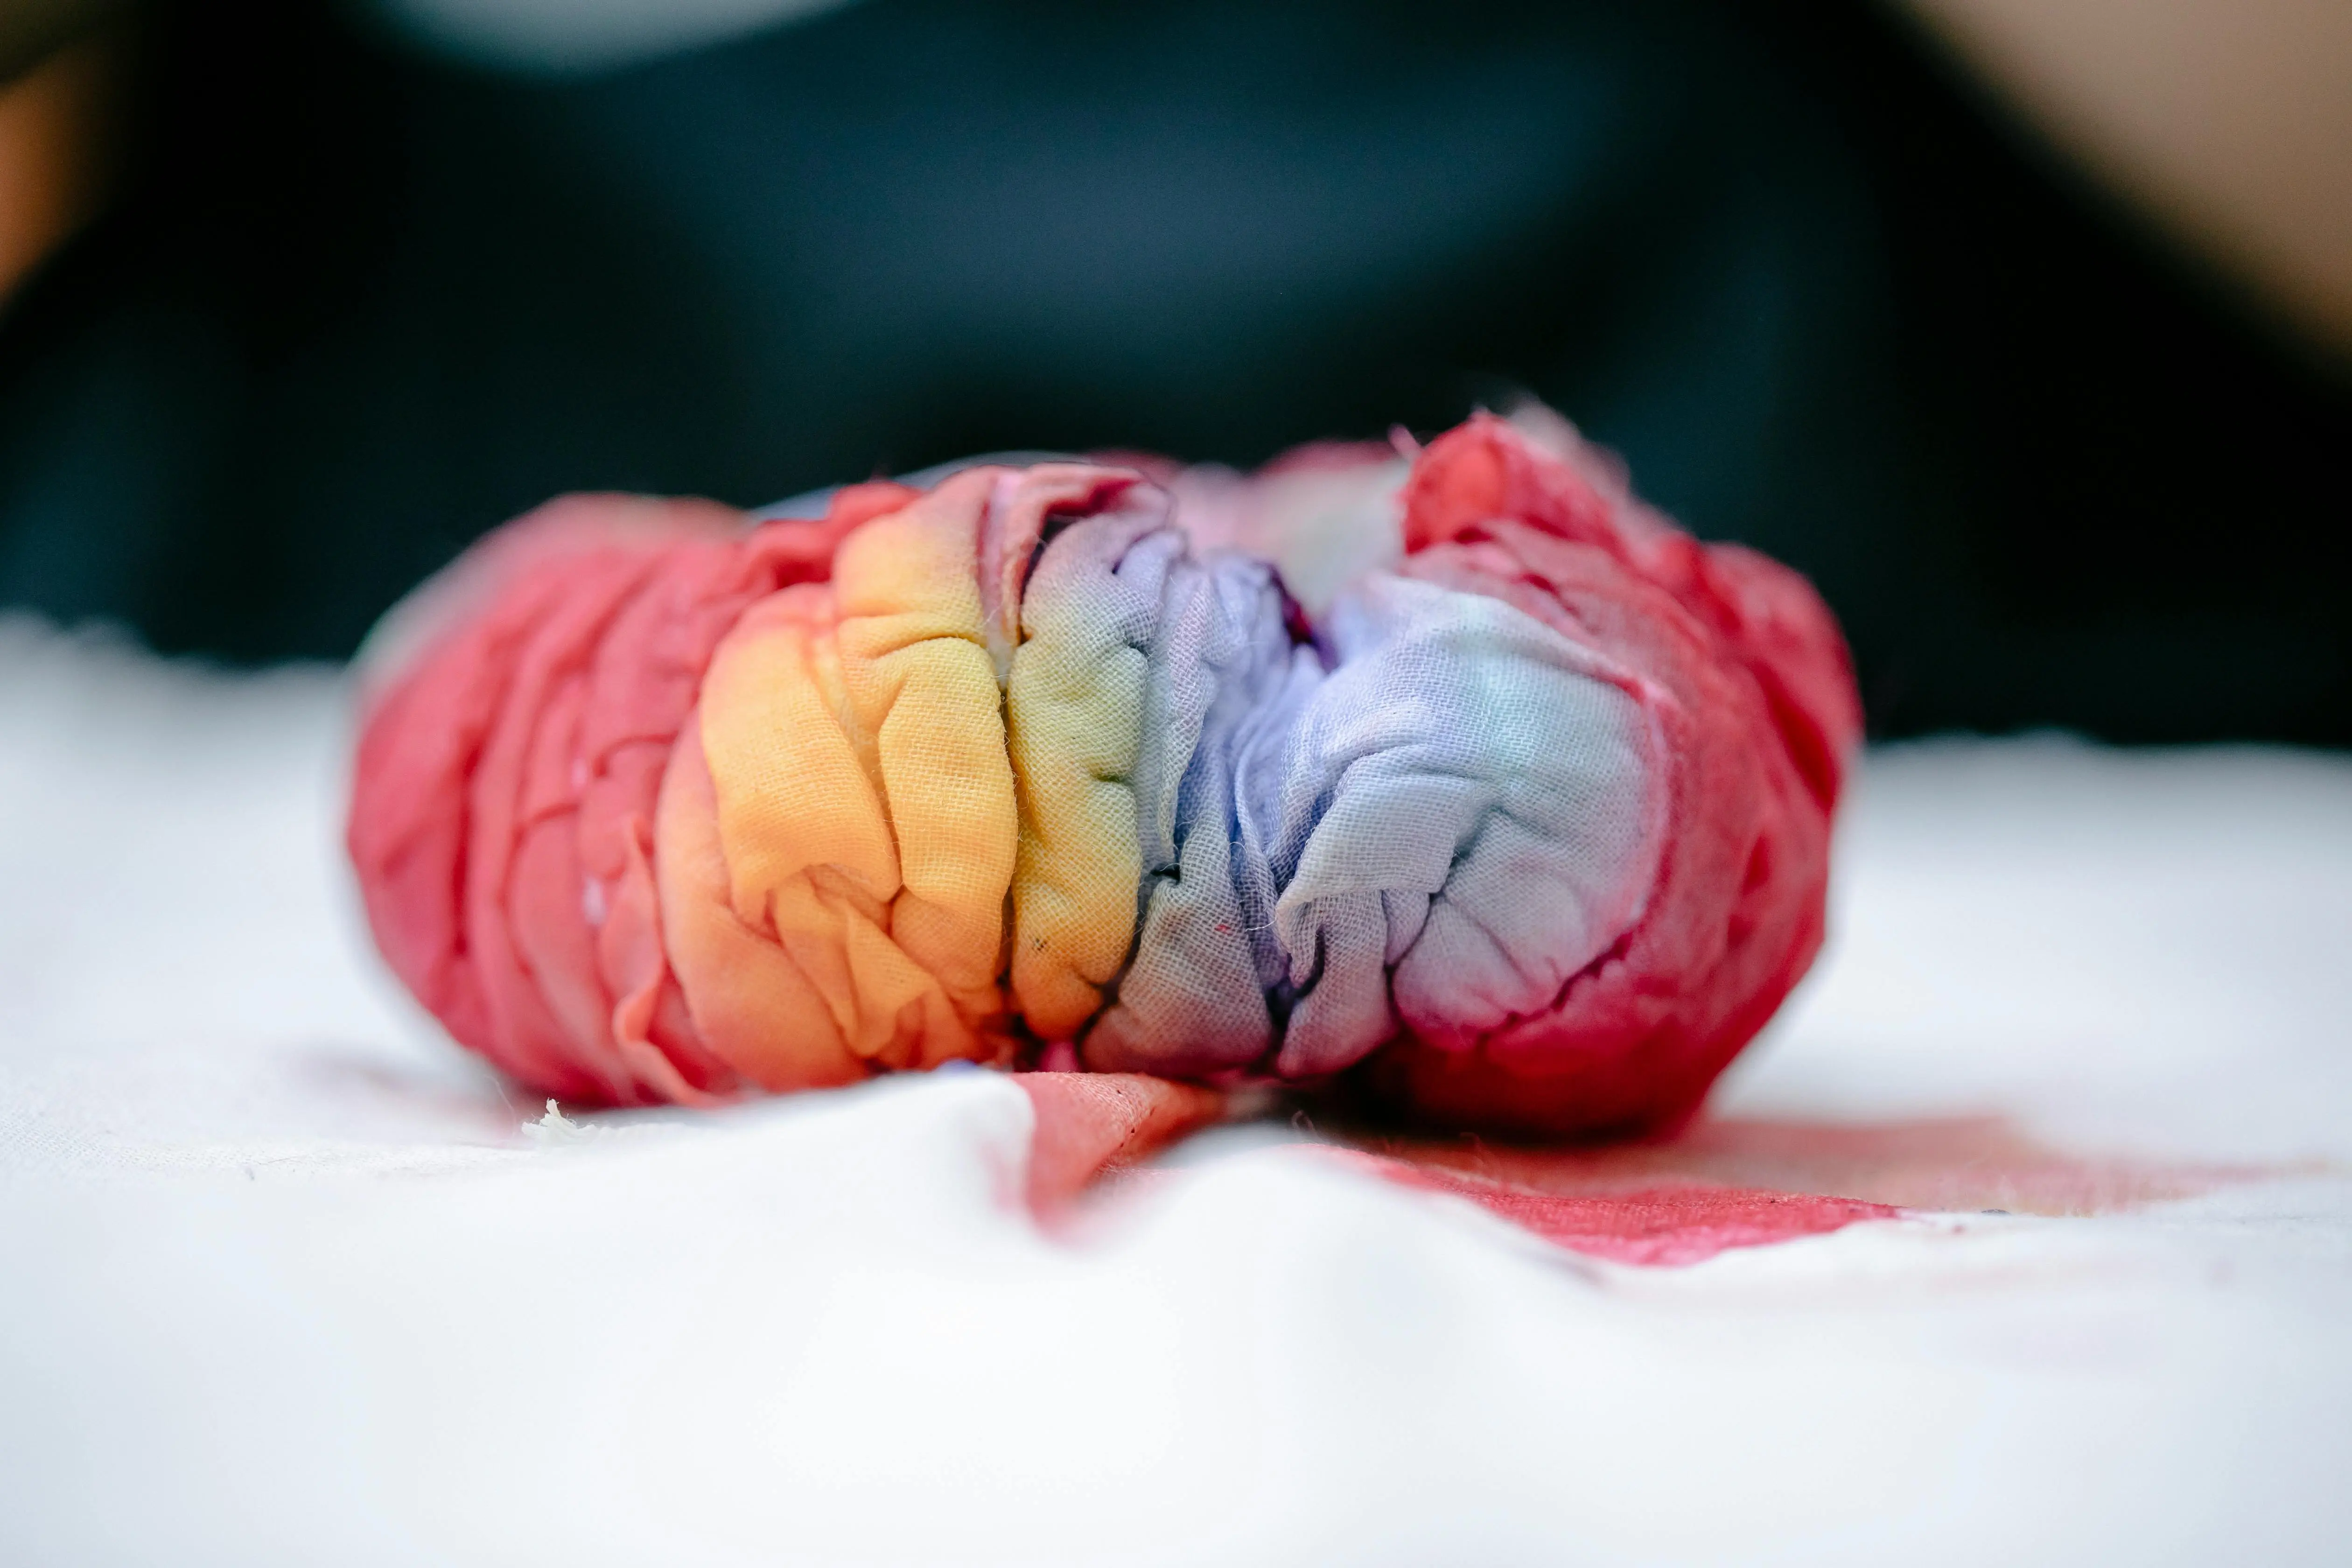
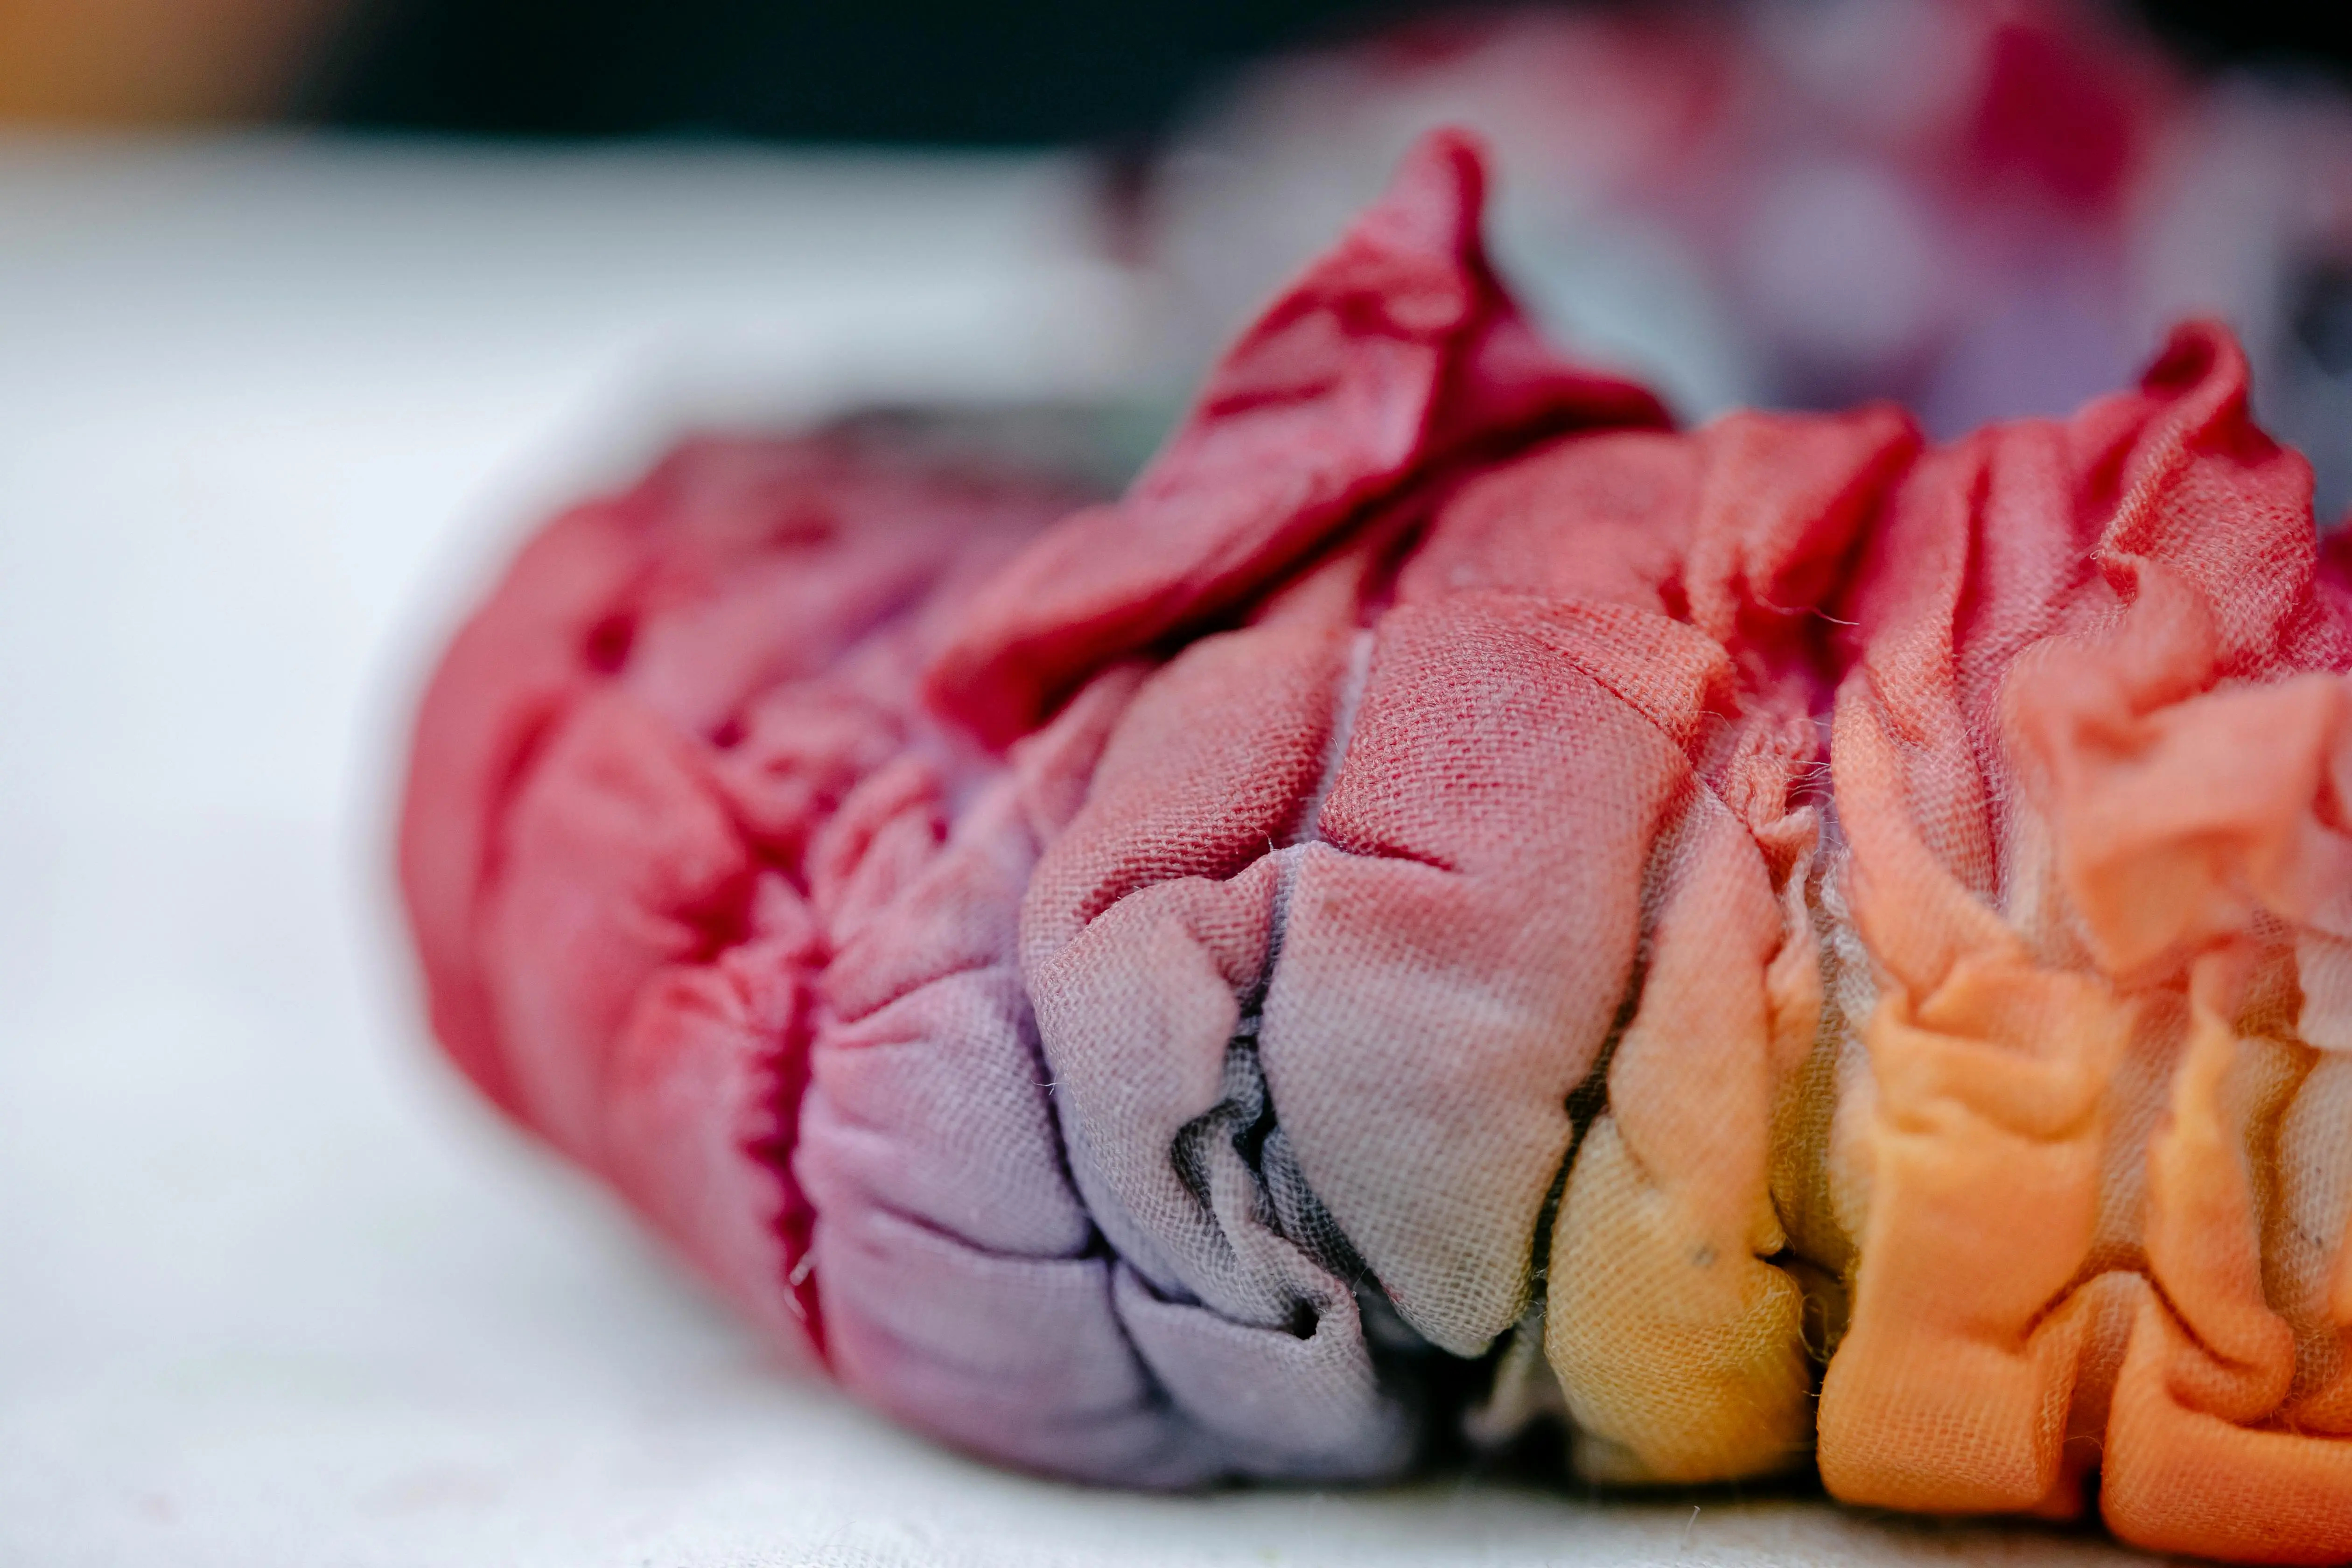
This is where the magic truly begins! The way you fold and tie your hoodie will directly determine the patterns you achieve. There are countless techniques, each yielding a unique design. Let’s explore some popular options for your tie dye hoodie. The classic spiral is probably the most recognizable tie-dye pattern and surprisingly easy to create. Lay your damp, soda-ash-treated hoodie flat. Pinch the fabric in the center of where you want your spiral to be. Maintaining that pinch, begin to twist the fabric clockwise or counter-clockwise, gathering more and more fabric into a neat, flat spiral shape. Keep twisting until the entire hoodie is coiled into a flat disk. Once you have a tight spiral, secure it with 3-4 rubber bands, crossing over the center like slices of a pizza. These bands will create sections for applying different colors.
Another popular technique is the crumple or scrunch. This is fantastic for a random, organic look. Simply lay your damp hoodie flat and start scrunching and crumpling it up into a tight ball. The more compact you make it, the more defined the crinkles will be. Once you have a tight ball, wrap several rubber bands around it in various directions to hold its shape. This method is incredibly forgiving and always produces interesting results. For stripes, fold your hoodie accordion-style, either vertically or horizontally. The closer your folds, the narrower your stripes will be. Once folded, secure it tightly with rubber bands at regular intervals. This will create distinct lines when dyed. Remember, tight ties give sharp, defined lines, while looser ties create softer, more blended effects. Experimentation is key to finding your favorite patterns!
Applying the Dyes with Precision
With your hoodie tied, it’s time for the most exciting part: applying the colors! Before you start, prepare your dyes according to the package instructions. Procion MX dyes are typically mixed with water, and sometimes a little urea to help with solubility, in squeeze bottles. Make sure to wear your gloves throughout this entire process to protect your hands from staining. For the spiral pattern, apply different colors to each wedge created by your rubber bands. Squeeze the dye onto the fabric, allowing it to soak in thoroughly. You can flip the hoodie over and apply the same colors to the corresponding sections on the back, ensuring deep saturation. Don’t be afraid to use plenty of dye; dry spots will result in white areas.
For the crumple technique, you can randomly squirt different colors over the entire scrunched ball. You might choose to concentrate certain colors in specific areas, or simply let the colors blend organically. For stripes, apply different colors to the sections between the rubber bands. You can create a rainbow effect, or stick to a complementary color scheme. When dyeing, try to avoid over-saturating one area to the point where colors bleed excessively into sections where you don’t want them. However, some blending is natural and desirable in tie-dye. Once the dye is applied, ensure the hoodie is thoroughly saturated but not sitting in puddles of excess dye. The goal is even absorption for vibrant and consistent colors on your custom tie dye hoodie.
The Critical Curing Process: Setting Your Tie Dye Hoodie Colors
Once your beautiful colors have been applied, the dyes need time to chemically react with the fibers and bond permanently. This is known as the curing process, and it’s arguably the most crucial step for achieving vibrant, wash-fast results. Don’t rush this stage; patience here will pay off immensely. Carefully transfer your dyed hoodie into a plastic bag or wrap it tightly in plastic cling wrap. Freezer bags work perfectly for individual hoodies, as they create a sealed environment. The goal is to keep the fabric damp and allow the dye to react in a consistently moist, warm environment. This prevents the dye from drying out too quickly, which can lead to duller colors as the chemical reaction needs moisture to occur.
Place the sealed bag in a warm spot. room temperature is generally fine, but slightly warmer conditions (around 70-80°F or 20-27°C) can help accelerate the curing process. Avoid extremely hot places, as this can sometimes cause colors to shift unintentionally. Leave your hoodie to cure for a minimum of 24 hours. For even more vibrant and long-lasting colors, especially with darker hues, extending the curing time to 48 hours is highly recommended. During this time, the soda ash and dye are performing their magic, creating a permanent bond with the cotton fibers. Resist the urge to peek or unwrap it early! The longer it cures, the more saturated and durable your colors will be on your tie dye hoodie.
Rinsing, Washing, and Drying Your New Masterpiece
After the curing period is complete, it’s time for the big reveal! Put your gloves back on, as there will still be excess dye. Take your hoodie out of the plastic bag and, without removing the rubber bands, rinse it under cold running water. Continue rinsing until the water runs mostly clear. This removes the unbound dye particles. Once the water is mostly clear, you can carefully remove all the rubber bands. Continue rinsing under cold water as you unfurl your hoodie, separating the layers. You’ll be able to see your amazing pattern emerge!
When the rinse water is running completely clear, it’s time for the first wash. This initial wash is important for fully removing any lingering excess dye. Wash your tie dye hoodie separately from other clothing in a washing machine on a hot cycle with a strong detergent. This helps to scour away any remaining unreacted dye. You might need to run it through two wash cycles to ensure all excess dye is gone. Avoid using extremely hot water for the initial rinsing phase, as hot water can cause the unbonded dye to bleed back onto lighter areas of your fabric. Once thoroughly washed, you can machine dry your hoodie as usual. For the first few washes, it’s still a good idea to wash your tie-dye items separately or with similar dark colors, just in case there’s any residual bleeding. Proper rinsing and washing are key to preventing dye from migrating and ensuring your tie dye hoodie stays vibrant for years to come.
Creative Pattern Ideas for Your Next Tie Dye Hoodie Project
Once you’ve mastered the basics of how to tie dye a hoodie, the possibilities for creative expression are endless! Beyond the spiral and crumple, there are numerous other techniques to explore, each offering a distinct aesthetic. The ‘bullseye’ pattern is a striking design that creates concentric circles. To achieve this, pinch the fabric wherever you want the center of your bullseye to be, then pull it up into a cone shape. Wrap rubber bands tightly around the cone at regular intervals, starting from the tip. Apply a different color to each section between the bands for a vibrant target effect. Another fun technique is the ‘stripes’ or ‘accordion fold’. As mentioned earlier, folding the hoodie accordion-style produces stripes. You can fold it lengthwise for vertical stripes or widthwise for horizontal ones. The number and placement of your rubber bands will dictate the number and width of your stripes. Use different colors on alternating folds for a bold look.
For a more advanced design, consider the ‘mandala’ pattern. This requires a bit more precision. Fold your damp hoodie in half lengthwise, then in half again. You’ll have a quadrant. From the corner where all folds meet, begin folding in a fan or accordion style, creating an elongated triangle. Secure this triangle with rubber bands at various points along its length. When dyed and unfurled, this creates a symmetrical, often star-like or floral pattern. The ‘heart’ pattern is perfect for a thoughtful gift. Fold the hoodie in half lengthwise. Draw half a heart shape along the folded edge with a washable marker. Pleat the fabric along the marker line, then secure it tightly with rubber bands. Dye the heart section one color and the surrounding areas another. Don’t be afraid to combine techniques! Maybe a spiral in the center with crumpled sleeves, or bullseyes placed strategically around the hoodie. The most important thing is to have fun and let your imagination guide you in creating your truly unique tie dye hoodie.

Troubleshooting Common Tie Dye Hoodie Issues
While learning how to tie dye a hoodie is generally straightforward, you might encounter a few hiccups along the way. Knowing how to address these common issues can save your project and ensure a successful outcome. One of the most frequent complaints is dull or faded colors. This often stems from insufficient soda ash presoak, not enough dye application, or an abbreviated curing time. Always ensure your hoodie soaks in a fresh soda ash solution for at least 15-20 minutes, and leave it to cure for a full 24-48 hours. Don’t be shy with the dye; saturate the fabric thoroughly. If colors bleed excessively into unintended areas, it could be due to loose ties, too much dye applied, or insufficient rinsing before the first wash. Make sure your rubber bands are tight, and control your dye application. Rinse thoroughly with cold water until it runs clear before washing.
Another common issue is white spots where you didn’t want them. This usually means the dye didn’t penetrate certain areas. This can happen if the fabric was too dry during dyeing, if the folds were too tight in specific spots preventing dye absorption, or simply if you didn’t apply enough dye. Ensure your hoodie is damp before dyeing and that dye is applied generously to all exposed fabric. If small spots occur, you can try spot-dyeing them after the initial wash, though results may vary. Uneven dyeing, where some areas are darker than others, can be caused by inconsistent dye application or the hoodie drying out during the curing process. Always keep your dyed hoodie sealed in plastic to maintain moisture. Practice makes perfect, and with each tie dye hoodie you create, you’ll gain more control and understanding of the process. Don’t be discouraged by minor imperfections; they often add to the unique charm of handmade items.
How to Care for Your Tie Dye Hoodie
Proper care is essential to ensure your newly tie-dyed hoodie remains vibrant and beautiful for years to come. The initial wash is crucial, but ongoing maintenance is equally important to preserve those dazzling colors. For the first 2-3 washes after the initial rinse, it’s highly recommended to wash your tie dye hoodie separately or with other dark-colored items. Even after a thorough initial wash, some residual unbound dye might still be present, and you don’t want it to transfer to lighter garments. Use cold water for all subsequent washes. Cold water is gentler on the dyes and helps prevent premature fading, keeping your colors crisp and bright. Avoid hot water, as it can encourage dye migration and fading over time.
When selecting detergent, opt for a color-safe detergent. Harsh detergents with strong brightening agents or bleach alternatives can strip the vibrancy from your tie dye. Steer clear of bleach entirely; it will remove the dye and ruin your design. Fabric softener can be used sparingly, if desired, but is not strictly necessary. For drying, you can machine dry your hoodie on a low heat setting. However, air drying your tie dye hoodie by laying it flat or hanging it can further help preserve the colors and extend the life of the garment. If machine drying, turn the hoodie inside out; this offers a small layer of protection against abrasive dryer action. By following these simple care instructions, your custom tie dye hoodie will remain a stand-out piece in your wardrobe, showcasing your creativity with vivid, lasting colors.
Frequently Asked Questions About Tie-Dyeing Hoodies
How long does the dye need to set for a tie dye hoodie?
For the best and most vibrant results, your tie-dyed hoodie should cure for a minimum of 24 hours. For even deeper and more washfast colors, especially with darker hues or if you’re concerned about fading, extending the curing time to 48 hours is highly recommended. Make sure it stays wrapped in plastic during this period to remain damp.
What type of fabric works best for how to tie dye a hoodie?
100% cotton is hands down the best fabric for tie-dyeing a hoodie. Cotton fibers readily absorb fiber-reactive dyes, leading to the most vibrant and permanent colors. Blends with synthetic materials like polyester will result in much lighter, duller, or even patchy color absorption.
Can I tie dye a colored hoodie, or does it have to be white?
While white provides the brightest and truest color results, you can definitely tie dye a colored hoodie! Just remember that the original color of the hoodie will mix with the dyes you apply. For example, dyeing a blue hoodie with yellow dye will likely result in green areas where the colors combine. Lighter pastel colors work best for over-dyeing.
What if my tie dye colors aren’t as vibrant as I hoped?
If your colors appear dull, it’s often due to insufficient soda ash pre-treatment, not enough dye application, or a short curing time. Ensure your hoodie is thoroughly soaked in the soda ash solution, apply generous amounts of dye, saturating the fabric, and let it cure for a full 24-48 hours inside a sealed plastic bag.
How do I prevent tie dye from bleeding onto other clothes in the wash?
After dyeing and curing, thoroughly unwrap and rinse your hoodie under cold running water until the water runs completely clear before removing the rubber bands. Then, machine wash it separately from other clothes using hot water and a strong detergent for the first few washes. This removes all unbound dye. Continue washing separately or with darks for the subsequent 2-3 washes to be safe.
Conclusion: Your Unique Tie Dye Hoodie Awaits!
Congratulations, you’ve now got all the knowledge you need to confidently tackle your very own tie dye hoodie project! From gathering your materials and preparing your workspace to mastering various folding techniques, applying vibrant dyes, and crucially, properly curing and washing your creation, every step has been covered in detail. This ancient art form offers an incredible outlet for personal expression, allowing you to transform a simple garment into a one-of-a-kind statement piece. There’s immense satisfaction in wearing something you’ve crafted with your own hands, especially when it’s as eye-catching and personalized as a custom tie dye hoodie.
Remember, while there are guidelines and best practices, the true beauty of tie-dye lies in its organic, often unpredictable nature. Embrace the unique imperfections, as they are often what make each piece truly special. Don’t be afraid to experiment with different color combinations, folding patterns, and even over-dyeing techniques as your confidence grows. The more you practice, the more you’ll refine your skills and develop your individual style. So, what are you waiting for? Grab that plain hoodie, unleash your inner artist, and start creating your next wearable masterpiece today. Dive into the world of tie-dye, and soon you’ll be showing off your amazing custom tie dye hoodie!