
Are you ready to transform your garden or kitchen with the delightful aroma and flavor of fresh thyme? Growing your own herbs from scratch is an incredibly rewarding experience, and starting with thyme seeds is a cost-effective and sustainable way to achieve this. Thyme, a versatile herb, is a staple in many cuisines and offers numerous health benefits. While it might seem daunting to start from seed, with the right approach and a little patience, you’ll be enjoying your homegrown thyme in no time. This guide will walk you through everything you need to know about successfully cultivating thyme from seed, ensuring a bountiful harvest for years to come.
Choosing the Right Thyme Seeds for Your Garden
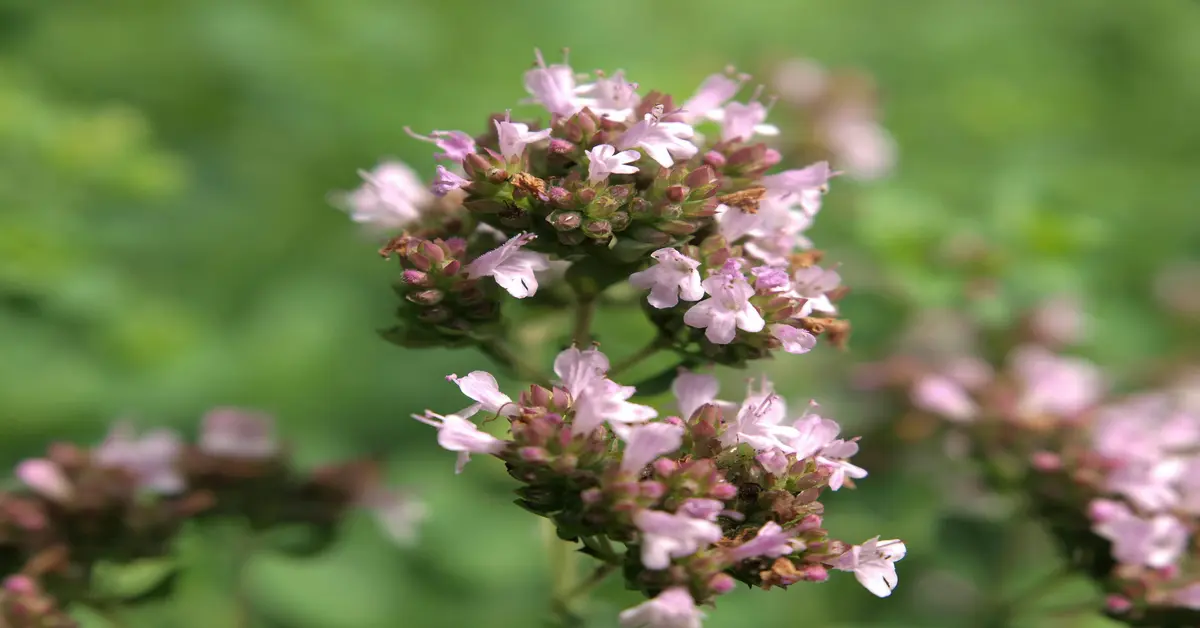
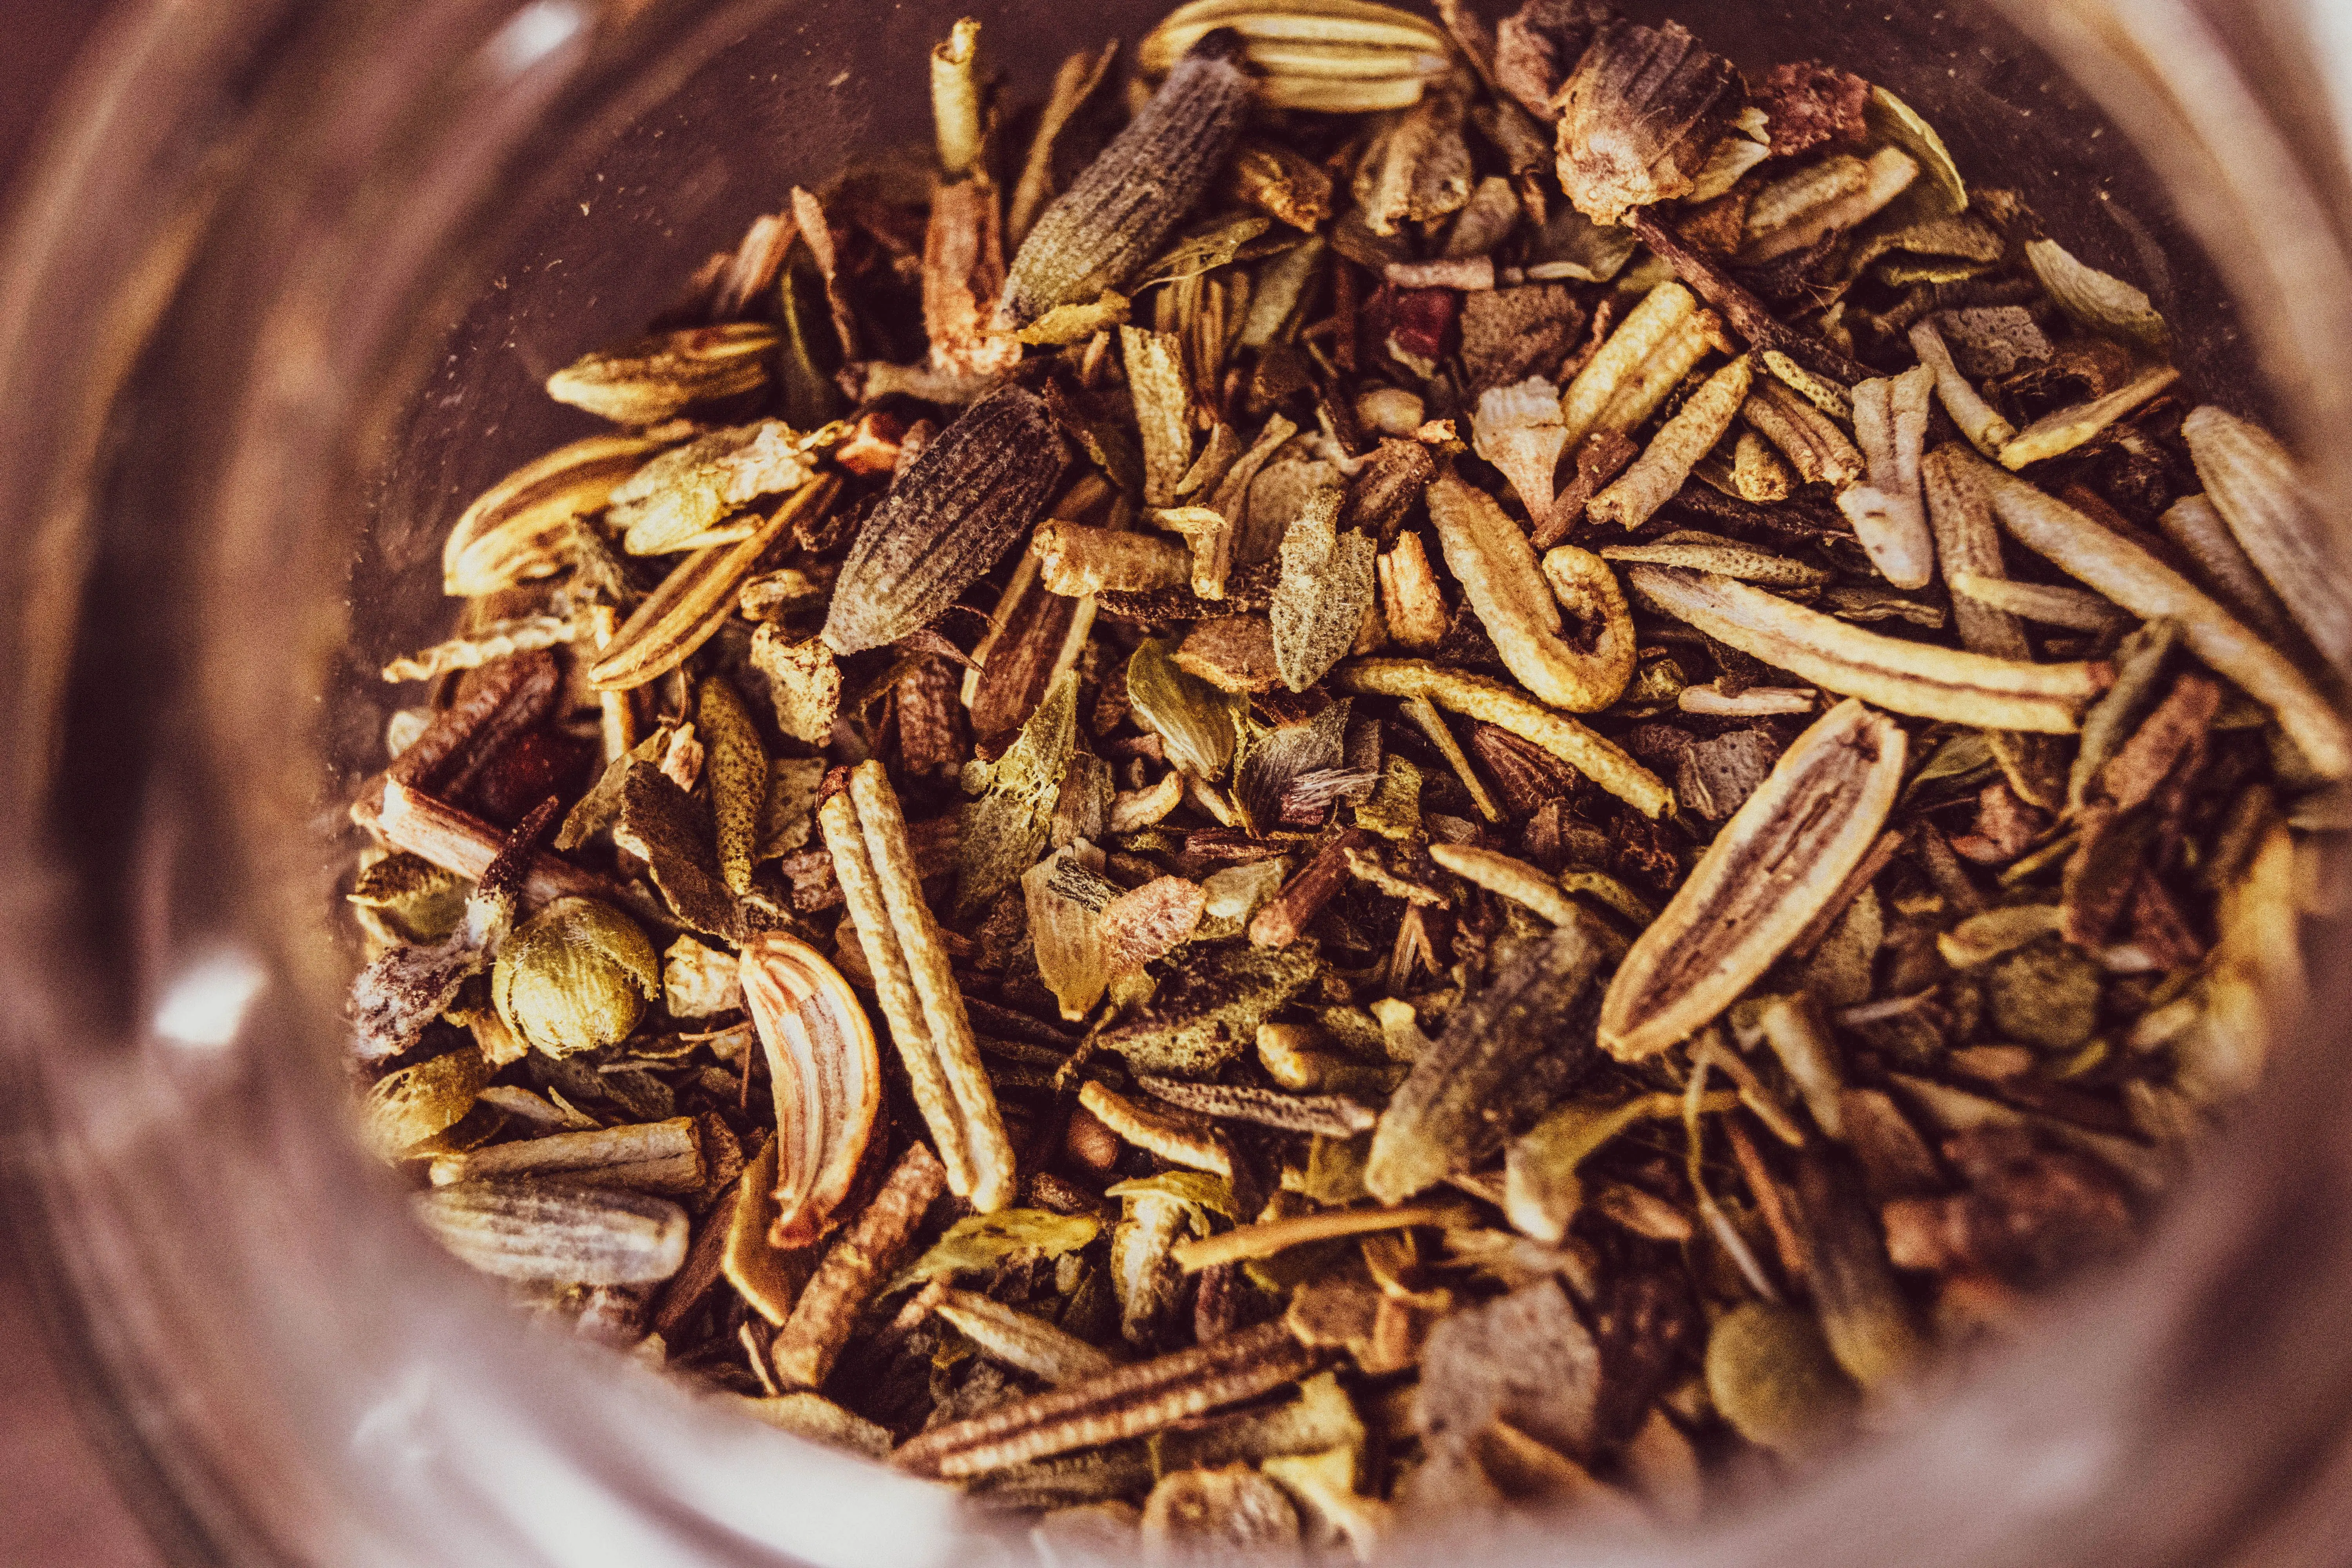
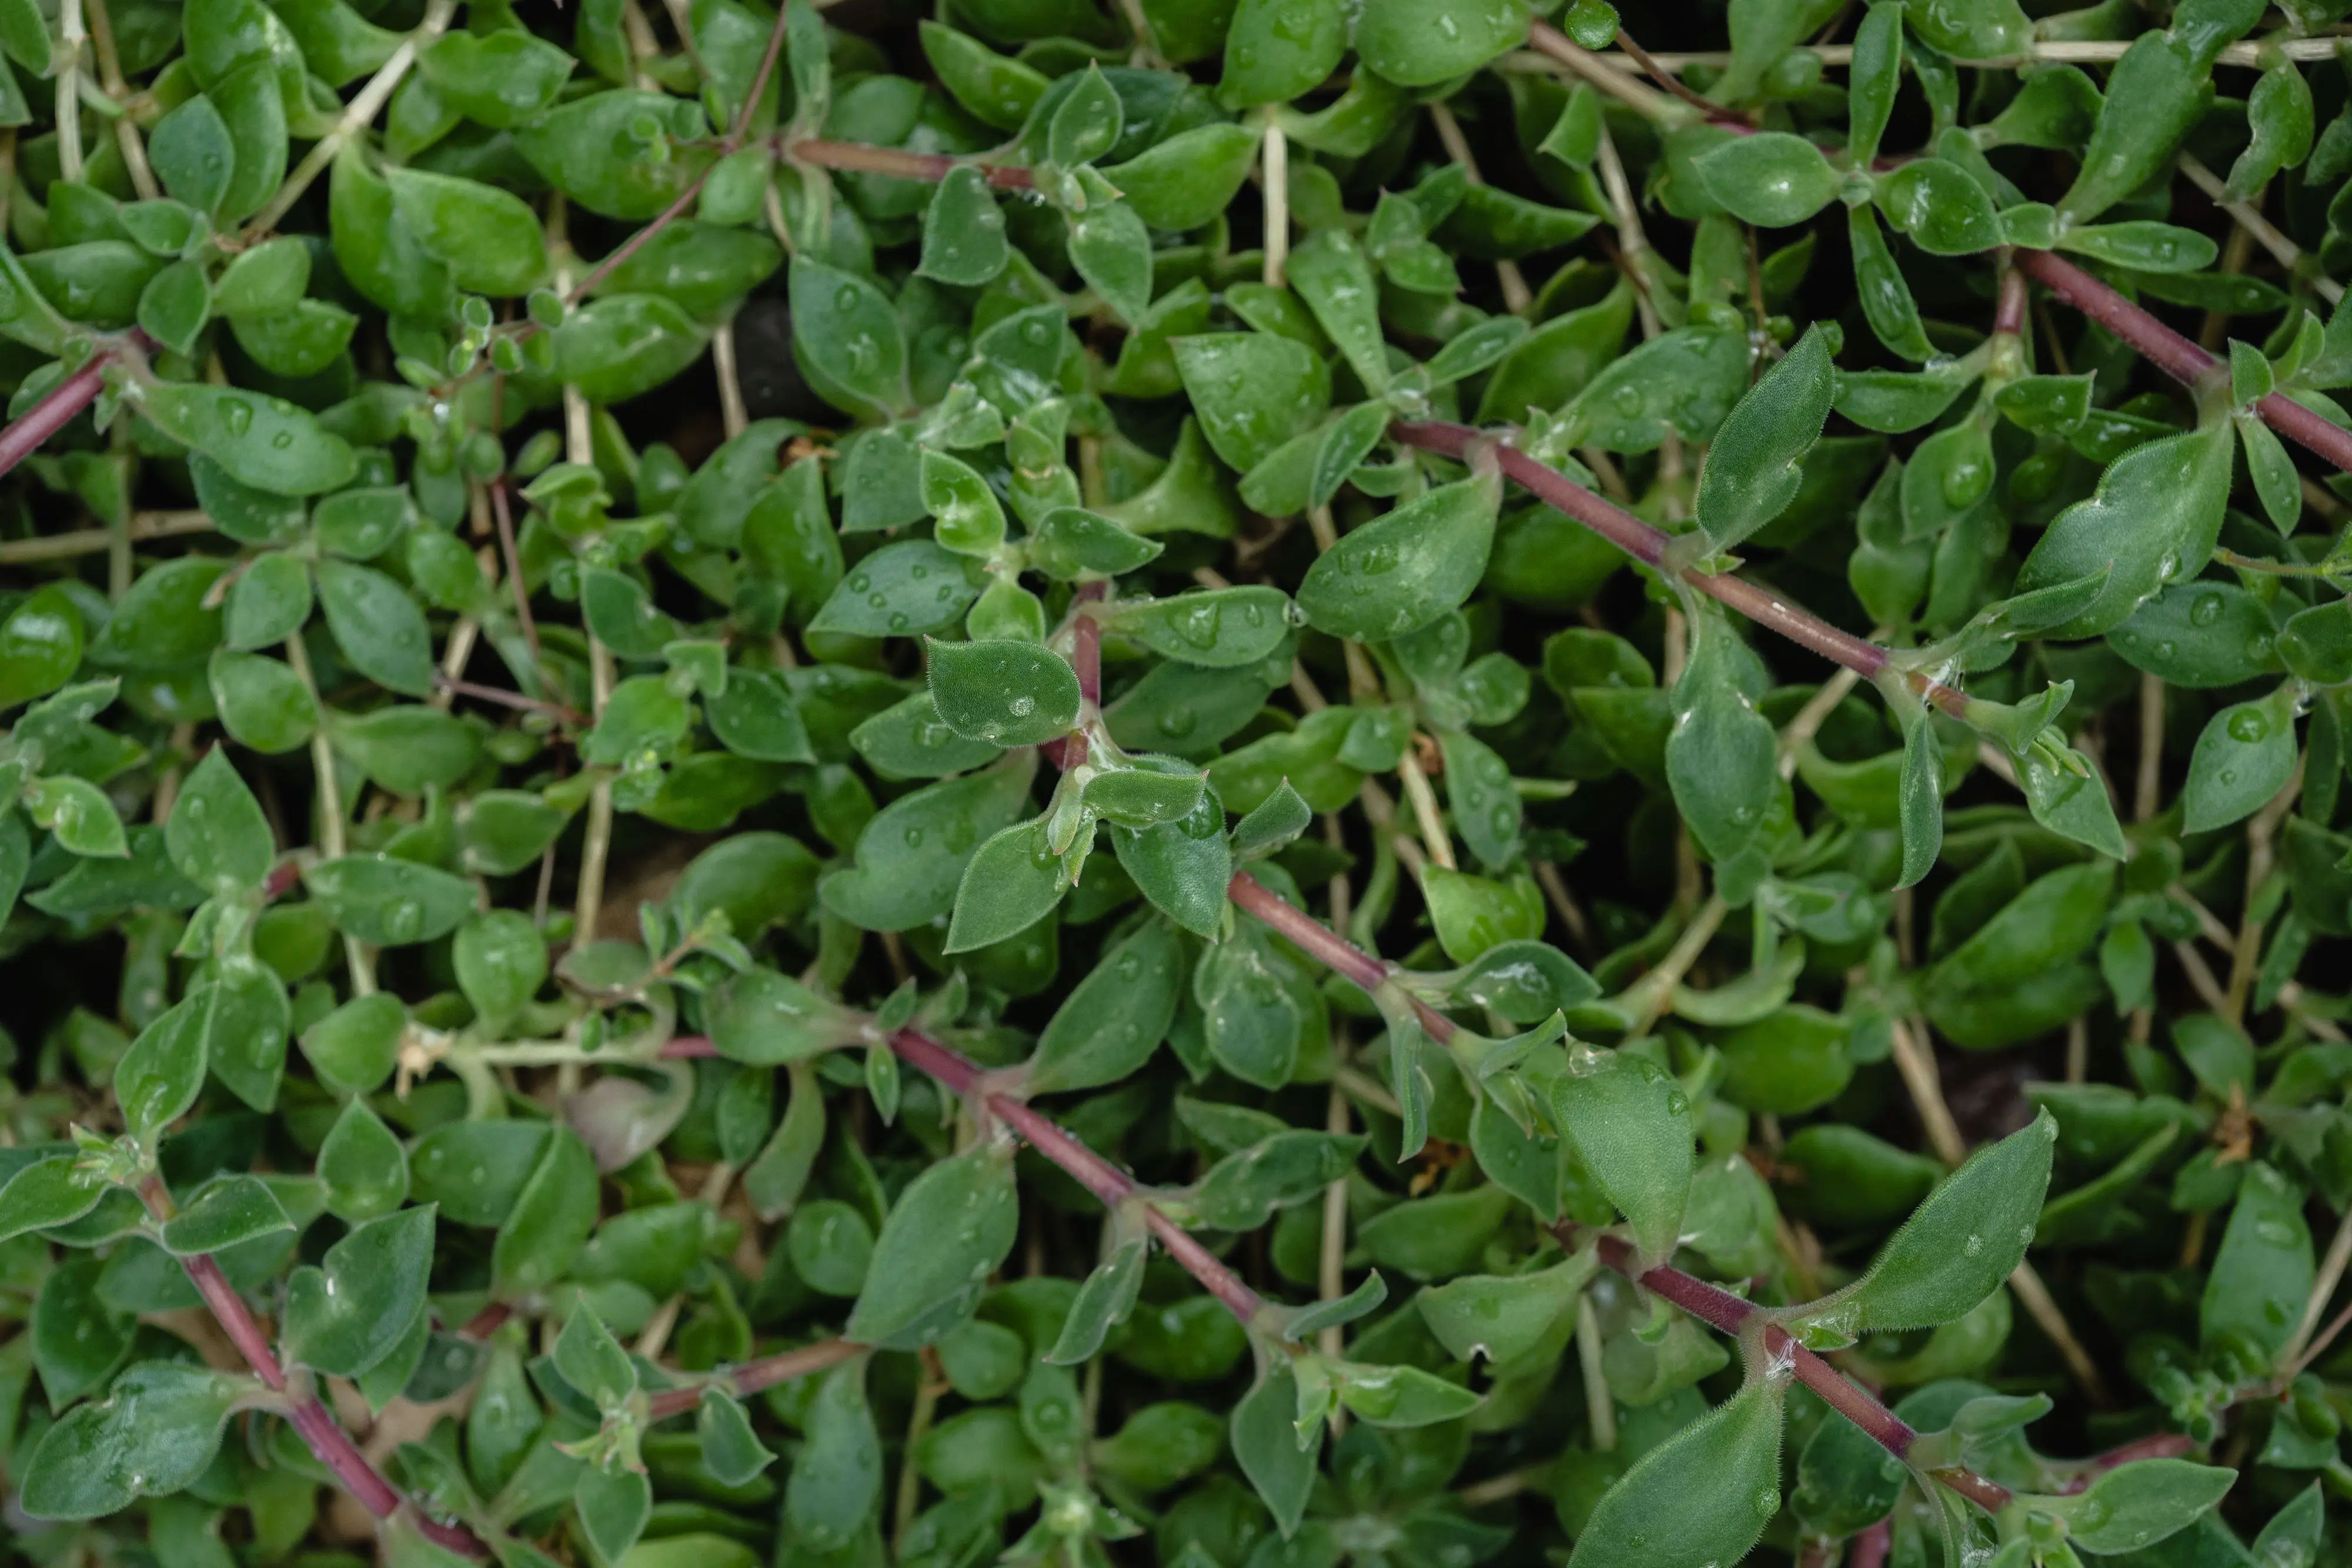
The journey to a thriving thyme patch begins with selecting the appropriate thyme seeds. There are many varieties of thyme, each with unique characteristics regarding flavor, aroma, and growth habit. Common garden thyme (Thymus vulgaris) is a popular choice for culinary use, known for its robust flavor. Lemon thyme offers a citrusy zest, while creeping thyme is excellent for ground cover. Consider your climate and intended use when making your selection. Always purchase high-quality, fresh seeds from a reputable supplier to ensure good germination rates and healthy plants. Check the seed packet for information on plant size, growing conditions, and maturity time to match your gardening goals.
Essential Steps for Thyme Seed Germination
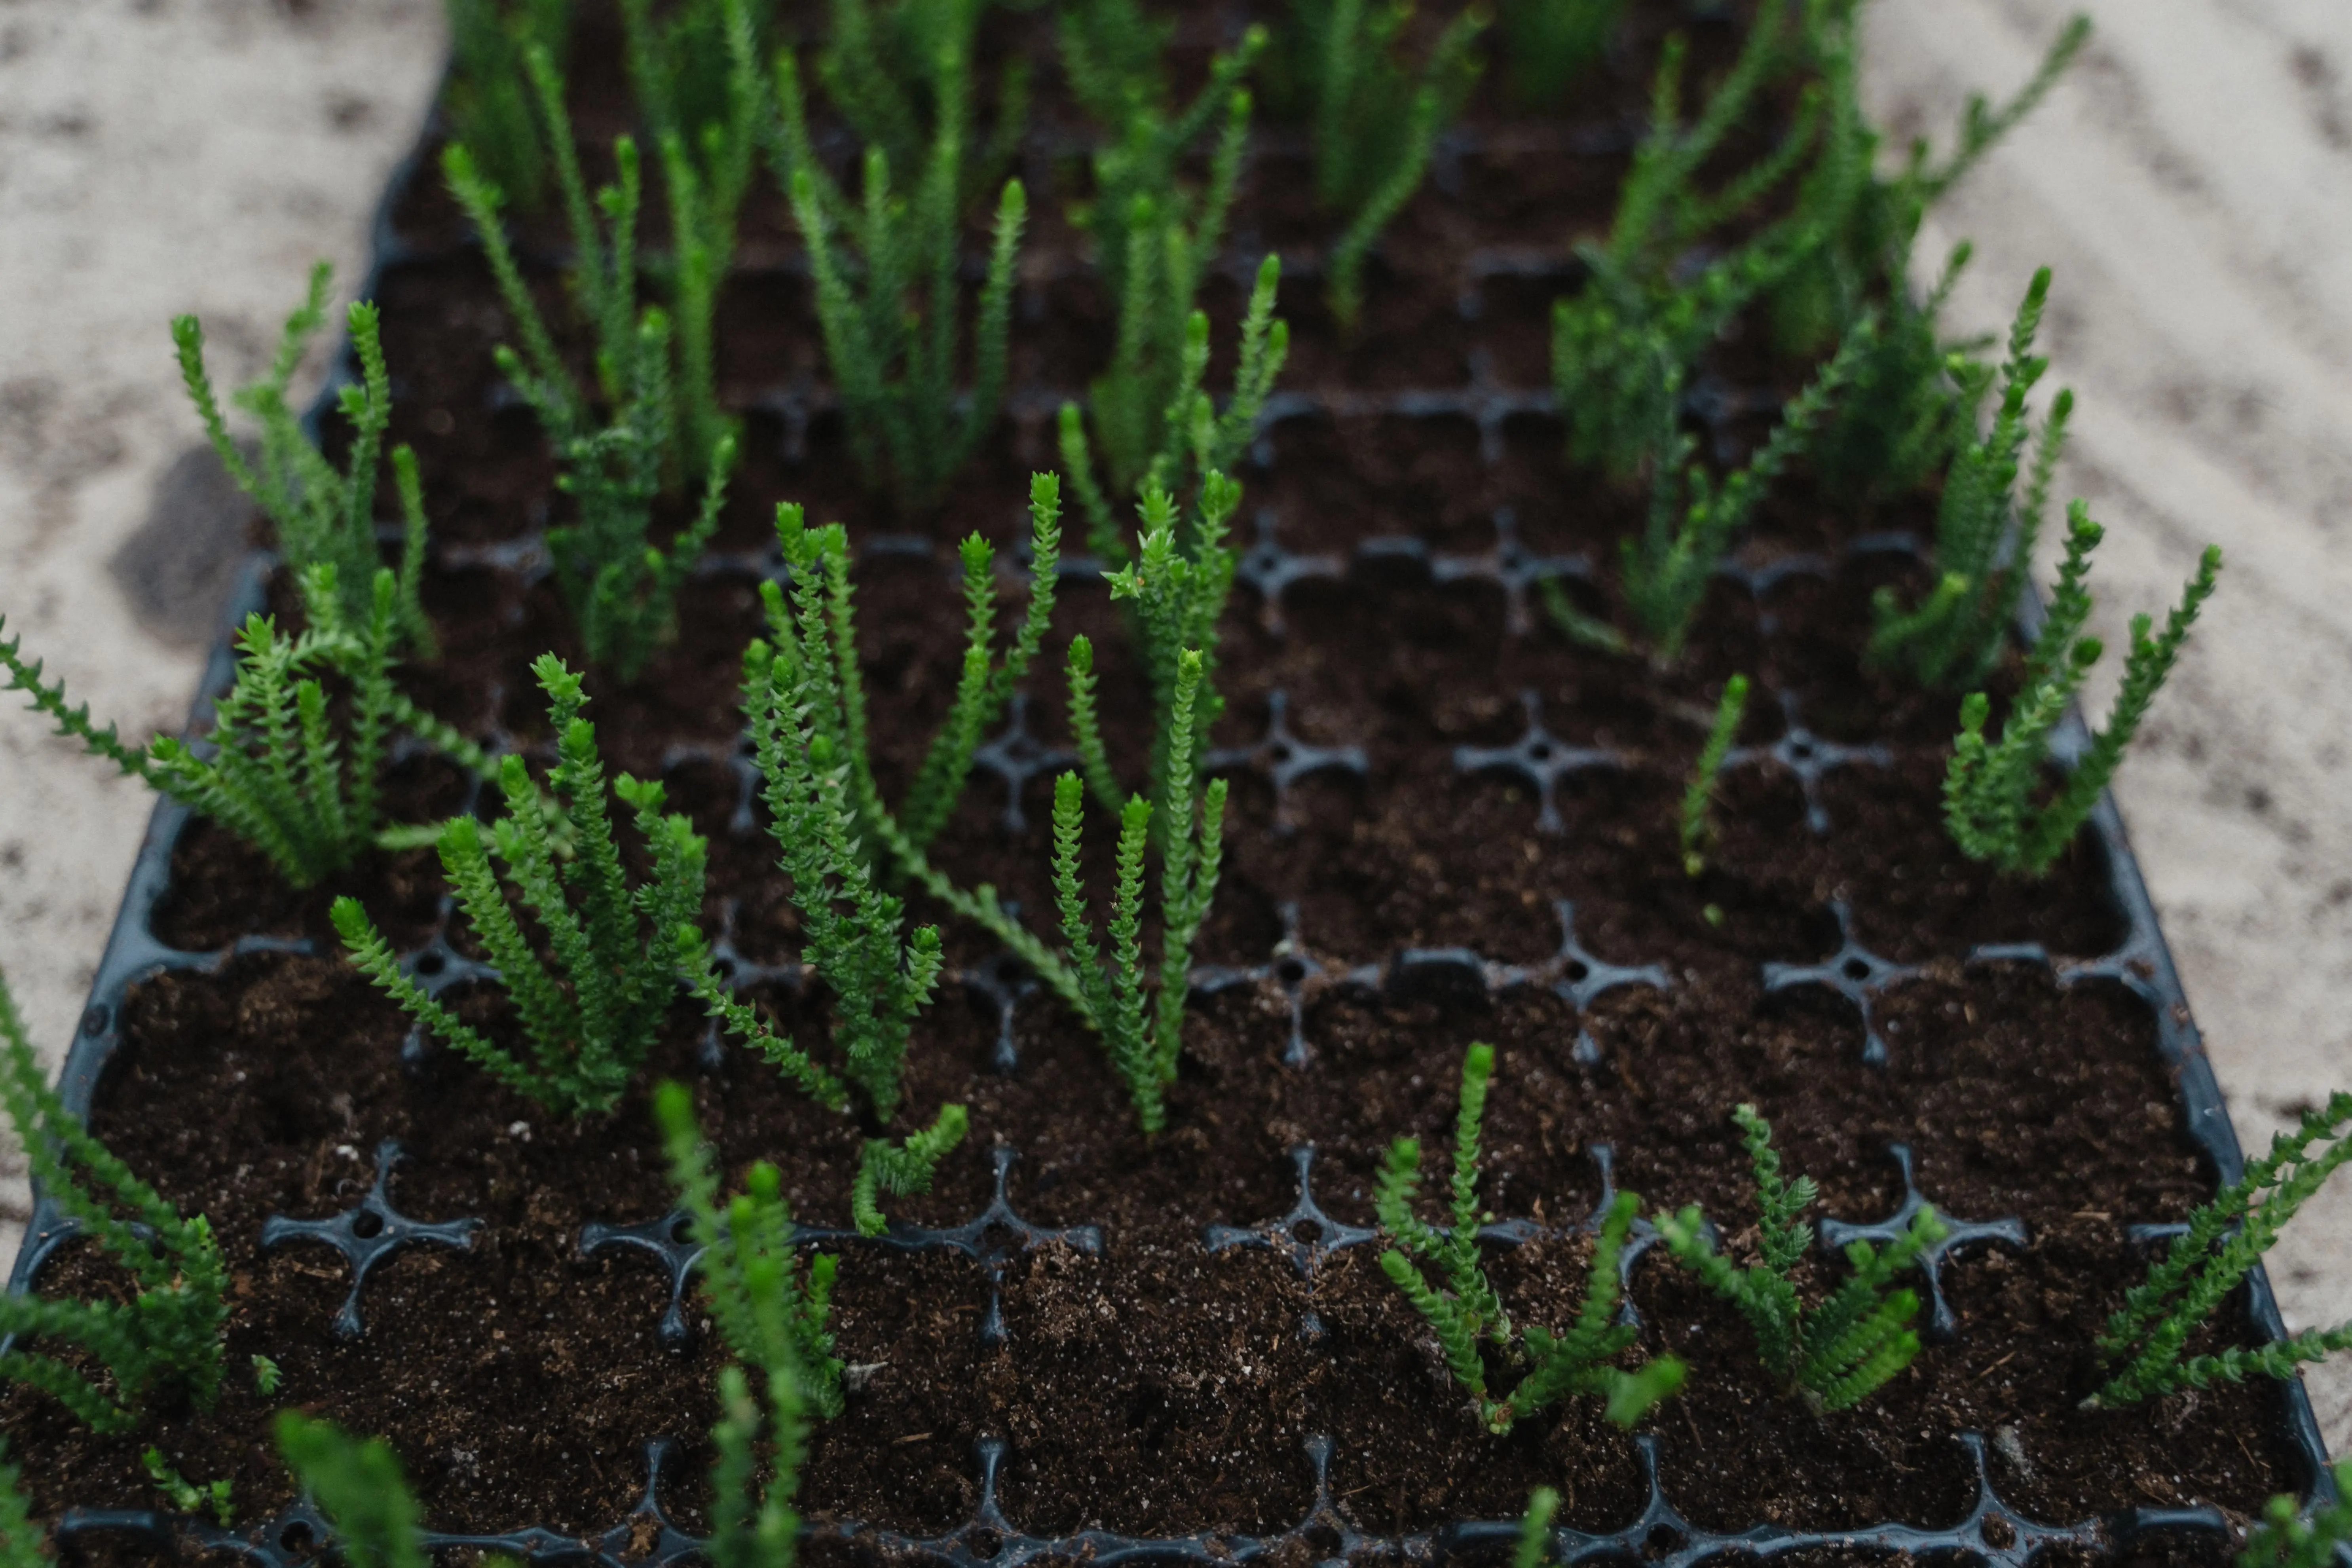
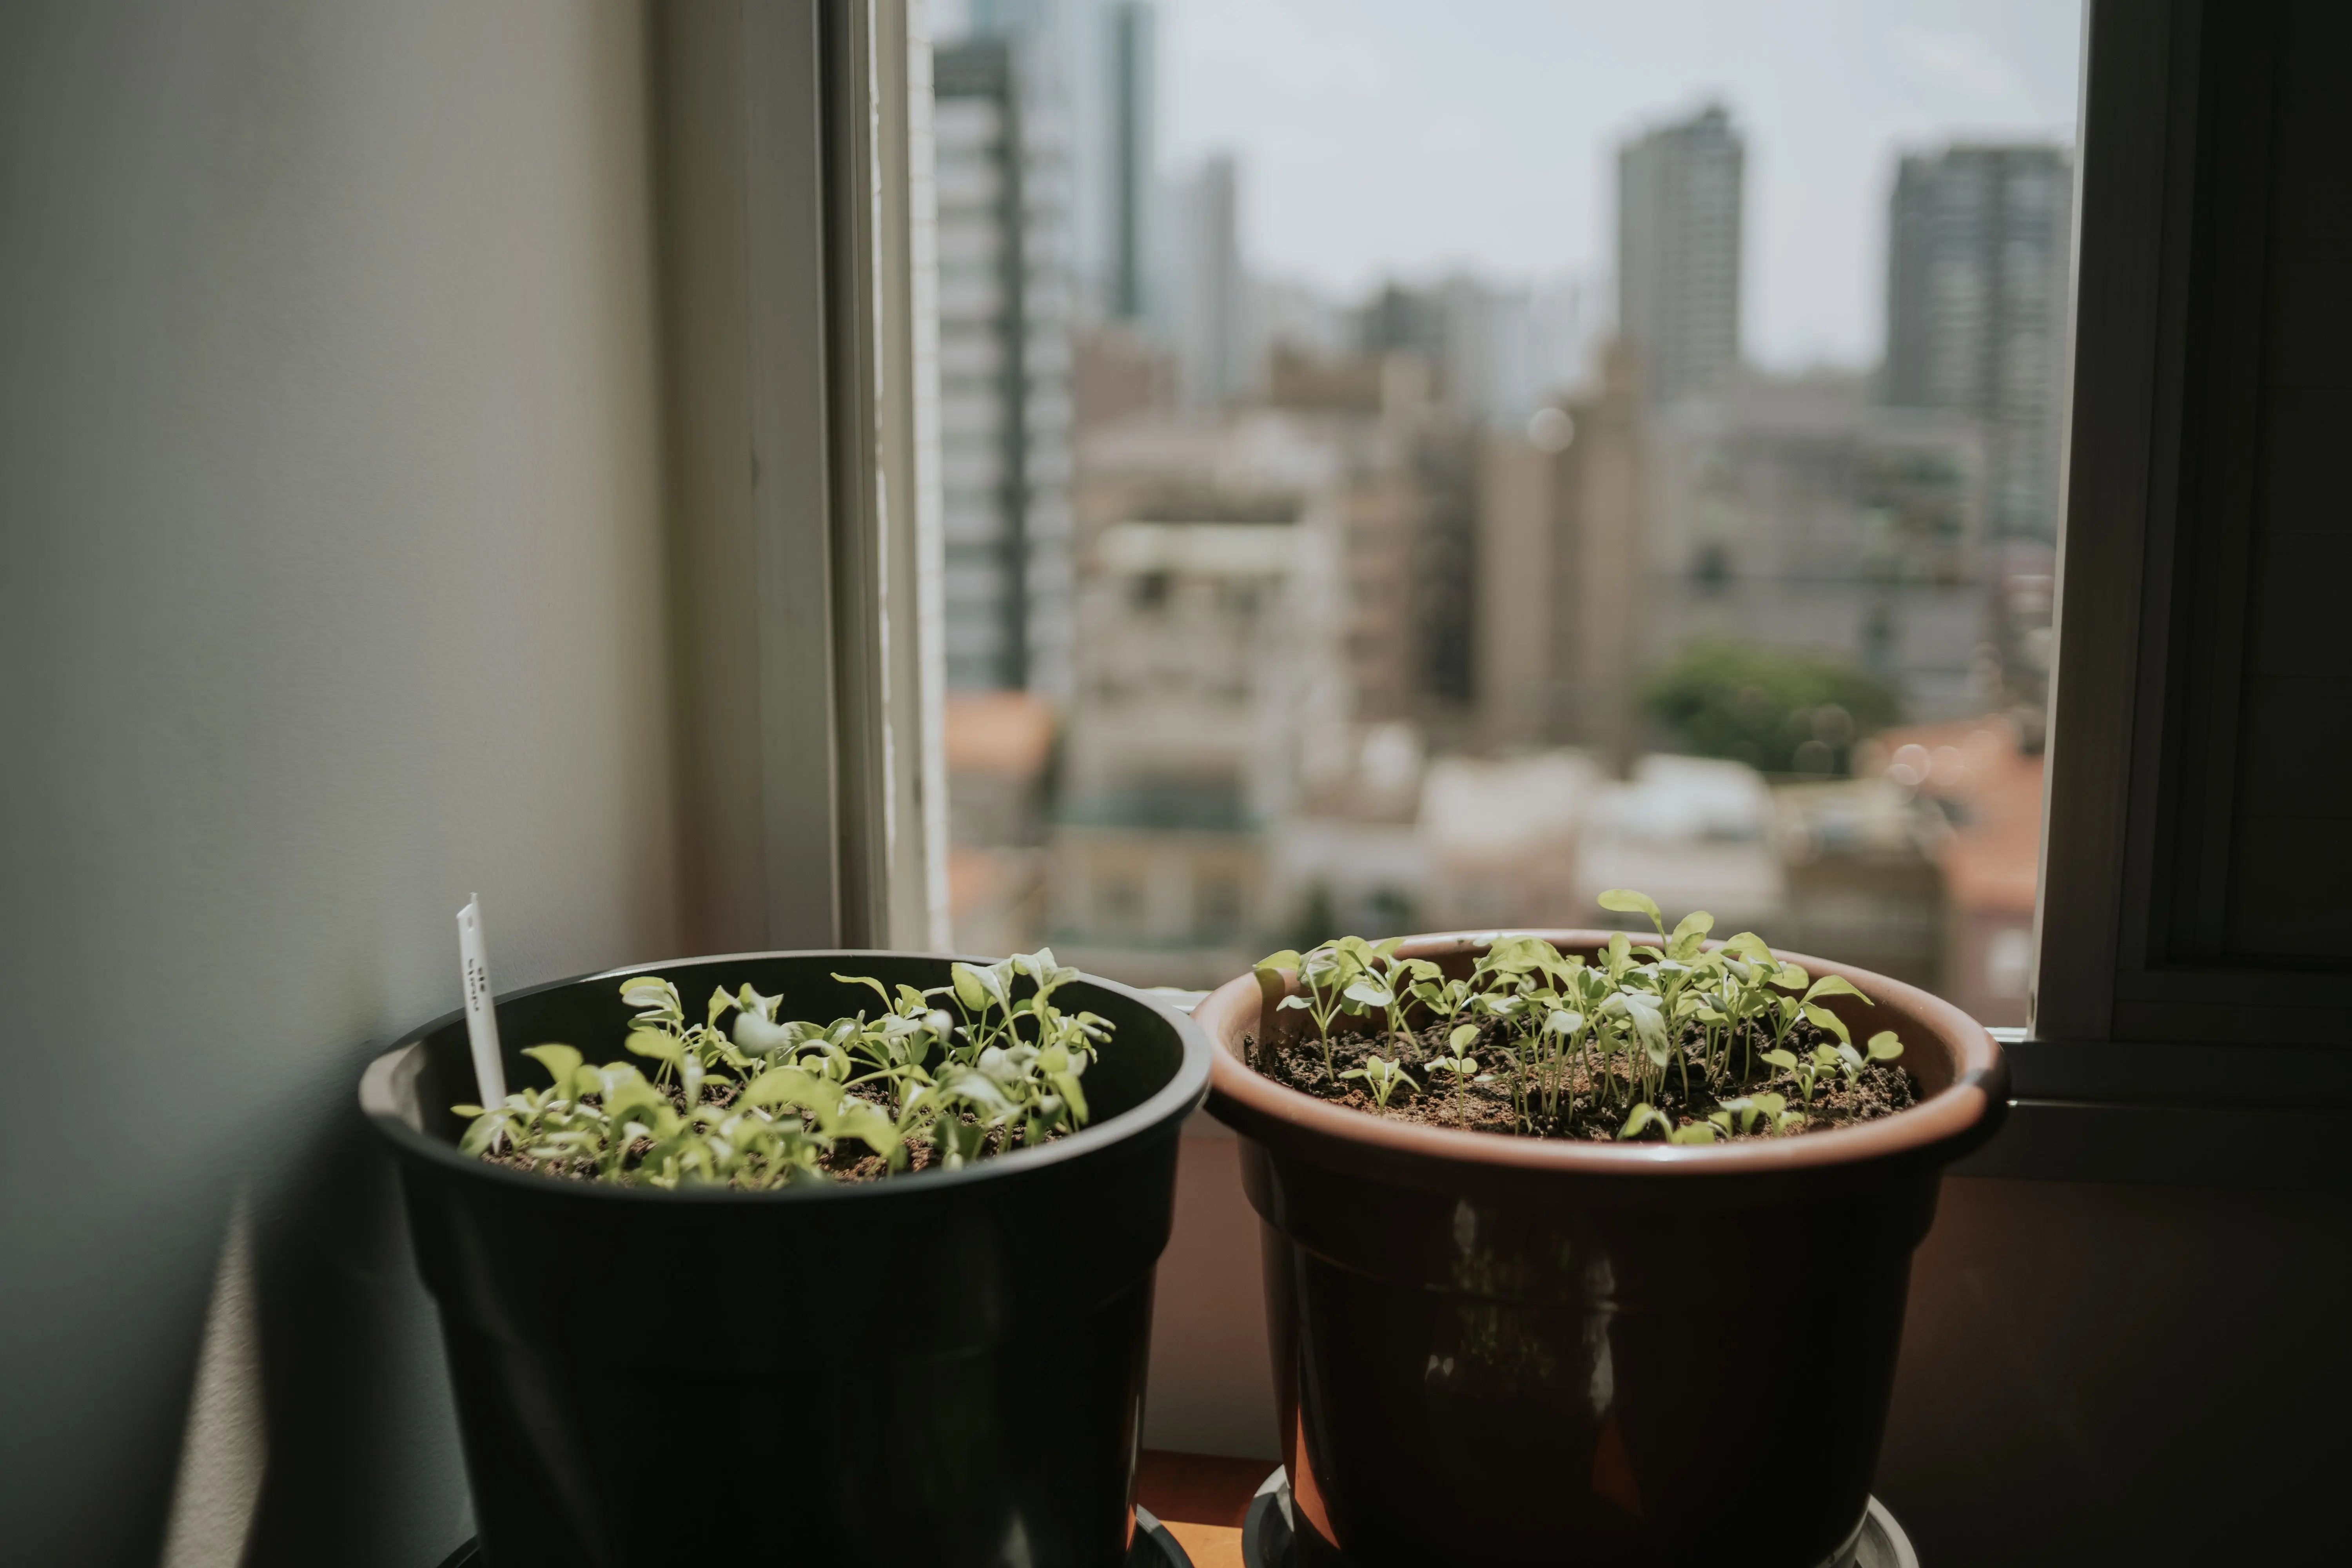
Successful thyme seed germination is crucial for a strong start. Thyme seeds are tiny and require specific conditions to sprout. Begin by preparing a seed-starting tray or small pots with a well-draining seed-starting mix. Lightly moisten the soil before sowing. Since thyme seeds need light to germinate, sprinkle them on the surface of the soil rather than burying them deep. Gently press them down to ensure good contact with the soil. Cover the trays with a clear dome or plastic wrap to maintain humidity, and place them in a warm location with plenty of indirect light. Optimal temperatures for germination are typically between 65-70°F (18-21°C). Keep the soil consistently moist but not waterlogged. Germination can take anywhere from 7 to 21 days, so patience is key.
Providing the Ideal Growing Conditions for Young Thyme
Once your thyme seeds have successfully germinated and the seedlings emerge, it’s time to provide them with optimal growing conditions to thrive. Thyme is a sun-loving herb, requiring at least 6-8 hours of direct sunlight daily for robust growth. If starting indoors, place seedlings under grow lights or in a south-facing window. Ensure good air circulation to prevent damping-off disease. As the seedlings grow larger and develop a few true leaves, thin them out to ensure proper spacing, preventing overcrowding and competition for resources. This step is vital for developing strong, healthy plants. Gradually harden off your seedlings by exposing them to outdoor conditions for increasing periods before transplanting them into your garden.
Transplanting and Ongoing Care for Thyme Plants
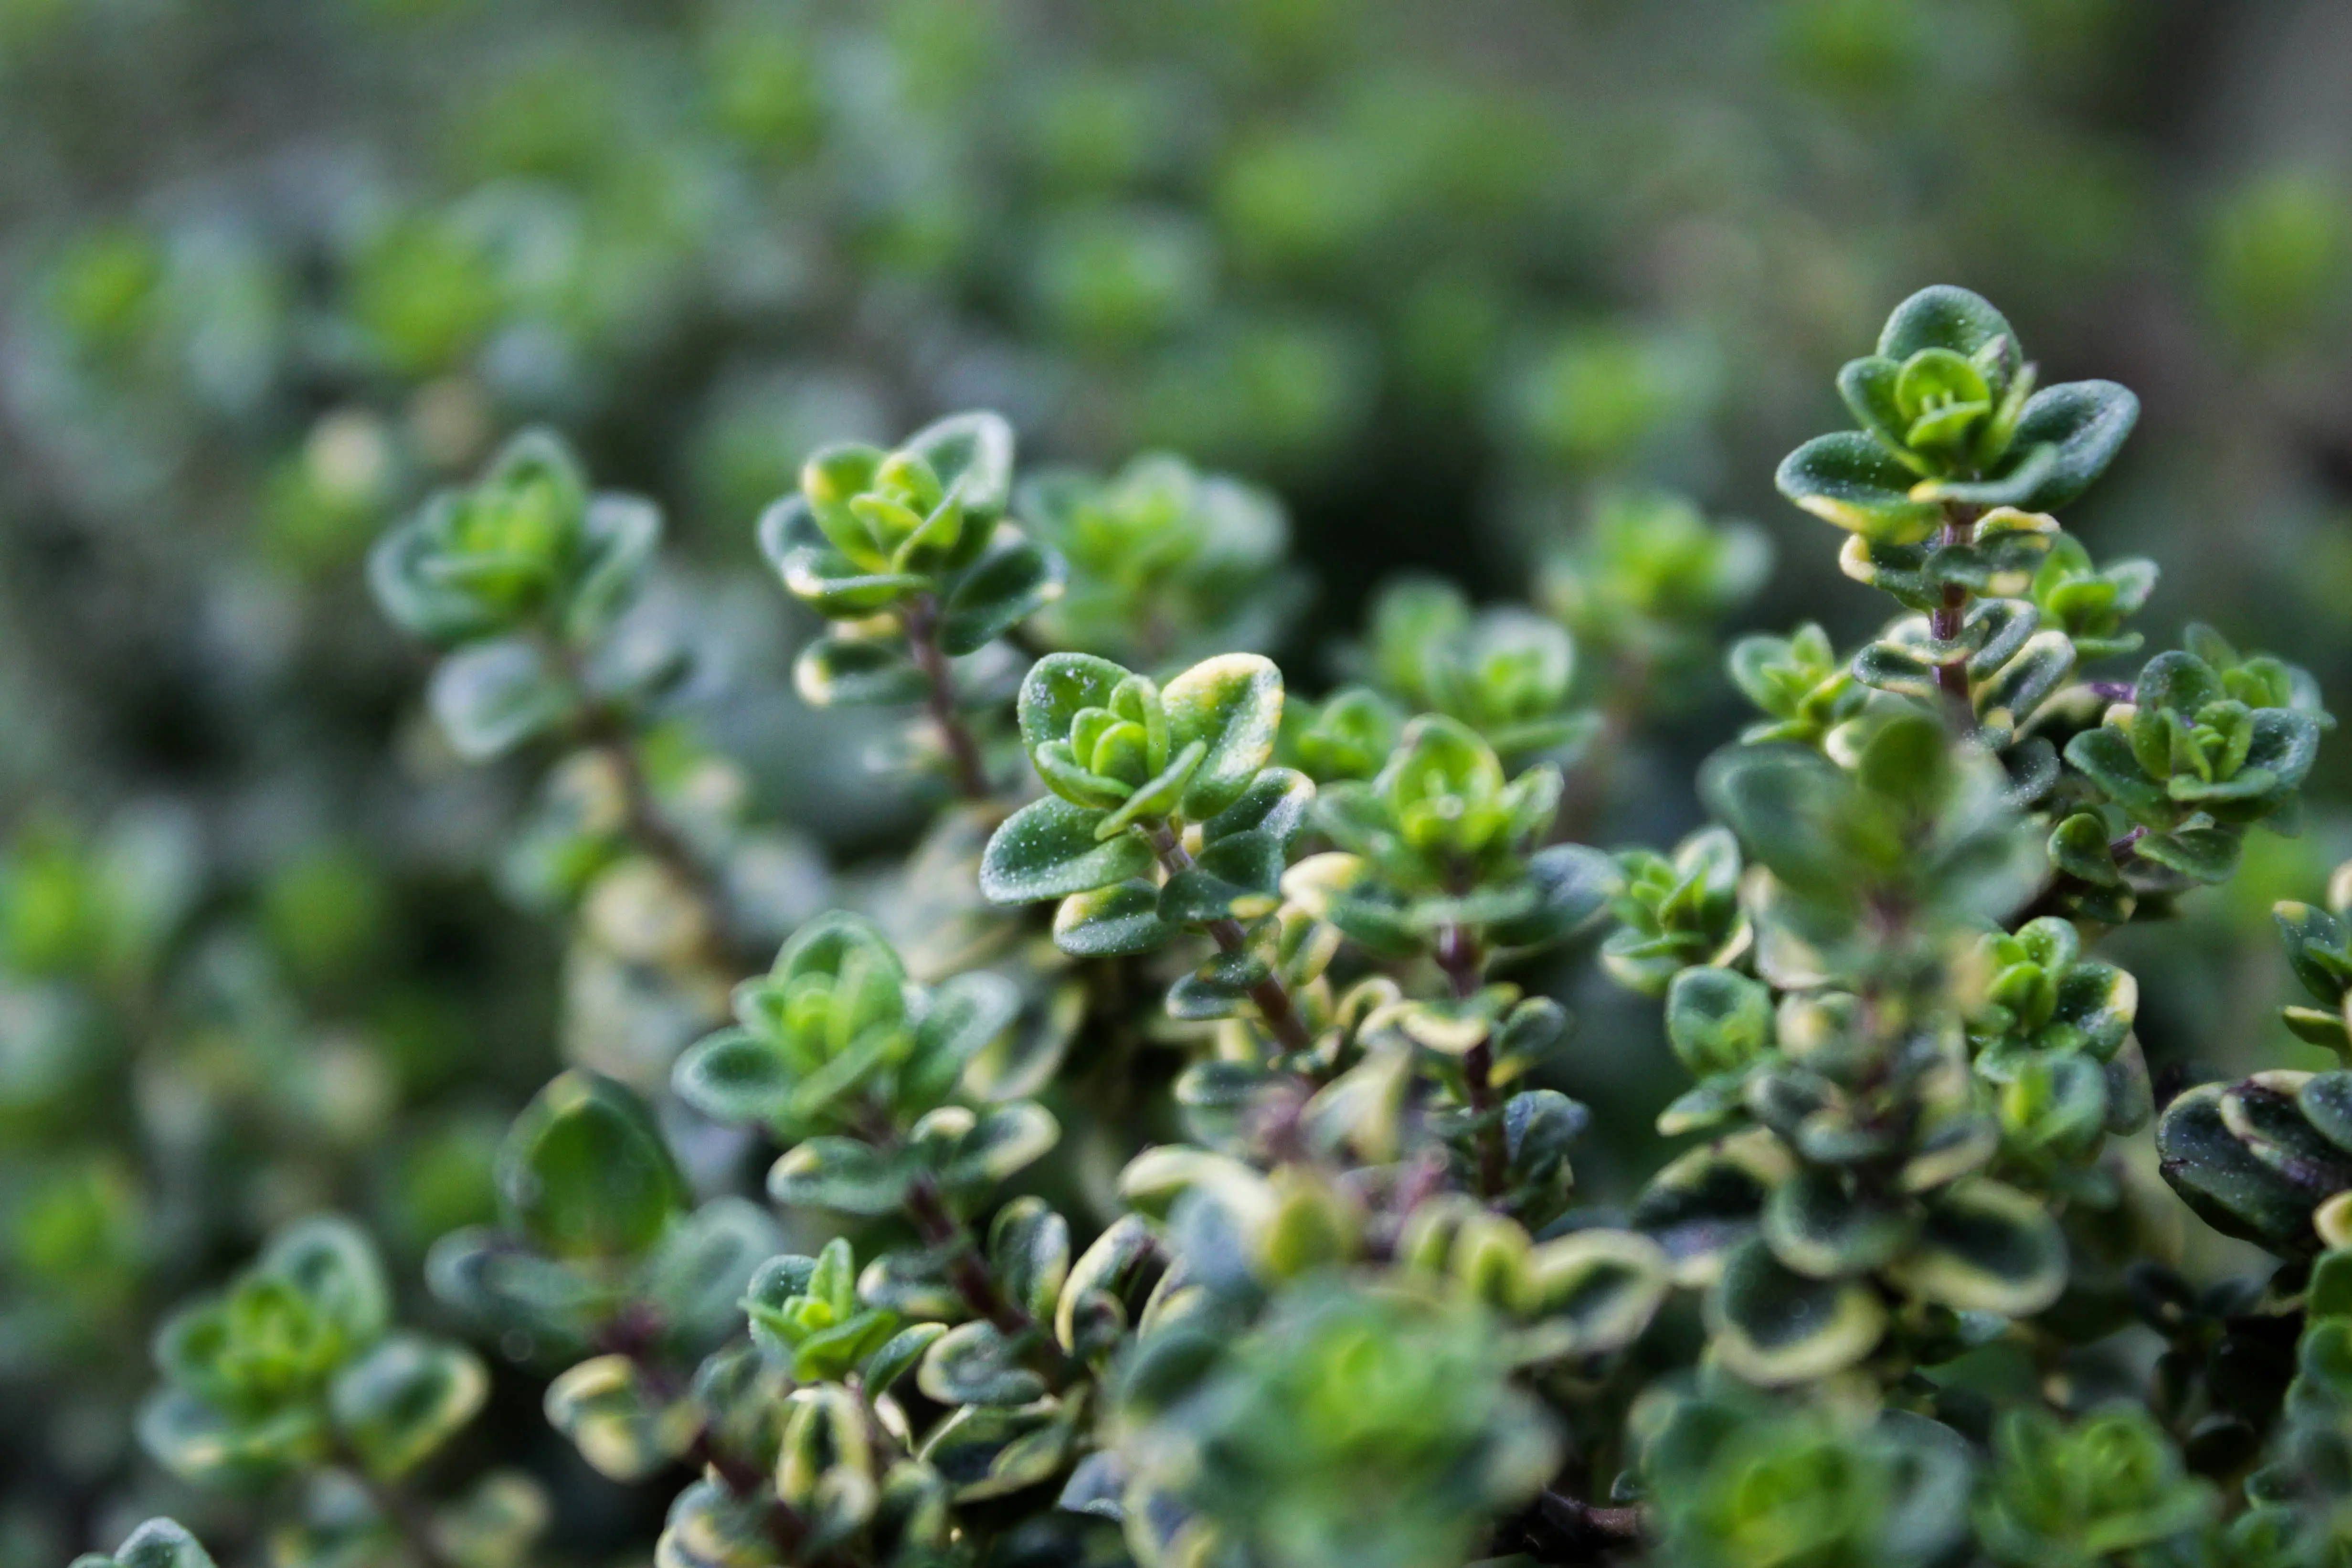
When your thyme seedlings are strong enough, typically 4-6 inches tall, they are ready for transplanting. Choose a location in your garden with well-draining soil and full sun. Thyme prefers slightly sandy soil with a pH between 6.0 and 8.0. Space your plants 8-12 inches apart to allow for proper air circulation and growth. After transplanting, water thoroughly. Established thyme plants are drought-tolerant and prefer drier conditions, so avoid overwatering. Water only when the top inch of soil feels dry to the touch. Pruning is essential for maintaining a healthy and productive thyme plant. Regularly trim back leggy growth to encourage bushier development and more aromatic leaves. Fertilize sparingly, if at all, as thyme thrives in lean soil.
FAQ About Growing Thyme from Seeds
What is the best way to sow thyme seeds?
The best way to sow thyme seeds is to sprinkle them on the surface of moist, well-draining seed-starting mix and gently press them down, as they need light to germinate.
How long does it take for thyme seeds to germinate?
Thyme seed germination typically takes between 7 and 21 days, depending on environmental conditions like warmth and moisture.
Do thyme seeds need light to germinate?
Yes, thyme seeds require light to germinate, so they should not be buried deep in the soil when sown.
When should I transplant my thyme seedlings?
You should transplant your thyme seedlings when they are about 4-6 inches tall and have developed a few sets of true leaves, after hardening them off.
How often should I water established thyme plants?
Established thyme plants are drought-tolerant; water them only when the top inch of soil feels dry to the touch, as they prefer drier conditions.
Harvesting and Enjoying Your Homegrown Thyme
Harvesting your thyme is the final rewarding step in your gardening journey. You can begin harvesting small sprigs once your plants are established and have reached a good size. Use sharp scissors or pruners to snip off the top few inches of growth, taking care not to remove more than one-third of the plant at a time. Regular harvesting actually encourages bushier growth and a more prolific yield. Fresh thyme can be used immediately in your cooking, adding a wonderful aromatic touch to a variety of dishes. For long-term storage, you can dry bundles of thyme by hanging them in a cool, well-ventilated area, or chop and freeze the leaves. Starting with high-quality thyme seeds and following these cultivation tips will provide you with a continuous supply of this beloved herb. Enjoy the fresh flavors and aromas you’ve cultivated with your own hands!