


Welcome, aspiring dancers, event planners, and diy enthusiasts! Have you ever dreamt of having a dedicated space to practice your routines, host unforgettable parties, or simply let loose and groove whenever the mood strikes? The idea of a professional-grade dance floor might seem daunting, both in terms of cost and complexity. However, I’m here to tell you that creating a fantastic diy dance floor is not only achievable but also incredibly rewarding. As a seasoned WordPress blogger and SEO expert with over a decade of experience, I’ve seen countless home improvement projects transform spaces, and a custom dance floor is certainly one of the most exciting.
Building your own dance floor offers numerous benefits. Firstly, it allows for complete customization, tailoring the size, material, and aesthetics to your specific needs and preferences. Whether you’re into ballet, hip-hop, ballroom, or just need a sturdy surface for kids’ play, a DIY approach gives you control. Secondly, it’s often significantly more budget-friendly than purchasing a pre-fabricated, portable solution or hiring professionals. You can source materials that fit your financial plan and put in the sweat equity to save on labor costs. Finally, there’s an immense sense of accomplishment that comes with creating a functional and beautiful space with your own hands. In this comprehensive guide, we’ll walk through everything you need to know to construct your very own diy dance floor, covering material selection, subfloor preparation, installation techniques, and essential maintenance tips. Get ready to transform your spare room, basement, or garage into a vibrant stage for all your dance endeavors!
Planning Your Perfect DIY Dance Floor: Size, Location, and Type
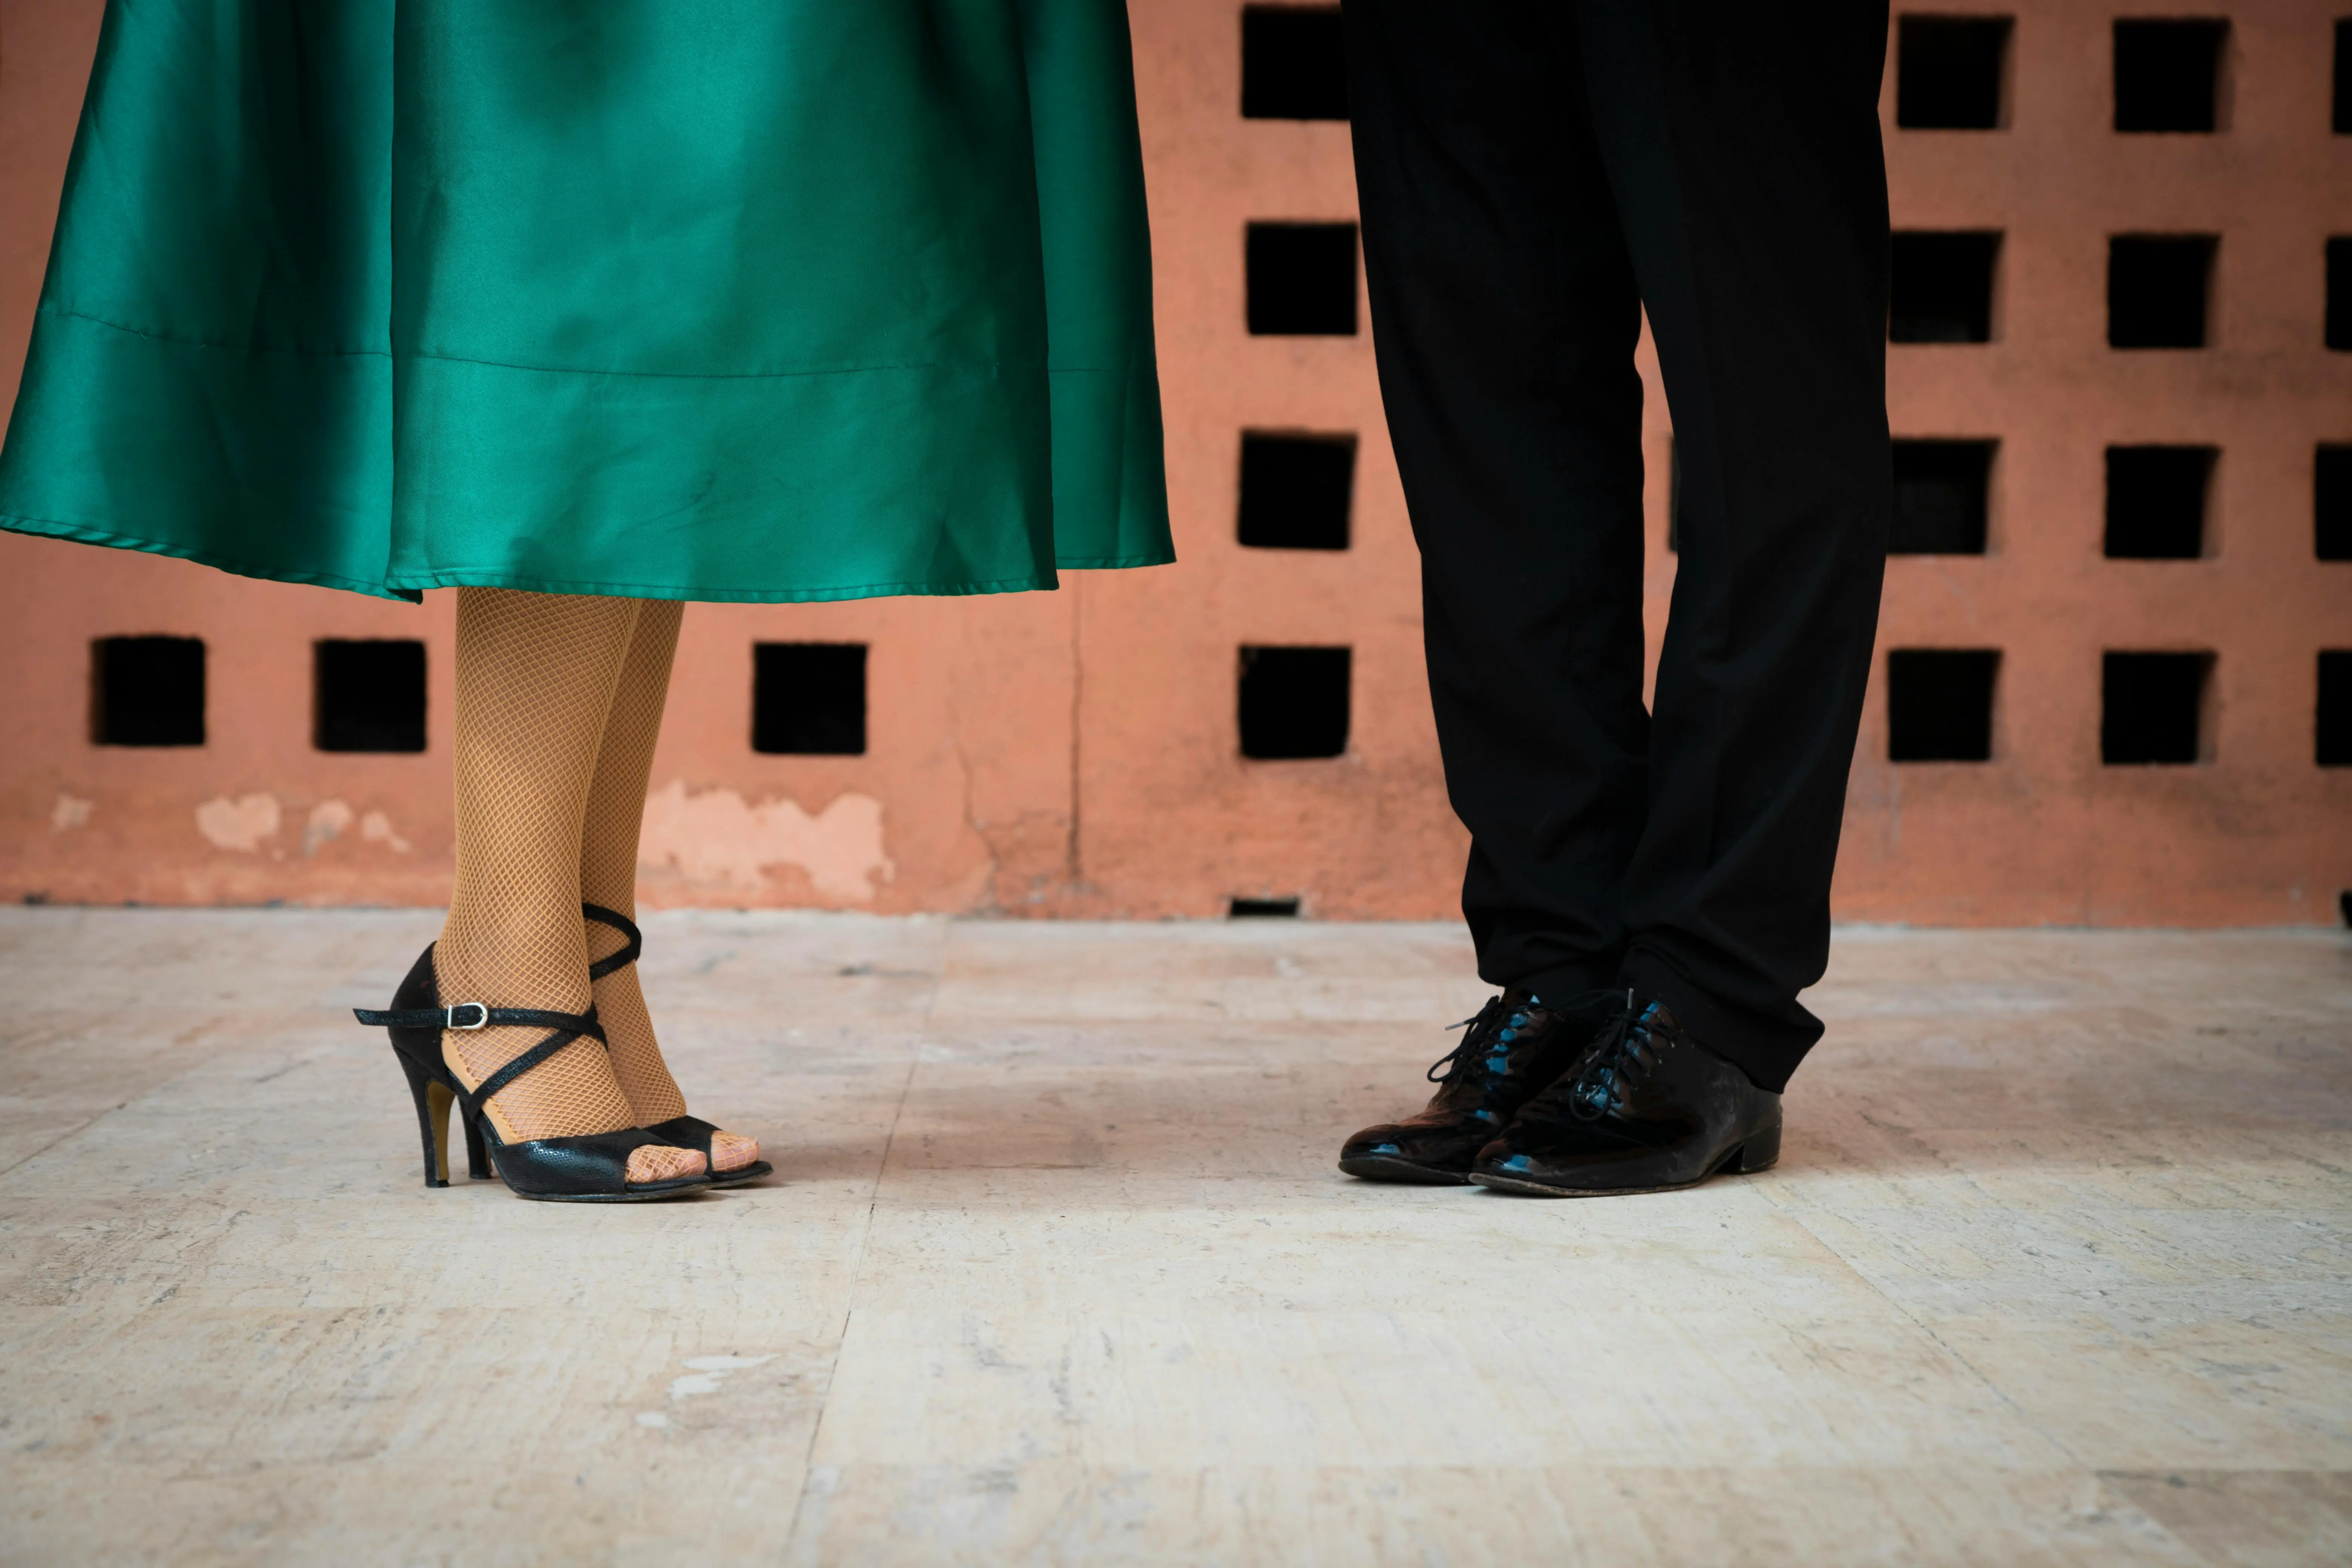
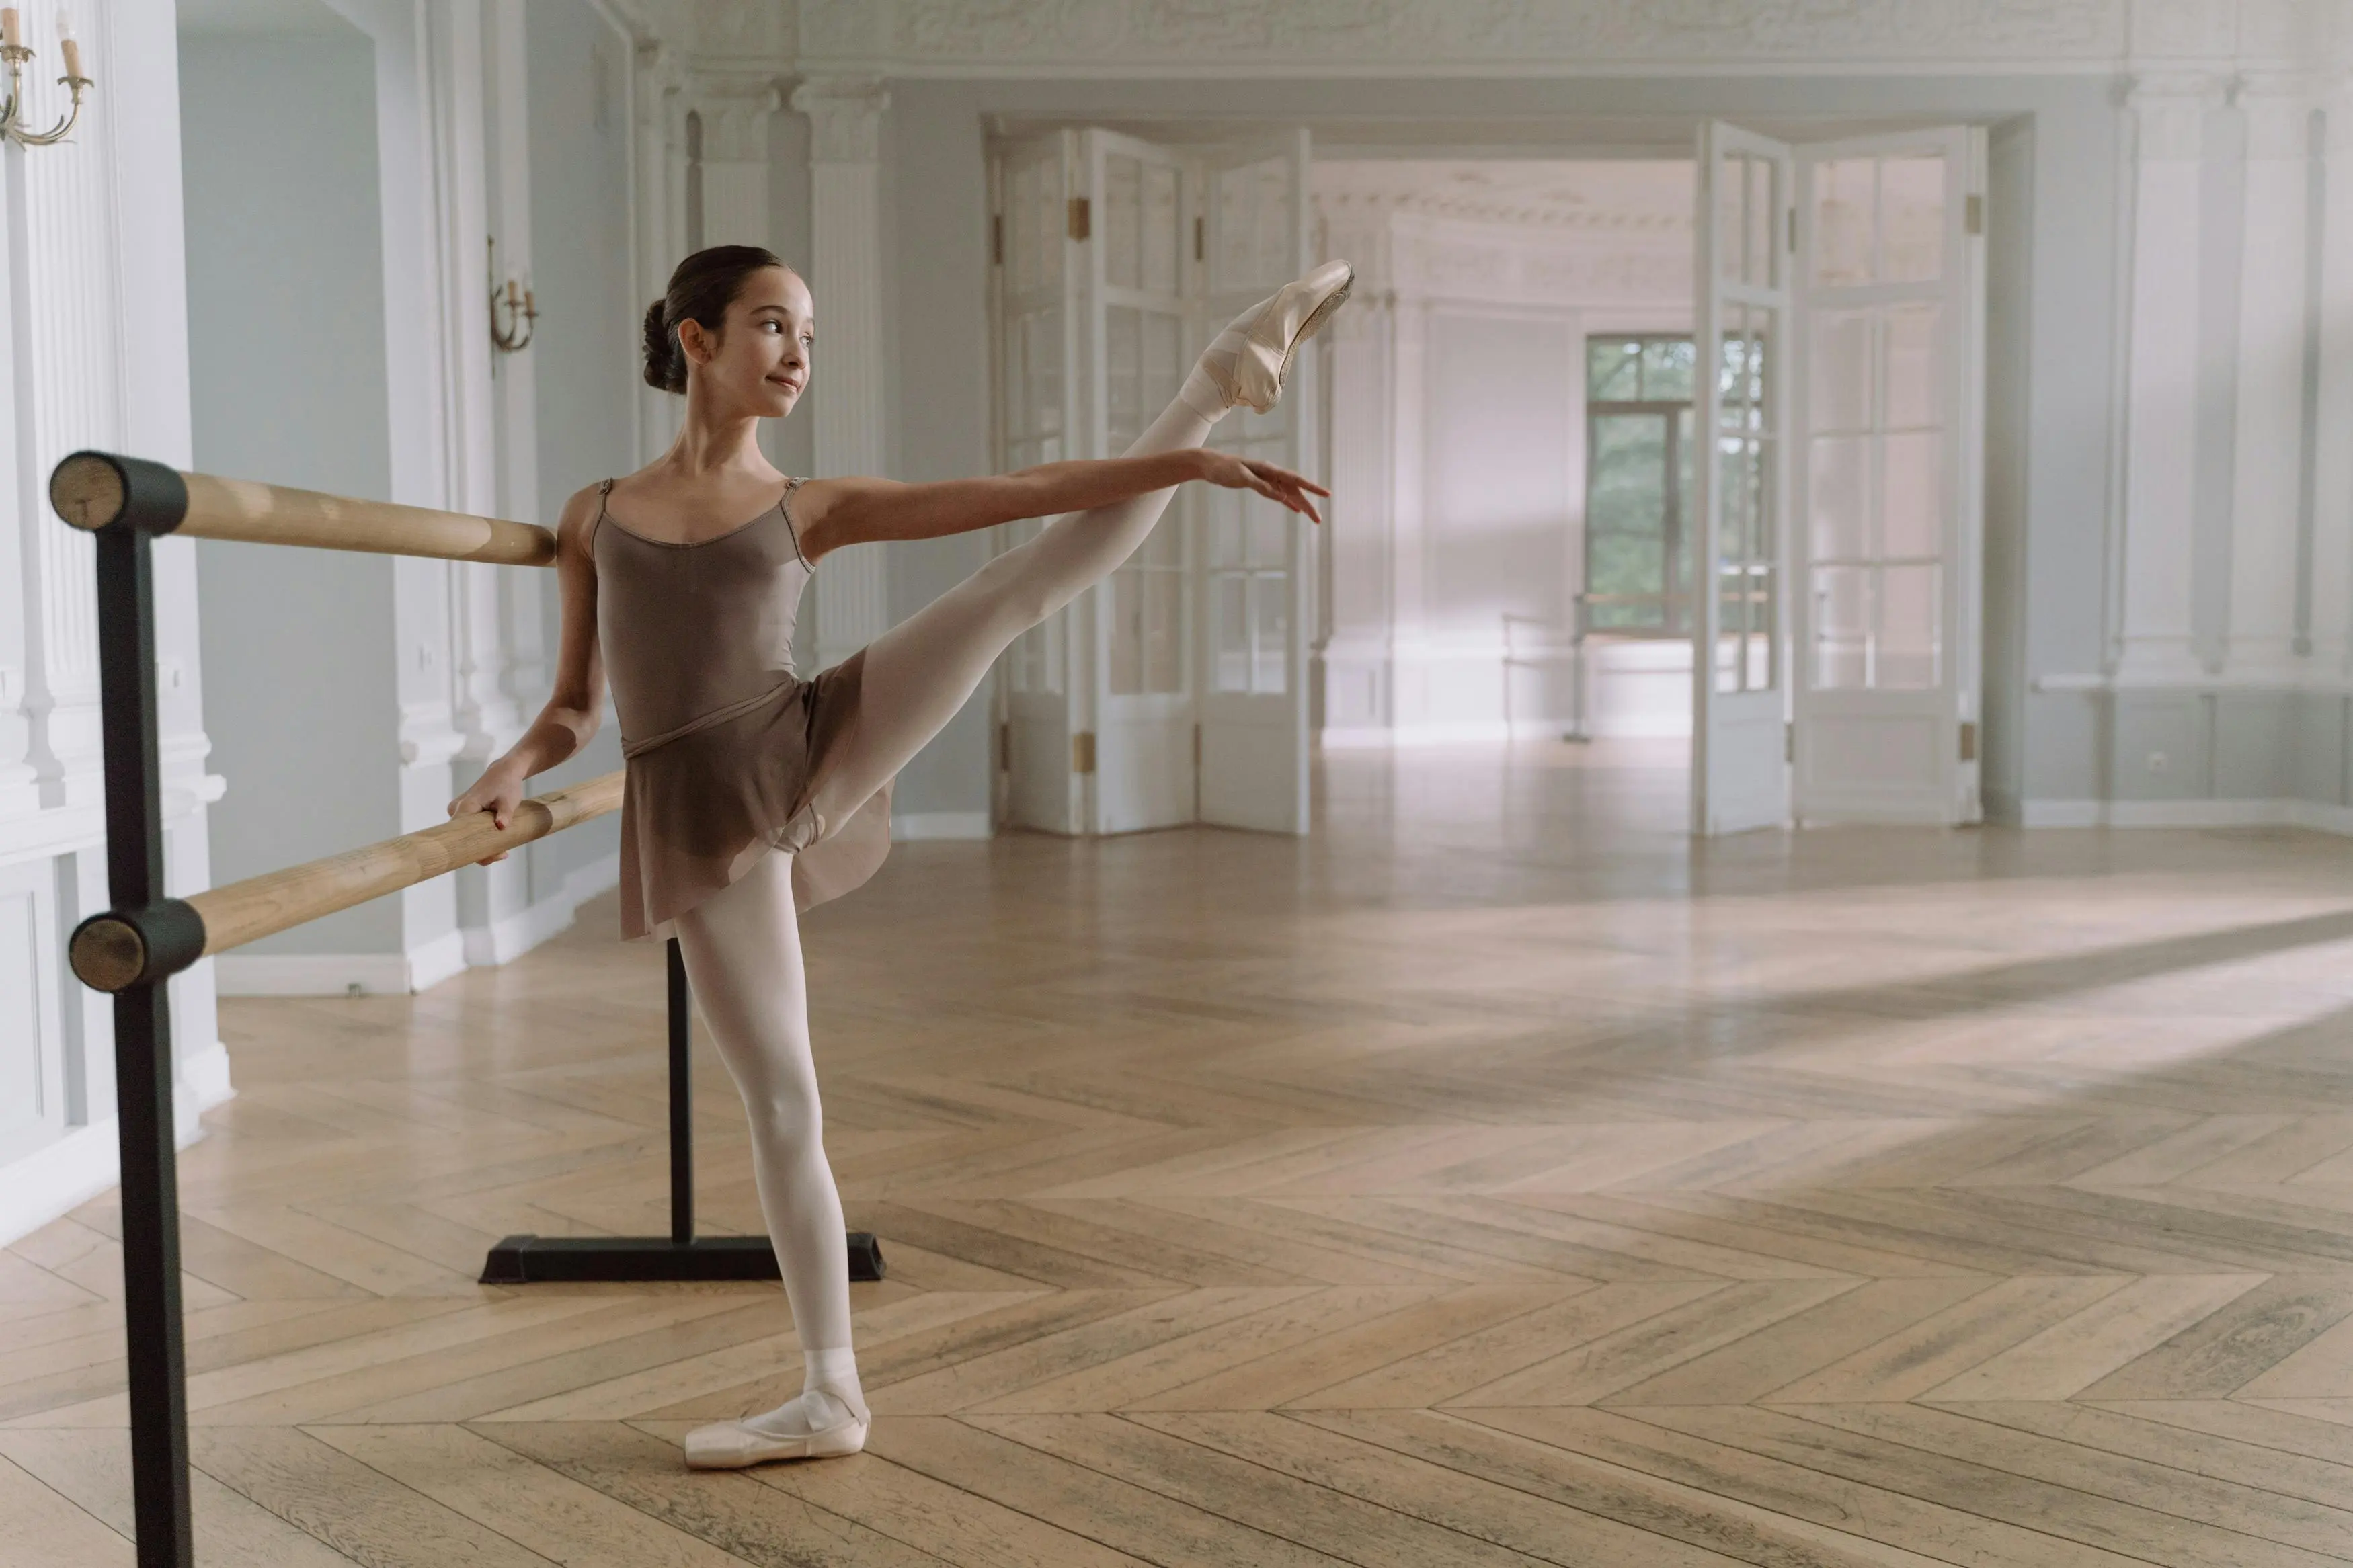
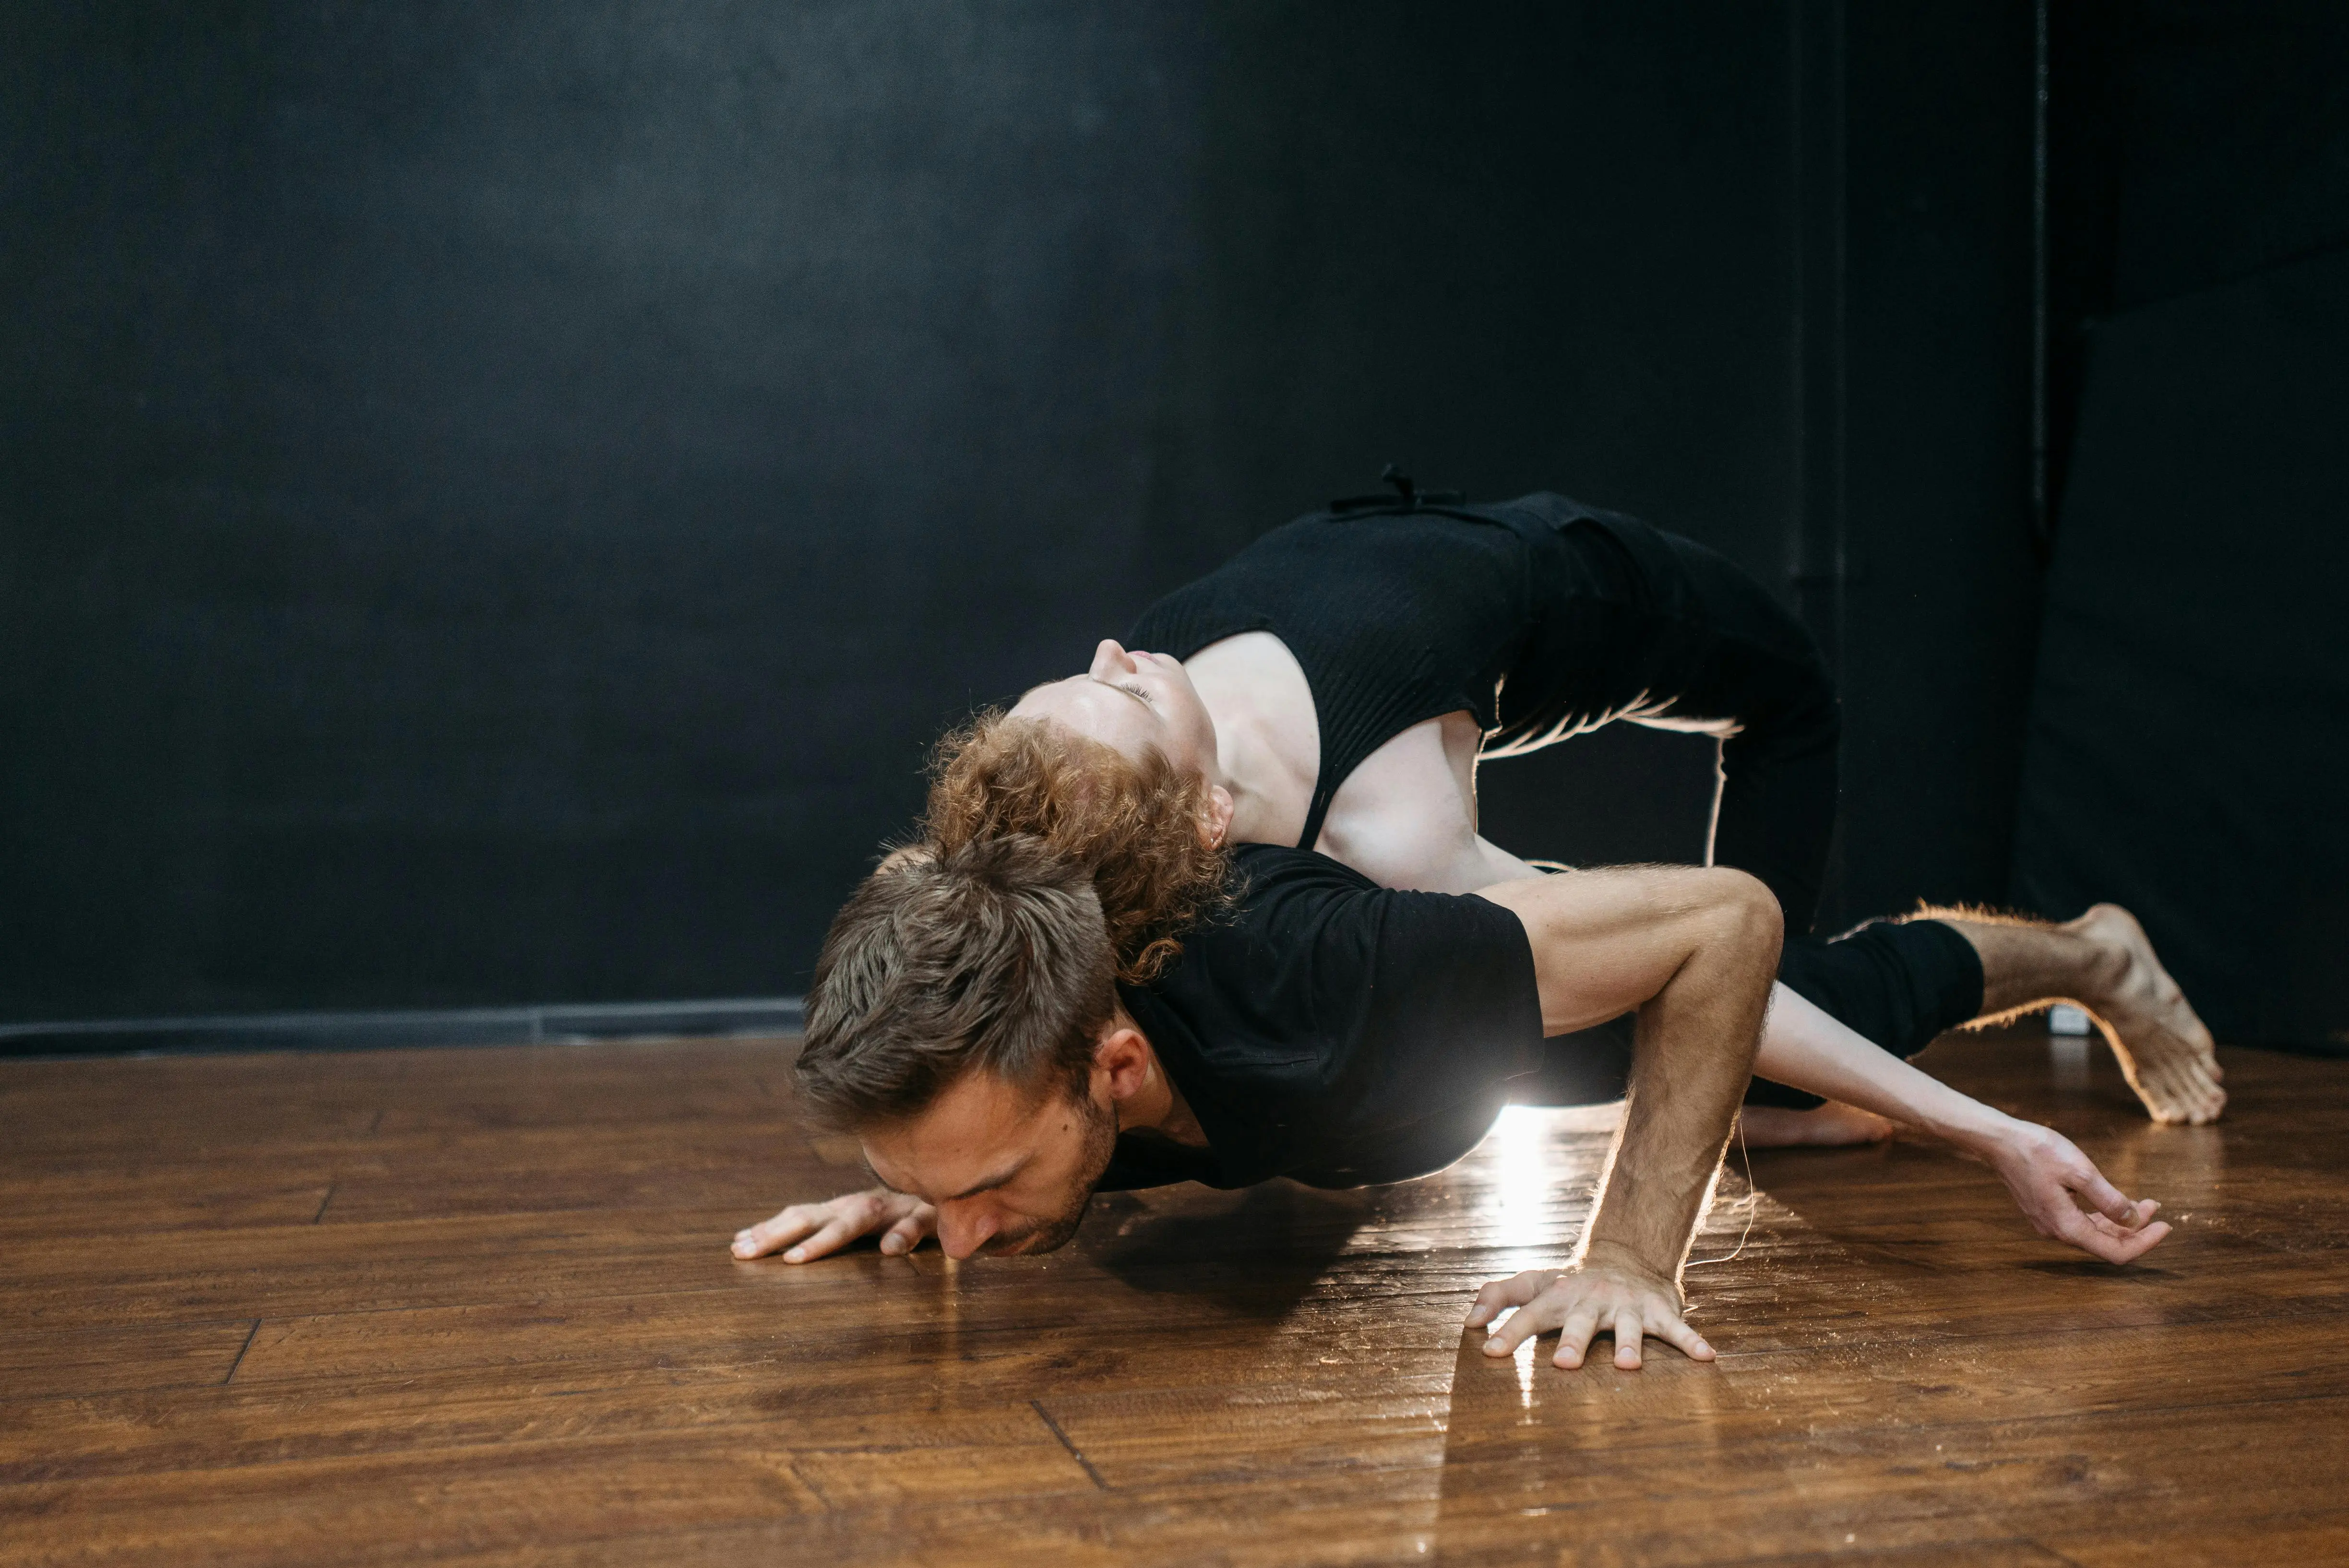
Before you even think about buying materials, meticulous planning is paramount for a successful diy dance floor project. Start by defining the purpose of your dance floor. Will it be for ballet, tap, hip-hop, Irish dancing, or general fitness? The type of dance heavily influences the ideal subfloor and top surface. For instance, tap dancers need a very hard, resonant surface, while ballet dancers might prefer something with a bit more spring. Next, consider the location. Is it an indoor space like a basement, garage, or spare room? Or are you envisioning an outdoor setup for events? Indoor locations offer more control over environmental factors like humidity and temperature, which are crucial for wood floors. Outdoor options require weather-resistant materials.
Measure your available space accurately. A common mistake is underestimating the footprint needed. Allow for adequate clearance around the dance area, especially if you plan to incorporate mirrors or other equipment. Think about the room’s existing flooring; this will dictate your subfloor preparation. Concrete slabs, wooden subfloors, or even carpeted areas each present unique challenges and opportunities. Accessibility for material delivery and construction is also a practical consideration. Lastly, determine your budget. This will guide your material choices. There are excellent options available for various price points, from budget-friendly plywood solutions to more premium sprung floors. Don’t forget to factor in tools, safety equipment, and any finishing touches like paint or sealants. A well-laid plan is the foundation for a durable and delightful diy dance floor.
Selecting the Right Materials for Your DIY Dance Floor
Choosing the correct materials is critical for the performance, durability, and aesthetics of your diy dance floor. Let’s break down the key components. The foundation of any good dance floor is its subfloor. For a sprung feel, often preferred by professional dancers to reduce impact and prevent injuries, consider floating subfloor systems. These typically involve layers of plywood or OSB separated by resilient spacers like rubber pads, tennis balls cut in half, or specialized foam blocks. The goal is to create a slight give, absorbing shock. Alternatively, a simpler, solid subfloor can be built directly on a level concrete slab or existing wood subfloor using one or two layers of plywood, screwed or nailed down securely.
For the top surface, options abound. Hardwood is a classic choice, offering excellent glide and durability. Maple is highly prized, but oak or birch can also work. Remember to choose unfinished wood that can be sealed appropriately. For a more budget-friendly and versatile option, high-quality plywood or even sanded OSB can be painted and sealed. Vinyl dance flooring (Marley) is another popular choice, especially for ballet, contemporary, and jazz, providing a non-slip, shock-absorbing surface that is easy to clean. This usually requires a smooth, hard substrate underneath. If you’re considering an epoxy floor diy for a highly durable and customizable surface, know that while epoxy provides an incredibly hard wear layer, it generally lacks the natural give desirable for sustained dance practice, making it less ideal for performance-focused dance floors unless a sprung subfloor is already in place. However, for a general-purpose, easy-to-clean party area, an epoxy floor diy can be a fantastic option. Ensure all materials are level, free of splinters, and able to withstand the intended use. Proper material selection directly impacts the safety and enjoyment of your dance space.
Step-by-Step Construction of Your DIY Dance Floor
Now that your planning is complete and materials are gathered, it’s time to get started on building your diy dance floor. The first crucial step is preparing the base. Ensure your existing floor is clean, dry, and perfectly level. Use a long level and shims if necessary to address any uneven spots, especially if working on concrete. For a concrete slab, a vapor barrier (6 mil polyethylene sheeting) is highly recommended to prevent moisture issues, extending the life of your dance floor.
Next, construct your subfloor. If you’re building a simple, solid subfloor, lay down your first layer of plywood (e.g., 3/4-inch CDX), staggering the seams like brickwork for added stability. Secure it to the existing subfloor or joists with screws. For a sprung floor, the process is slightly more involved. You’ll typically start with a base layer of plywood, then attach your chosen resilient pads (rubber blocks, foam, or tennis ball halves) at regular intervals (e.g., 18-24 inches on center). On top of these pads, lay a second layer of plywood, again staggering seams. This creates the ‘spring’ in your floor. Ensure all layers are firmly screwed together but not directly to the existing structural floor, maintaining the floating nature of the sprung system.
Finally, install your top surface. If using hardwood, lay the planks perpendicular to the uppermost subfloor layer, using appropriate flooring fasteners. For vinyl (Marley) flooring, roll it out flat and allow it to acclimatize for at least 24 hours to prevent waves or bubbling. Use a recommended adhesive to secure it to your smooth subfloor, ensuring a bubble-free installation. If you opted for painted plywood, sand the surface smooth, prime, and apply several coats of durable floor paint, followed by a clear, non-slip sealant. Pay close attention to detail during installation, as imperfections can compromise the safety and longevity of your diy dance floor. Take your time, measure twice, and cut once!
Finishing Touches and Maintenance for Your DIY Dance Floor
With the main construction complete, the finishing touches are what will truly make your diy dance floor stand out and last for years. If you’ve used hardwood or bare plywood, proper sealing is essential. For hardwood, apply multiple coats of a high-quality, durable polyurethane or tung oil finish. Choose a satin or semi-gloss sheen for performance floors to avoid excessive reflections. For painted plywood, a clear, non-slip floor sealant or epoxy topcoat will protect the paint and provide a suitable surface for dancing. Ensure adequate ventilation during curing times for all finishes.
Consider adding transition strips or edging around the perimeter of your dance floor, especially if it’s raised. This creates a clean look and prevents tripping hazards. Wall-mounted mirrors can dramatically enhance a dance studio, providing performers with immediate feedback. Install ballet barres if appropriate for your dance style, ensuring they are securely mounted to wall studs. Proper lighting can also set the mood and improve visibility.
Maintenance is key to prolonging the life of your diy dance floor. Regularly sweep or vacuum to remove dust and debris. For most finished surfaces (hardwood, painted plywood, vinyl), a damp mop with a mild, pH-neutral cleaner is usually sufficient. Avoid harsh chemicals, abrasive cleaners, or excessive water, as these can damage the finish or warp wood. For sprung floors, occasionally check for any loose screws or components and tighten as needed. Address any spills immediately to prevent staining or water damage. By taking these finishing and maintenance steps, your custom diy dance floor will remain a safe, beautiful, and inspiring space for many years of enjoyment.
DIY Dance Floor FAQ
What materials are best for a diy dance floor?
The best materials depend on the dance style and budget. Common choices include layers of plywood for the subfloor (often with resilient pads for a ‘sprung’ effect), topped with hardwood (maple, oak), specialized vinyl dance flooring (Marley), or even sanded and sealed plywood for a more budget-friendly option. For a general utility or party floor, an epoxy floor diy over a stable subfloor can also be considered for extreme durability and ease of cleaning.
How do I make my diy dance floor sprung?
A sprung dance floor involves creating a floating subfloor structure. This typically starts with a base layer of plywood on a level surface, followed by resilient spacers (e.g., rubber pads, foam blocks, or even cut tennis balls) placed at regular intervals. A second layer of plywood is then screwed onto these spacers, effectively creating a floor that has a slight give, absorbing impact and reducing strain on dancers’ joints. Ensure the layers are not directly attached to the underlying structural floor.
Can I use an epoxy floor diy as a dance floor?
While an epoxy floor diy offers incredible durability, a seamless surface, and easy maintenance, it generally lacks the natural ‘give’ or shock absorption that serious dancers prefer for sustained practice. It creates a very hard surface. If you want to use epoxy, it’s highly recommended to apply it over an already constructed sprung subfloor. For a casual party area or a space where dance is secondary, it can be an excellent, long-lasting surface, but for dedicated dance practice, traditional sprung floors with wood or Marley tops are usually better.
How do I ensure my diy dance floor is safe and level?
Safety starts with subfloor preparation. Ensure the existing floor is clean, dry, and perfectly level before laying any new materials. Use shims where necessary to correct unevenness. During construction, stagger plywood seams for stability and securely fasten all layers. For the top surface, ensure it’s splinter-free, has appropriate grip (not too slippery, not too sticky), and is free from any protruding nails or screws. Edge trim or transition strips around the perimeter can prevent tripping hazards.
What kind of maintenance does a diy dance floor require?
Regular maintenance is crucial. Sweep or vacuum daily to remove dirt and grit. For most surfaces, a damp mop with a pH-neutral cleaner is sufficient. Avoid harsh chemicals, abrasive pads, or excessive water, which can damage finishes or warp wood. Promptly clean up spills. If using a wood surface, reapply sealant or finish periodically as signs of wear appear. For sprung floors, occasionally check and tighten any loose fasteners.
There you have it-a comprehensive guide to creating your very own diy dance floor. From the initial spark of an idea to the final polished surface, you now have the knowledge and confidence to embark on this exciting project. We’ve covered everything from meticulous planning and material selection to step-by-step construction and ongoing maintenance. Remember, the beauty of a DIY project lies not just in the cost savings, but in the pride of creating a space perfectly tailored to your needs and vision. Whether you’re a professional dancer, an enthusiastic amateur, or simply someone who loves to host lively gatherings, a custom-built dance floor can significantly enhance your home and lifestyle. Imagine the joy of having a dedicated, safe, and inspiring space to move, express, and celebrate. Don’t let the complexity deter you; with careful planning and a little elbow grease, your dream dance studio can become a reality. Take the first step today and start designing the perfect diy dance floor that will bring joy and movement into your life for years to come!
