Introduction to DIY Flooring
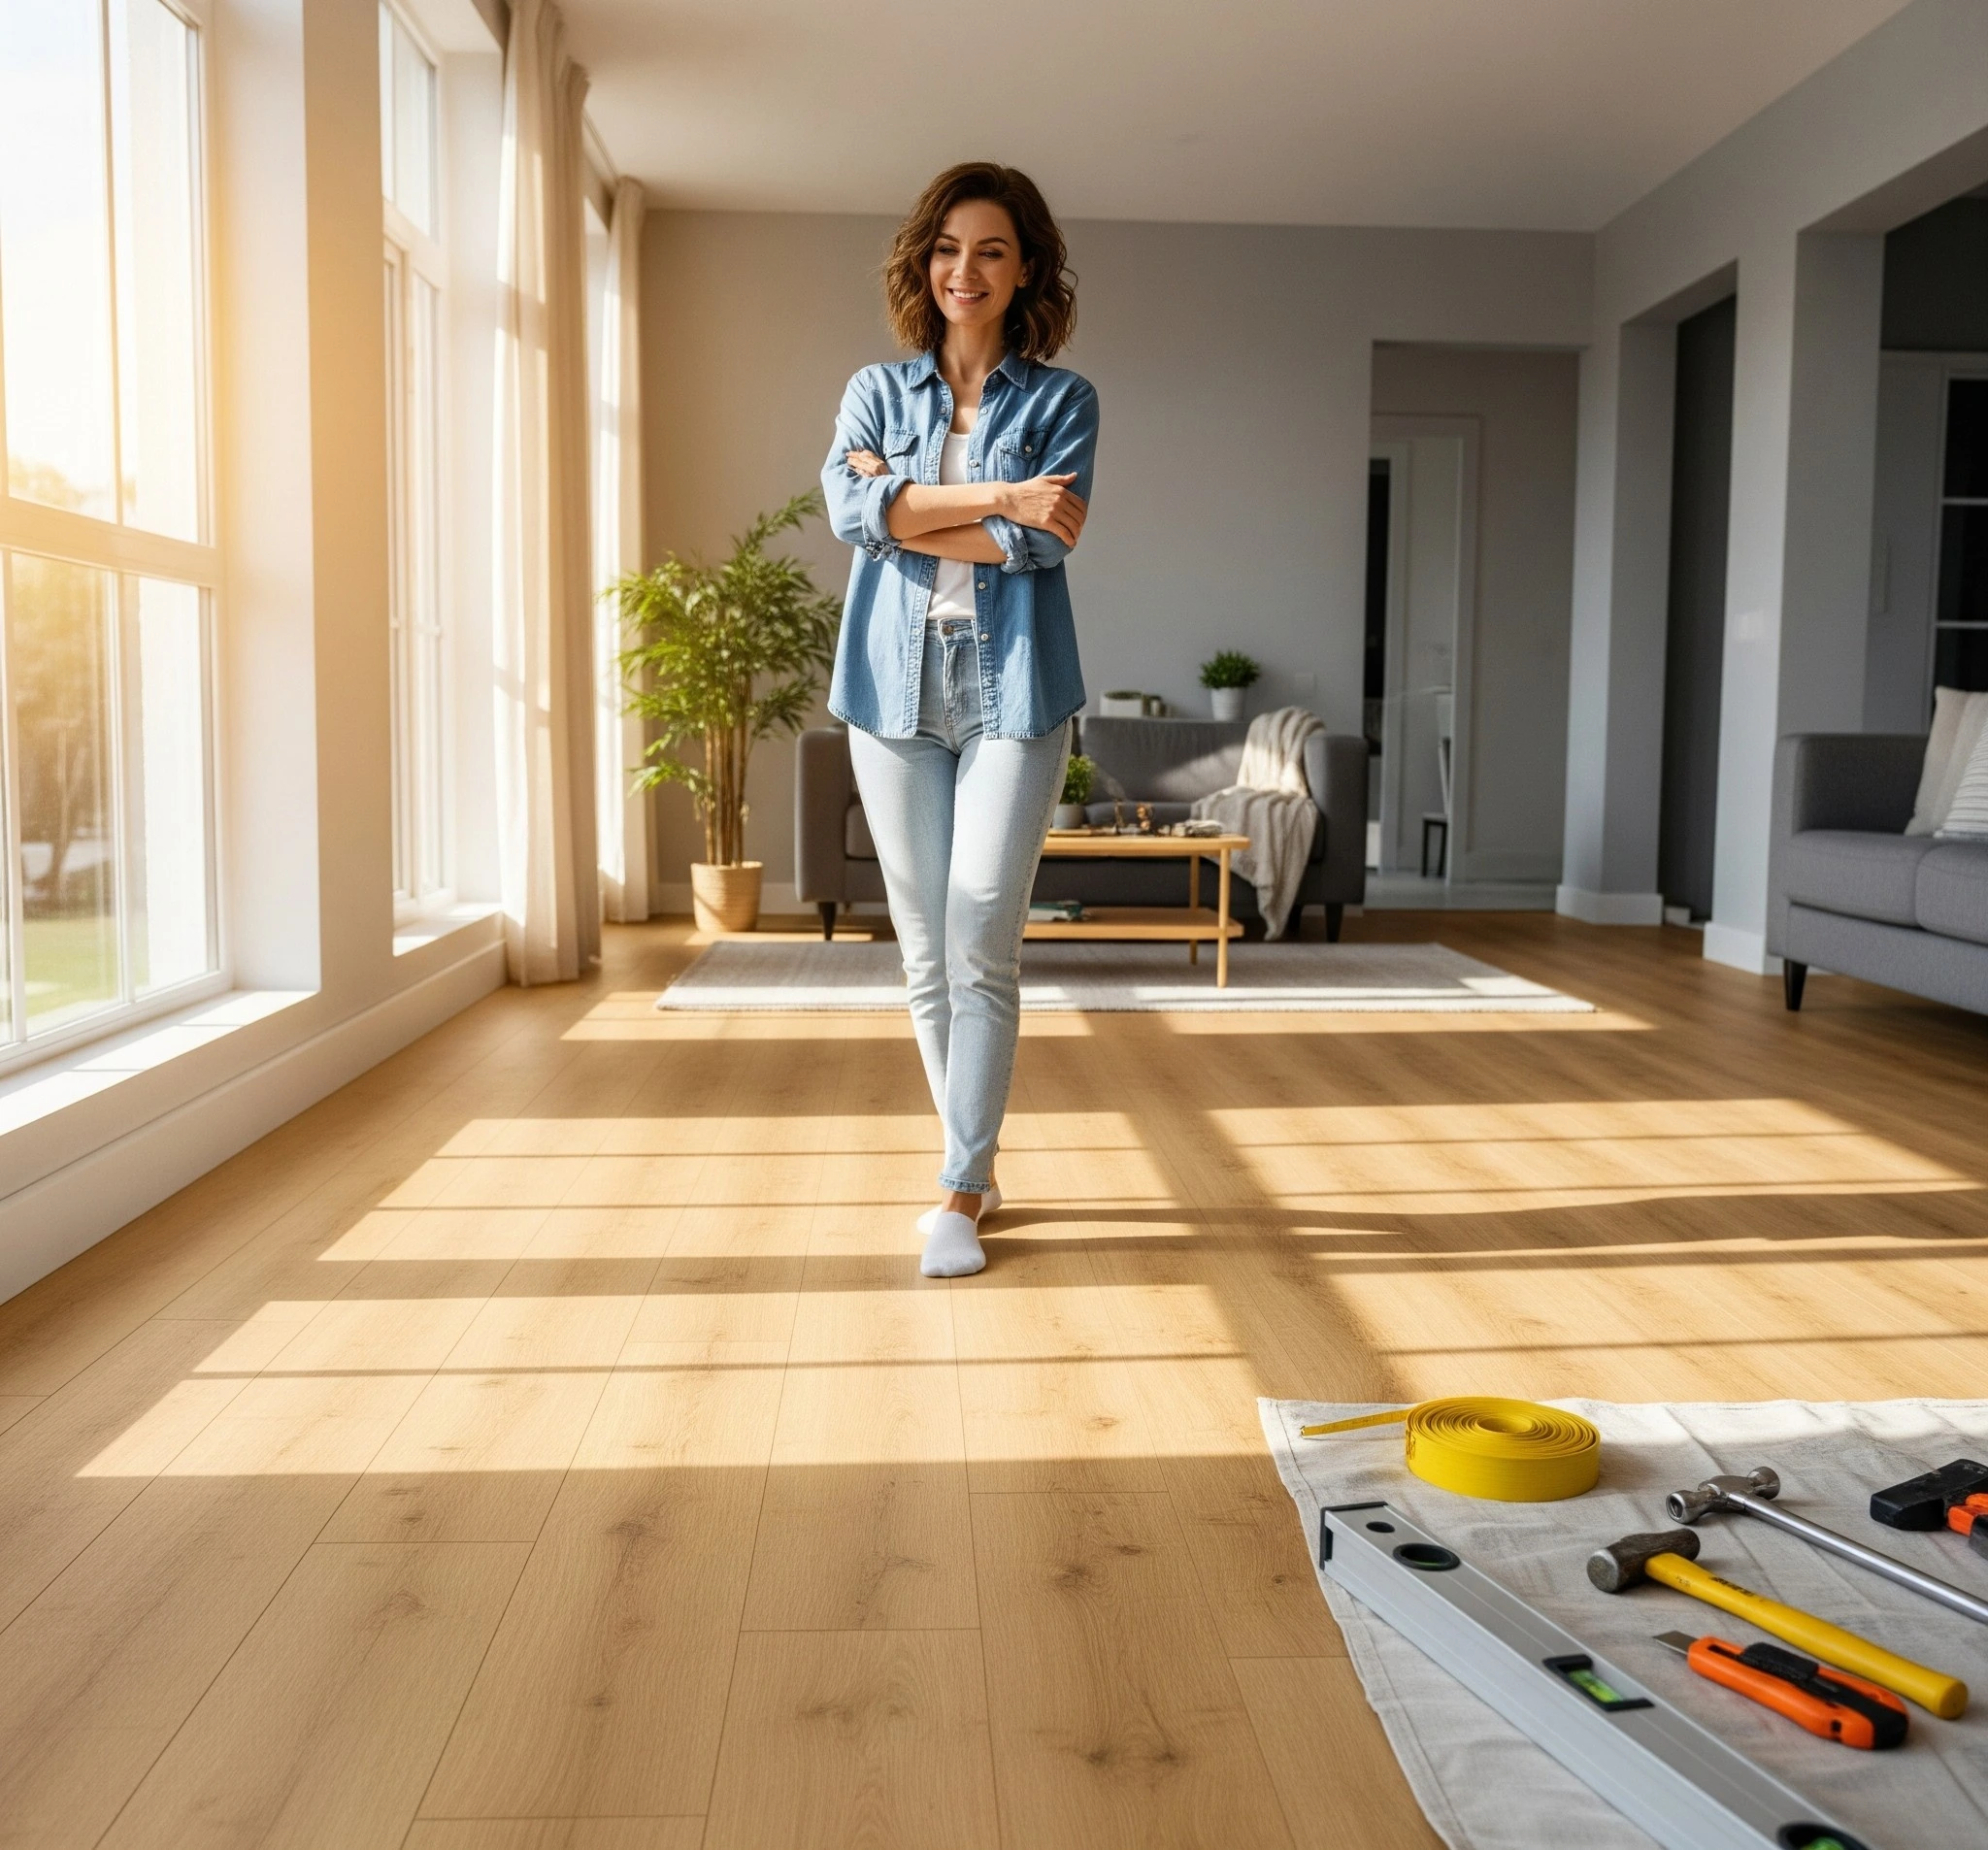
Are you dreaming of a home transformation and thinking about tackling a DIY flooring installation? Imagine walking barefoot across your own freshly installed wood, laminate, or hardwood floors, knowing you did it yourself! Whether you’re a seasoned weekend renovator or a first-time DIYer, there’s something magical about taking charge of your space.
Let’s roll up our sleeves, dive in, and discover how achievable DIY wood floor installation can be. You don’t need a professional contractor to create stunning results, just patience, good prep work, and the willingness to learn. Ready to change your home and maybe even your life along the way? This guide has you covered!
Benefits of DIY Flooring Installation
There’s a reason DIY floor installation is booming: it’s empowering, more affordable, and gives your home a thoughtful, custom feel. Doing the work yourself means you control the schedule and save substantial cash—think thousands, not hundreds, in labor costs.
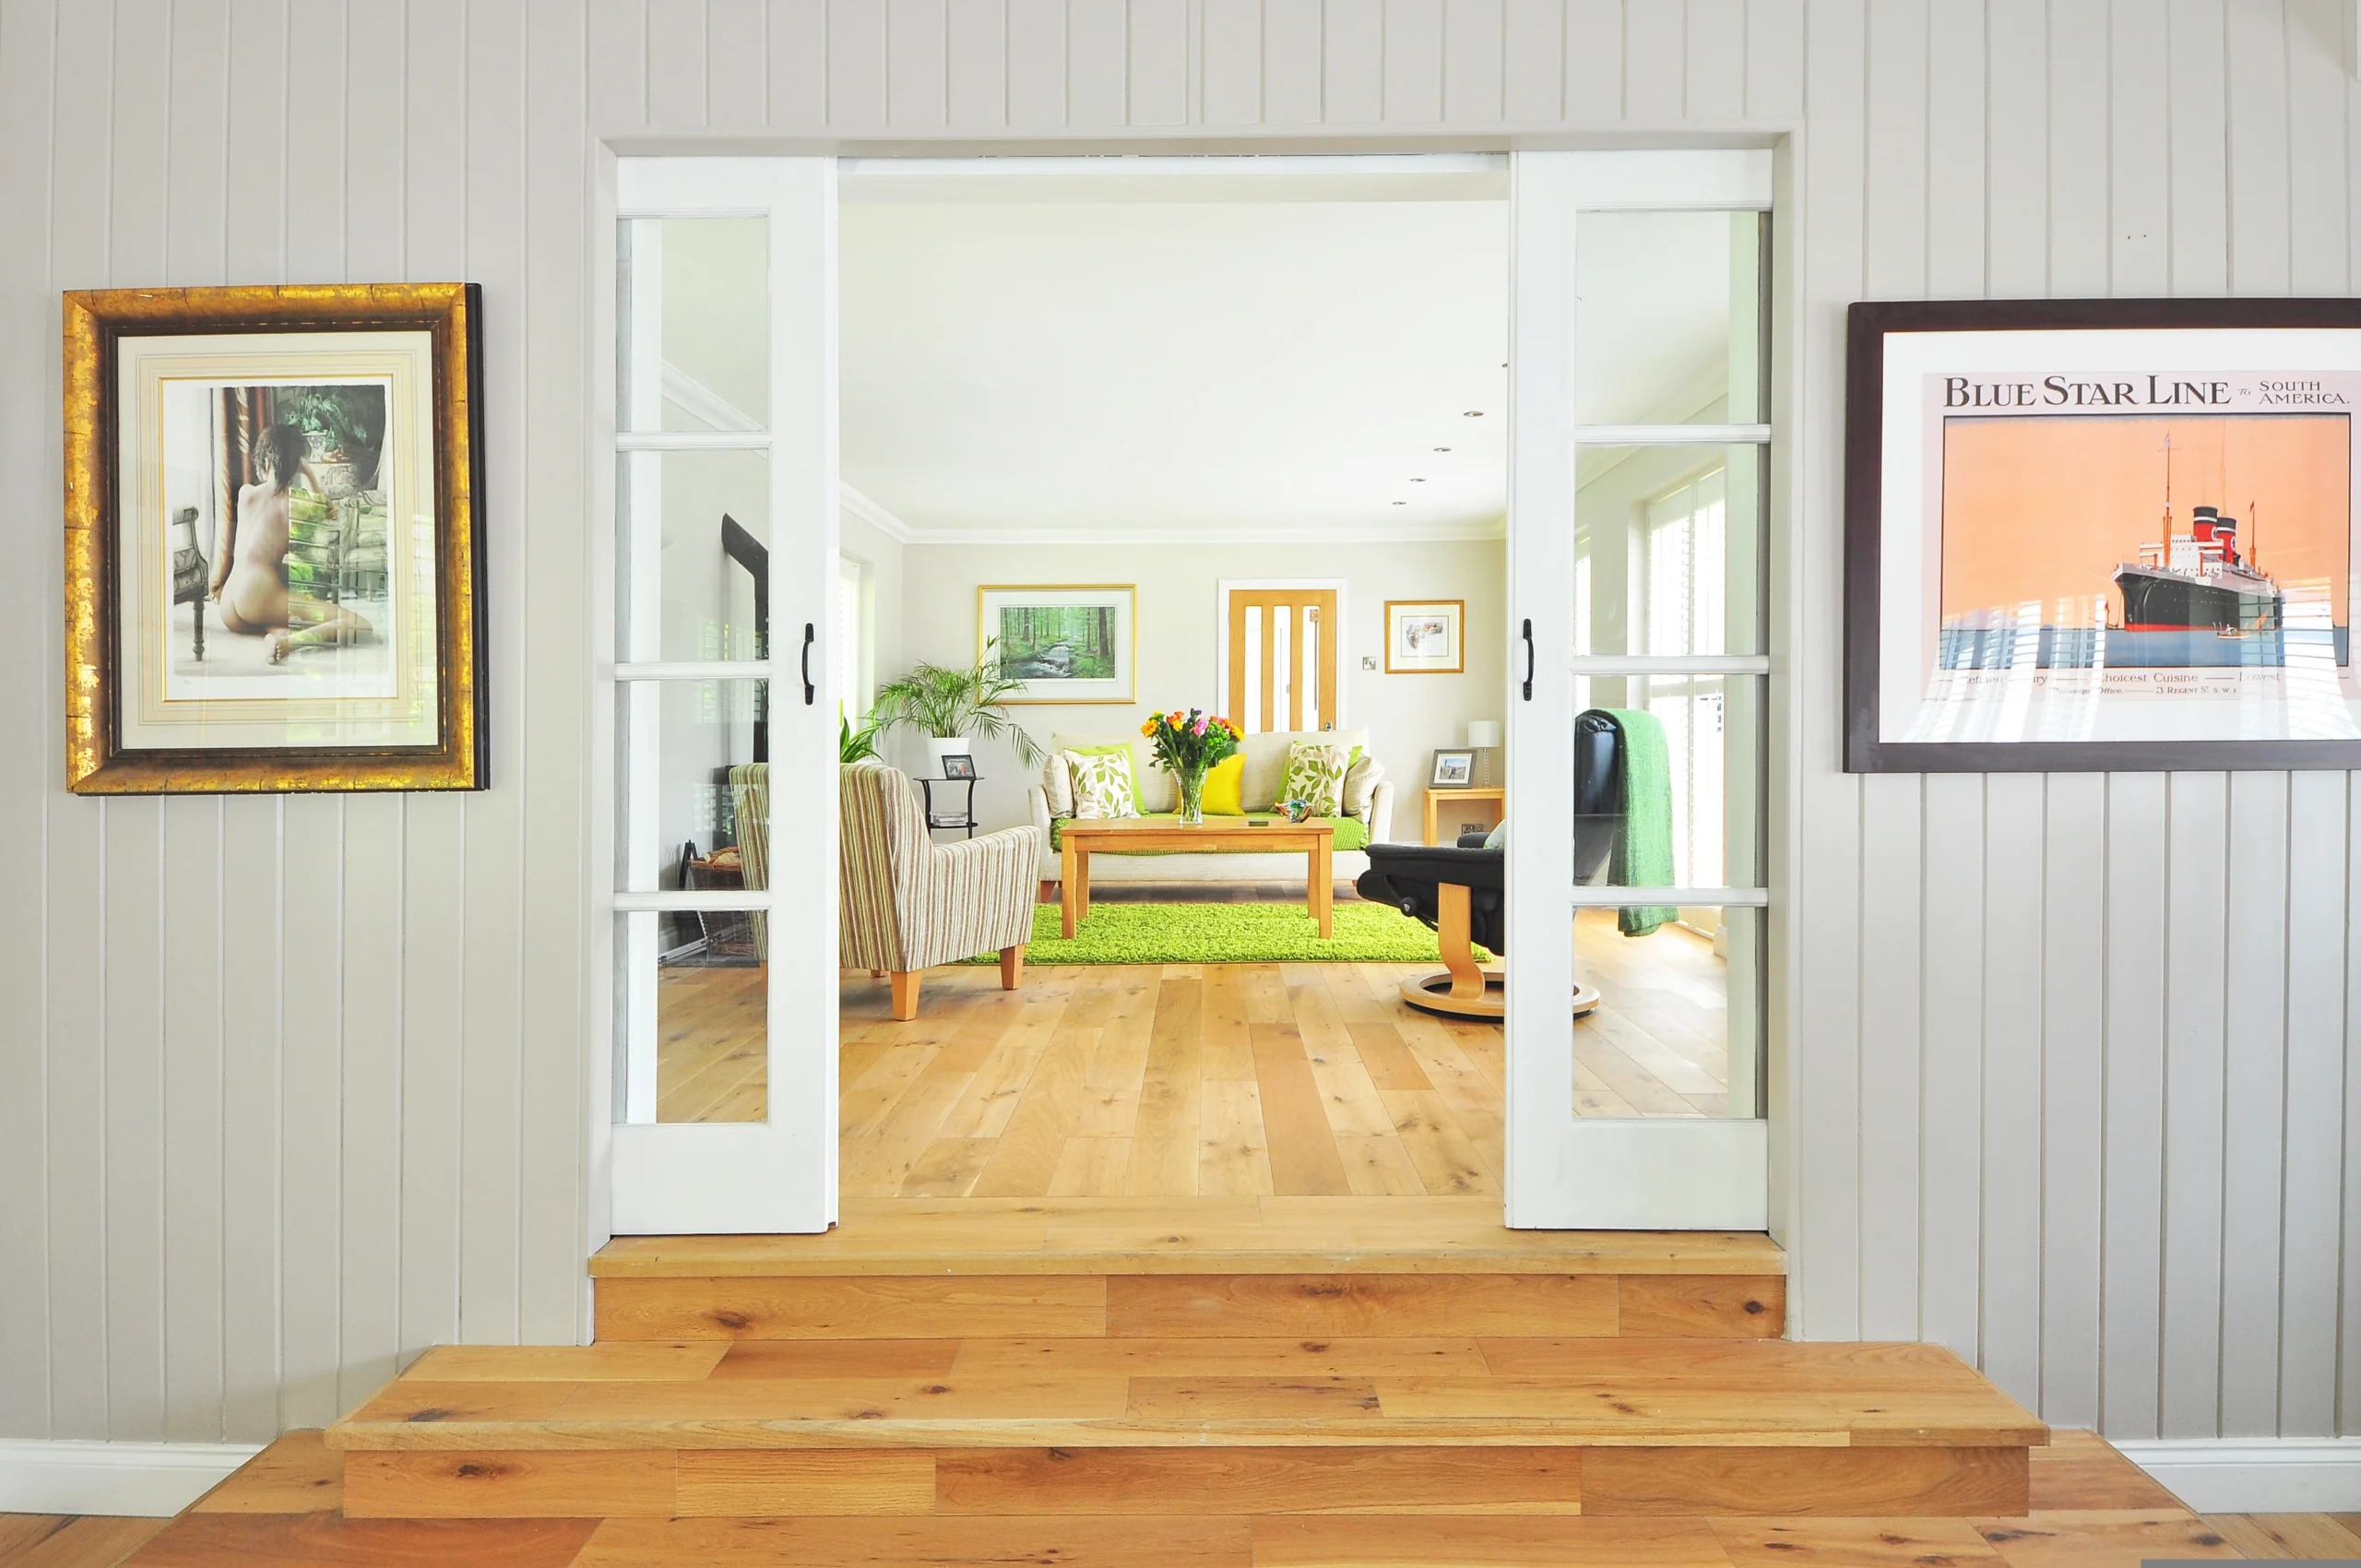
But it’s not just about the savings. Installing hardwood floors DIY-style lets you handpick every finish and plank, truly expressing your unique style. The sense of pride and accomplishment when you see gleaming, perfectly aligned floors—well, nothing beats it.
Plus, if you’re planning to sell someday, new floors can seriously increase your home’s value. Buyers love fresh, professionally-installed looking hardwood or laminate flooring, especially if it’s new.
Common Flooring Types for DIY Projects
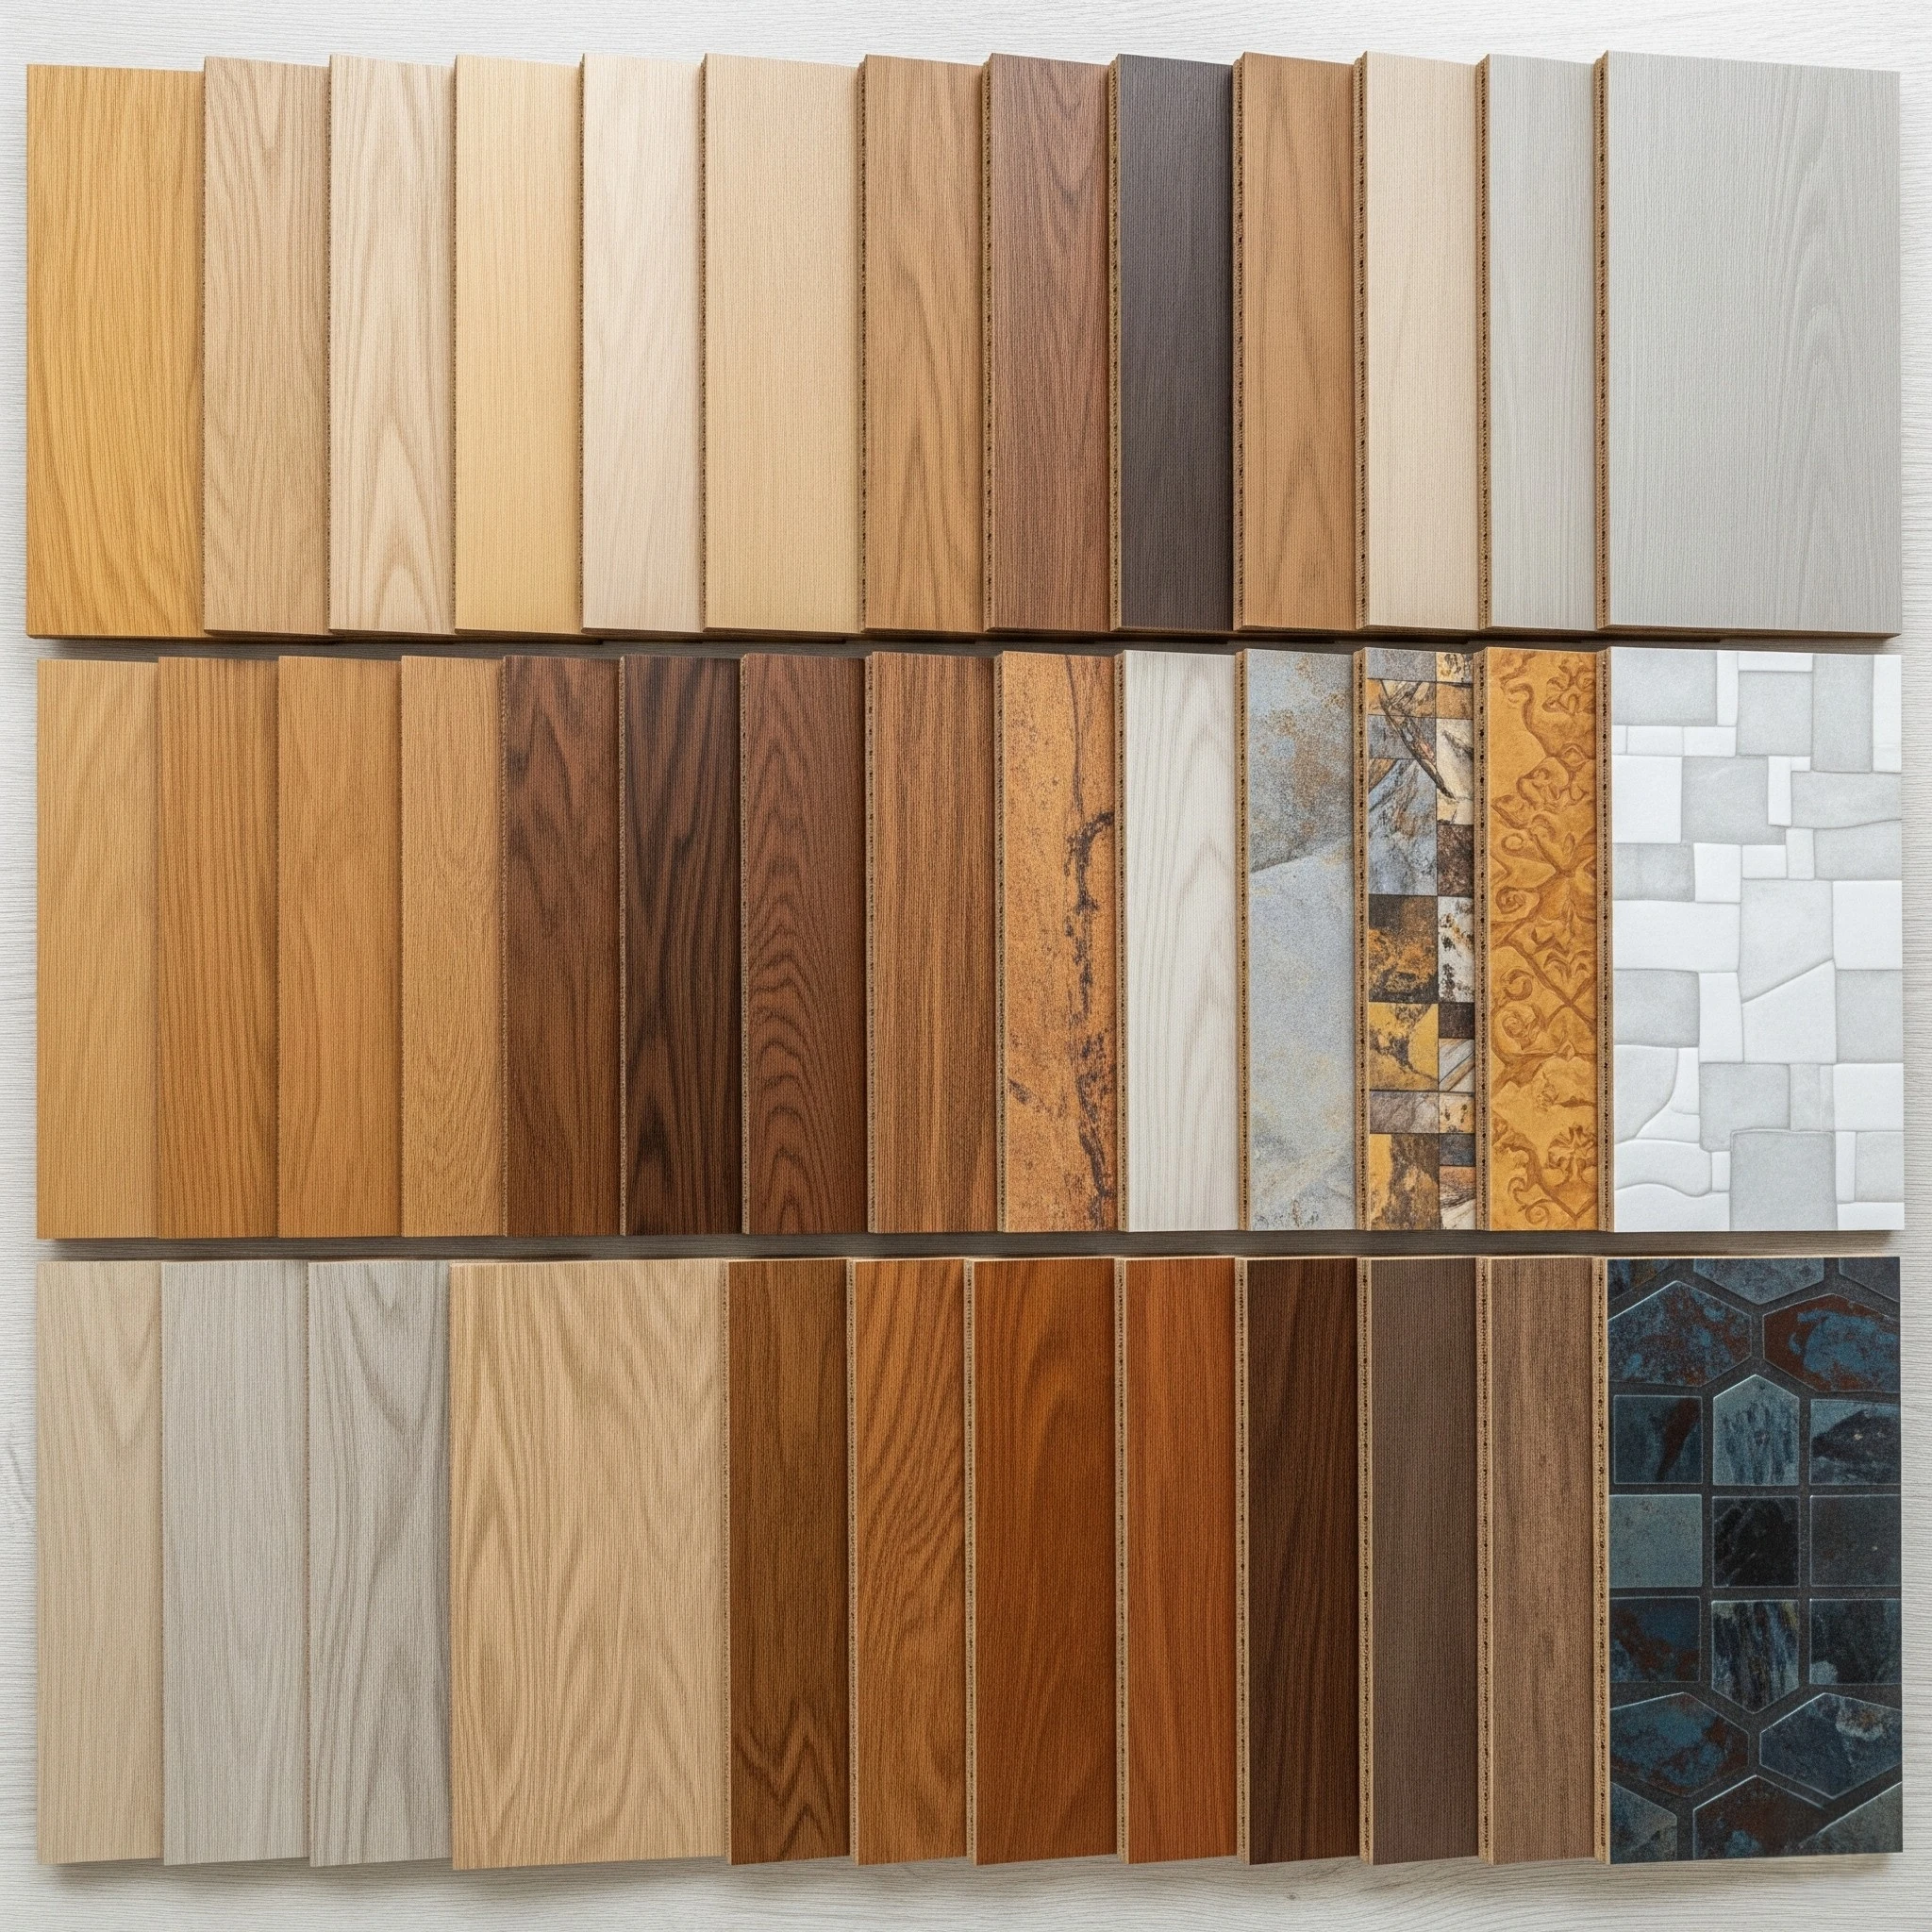
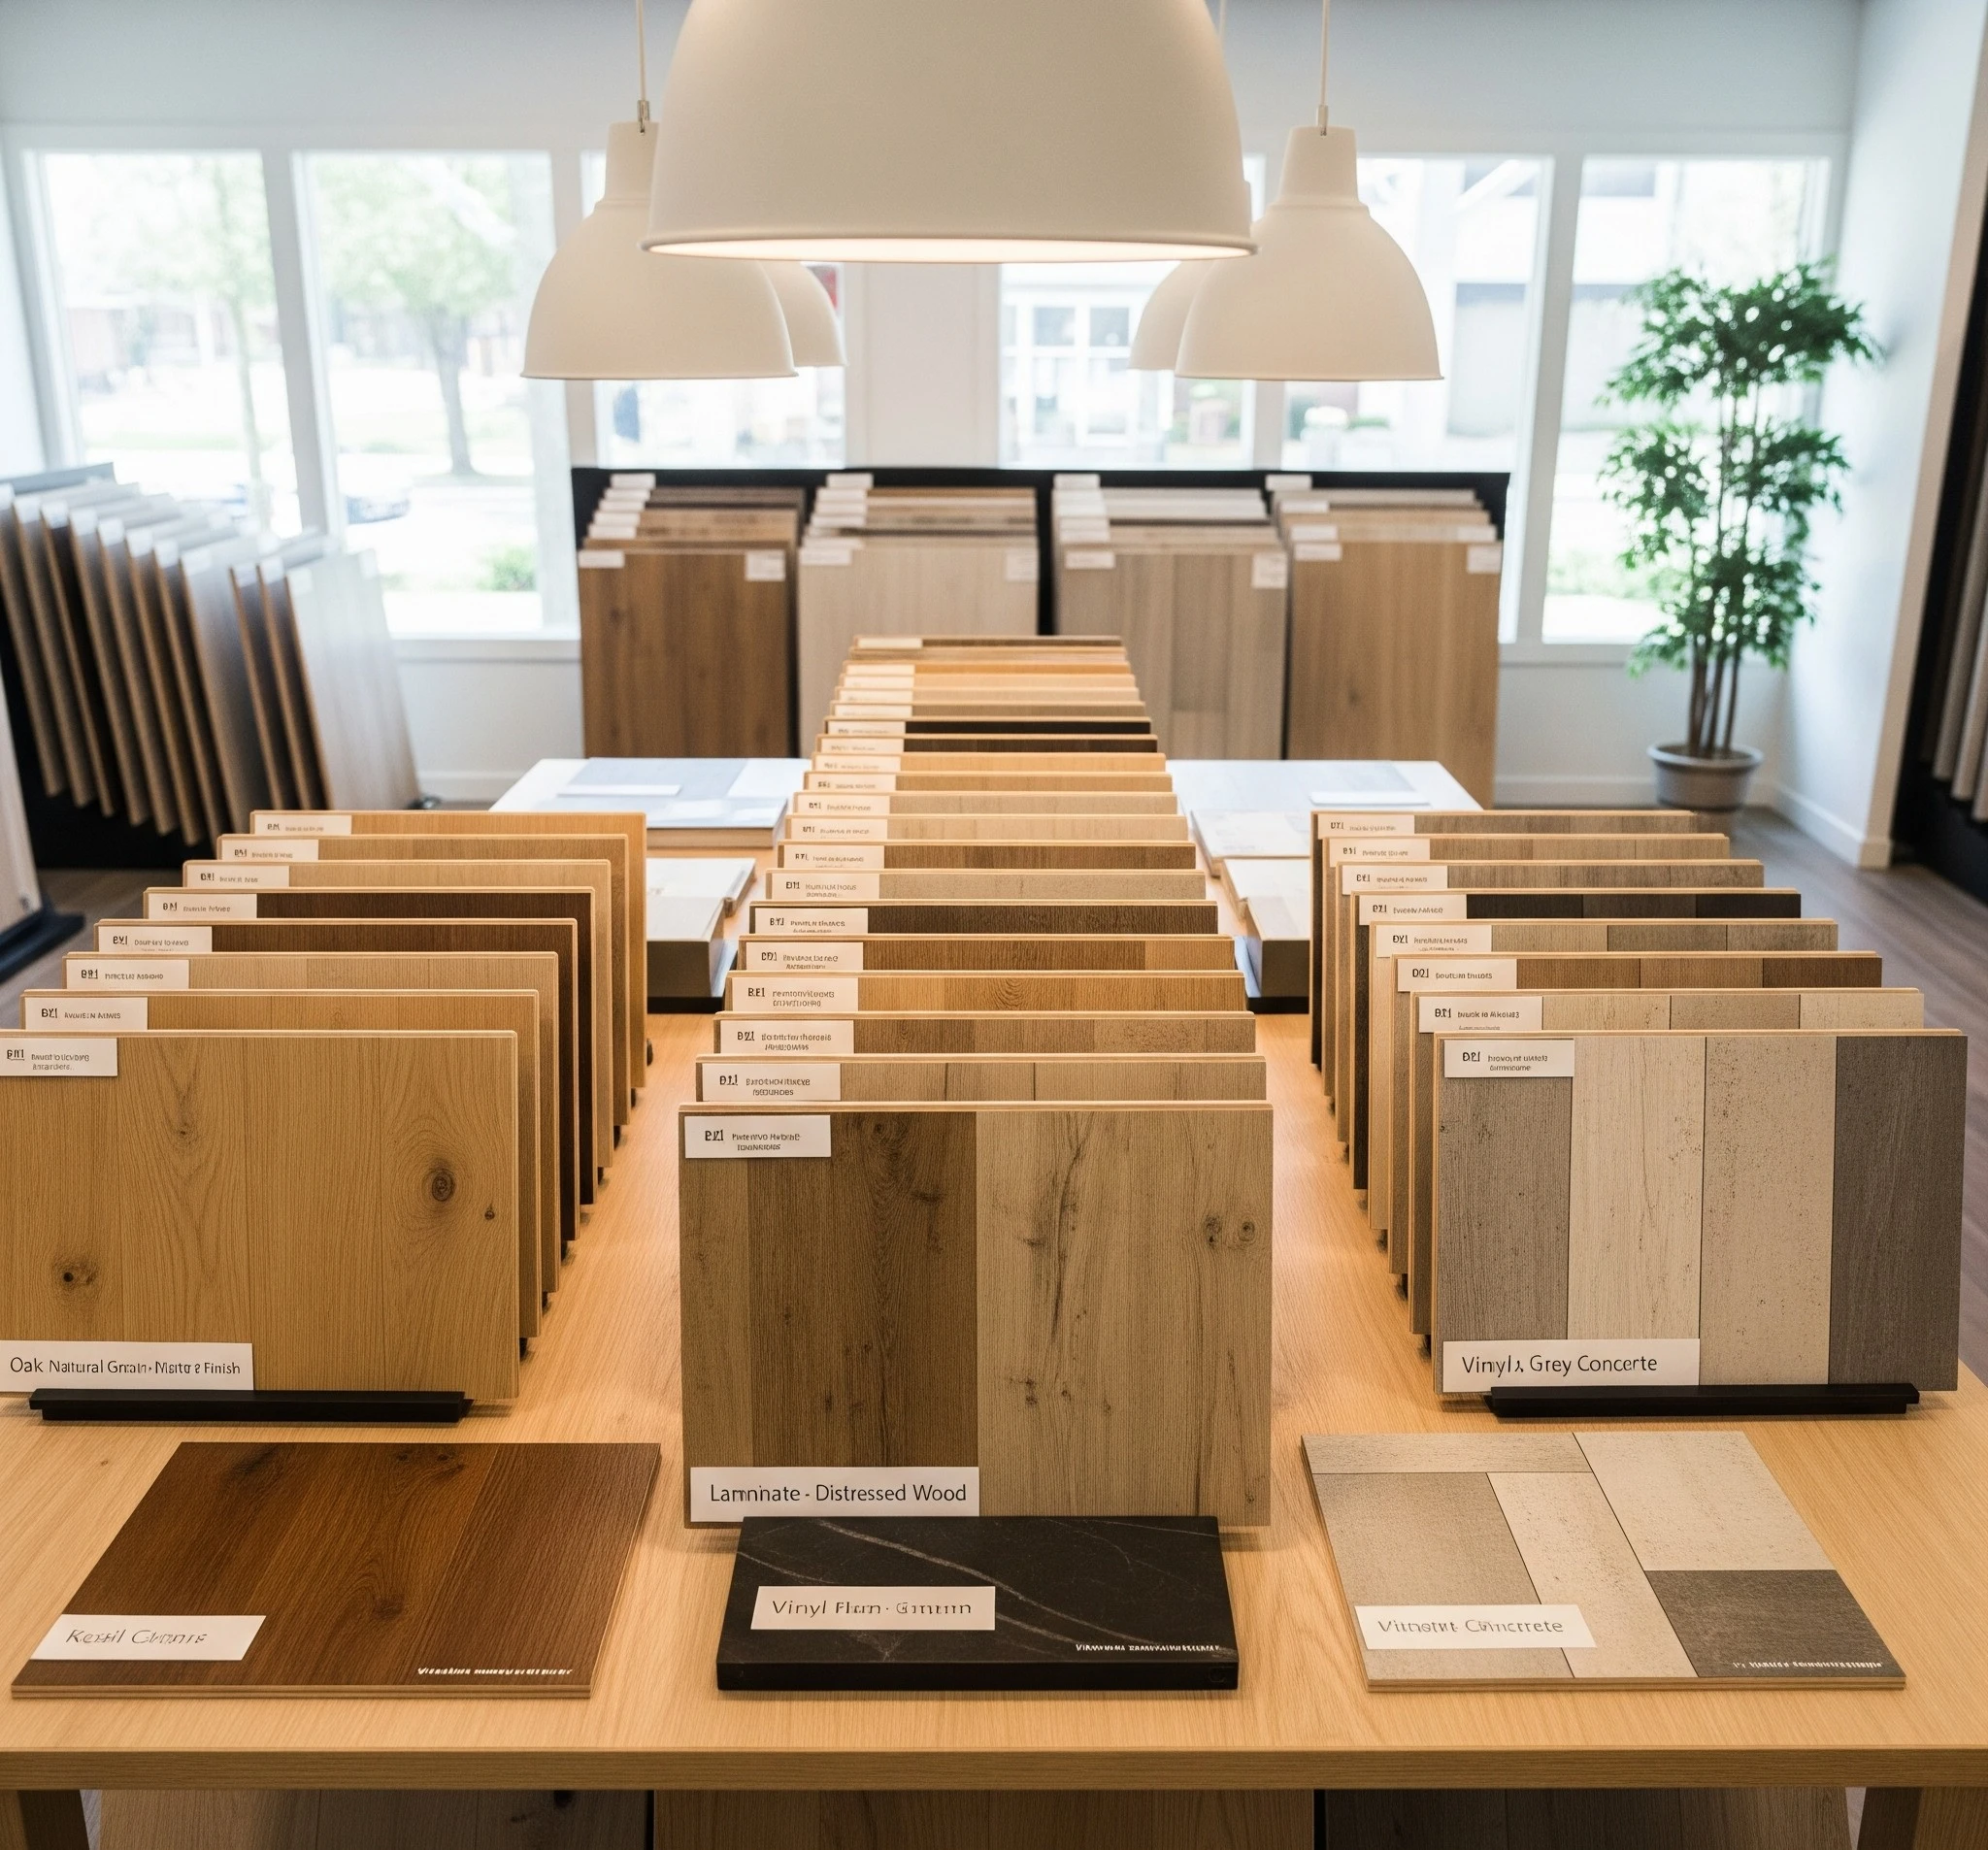
Wondering which flooring to choose? Here are the most popular, budget-friendly, and doable options for DIYers:
- Solid hardwood flooring: Timeless, beautiful, and long-lasting.
- Engineered hardwood: Easier to install, with great durability.
- Laminate flooring: Affordable, scratch-resistant, and comes in endless finishes.
- Luxury vinyl plank (LVP): Rising in popularity for its waterproof qualities and realistic wood look.
Each has its own vibe and skill level, but all can be mastered with patience and the right steps!
Understanding Flooring Materials
DIY Wood Floor Installation
DIY wood floor installation is perfect if you’ve always admired classic, warm interiors. Wood planks bring character and instant sophistication. And yes—you can absolutely do it yourself, saving on labor and still getting those Pinterest-worthy results.
DIY Hardwood Floor Installation
Hardwood is the gold standard in many homes. Choosing diy hardwood floor installation offers both durability and rich color. The process takes a little extra muscle and precision, but with the right tools, even beginners pull it off beautifully.
DIY Laminate Flooring Installation
If you want a fast, budget-friendly makeover, DIY laminate flooring installation is for you. Modern laminates perfectly mimic real wood and stone, resisting scratches, dings, and the chaos of daily life. It’s also among the easiest floors to install—often a favorite project for first-timers!
Preparing for Installation
Tools and Materials Needed
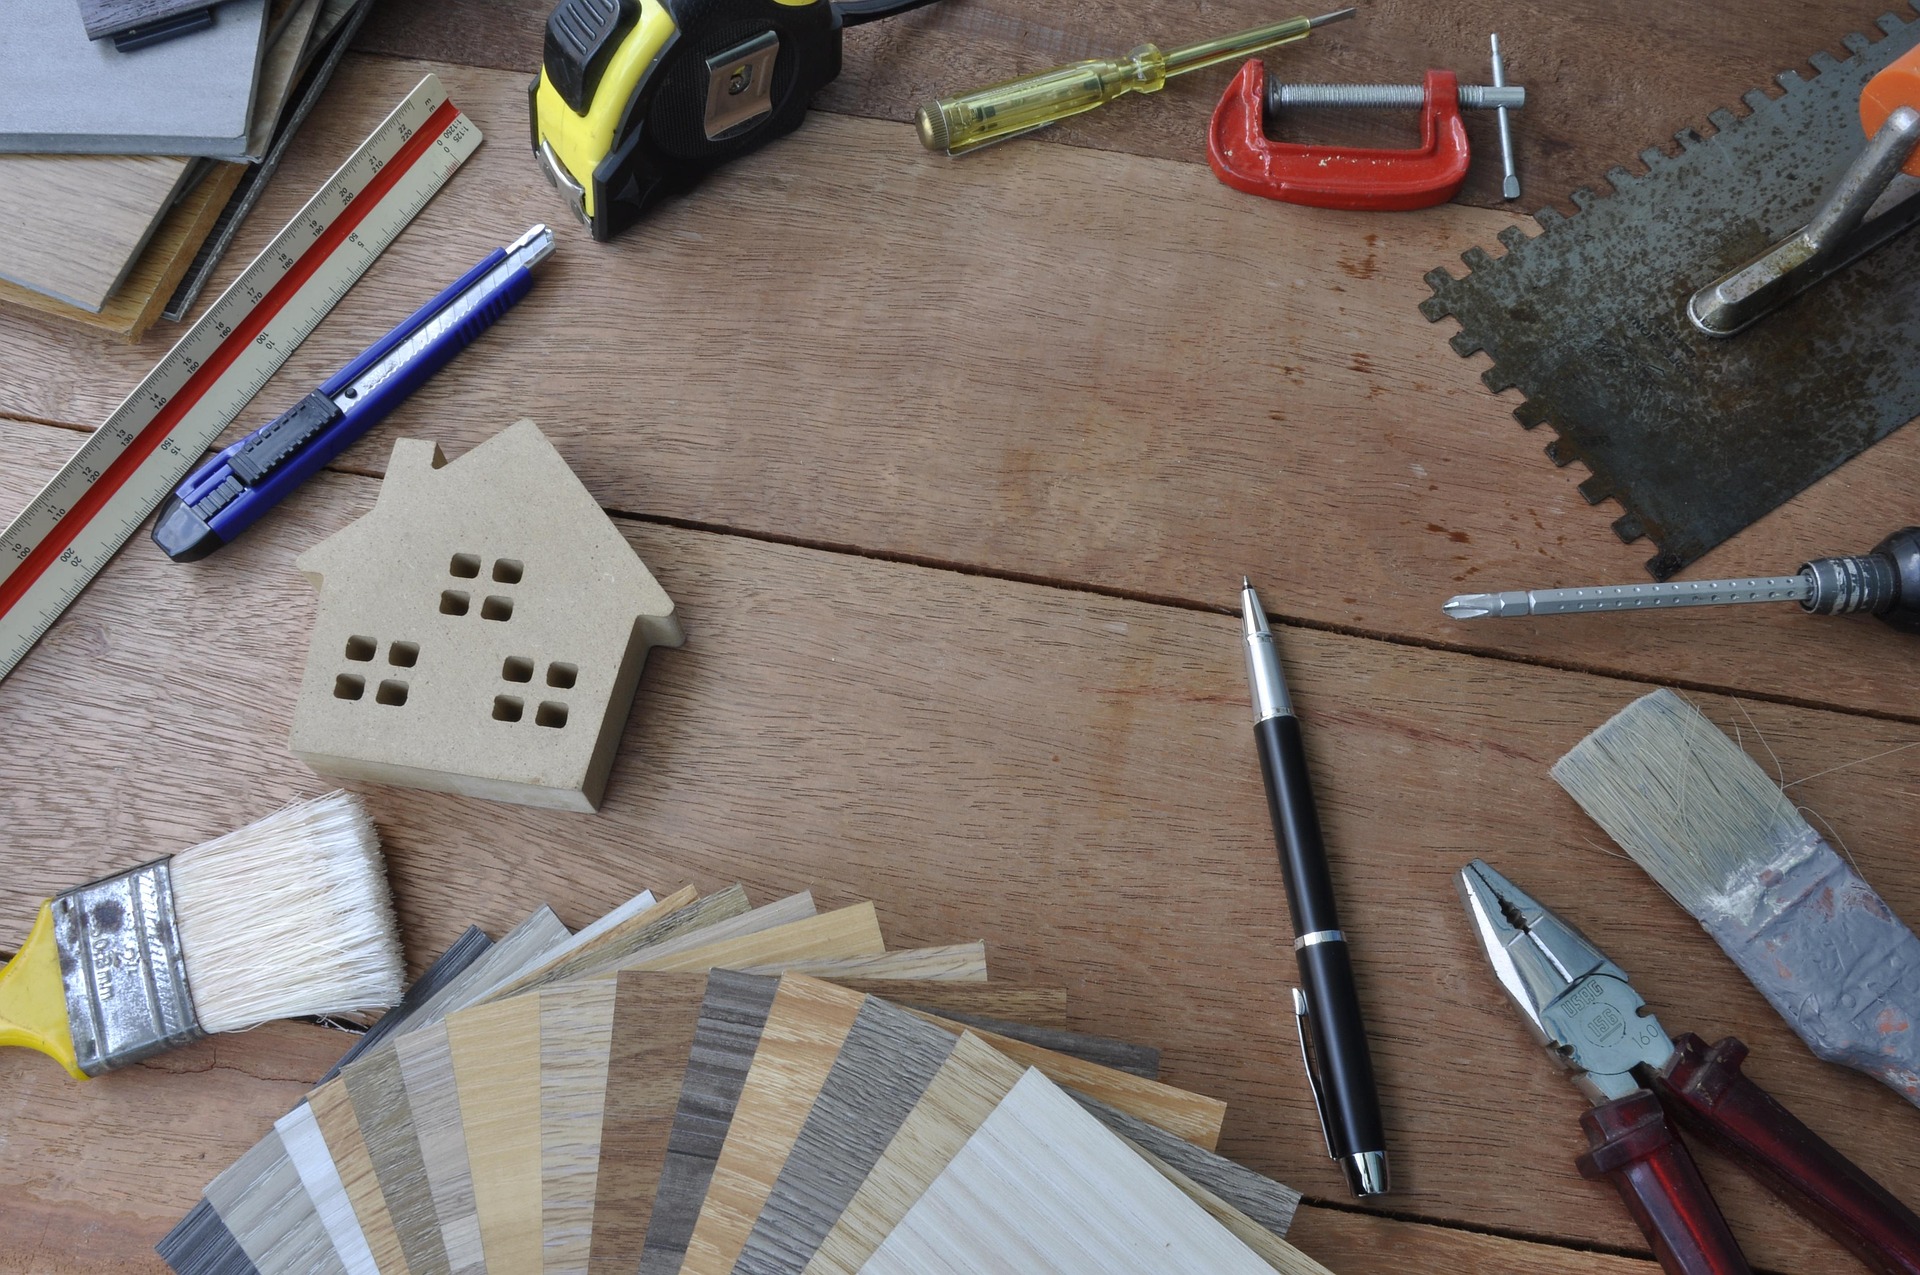
Having the right tools is half the battle. Here’s your essential checklist:
- Tape measure
- Chalk line and carpenter’s square
- Rubber mallet
- Pry bar and pull bar
- Tapping block
- Flooring nailer or stapler (for hardwood)
- Circular saw or jigsaw
- Underlayment (for laminate or floating floors)
- Glue, nails, or staples (depending on method)
- Knee pads (your knees will thank you!)
Stock up before you start, and set everything out neatly. You’ll save time and stress come installation day.
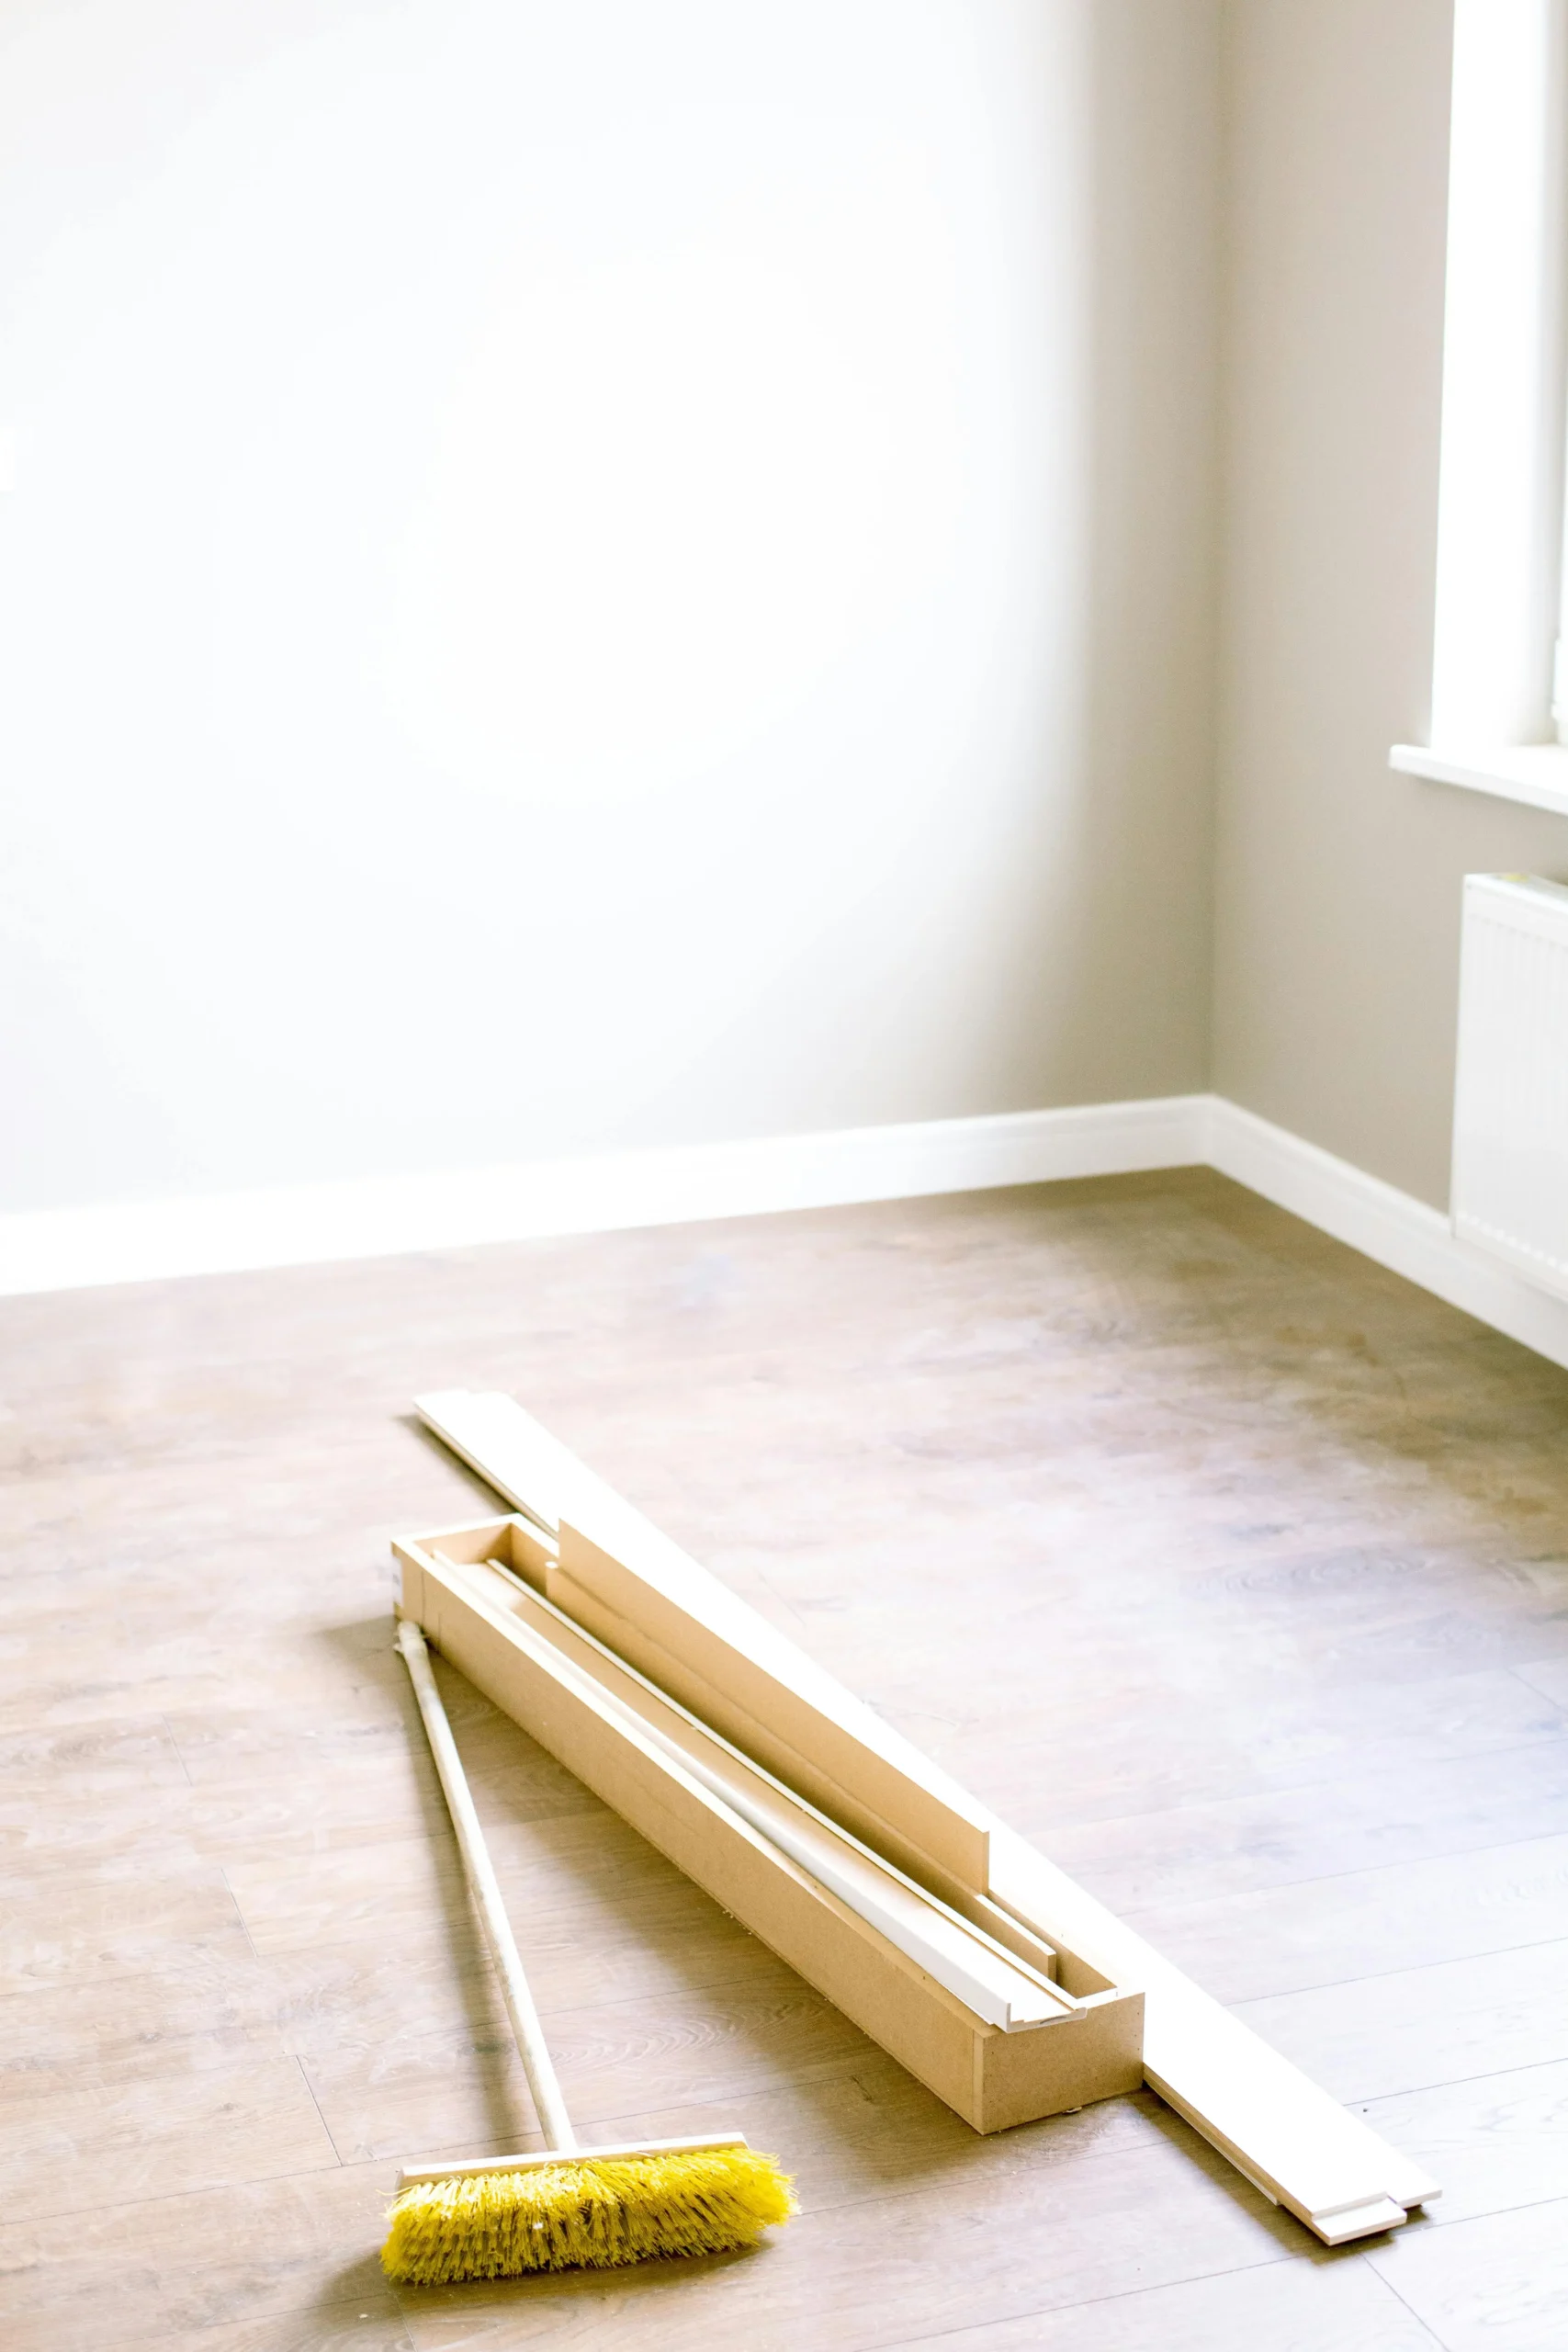
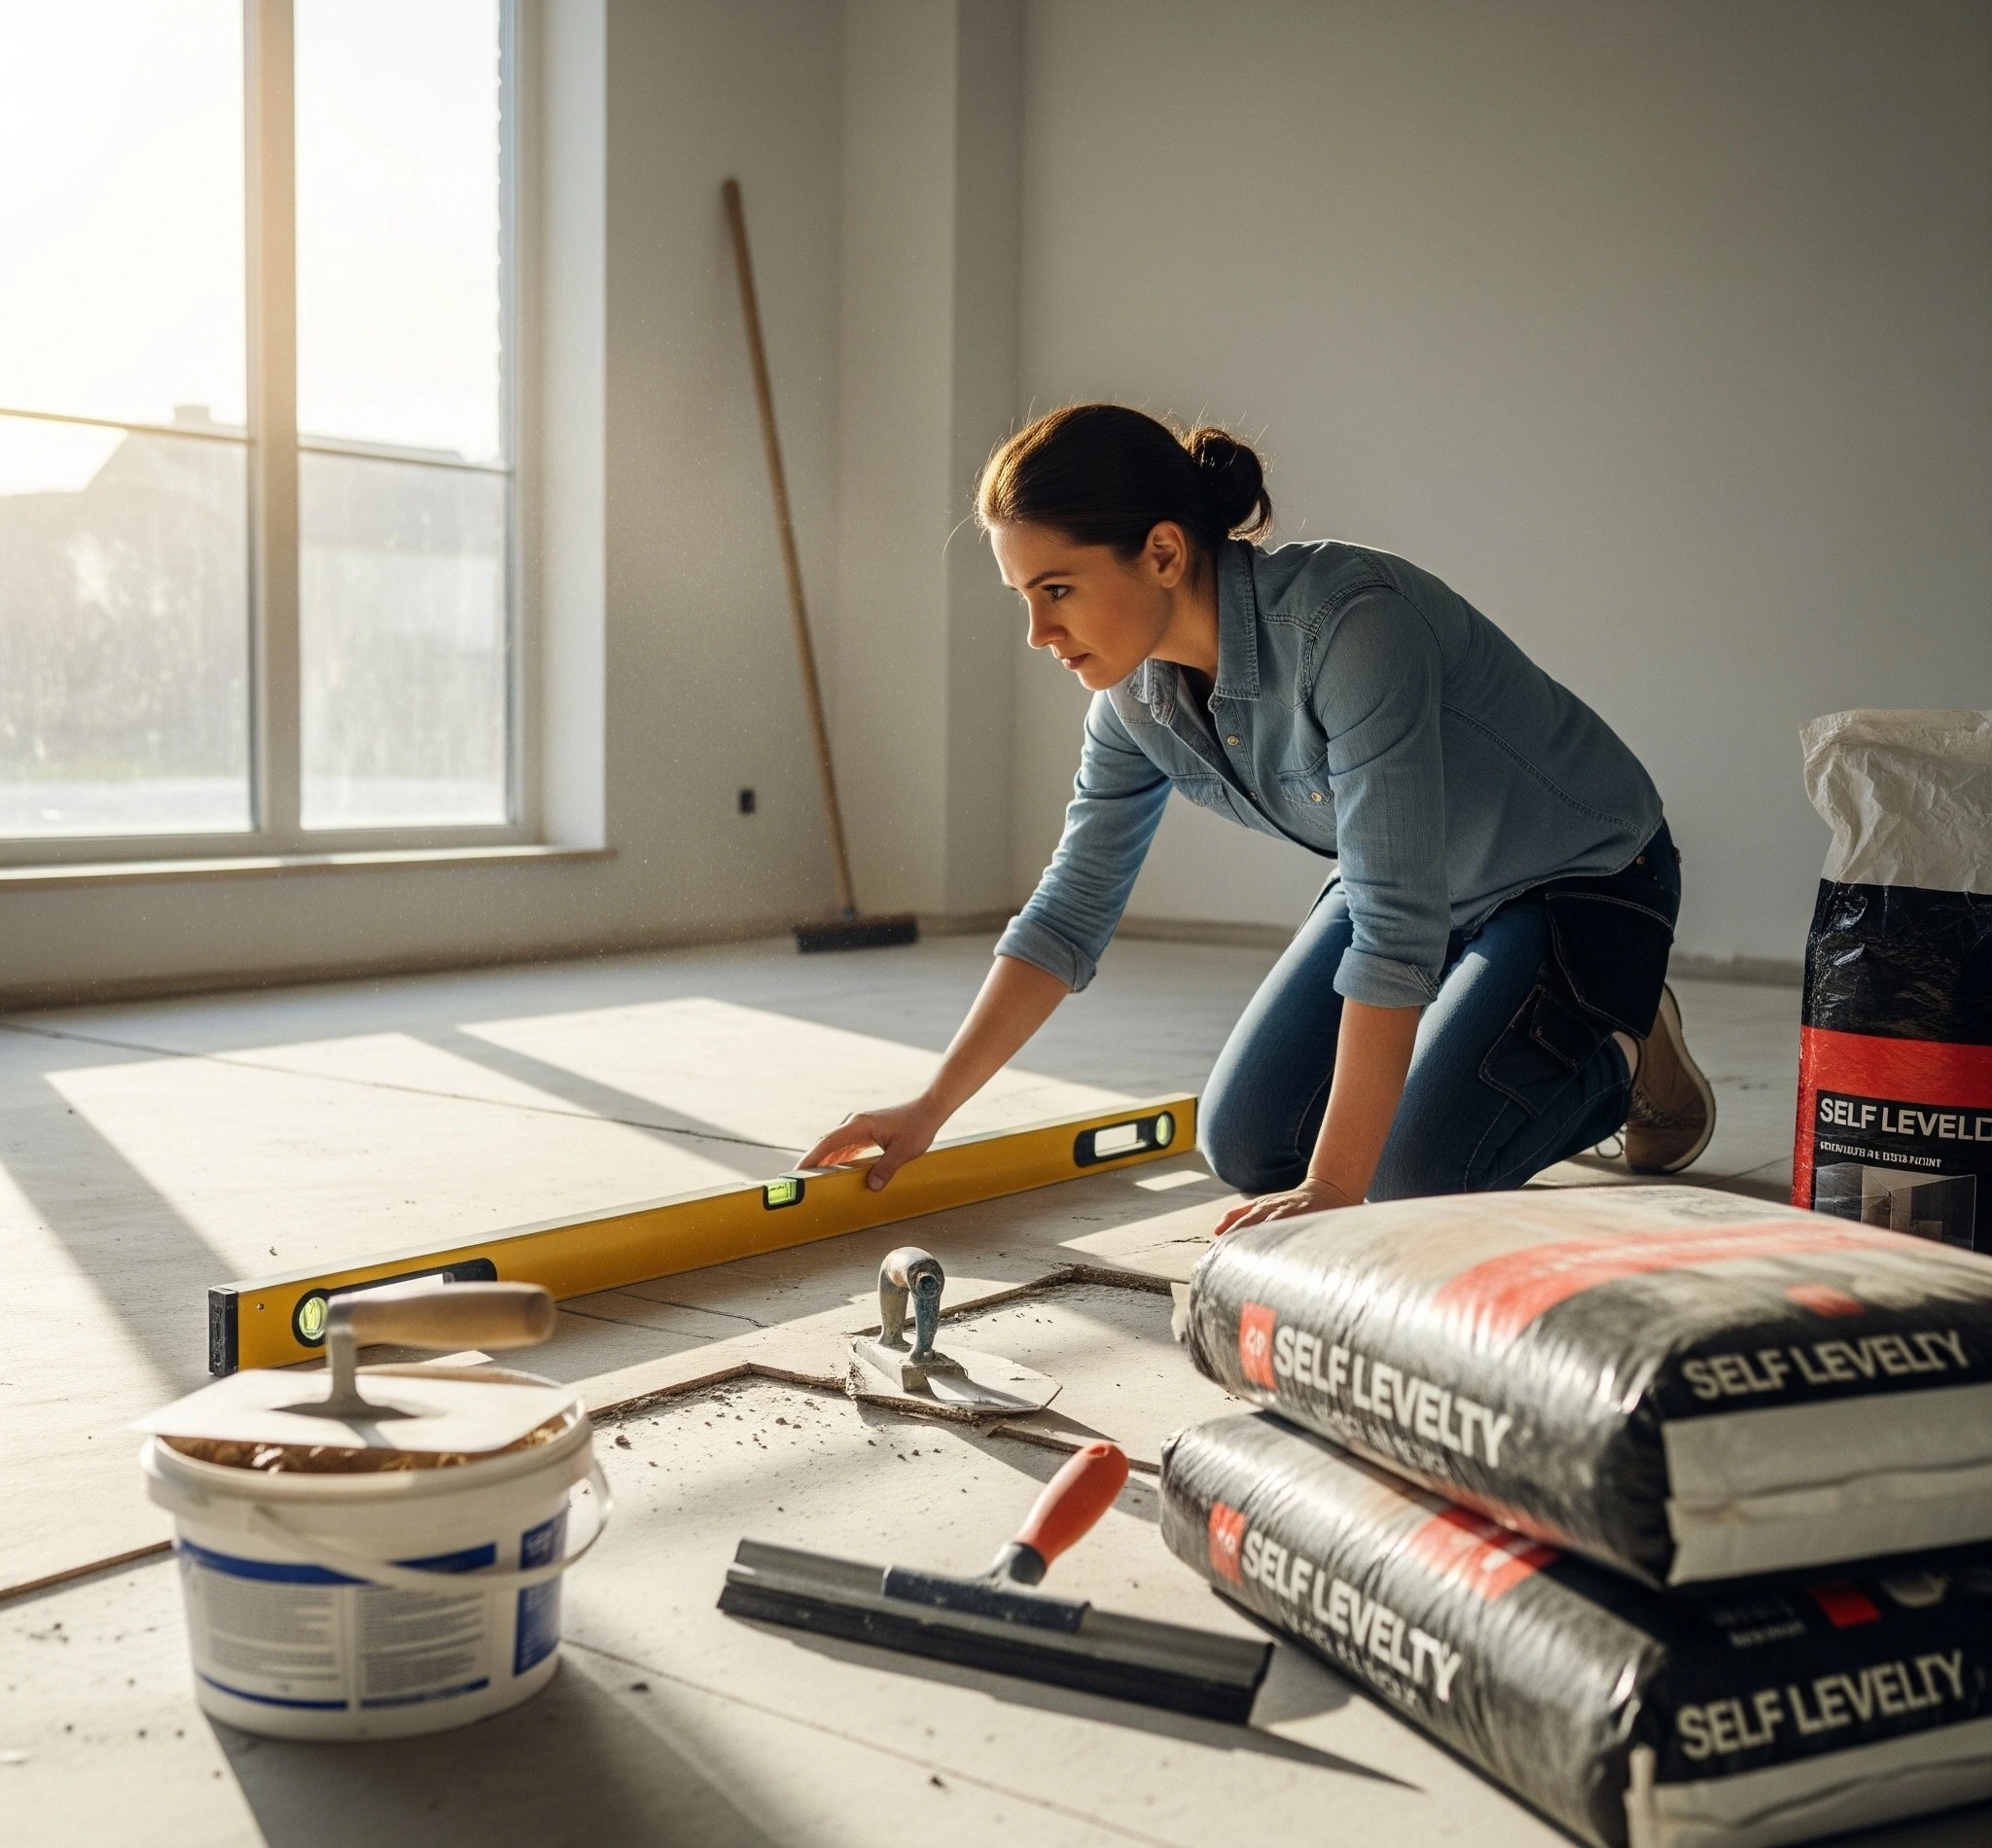
Preparing the Subfloor
A flawless DIY floor installation always begins below the surface. Ensure your subfloor is:
- Clean and free of debris
- Dry and completely level
- Repaired—patch any holes or dips with compound
This prep creates a stable “canvas” for your new floors, preventing squeaks, shifts, and even moisture issues later. If you’re installing over concrete, a moisture barrier is absolutely essential.
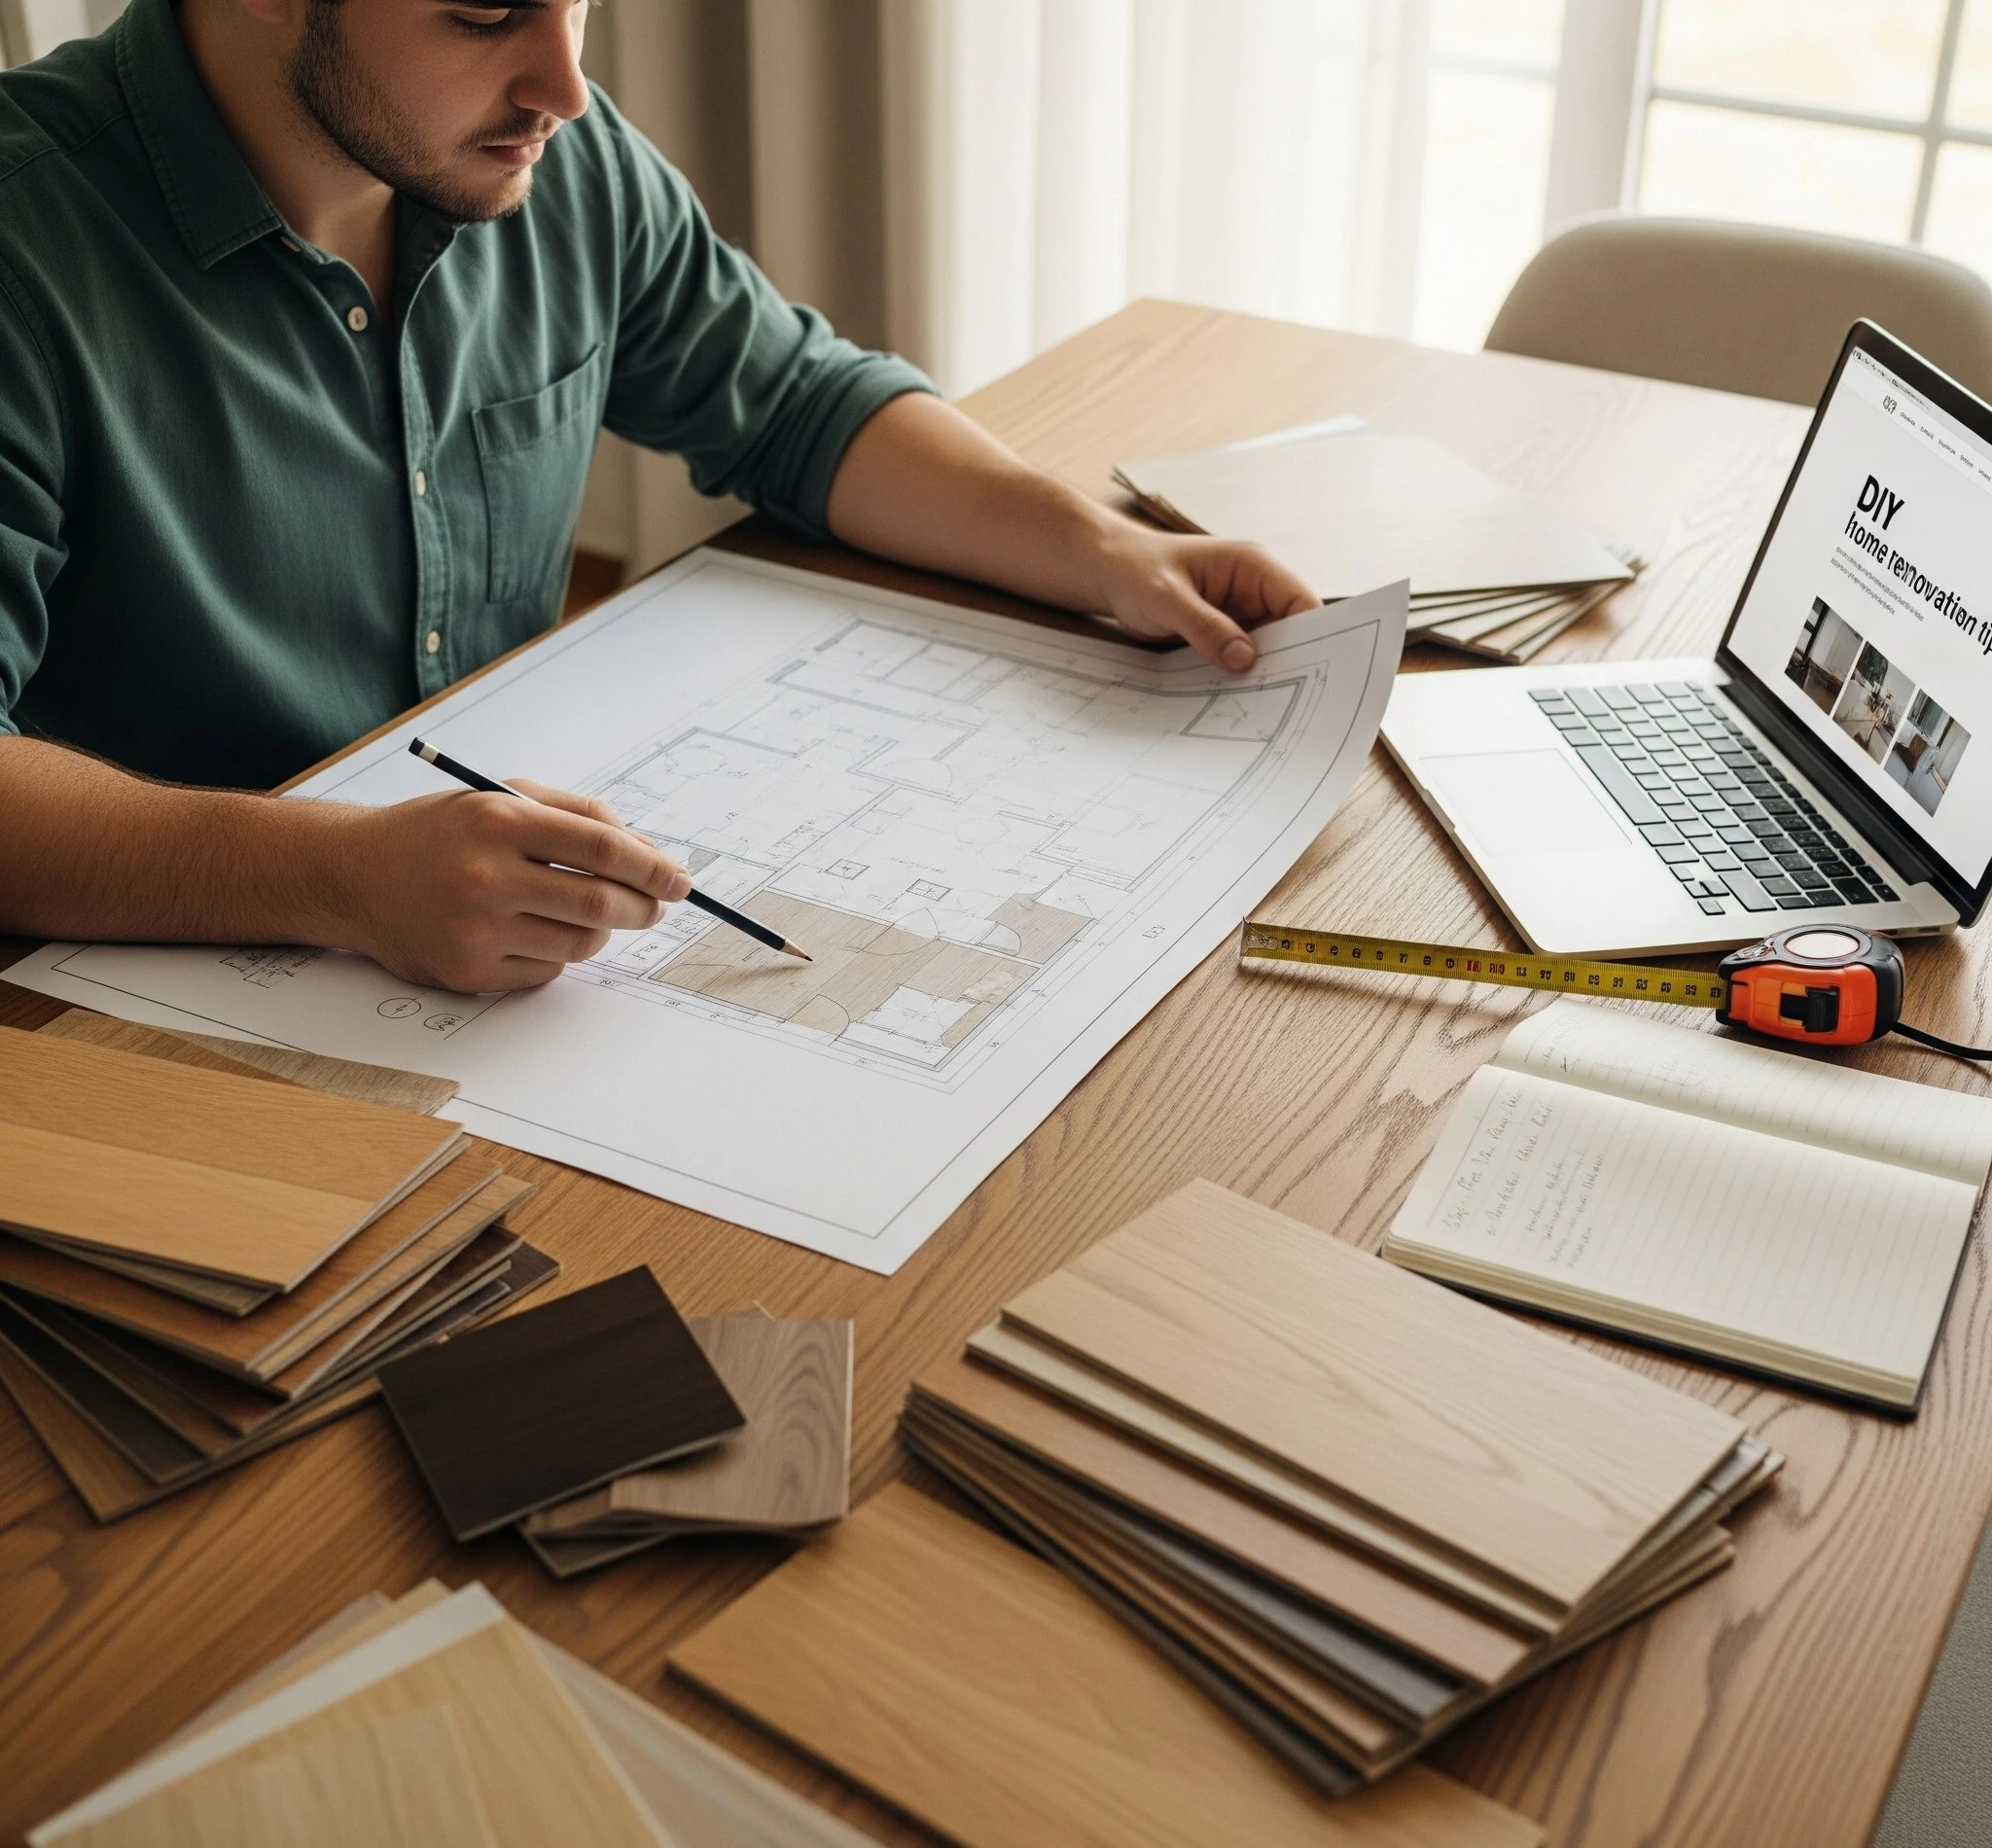
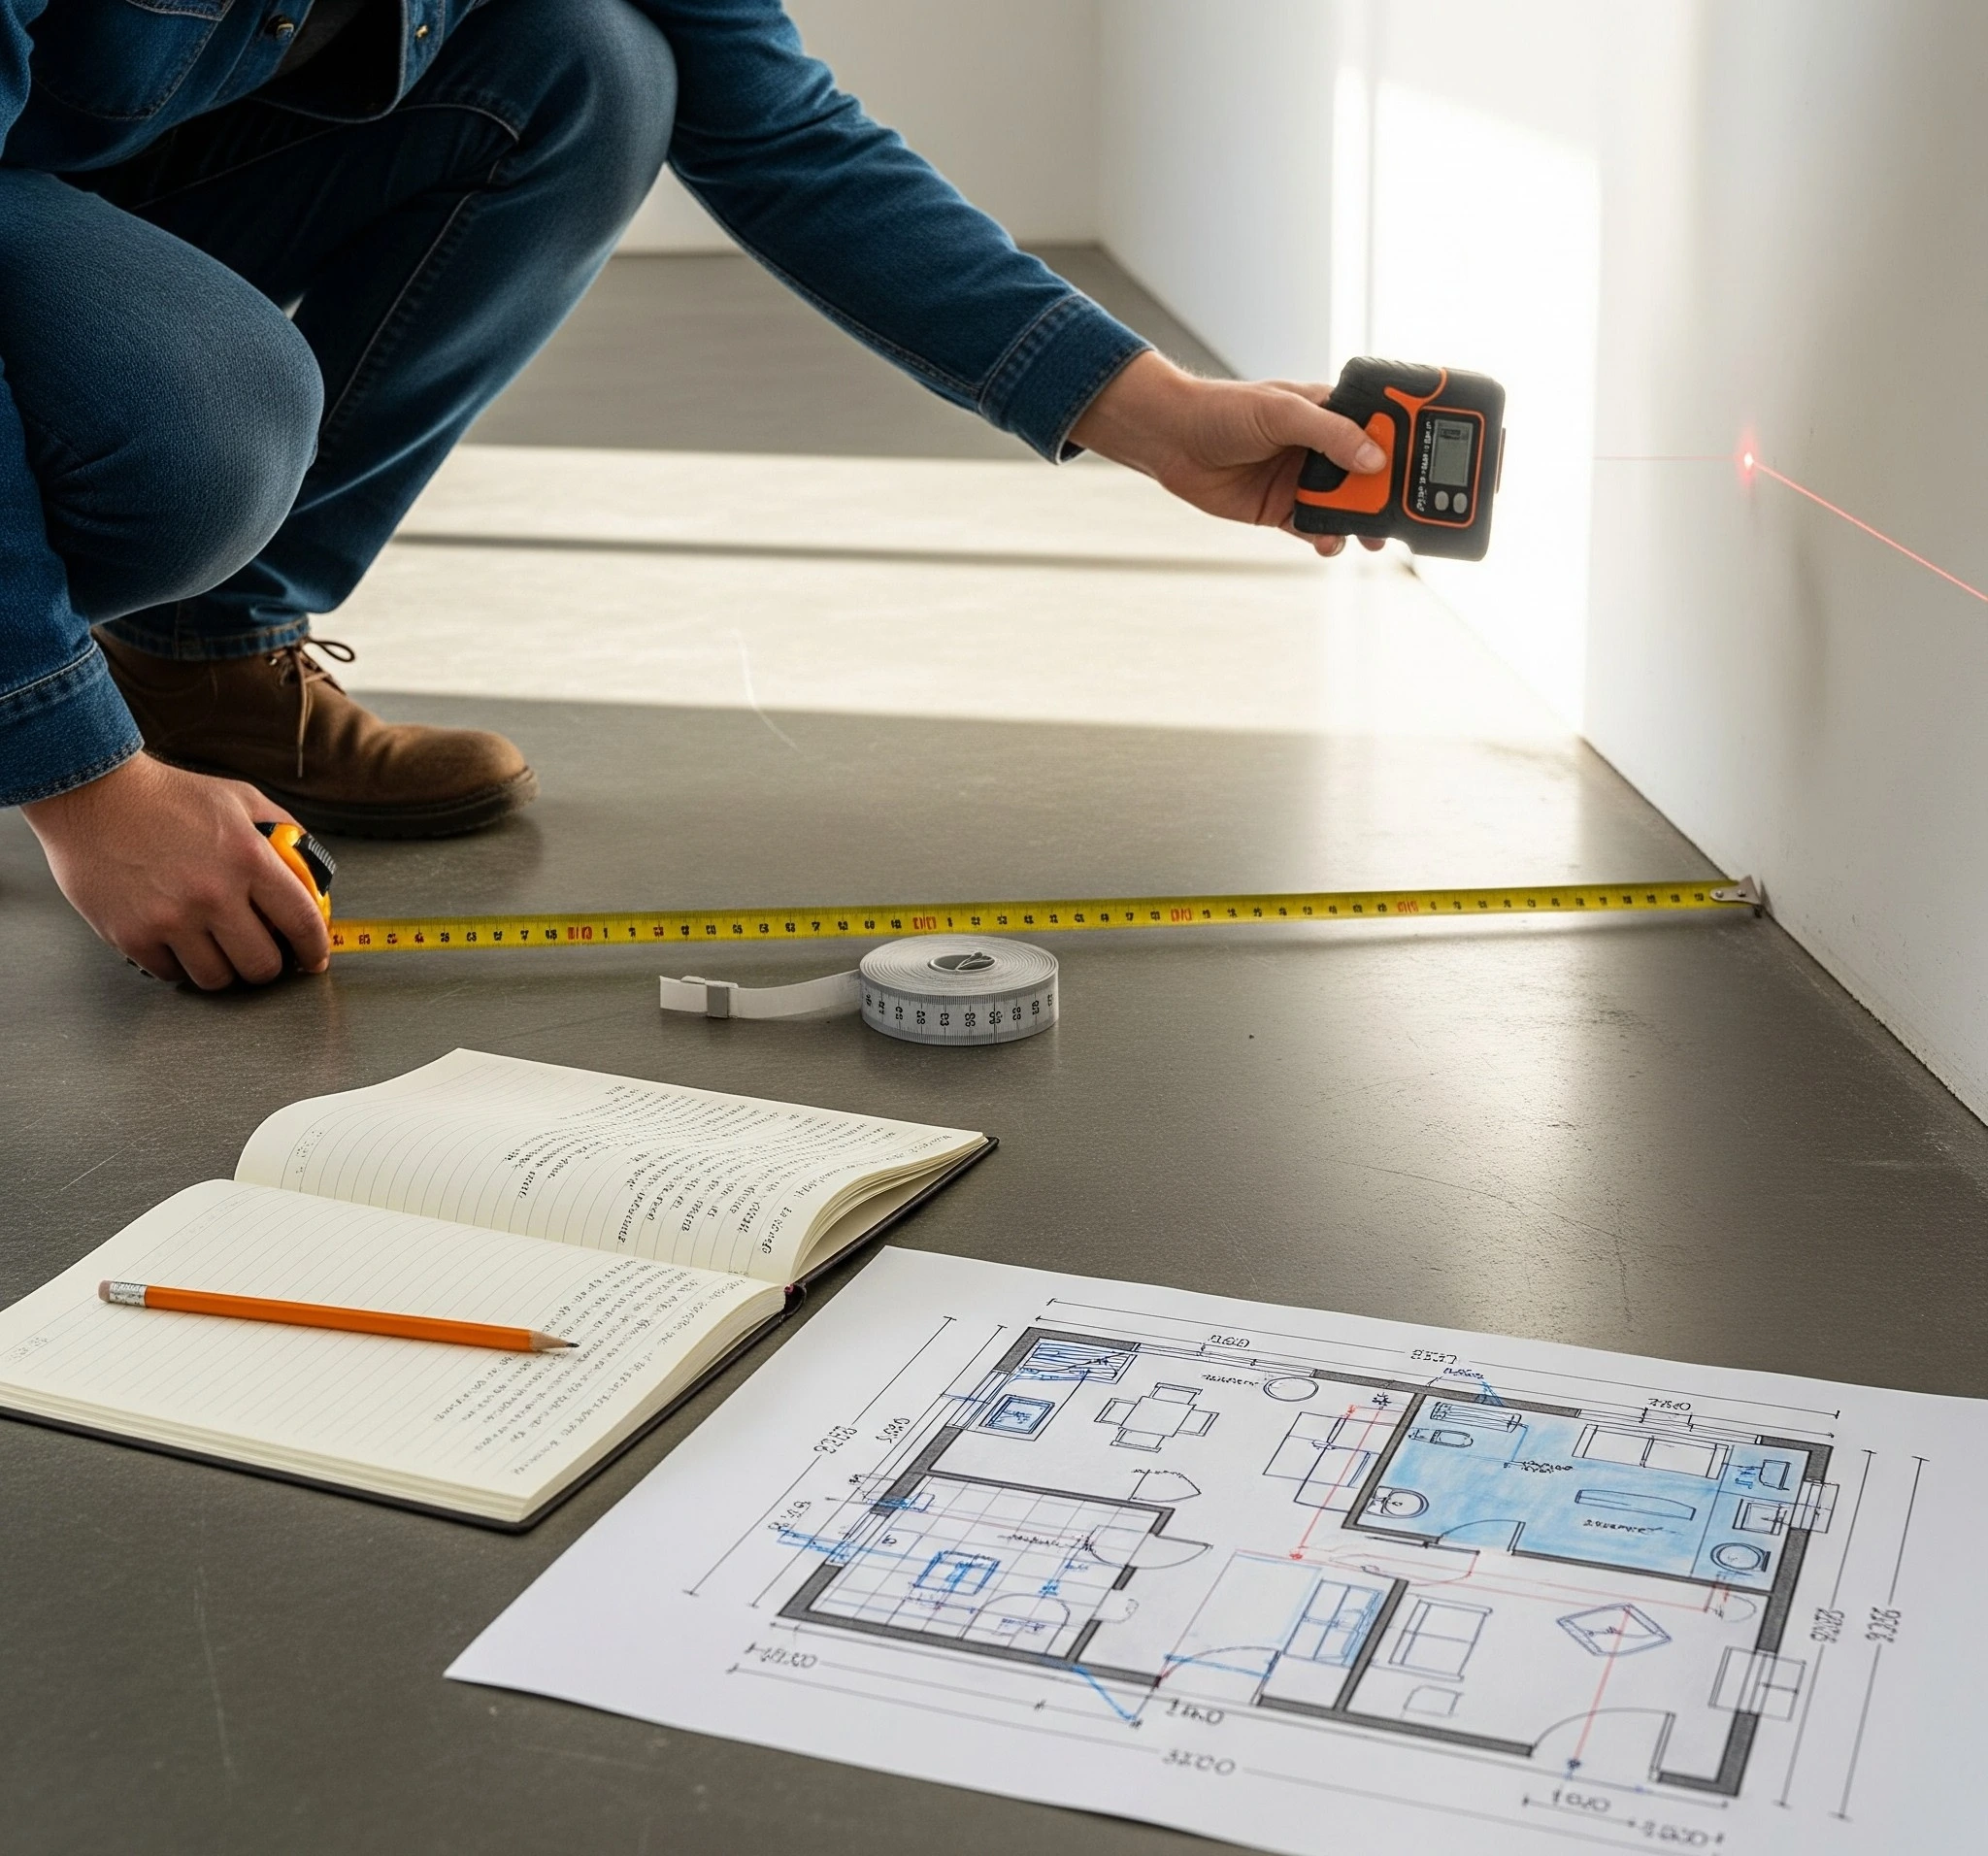
Measuring and Planning Your Layout
Good planning avoids headaches! Measure your rooms carefully, accounting for odd corners, vents, and stair treads if needed. Always buy 10% extra material to allow for mistakes and future repairs.
Dry-lay the first few rows, staggering the seams so you never have two end joints lined up. This helps with both strength and curb appeal.
Step-by-Step Installation Guide
Ready to get started? Here’s the breakdown of the most common flooring installation methods, including essential tips for stairs.
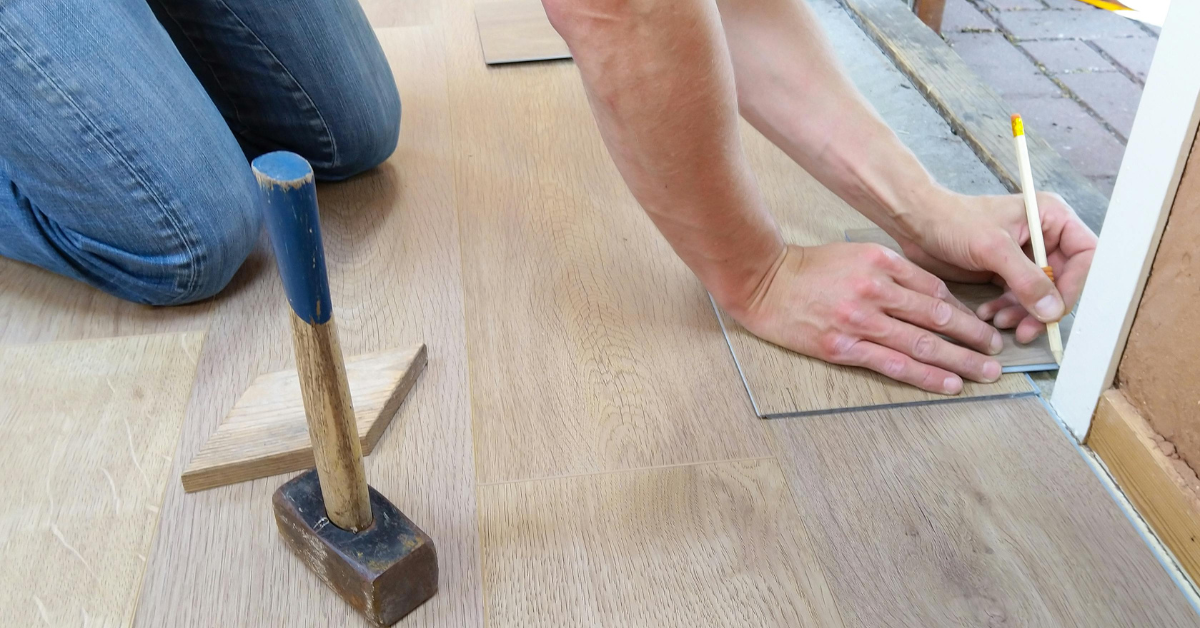
Installing Hardwood Floors DIY
Let’s walk through two classic methods for hardwood: glue-down and nail-down.
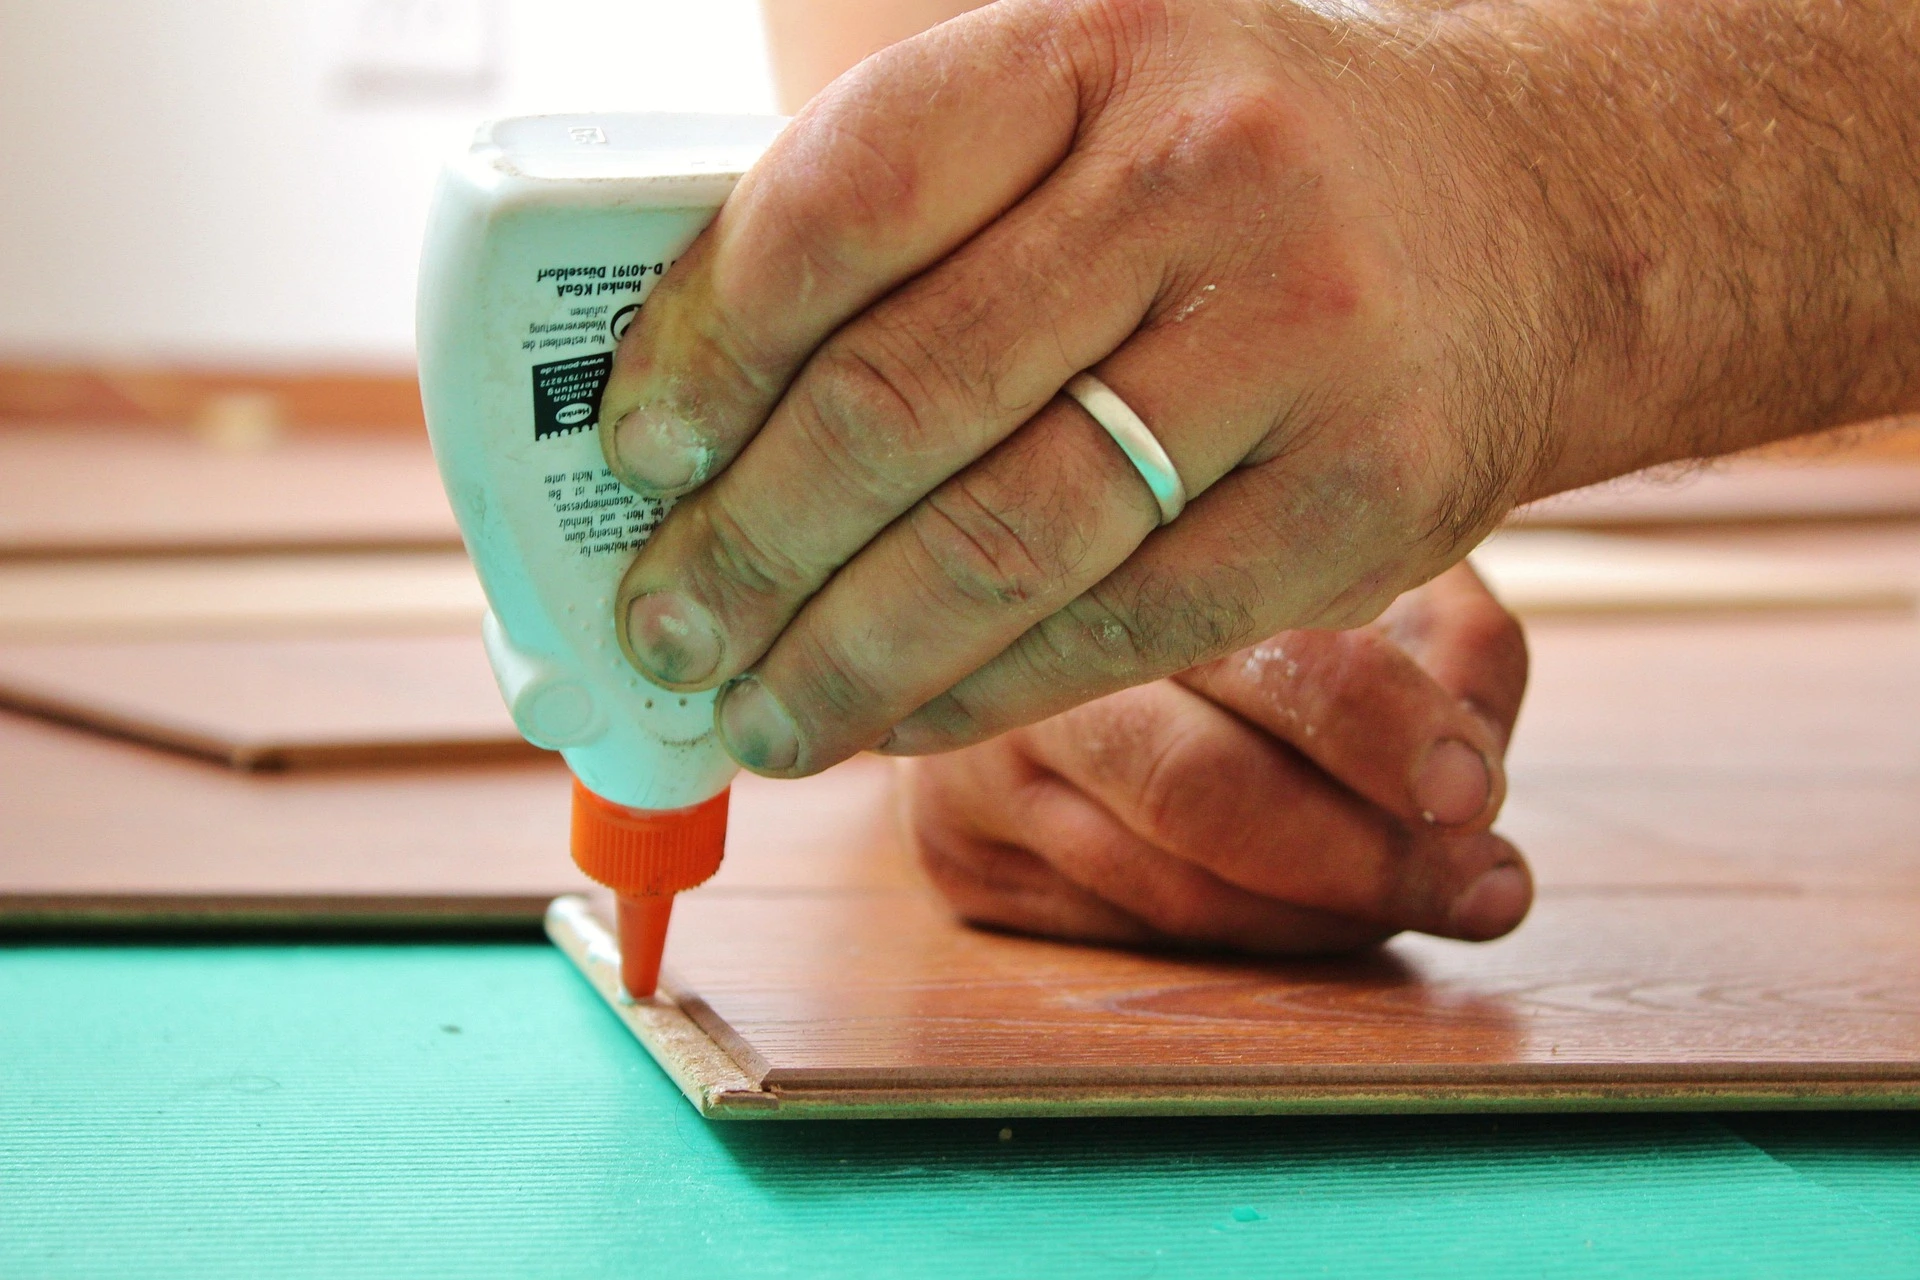
Glue-Down Method
This method is often used for engineered hardwood over concrete or plywood subfloors.
- Clean and Prep: Sweep the subfloor and spread the manufacturer-recommended adhesive evenly with a notched trowel.
- Lay Planks: Begin laying the floor from the longest wall. Press each plank into the glue, using spacers to maintain an expansion gap along the walls.
- Tap & Check: Use a tapping block to snug planks tightly, then wipe any excess glue immediately.
- Let Cure: Avoid heavy traffic for at least 24 hours as the adhesive sets.
Nail-Down Method
This is the traditional way to install solid hardwood over wooden subfloors.
- Lay Underlayment: Install rosin paper or vapor barrier paper to prevent squeaks.
- Start Row One: Align your first row of planks with the tongue facing the room. Nail through the plank face near the wall (this will be covered by baseboards).
- Continue Nailing: Move to blind-nailing through the tongue as you progress. Use a flooring nailer for speed and uniformity.
- Stagger Joints: Vary the lengths of your boards for a random, natural appearance.

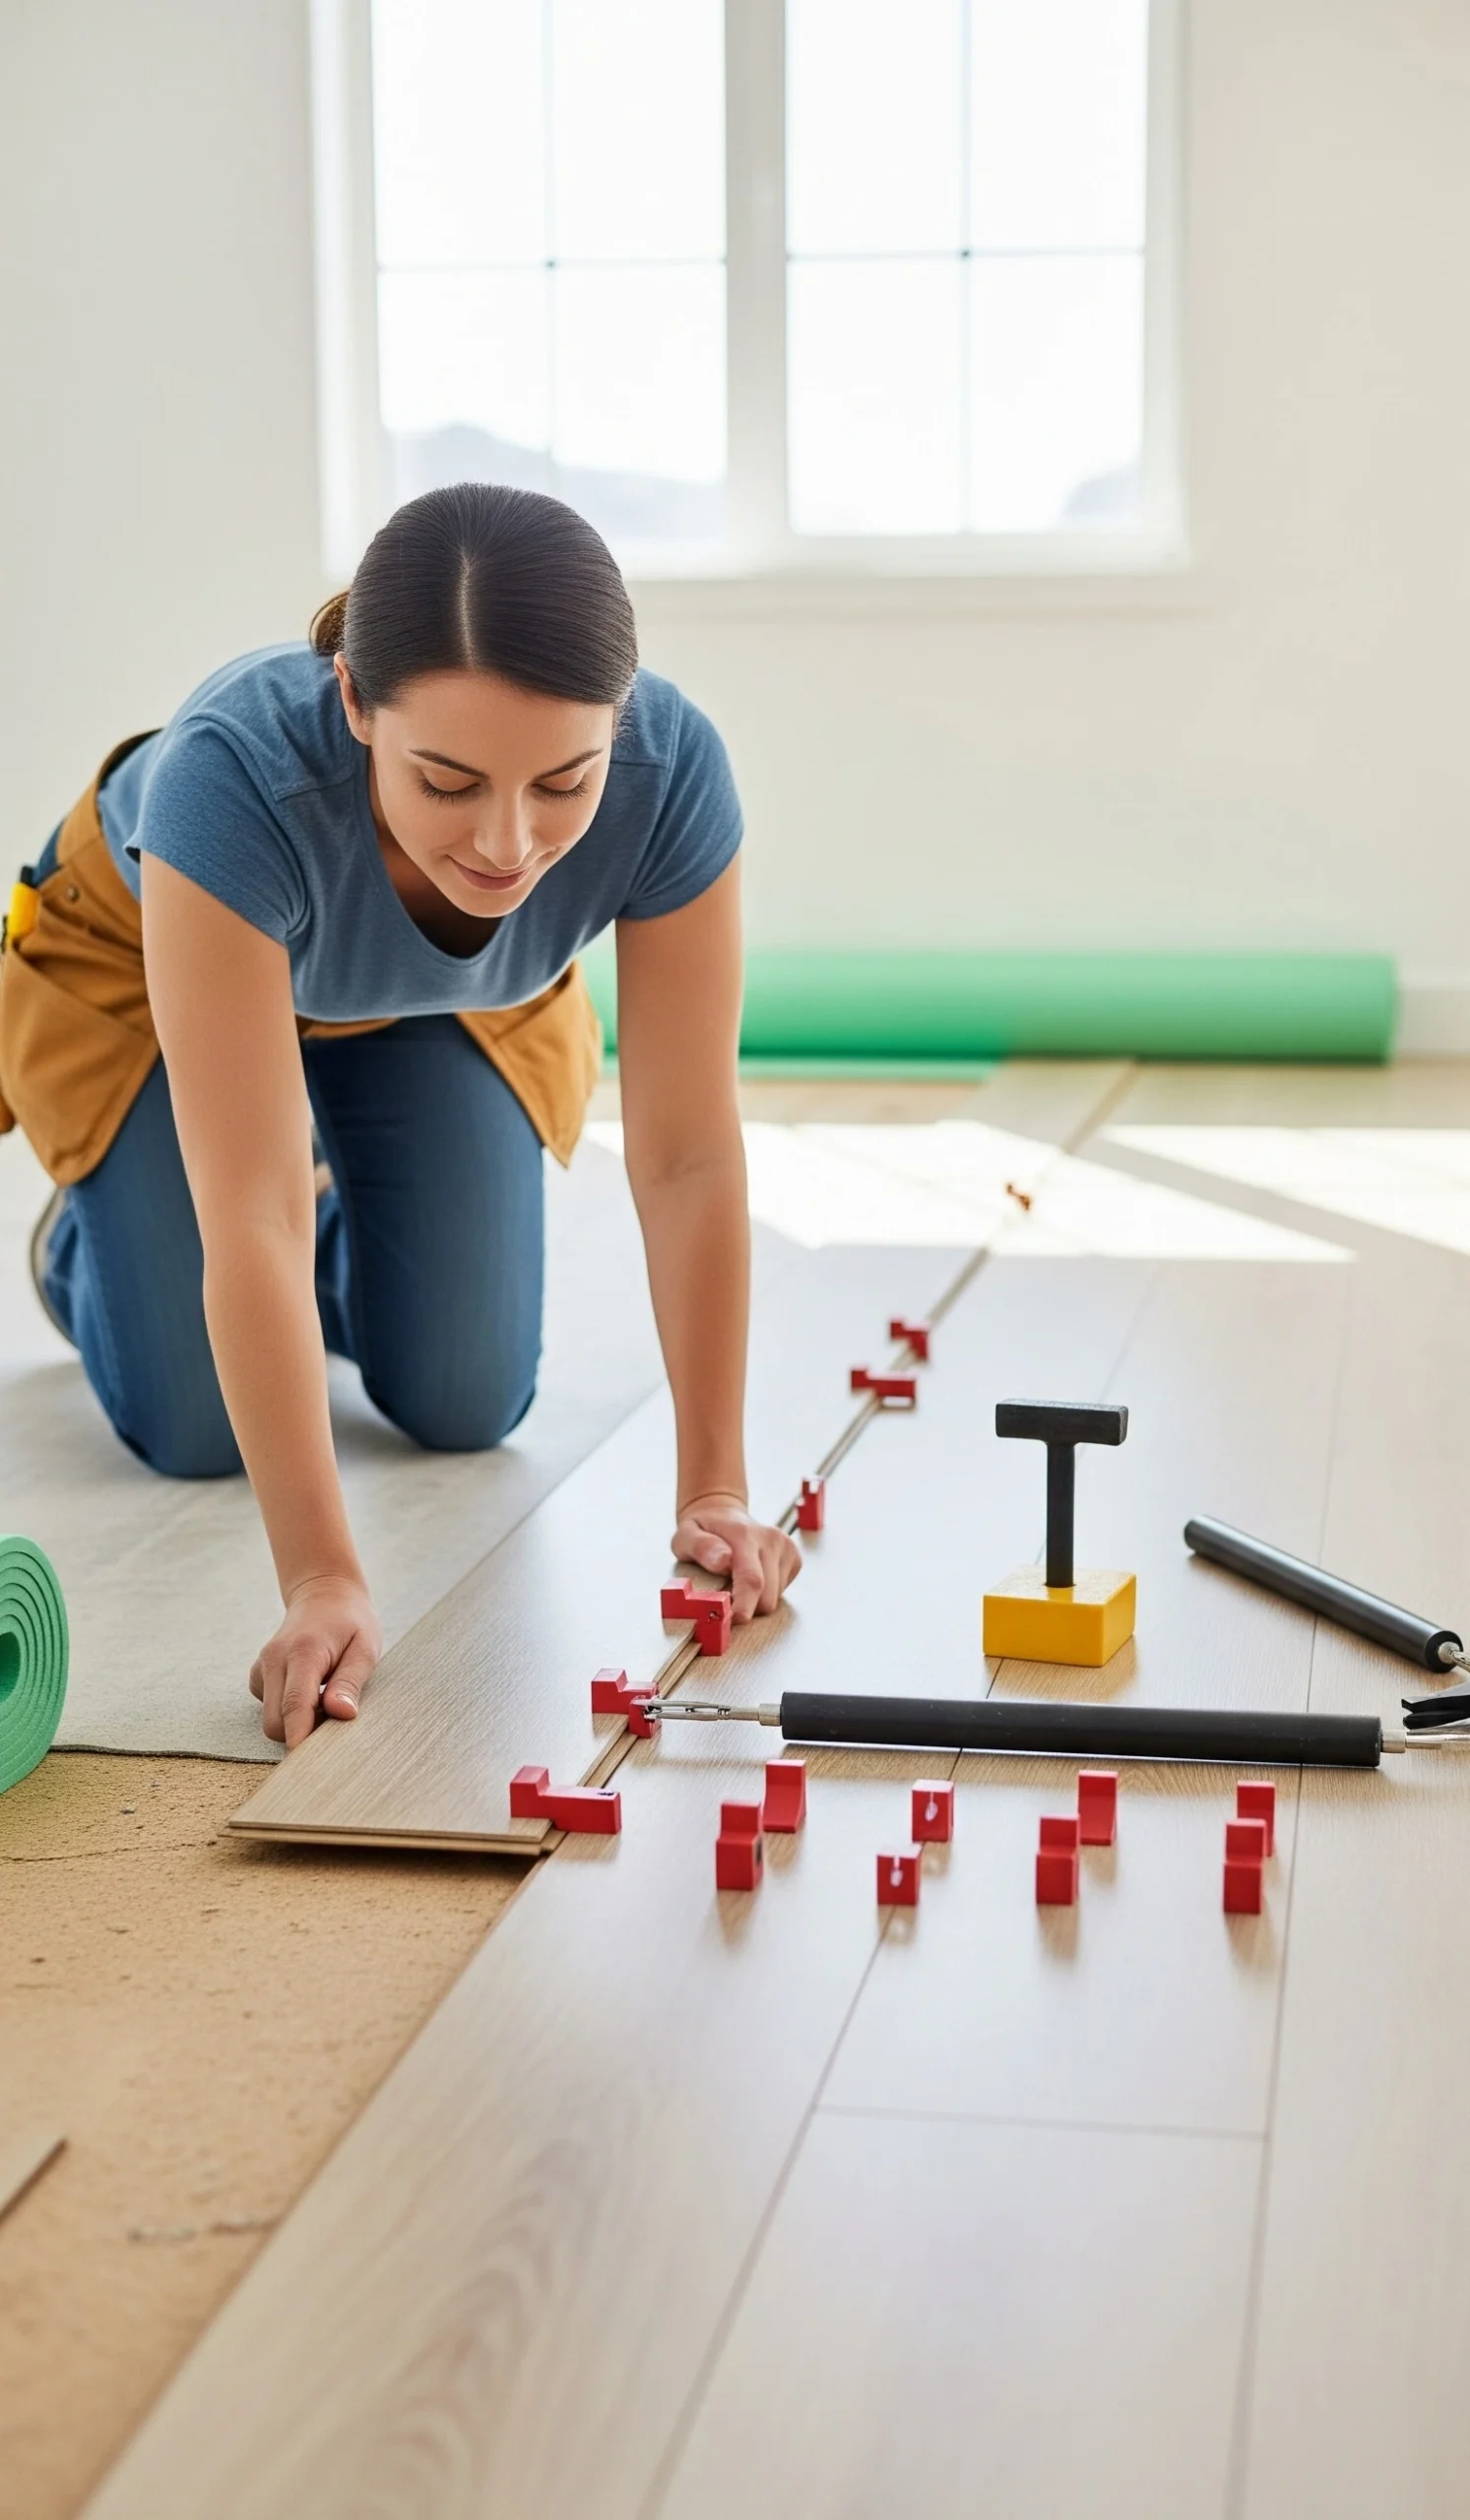
Click-Lock Method
This is your go-to for most laminates and some engineered hardwoods. It’s easier than you think and a huge favorite for DIYers.
- Lay Underlayment: Roll out foam underlayment across the whole floor for softness and noise reduction.
- Click & Lock: Insert one plank into another at an angle and press down until it clicks. No glue or nails required!
- Check Joints: Make sure seams are snug; use a tapping block if needed.
- Continue: Repeat for each row, staggering joints at least 6 inches apart.

DIY Laminate Flooring Installation Process
Laminate flooring is almost always installed using the click-lock method. Here are added pro tips:
- Start along a straight, visible wall.
- Always leave a 1/4-inch expansion gap at all edges (cover this later with baseboards).
- Saw the last row to fit, making sure the plank ends are tightly locked in.
If you’re wondering how to install flooring on stairs, keep reading—stairs need special handling.
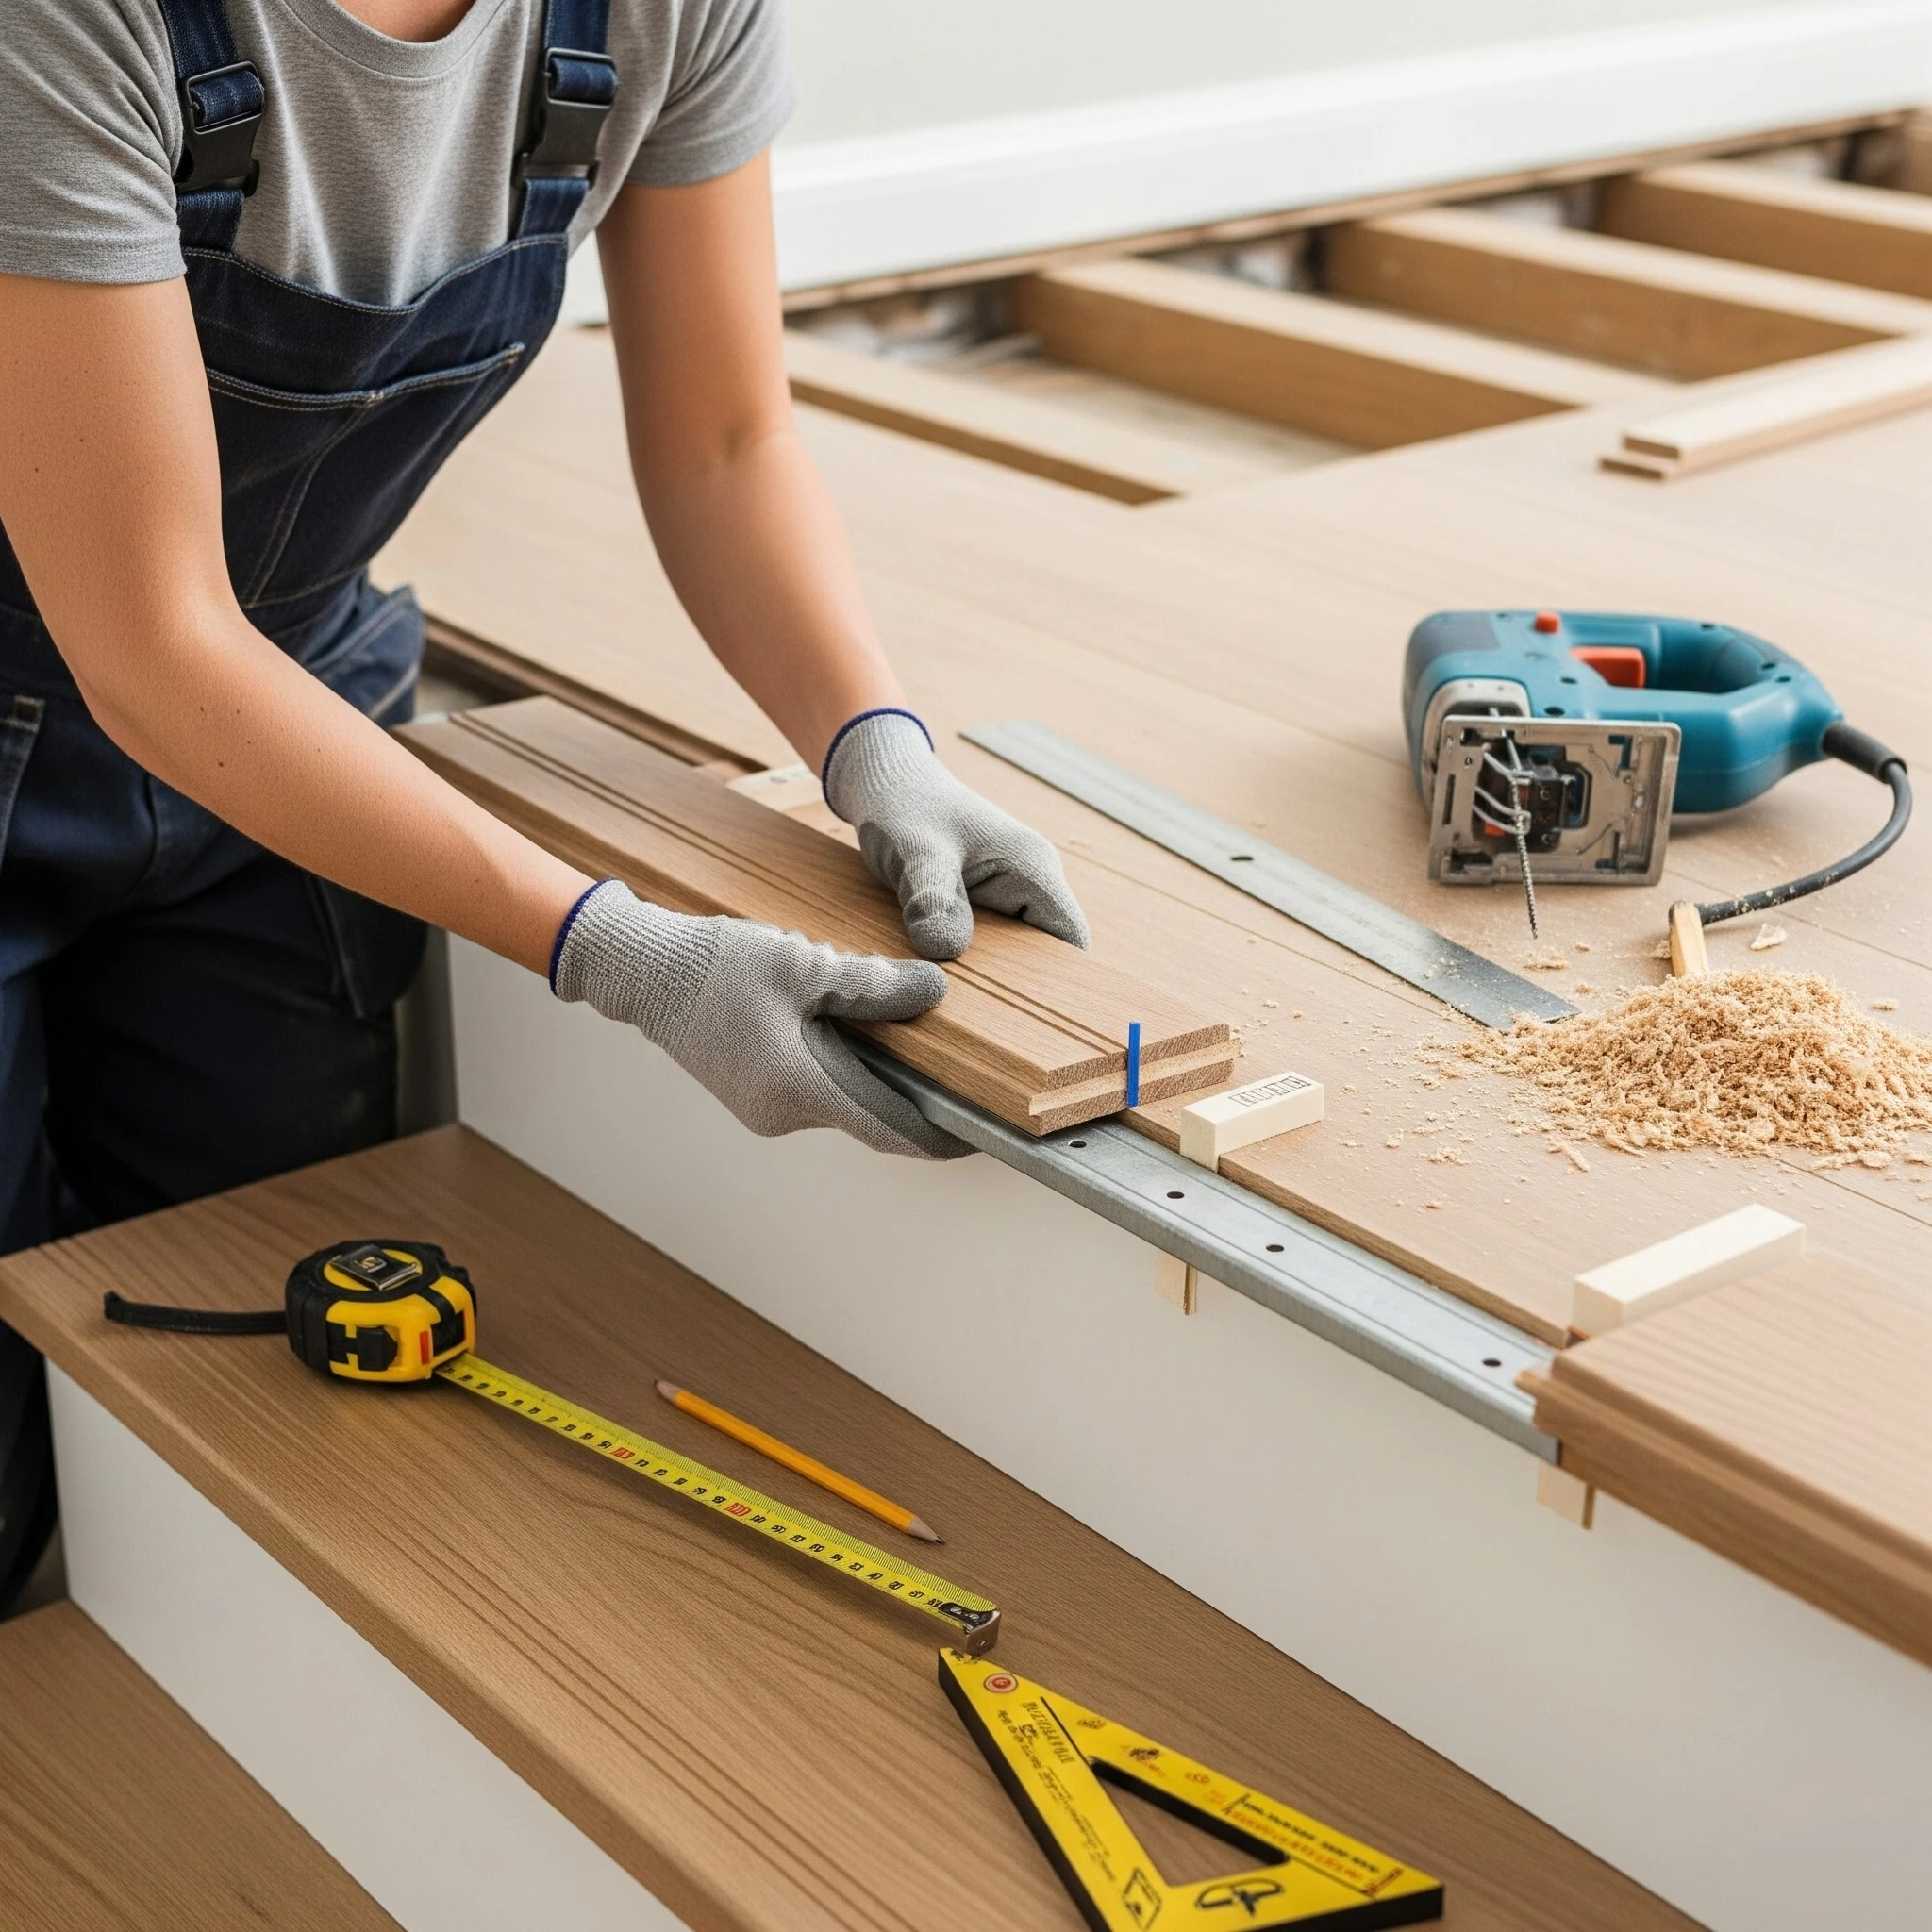
Tips for Installing Flooring on Stairs
Stairs are the star of your home—don’t skip the details!
- Cut to Fit: Measure each stair tread and riser individually; even small differences add up.
- Glue and Fasten: Attach planks with construction adhesive and finish nails for security.
- Flush Edges: Use a stair nose molding for a secure, seamless look.
- Laminate: Some laminates have matching stair kits—these make stairs safe and stylish.
Install flooring on stairs carefully, and always prioritize safety (no gaps, no loose boards!).
Troubleshooting Common Issues
Uneven Floors
Nothing is more frustrating than bouncy, creaky new floors. If you spot uneven patches:
- Go back and level the subfloor with a self-leveling compound.
- Use shims under low spots if installing a floating floor.
- For major issues, don’t be afraid to pause and call in a pro for advice.
Gapping Between Planks
Gaps can sneak up, especially if the flooring isn’t acclimated. Prevent and fix gapping by:
- Letting materials acclimate 48–72 hours in the installation room.
- Installing during moderate humidity.
- Pulling planks tight with a pull bar and tapping block.
Finishing Touches
Baseboards and Trim Installation
Once the last plank is down, victory is in sight! Replace baseboards and add quarter-round trim for a polished edge and to hide expansion gaps. Always nail trim to the wall, not the floor, so your new surface can expand and contract freely.
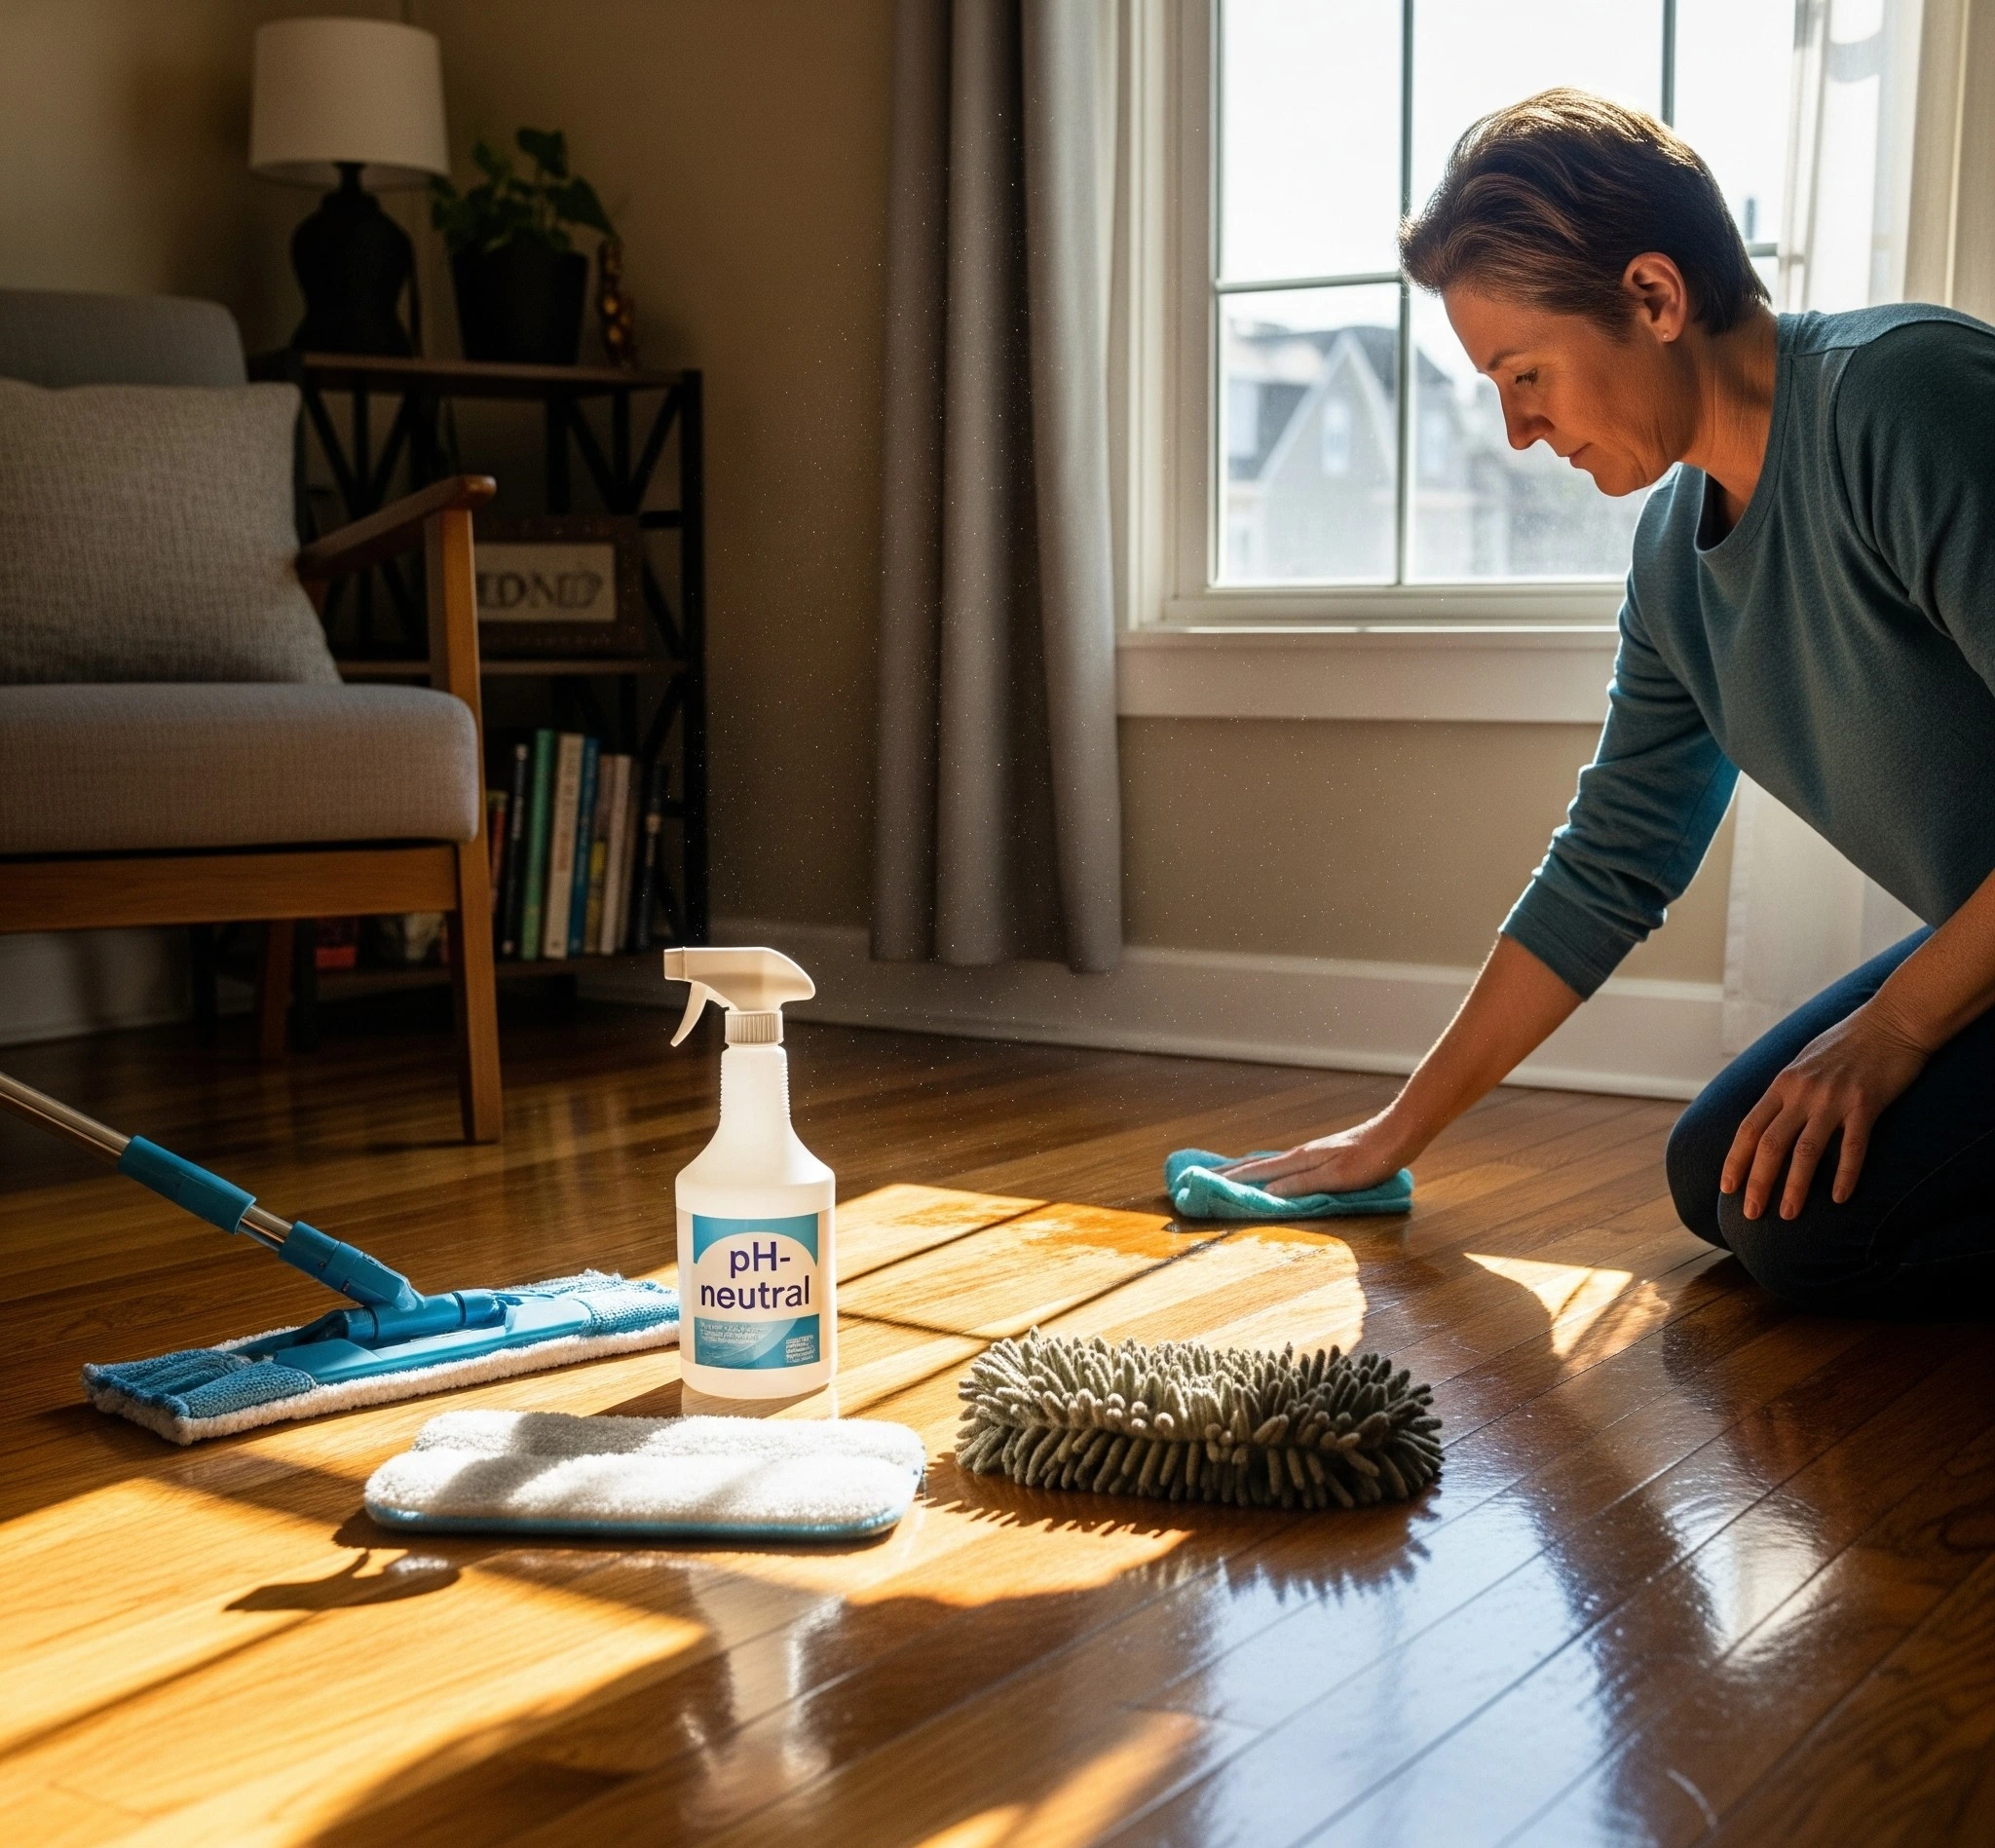
Cleaning and Maintenance Tips
Keep your hard work looking flawless:
- Sweep or vacuum regularly—grit = scratches!
- Use a slightly damp mop and a cleaner approved for your floor type.
- Wipe spills immediately, especially on wood or laminate.
- Place felt pads under furniture and use area rugs in high-traffic spots.
Maintenance isn’t glamorous, but it pays off for years of beauty and comfort.
Conclusion and Final Thoughts
DIY flooring installation is more than a home improvement project—it’s a transformation journey. You’ll gain confidence, save money, and fill your space with pride and personality. With this ultimate guide, you’re ready for beautiful results, whether you tackle diy hardwood floor installation, laminate, or wood floors.
Remember, mistakes happen and patience pays off big. Enjoy the process, document your progress, and celebrate your new floors every day.
If you enjoyed this article, don’t forget to save it on Pinterest or share it with a friend! Your next DIY adventure is just a plank away happy installing!