
Introduction

Welcome, friends! Are you dreaming of a bathroom transformation without the chaos—and the cost—of a full remodel? If you crave the luxury and convenience of a walk in shower but feel overwhelmed at the idea of installation, you’re in the right place. Today, I’m here to chat all about DIY shower kits, shower inserts, and every stand up shower solution imaginable. This guide is for those who want a fresh new look, a safer no-threshold entry for family, or just crave a value-boosting update—while enjoying the satisfaction of doing it yourself.
Let’s dive into everything you need to know, from picking the perfect prefab shower kit to rolling up your sleeves and getting it installed!
Understanding Shower Kits

If you’re new to the scene, a shower kit is basically your bathroom’s best shortcut to a beautiful upgrade. It comes with all the essentials you need to install a swanky new shower—no painstaking hunt for matching pieces. Shower kits typically include a shower base, walls, and sometimes even a door, packed together for seamless assembly.
By using a shower kit, you slash not only installation time but also the margin for error (and those headaches from unpredictable plumbing surprises).
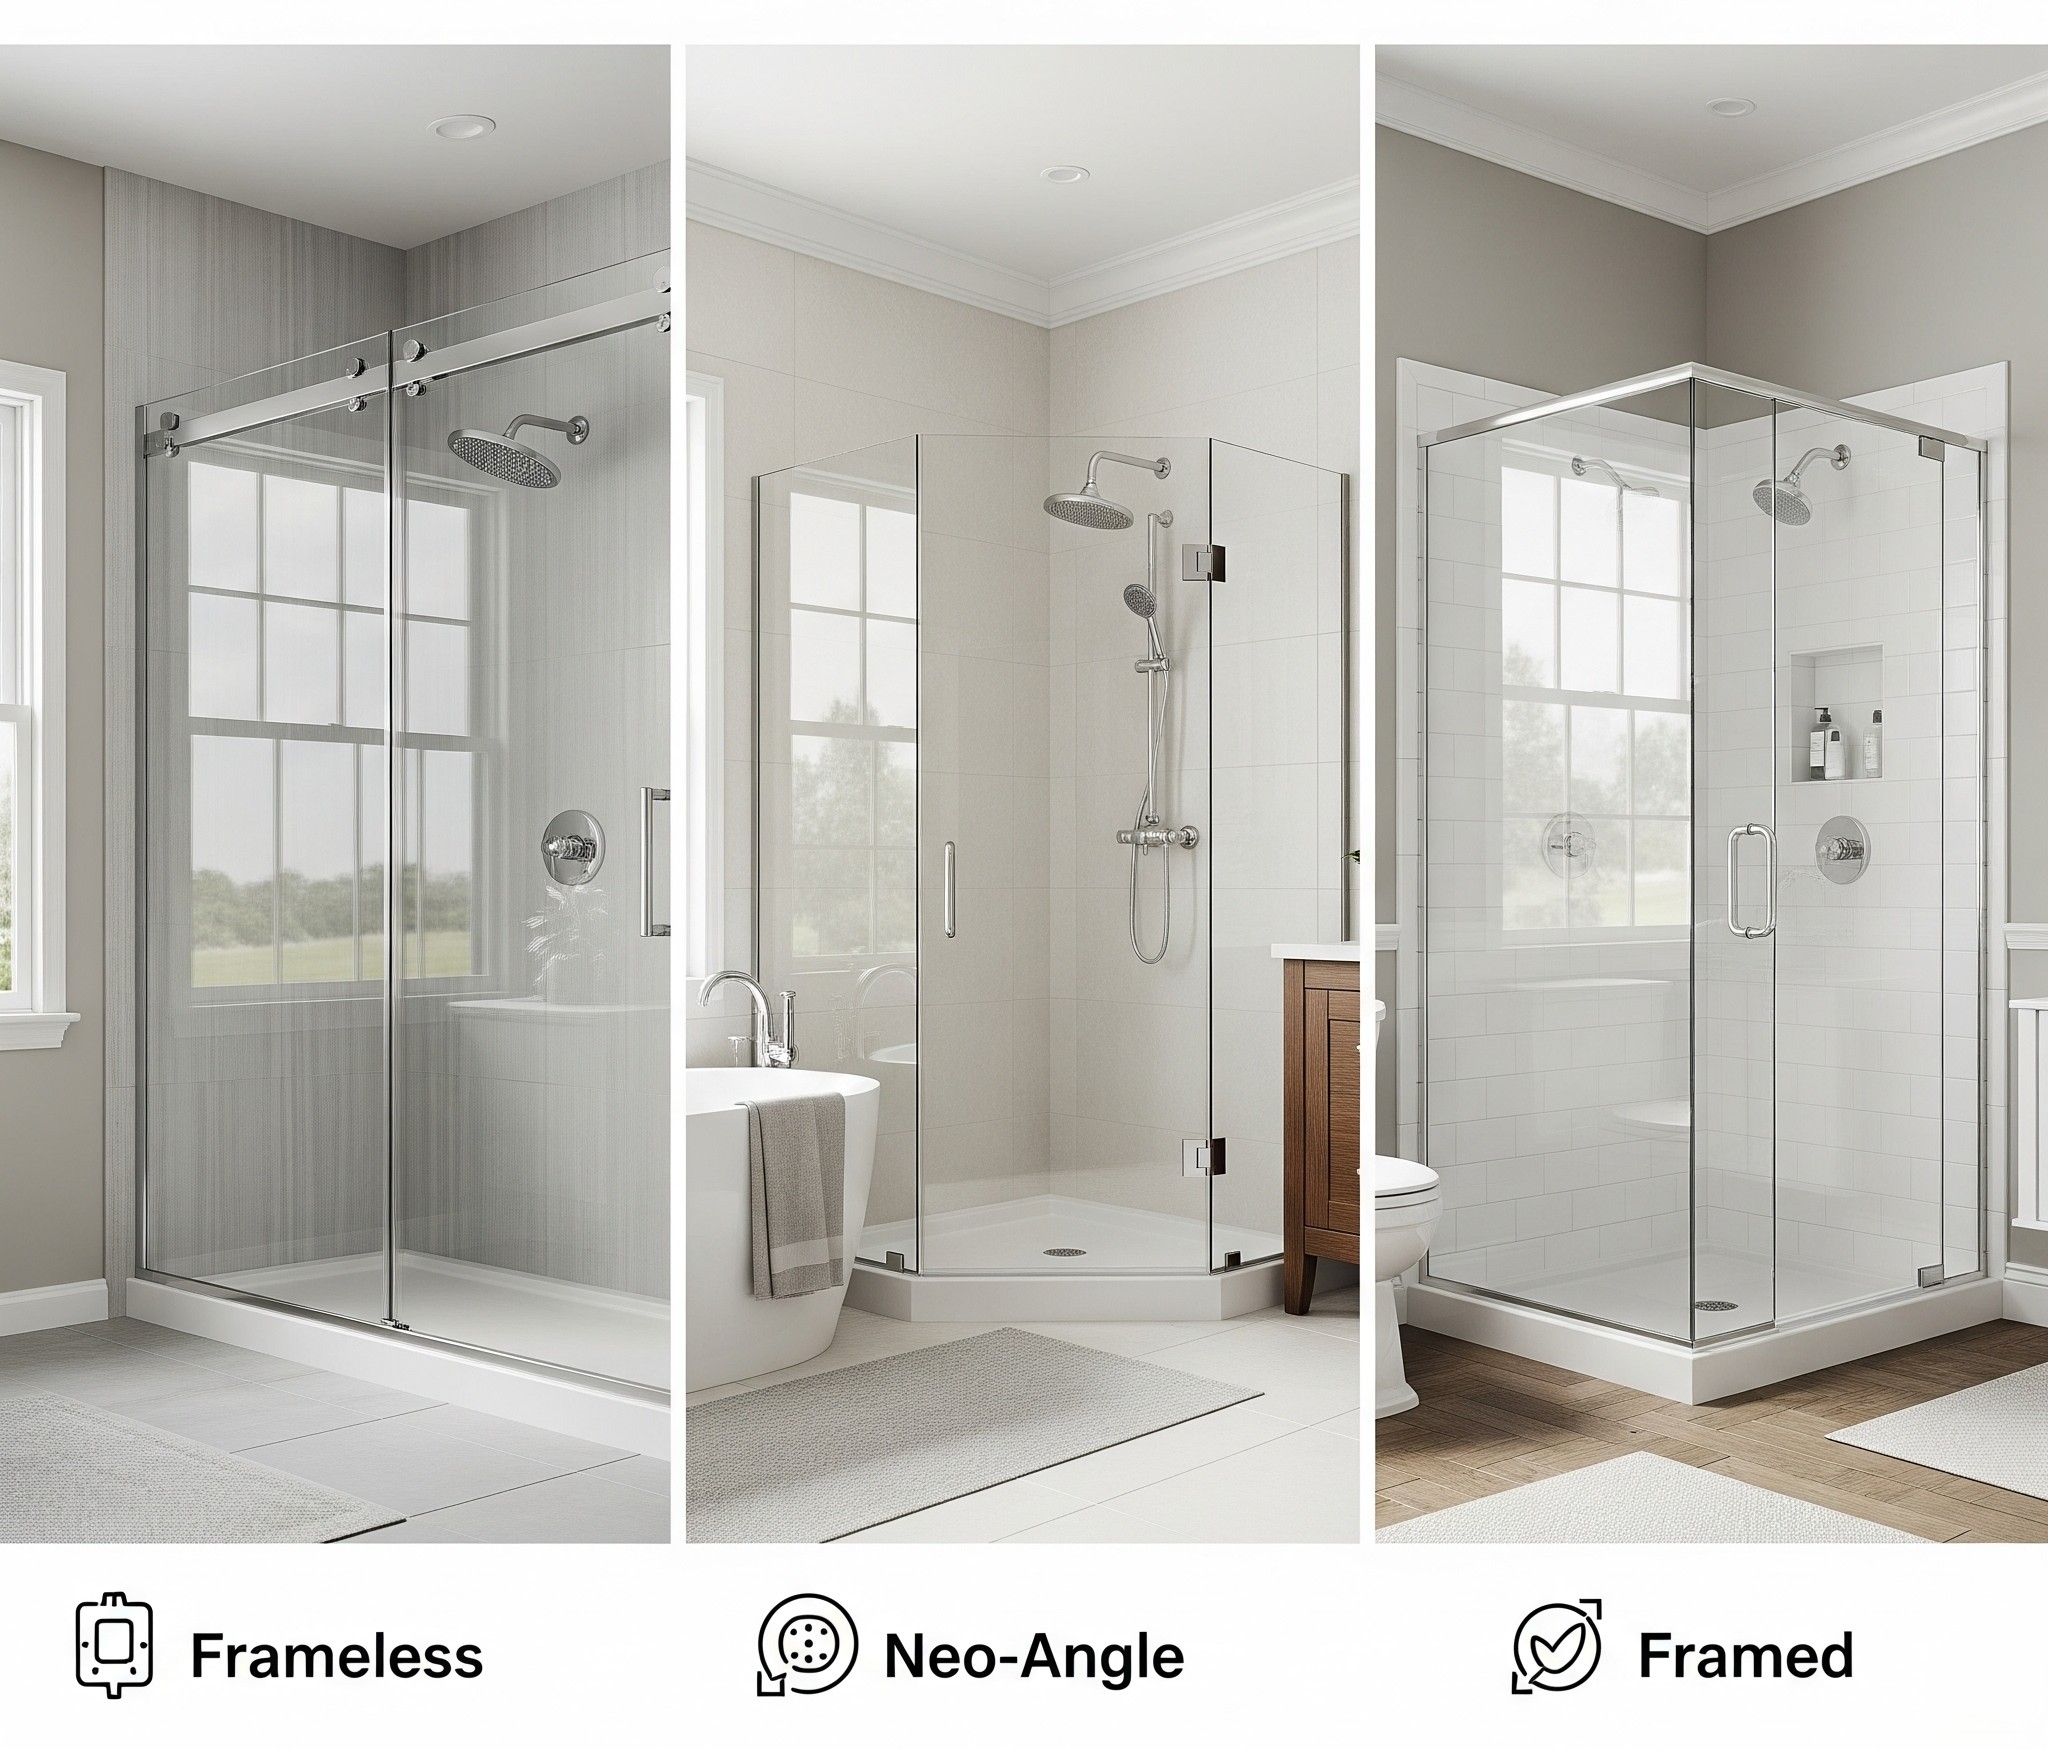
Types of Shower Kits
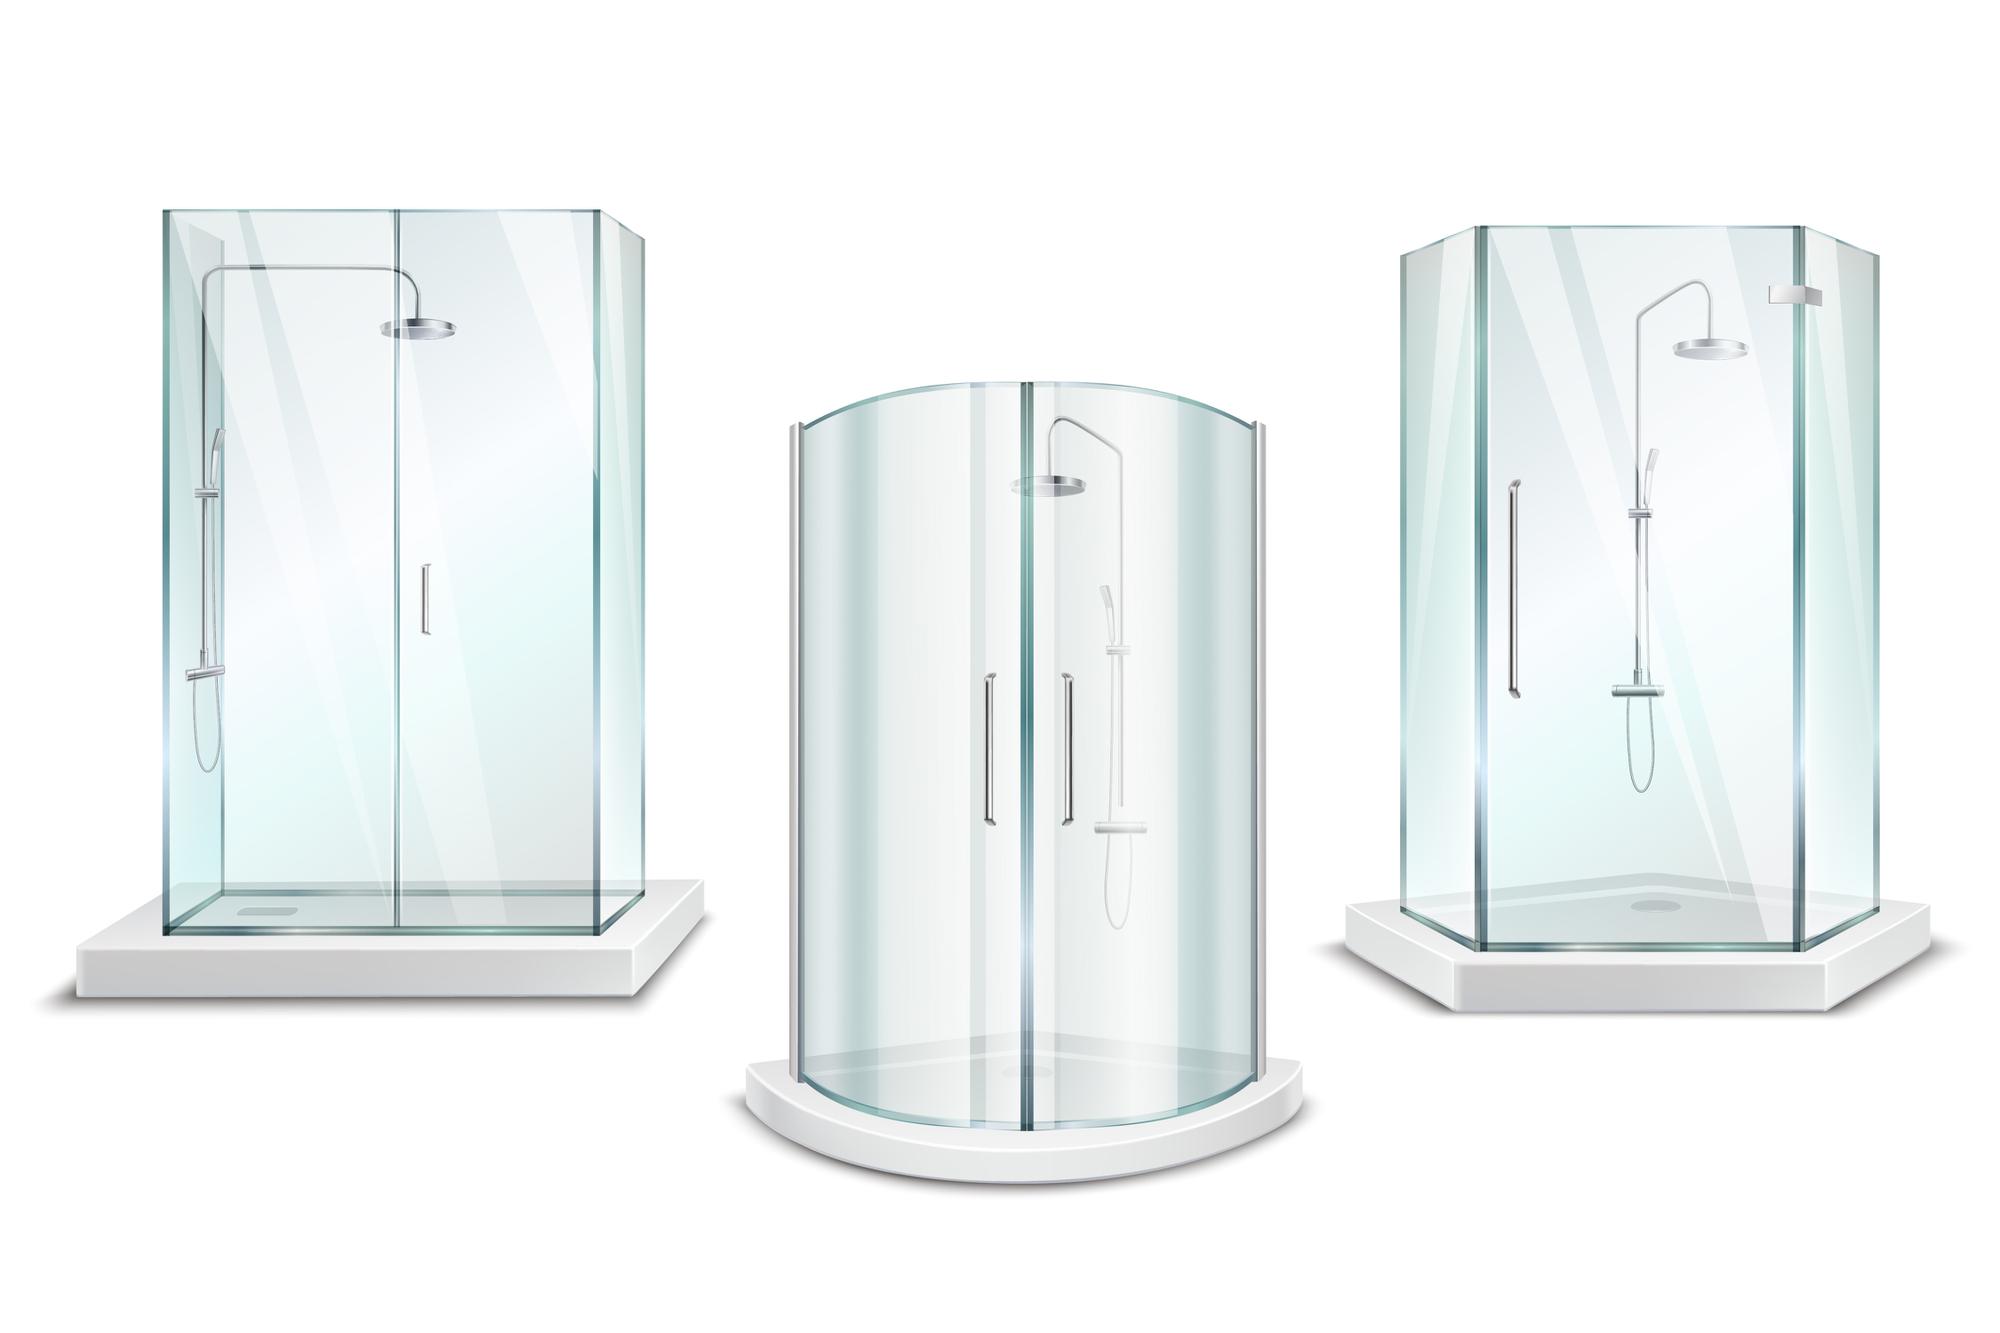
You’ll see a variety of shower kit styles out there, so let’s break down your main options:
- Walk in shower kits offer an open, accessible feel—ideal for aging-in-place families or anyone craving modern spa vibes.
- Shower stalls kits usually refer to classic stand up showers, perfect for tight spaces or as second-bathroom upgrades.
- Shower kits complete with base walls and door include everything you need for an elegant enclosure, taking the guesswork out of your bathroom refresh.
- Prefab shower kits are pre-manufactured and designed for quick, straightforward installation—no tiling or custom work required.
- Shower enclosures with seat add luxurious comfort, blending practicality and relaxation.
Benefits of Using Shower Kits
Let’s be real: shower kits are every DIYer’s secret weapon. Why? Here are the top perks:
- Simplicity: Everything fits together—it’s like adult LEGO for your bathroom!
- Consistency: Materials are matched by design, so you don’t risk an odd one-out wall or base.
- Speed: You can complete your installation in a weekend, minimizing downtime.
- Affordability: Compared to custom showers, kits eliminate labor costs and let you shop high-quality, stylish options for way less.
- Variety: Whether you want sleek glass, acrylic, or classic tile looks, there’s a kit for you.
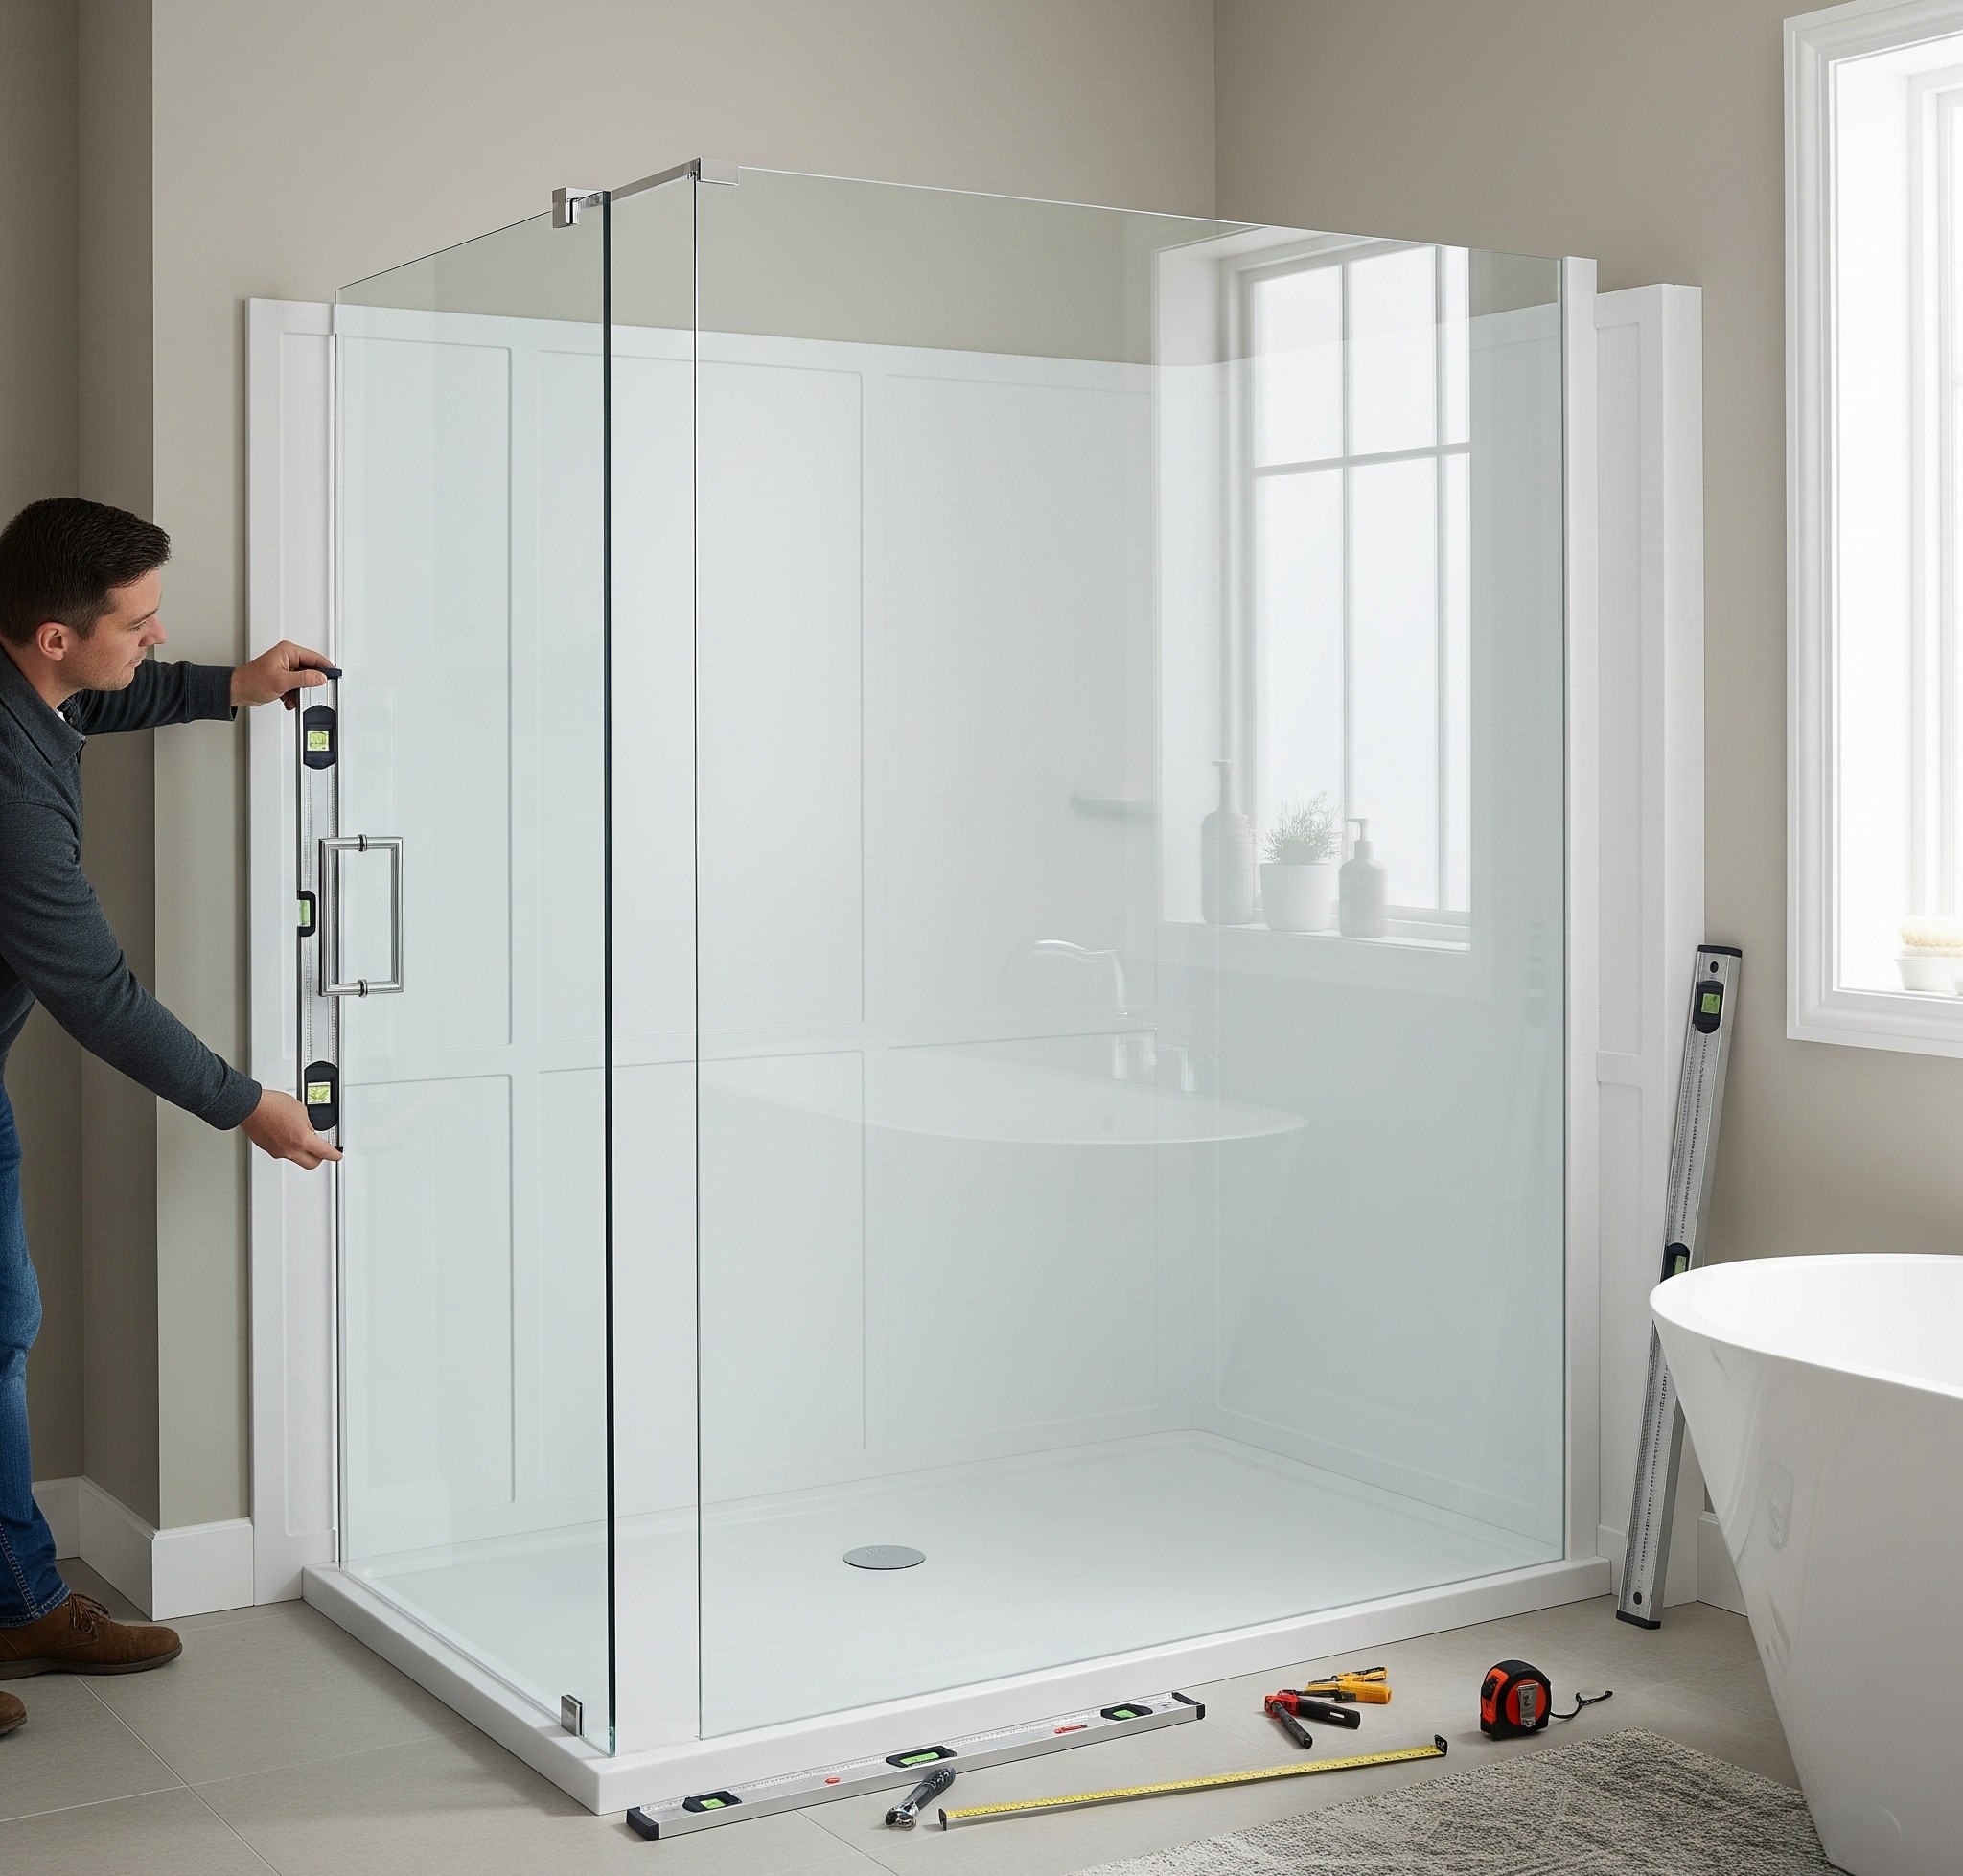
Preparing for the Installation
So you’re eyeing those shower kits complete with base, walls, and door—what comes next? Preparation is everything. Here’s how to get ready for a smooth DIY project.
Assessing Your Bathroom Space

Before you hit “add to cart” on that dreamy stand up shower kit, let’s talk measurements. Grab your trusty tape measure and record the available space in your bathroom. Double-check door openings, window placements, and consider your dream layout.
Remember, most prefab shower kits are tailor-made for standard sizing—but if your bathroom is unique (or a little quirky, like mine!), precise measurements will save you a world of hassle.
Choosing the Right Shower Kit

With your dimensions in hand, it’s shopping time! Consider:
- Size and layout: Will a corner stand up shower maximize your space, or do you prefer a full-length walk in shower along your bathroom wall?
- Material: Acrylic is durable and easy to clean, while glass panels add elegant, airy vibes.
- Features: Want a shower seat, shelves, or extra-wide entry? Many shower enclosures offer these, upping comfort and function.
- Style: Match your shower kit to your home’s aesthetic, from sleek modern lines to classic finishes.
Walk-in Shower Kits
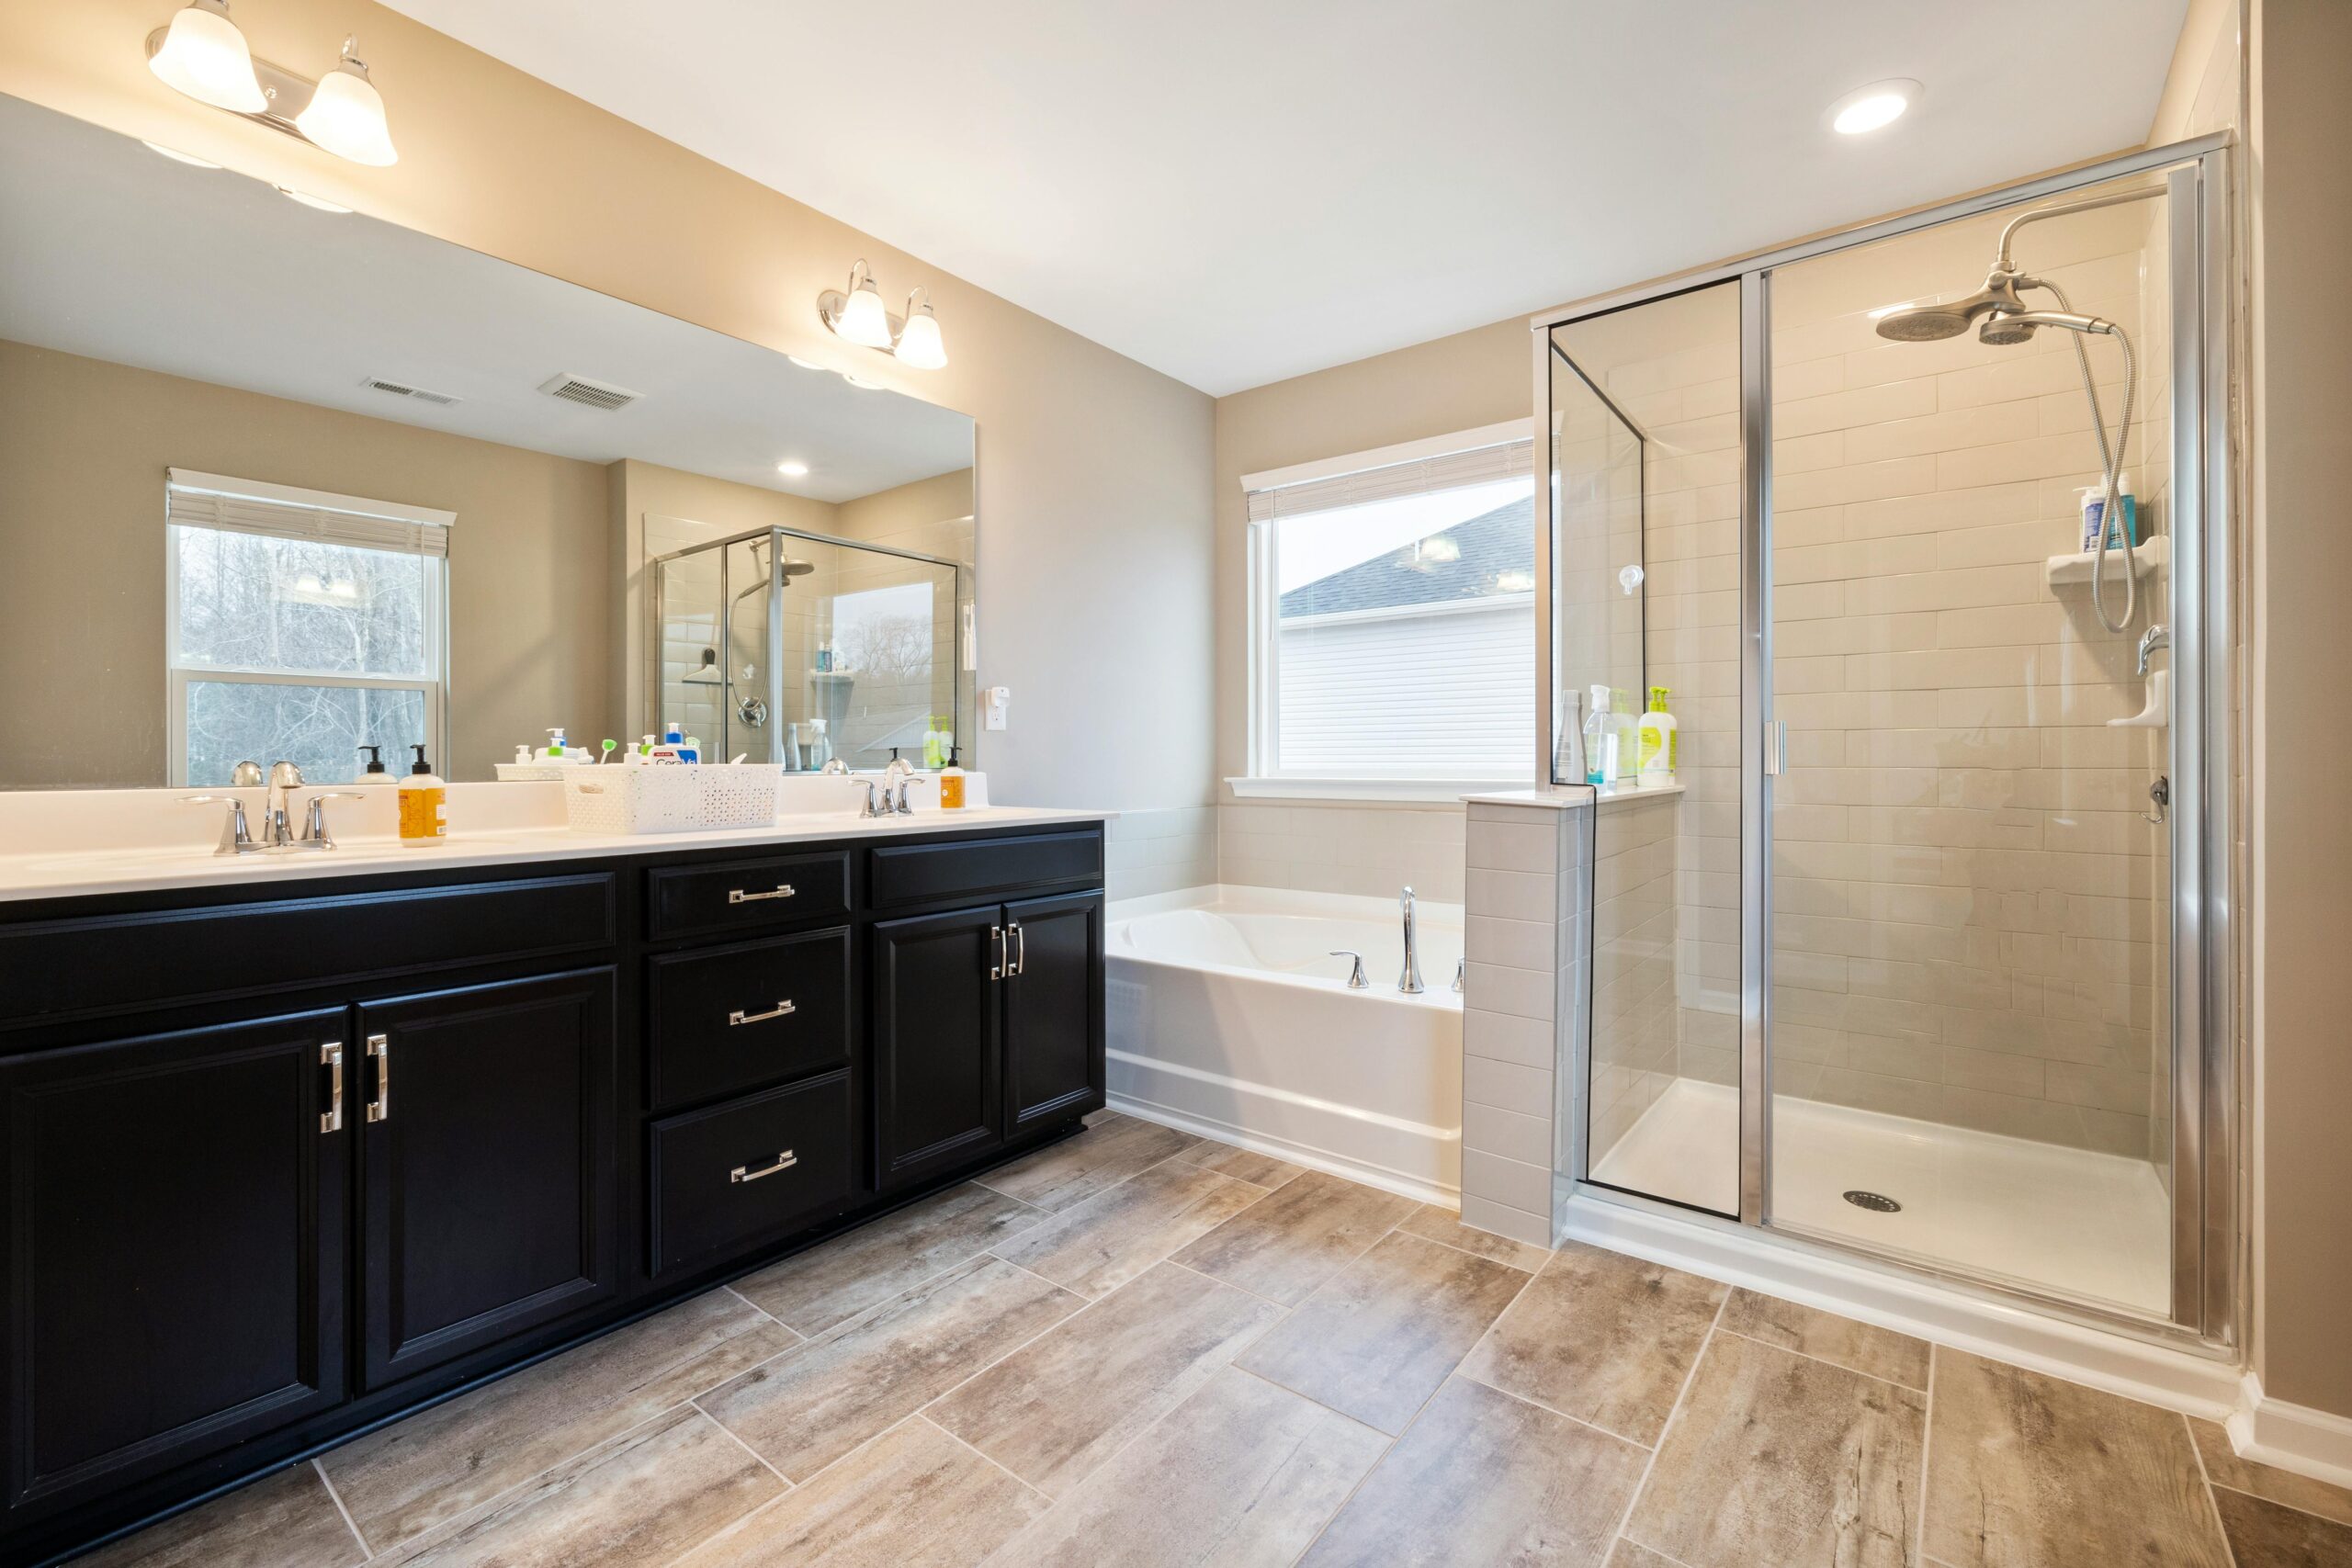
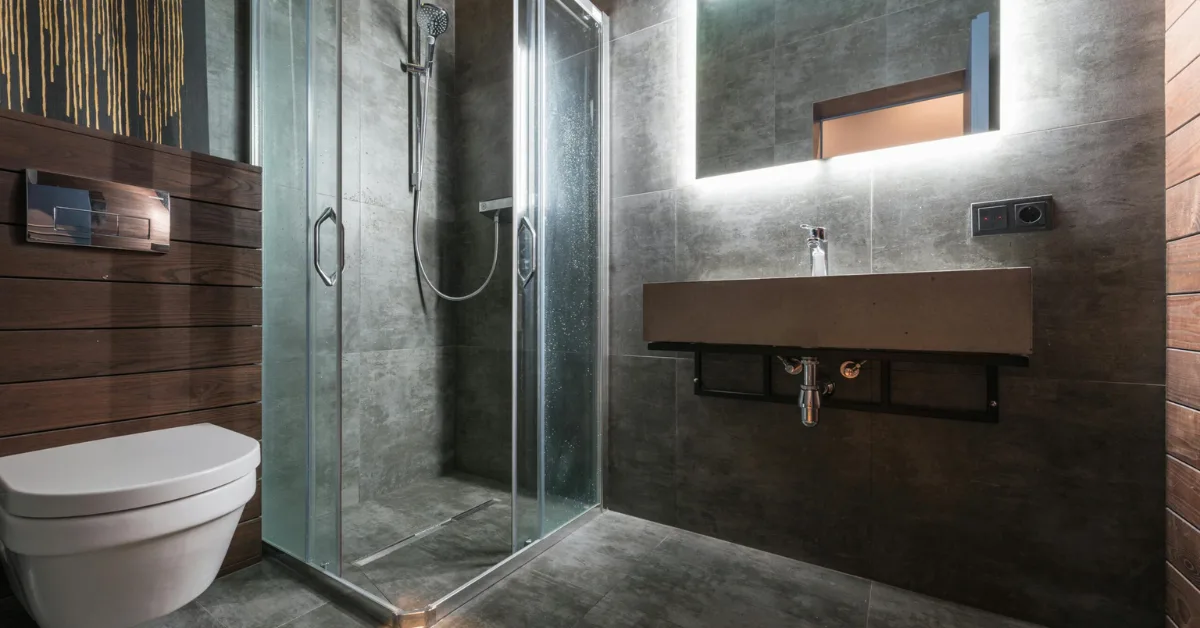
Walk in shower kits are hugely popular right now—especially for master baths, guest suites, or anyone looking to elevate convenience and accessibility. With no bulky threshold, they provide a slip-resistant entry, a must-have for kids, seniors, or simply a spa-like experience. Plus, walk in showers maximize visual space, instantly making even small bathrooms feel open and airy.
Shower Kits Complete with Base, Walls, and Door
Nothing beats a one-stop solution. Shower kits complete with base, walls, and door make DIY projects a breeze—they bundle all matching parts, so you get a flawless, watertight fit. Look for models where doors are pre-sized for your enclosure and walls snap securely into place, saving hours on adjustments.
Gathering Necessary Tools and Materials

Let’s make sure you’re not halfway through installation before realizing you need a tile cutter! Here’s what you’ll likely need for installing most shower stalls kits:
- Power drill with bits
- Measuring tape and pencil
- Level
- Caulk gun and waterproof silicone caulk
- Utility knife
- Safety glasses and gloves
- Screwdriver set
- Pipe wrench (especially if you’re moving plumbing)
- Shims for leveling
- Mortar or adhesive (check your kit’s instructions)
Pro tip: Read your shower kit manual as soon as the box arrives, so you can pick up any brand-specific supplies before you get started!
Step-by-Step Installation Guide
Ready to create the bathroom of your dreams? Here’s your easy-to-follow DIY roadmap for installing most shower inserts and prefab shower kits.
Step 1: Installation of Shower Base
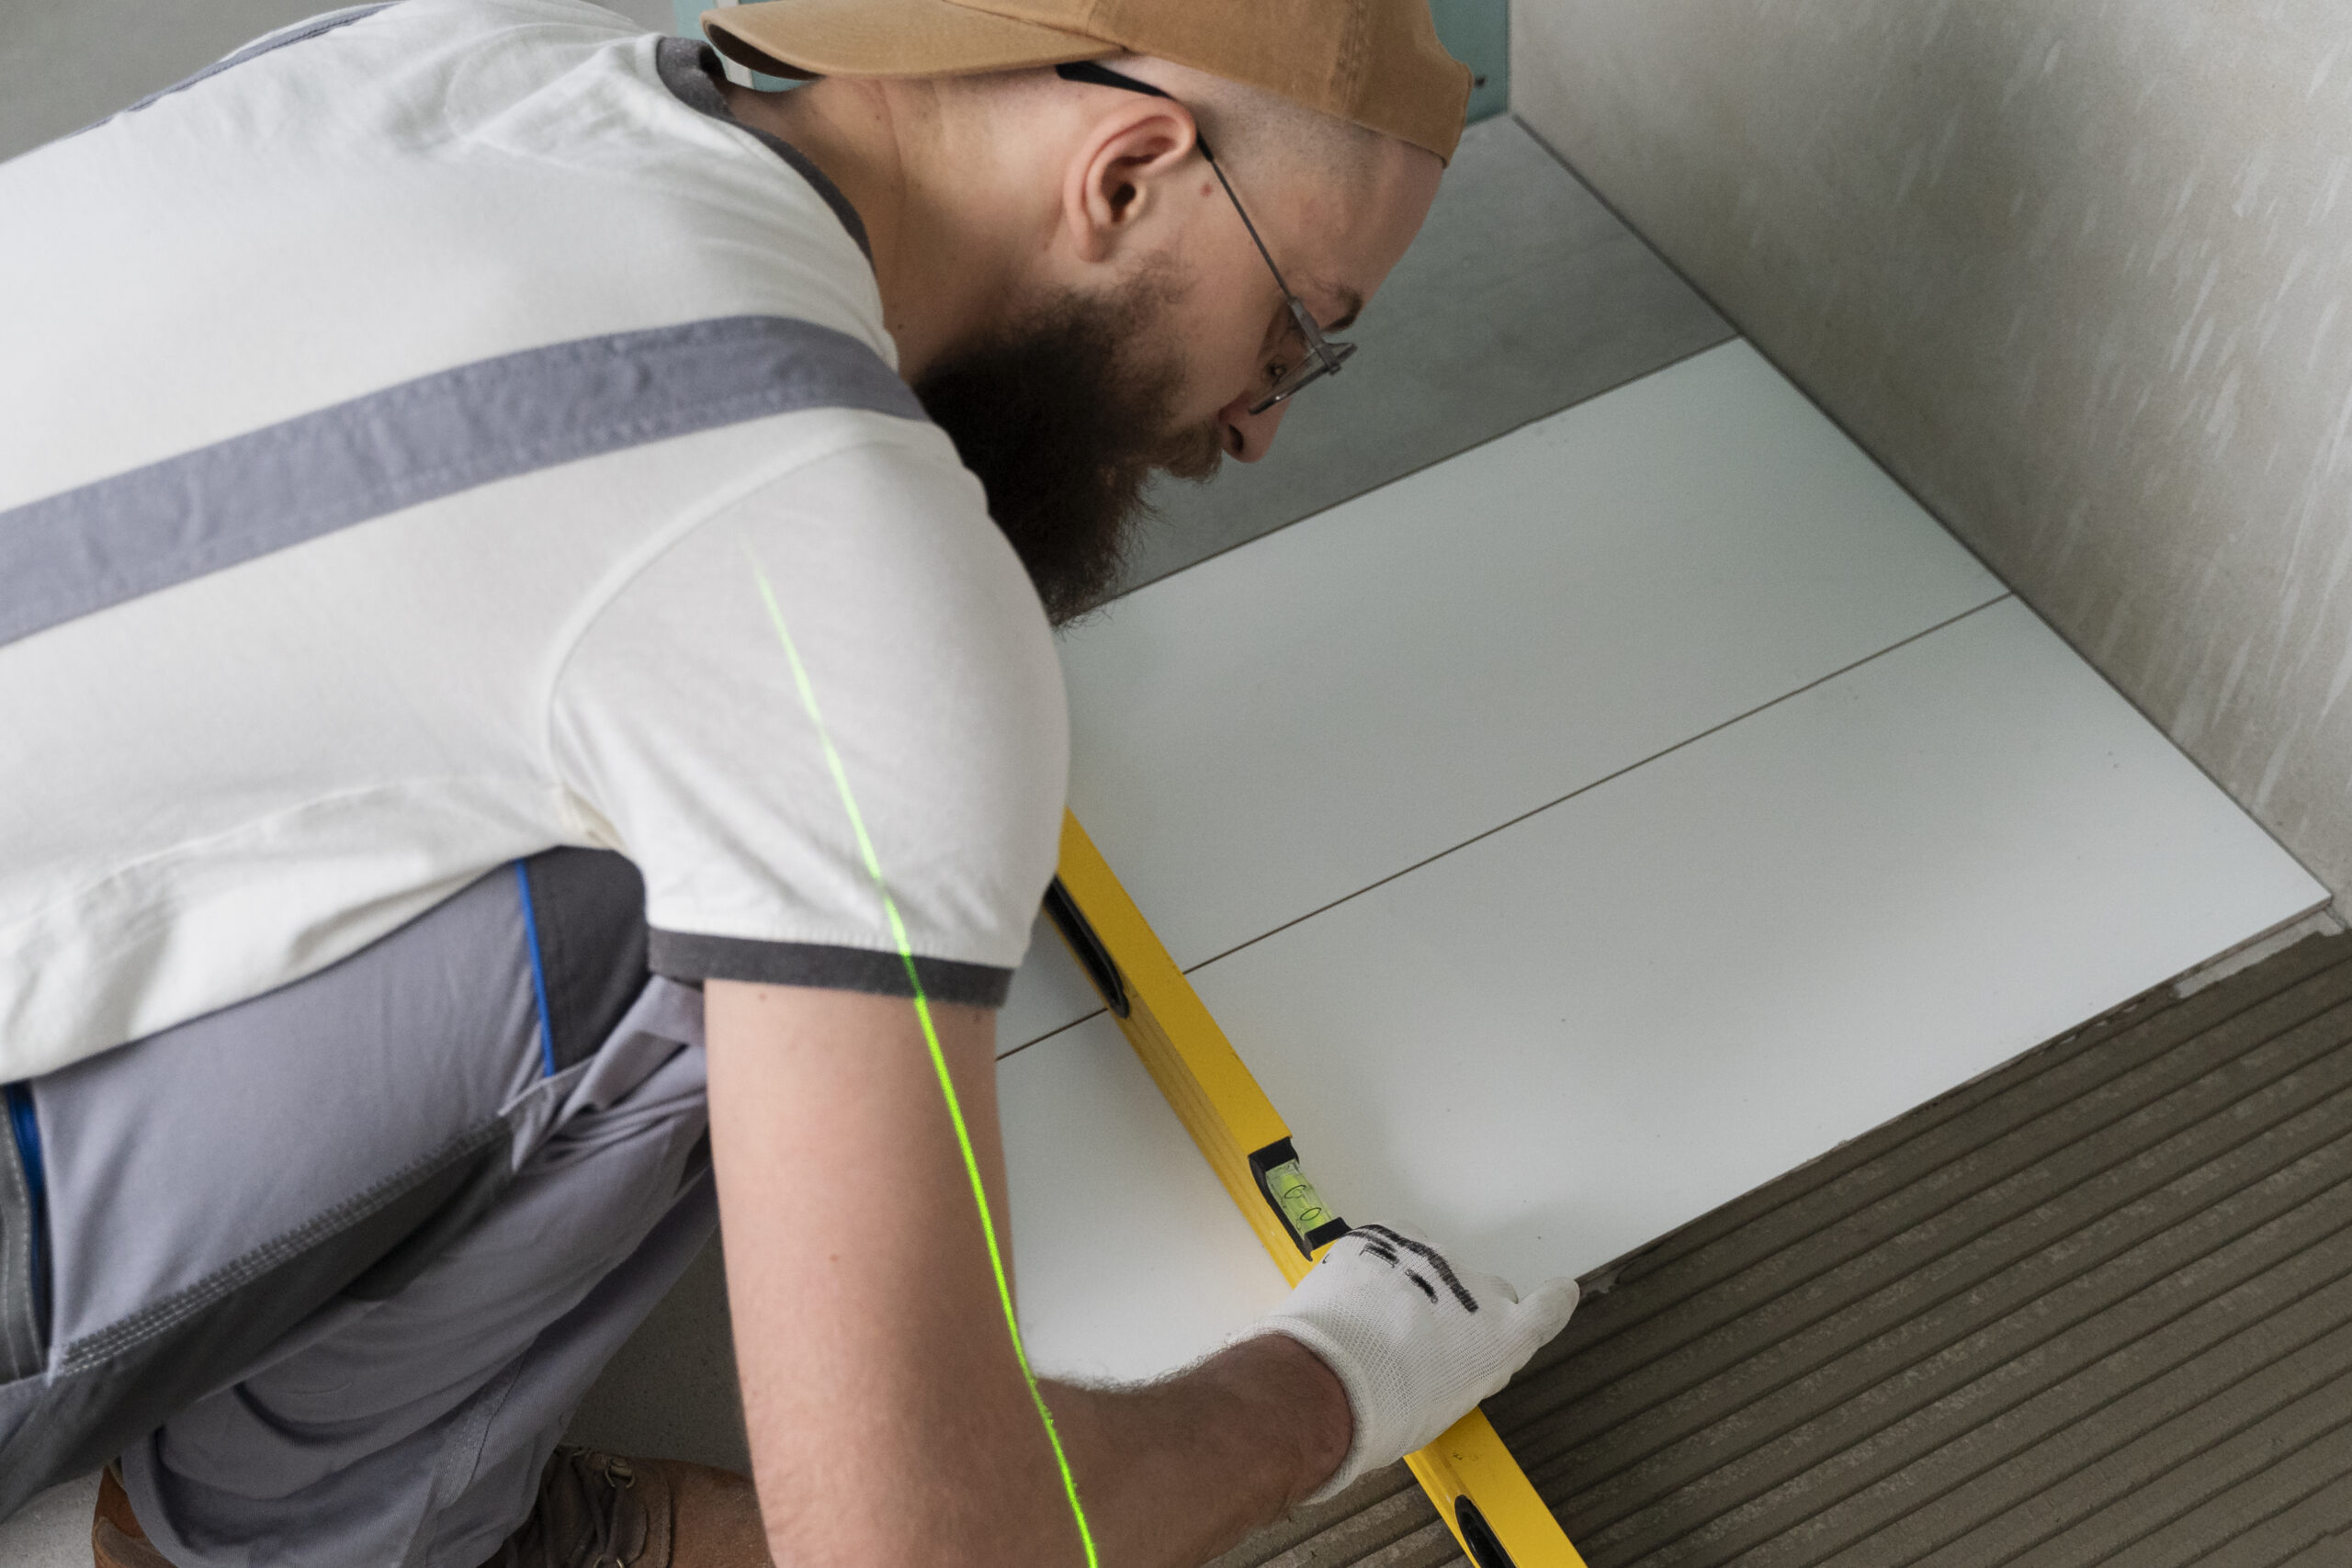
Start from the ground up—literally! Your shower base sets the foundation for the entire project.
- Dry fit the base in your prepared space. Check for level on all sides—if not, adjust with shims.
- Mark the drain location on the subfloor. If needed, reposition the drain pipe for a perfect match.
- Apply subfloor adhesive or a thin mortar bed, depending on your kit instructions. This ensures your prefab shower base stays rock solid.
- Press the base into place, giving it a gentle wiggle to set. Secure as directed and let it cure fully before moving on.
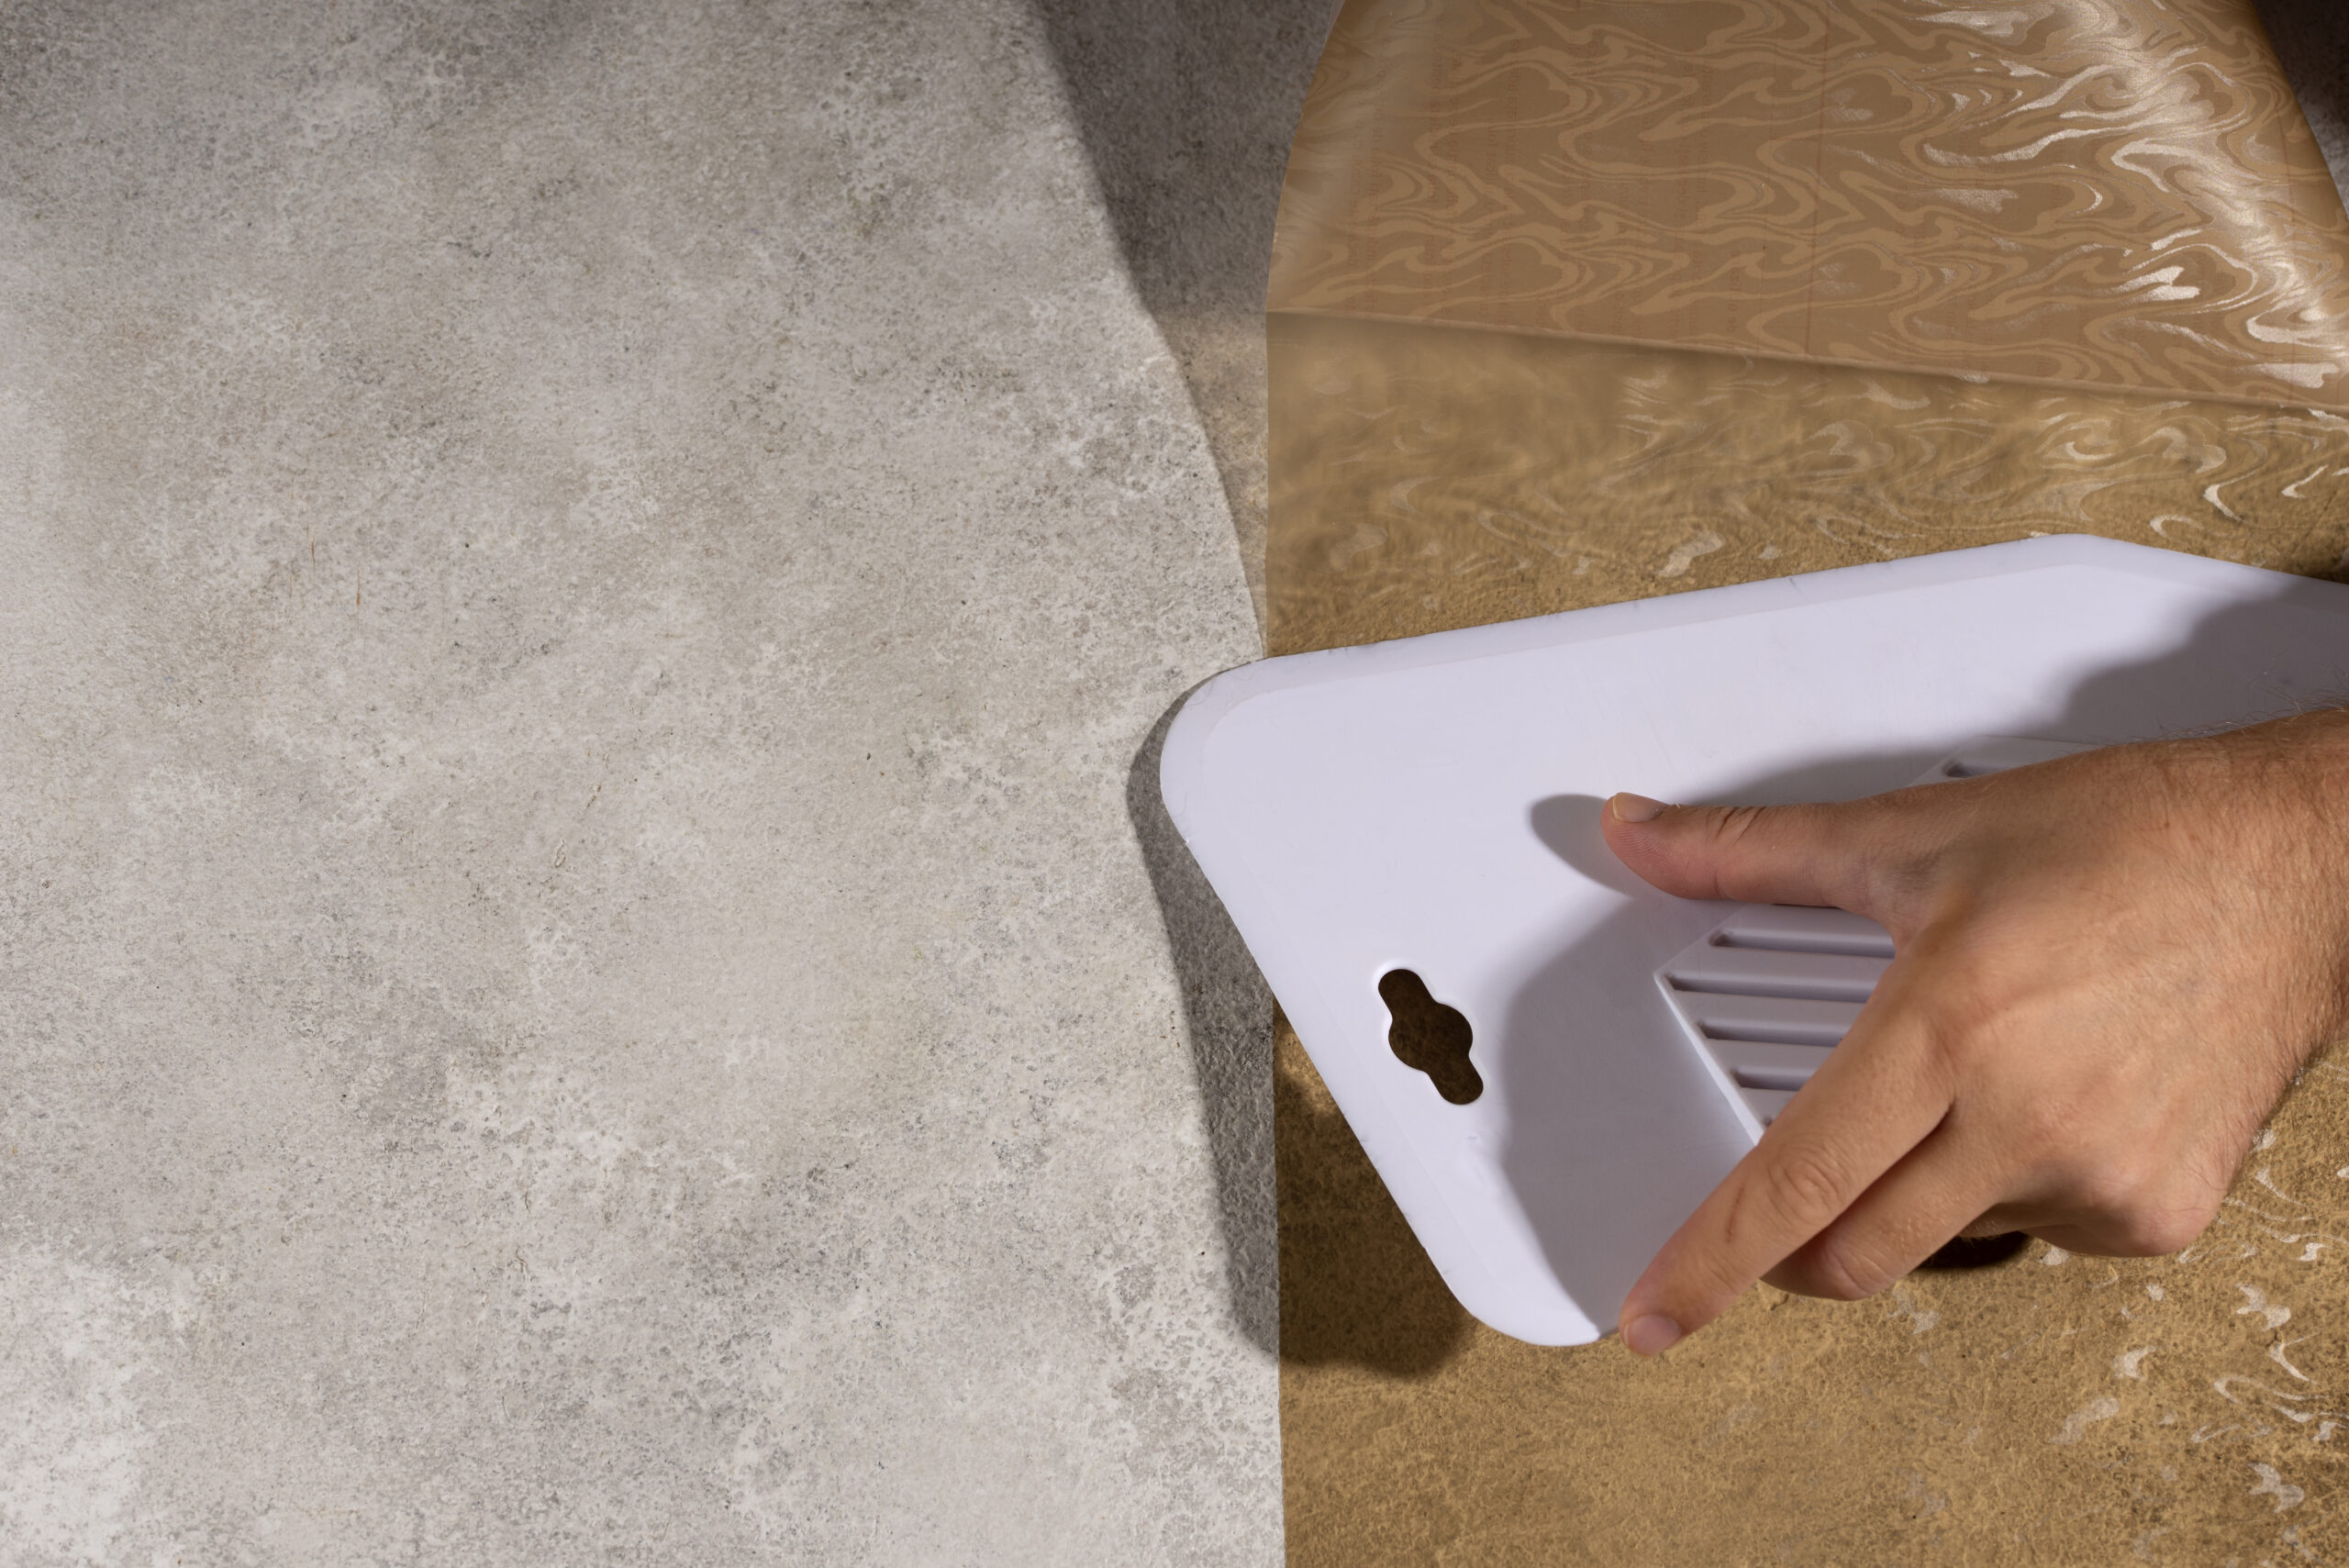
Step 2: Installing Shower Walls
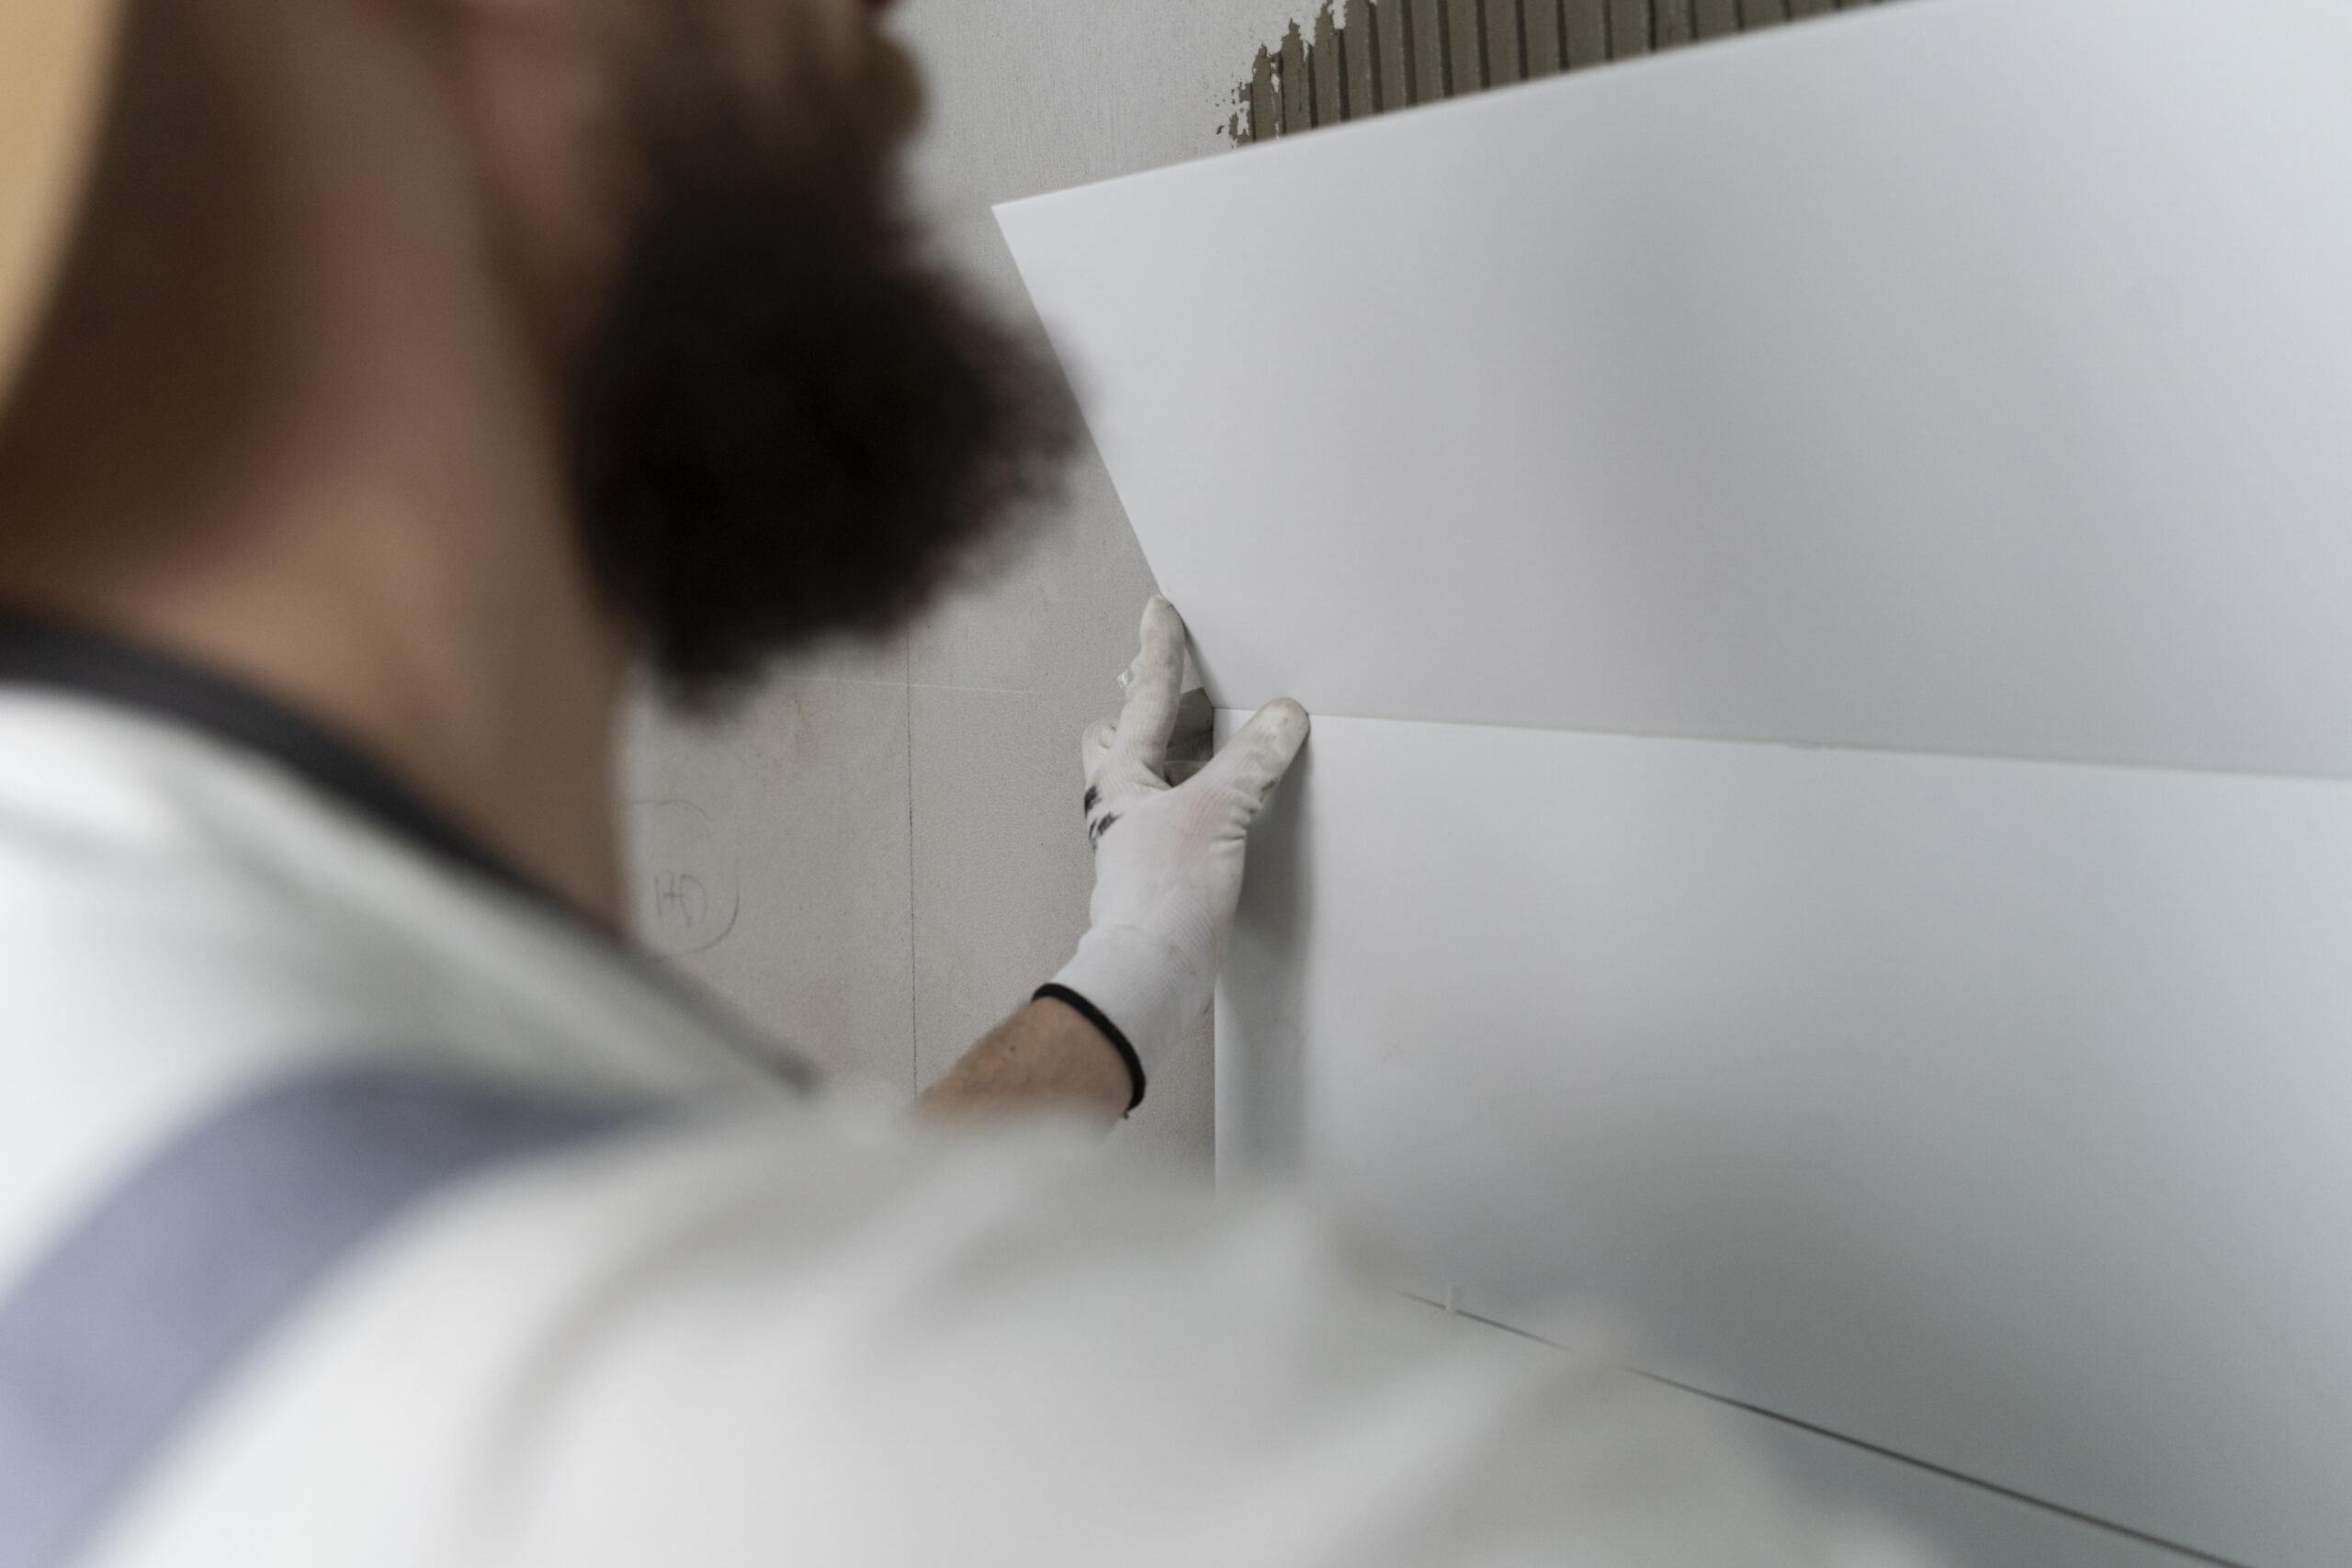
Here’s where your new shower truly takes shape.
- Dry fit the wall panels to ensure a snug arrangement, trimming as needed for plumbing access or fit against uneven walls.
- Apply adhesive or connect the panels using the joining system specified in your stand up shower kit instructions.
- Secure panels by pressing firmly, working from the corners outwards, and allow sealant to set per manufacturer guidelines.
Take a breather and admire your progress—you’re more than halfway there!
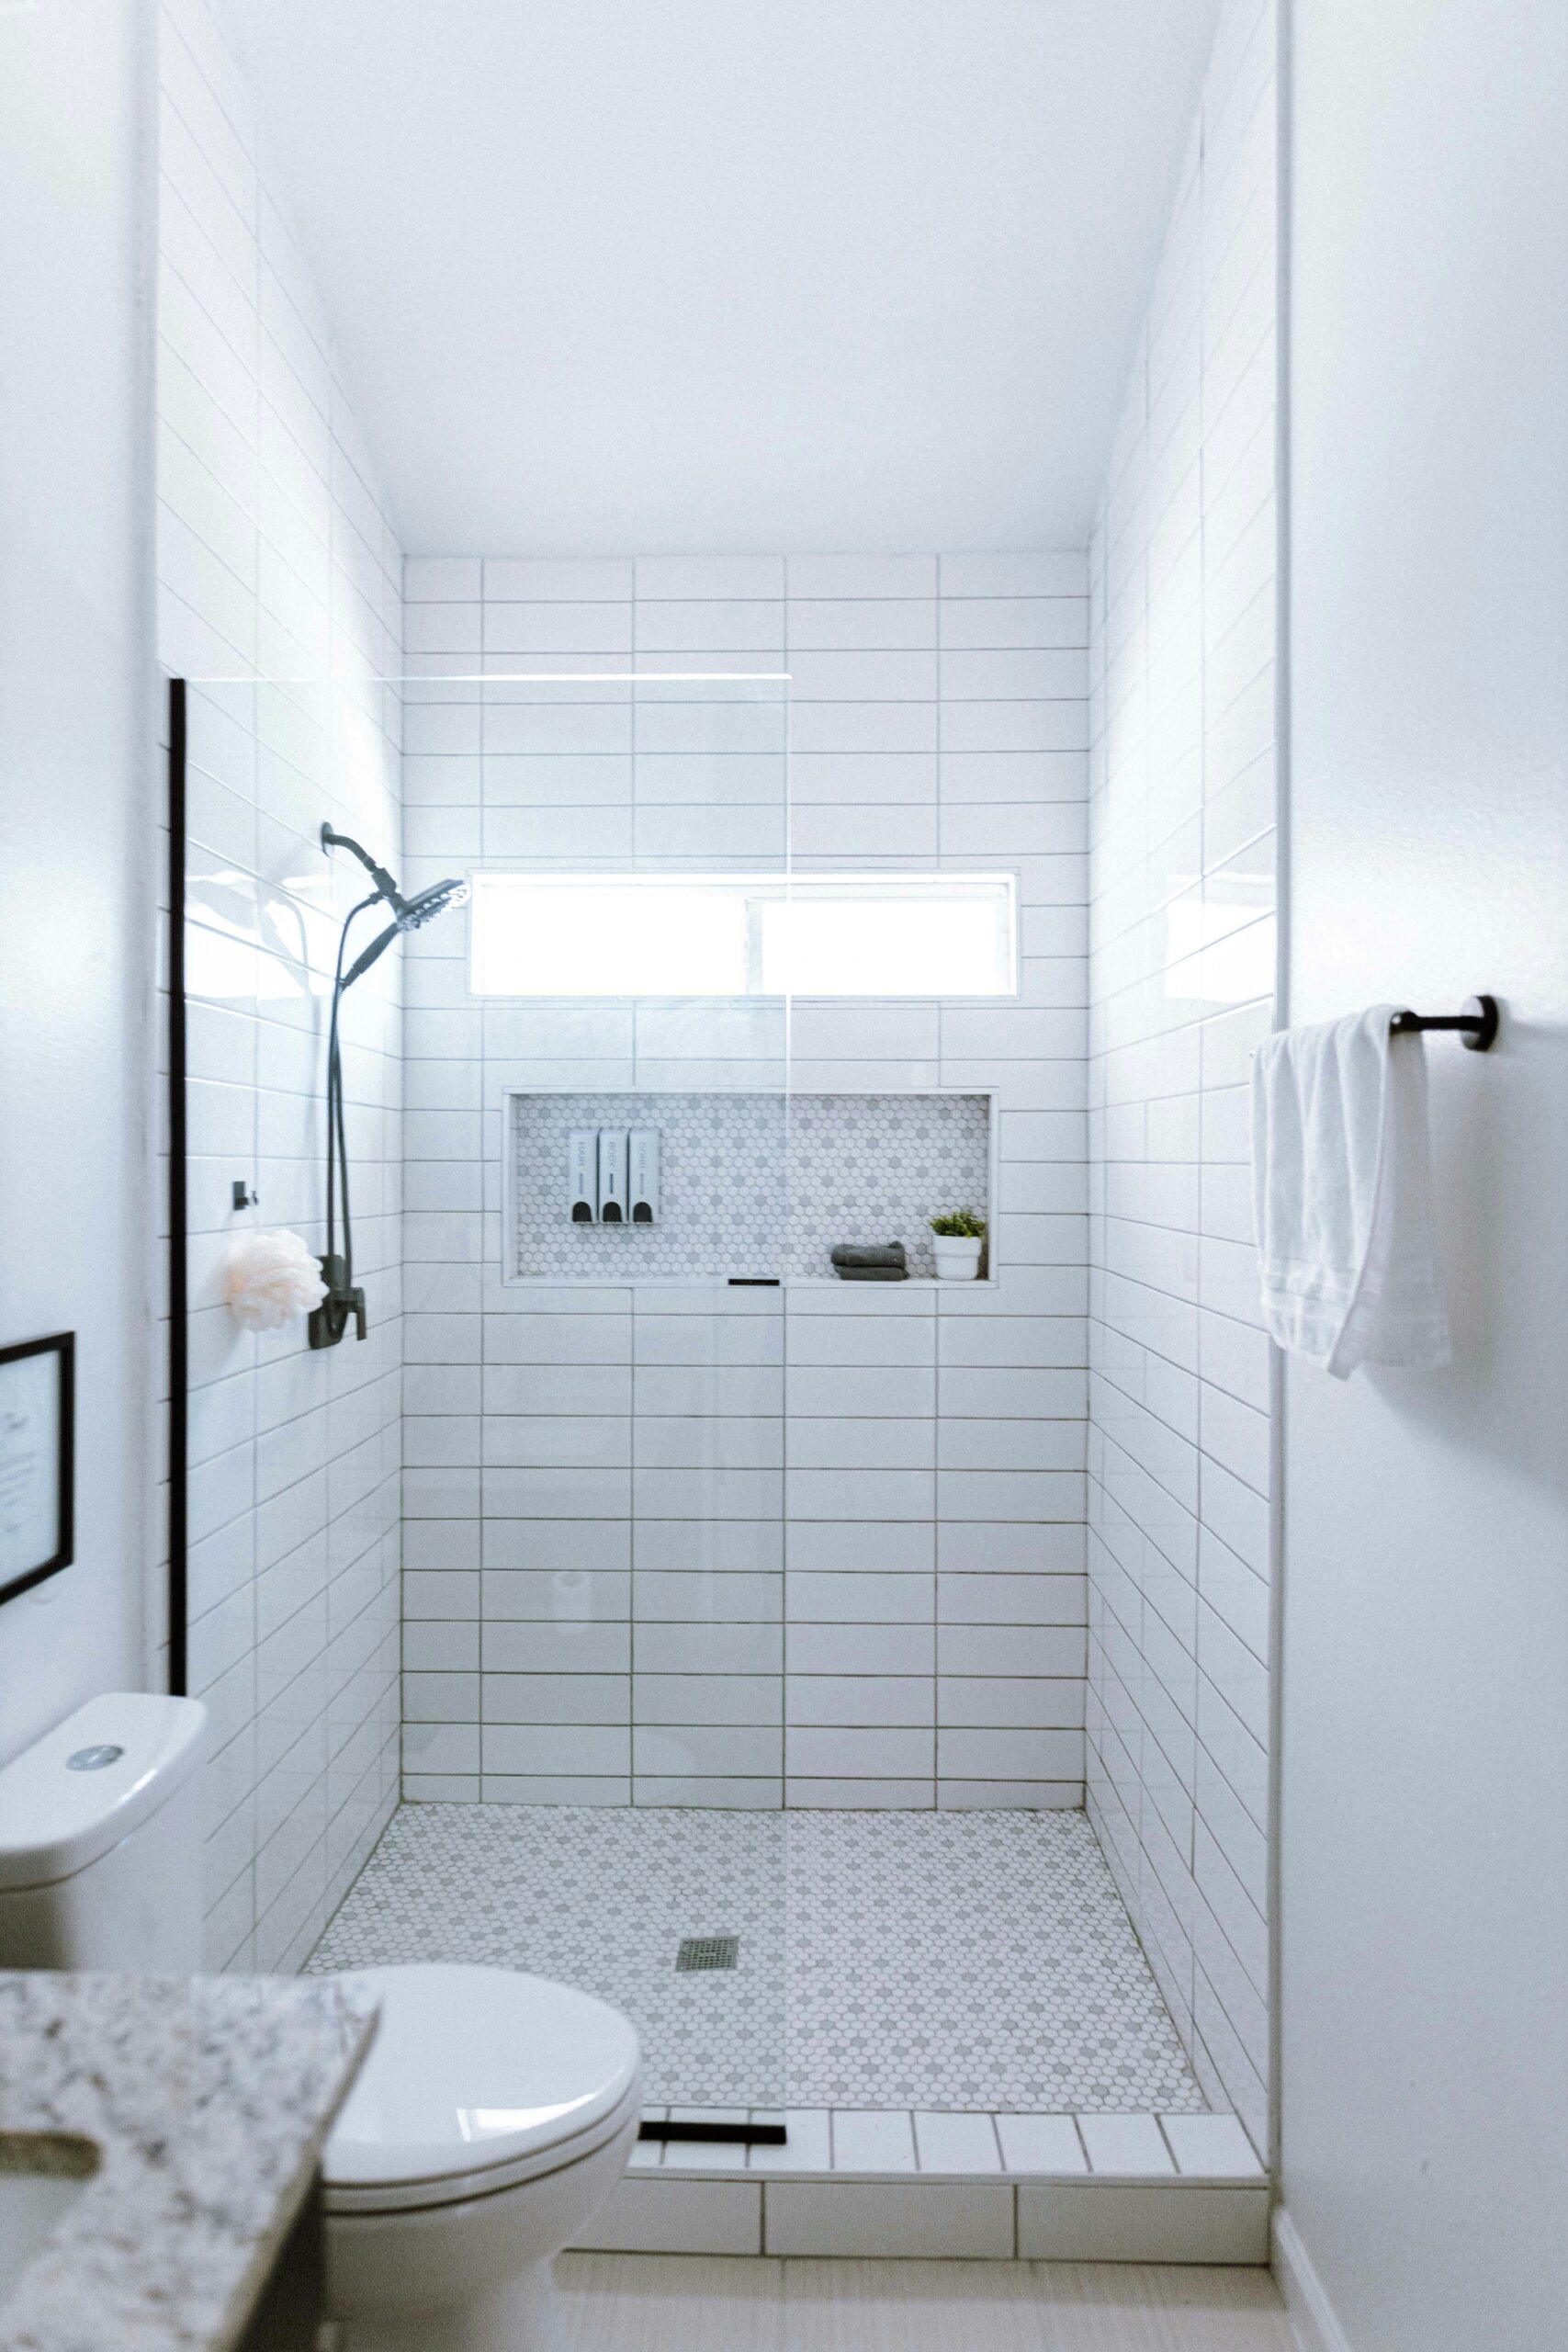
Prefab Shower Wall Panels
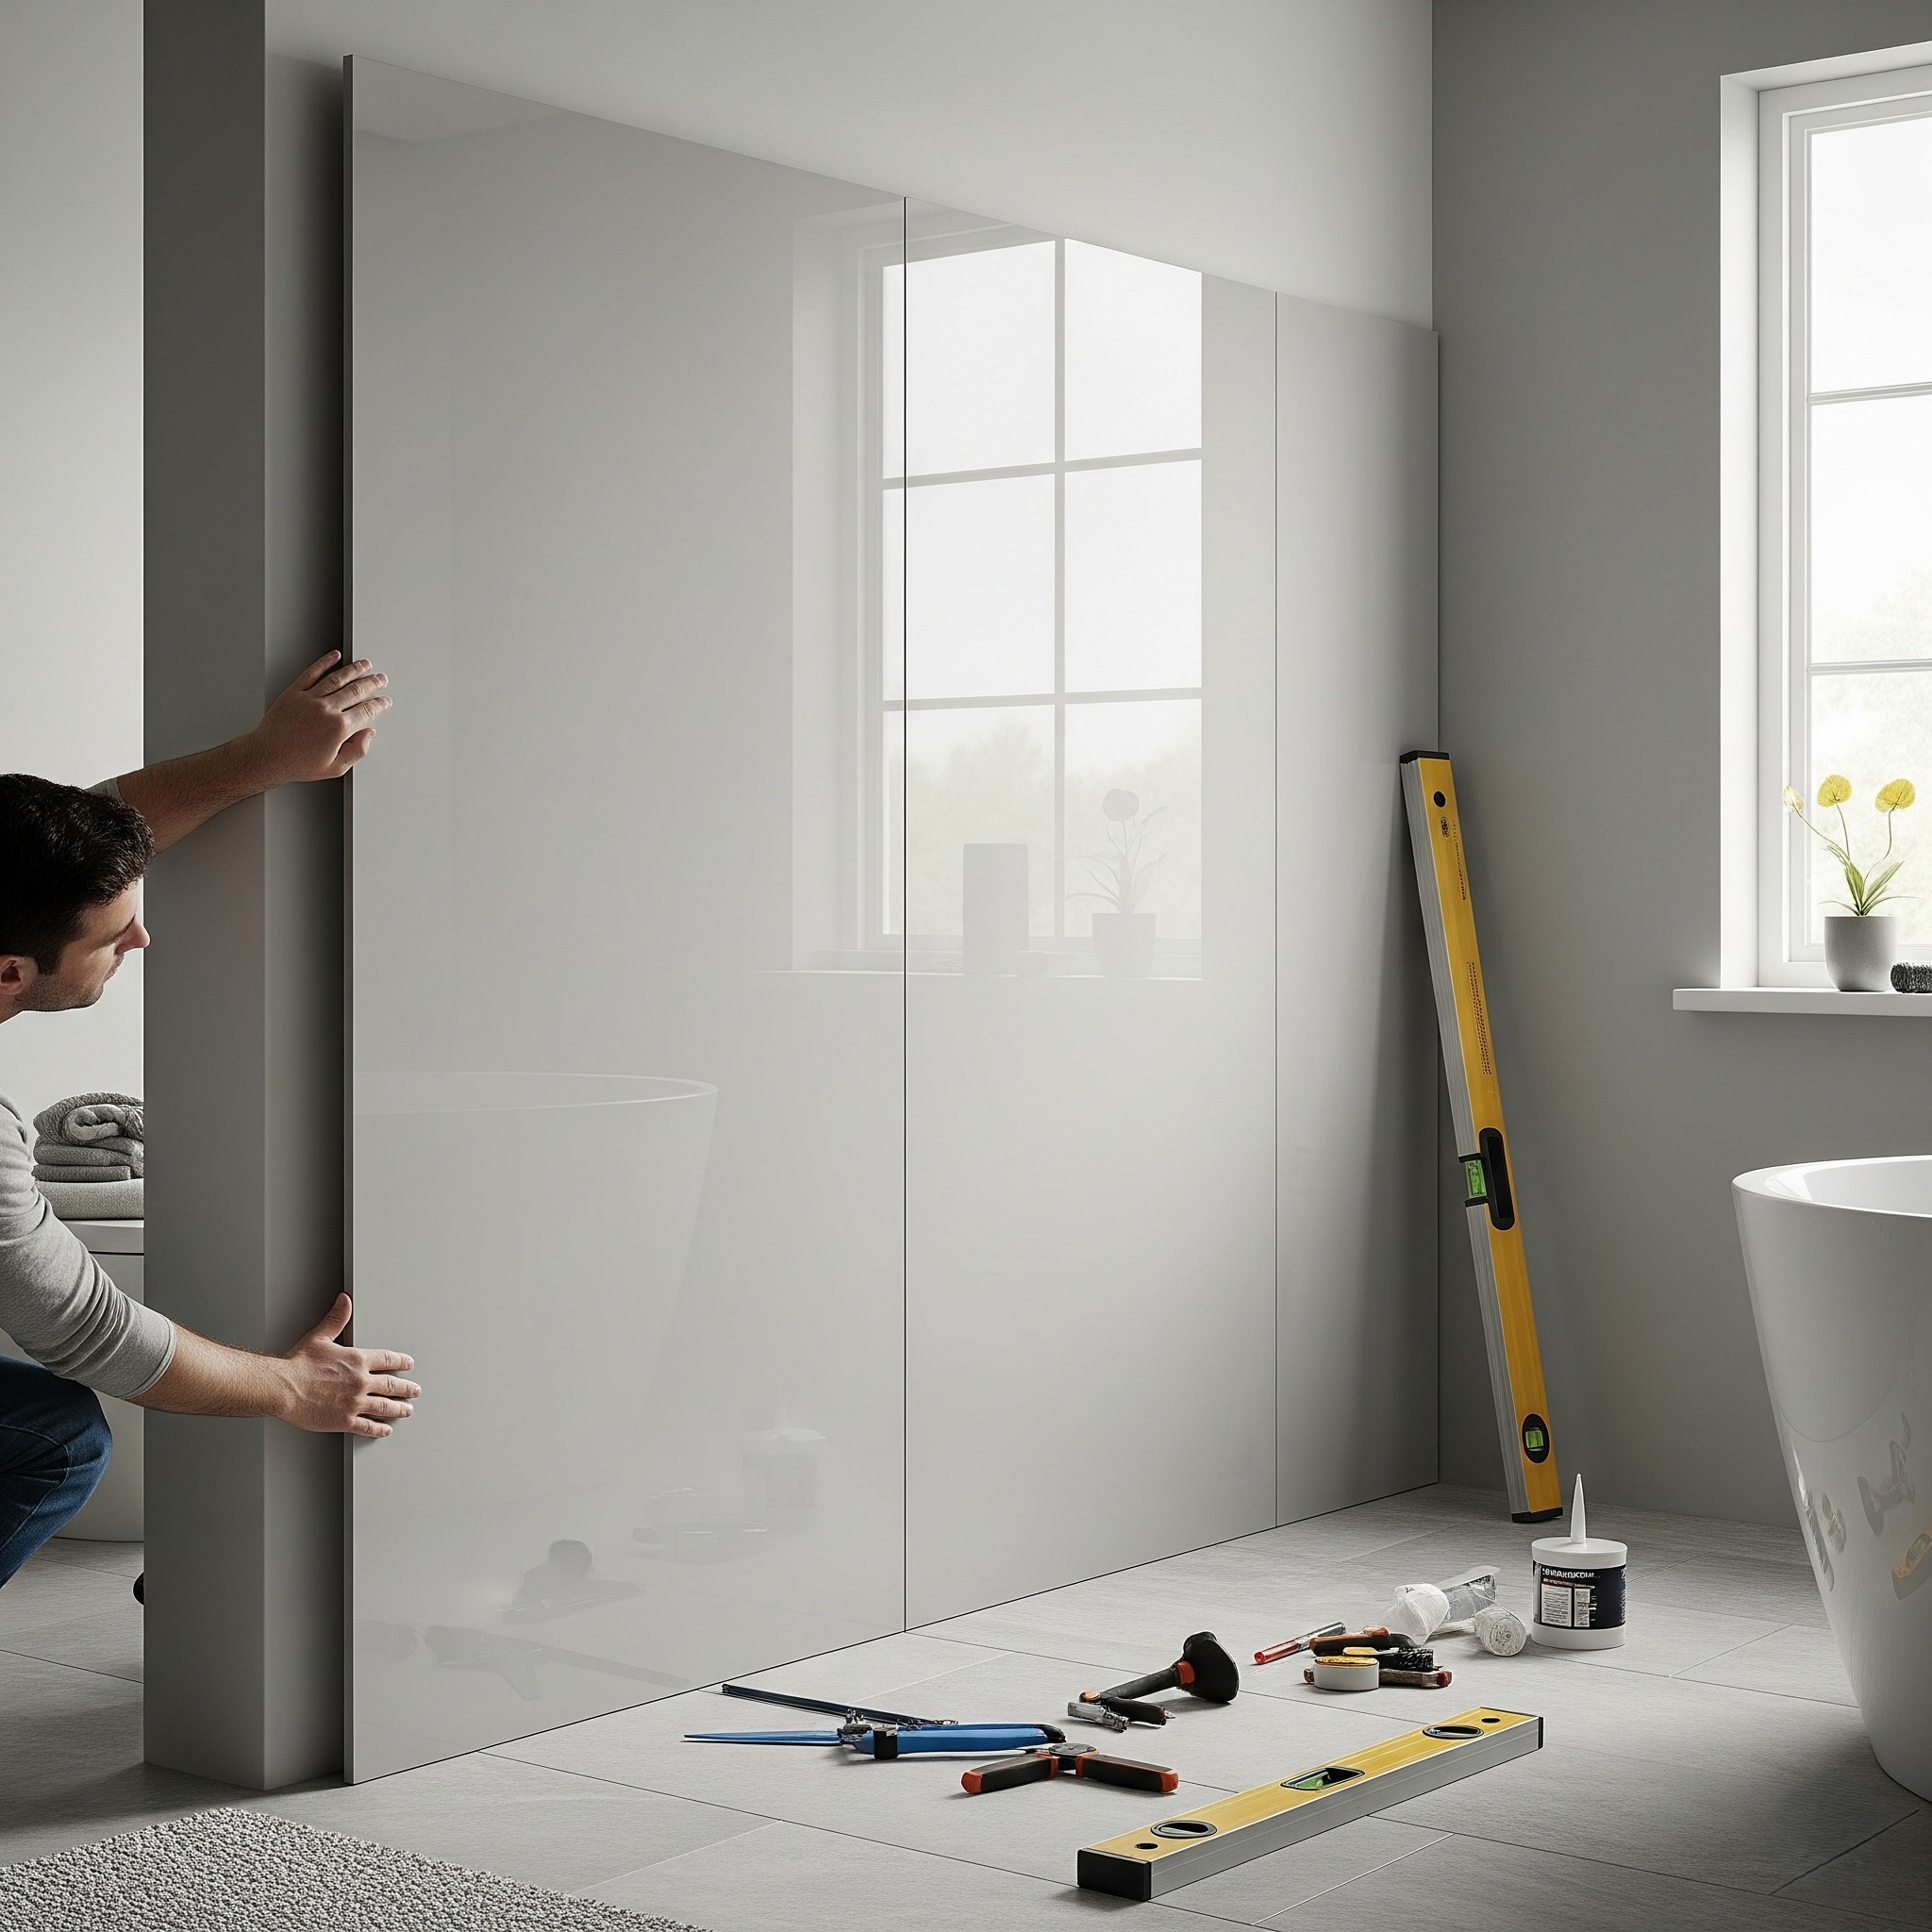
Prefab wall panels are a game-changer for DIYers. They snap or lock into place without the need for messy tile adhesive or grout. Many are designed to overlap at seams, providing extra waterproofing security—especially important for long-lasting installation.
Shower Surround Kits with Base
Shower surround kits with base usually arrive with color-matched, non-porous walls that are easy to clean and resistant to mold and mildew. This combo kit ensures all components are exactly sized for a watertight fit, slashing installation time and giving a professional finish.
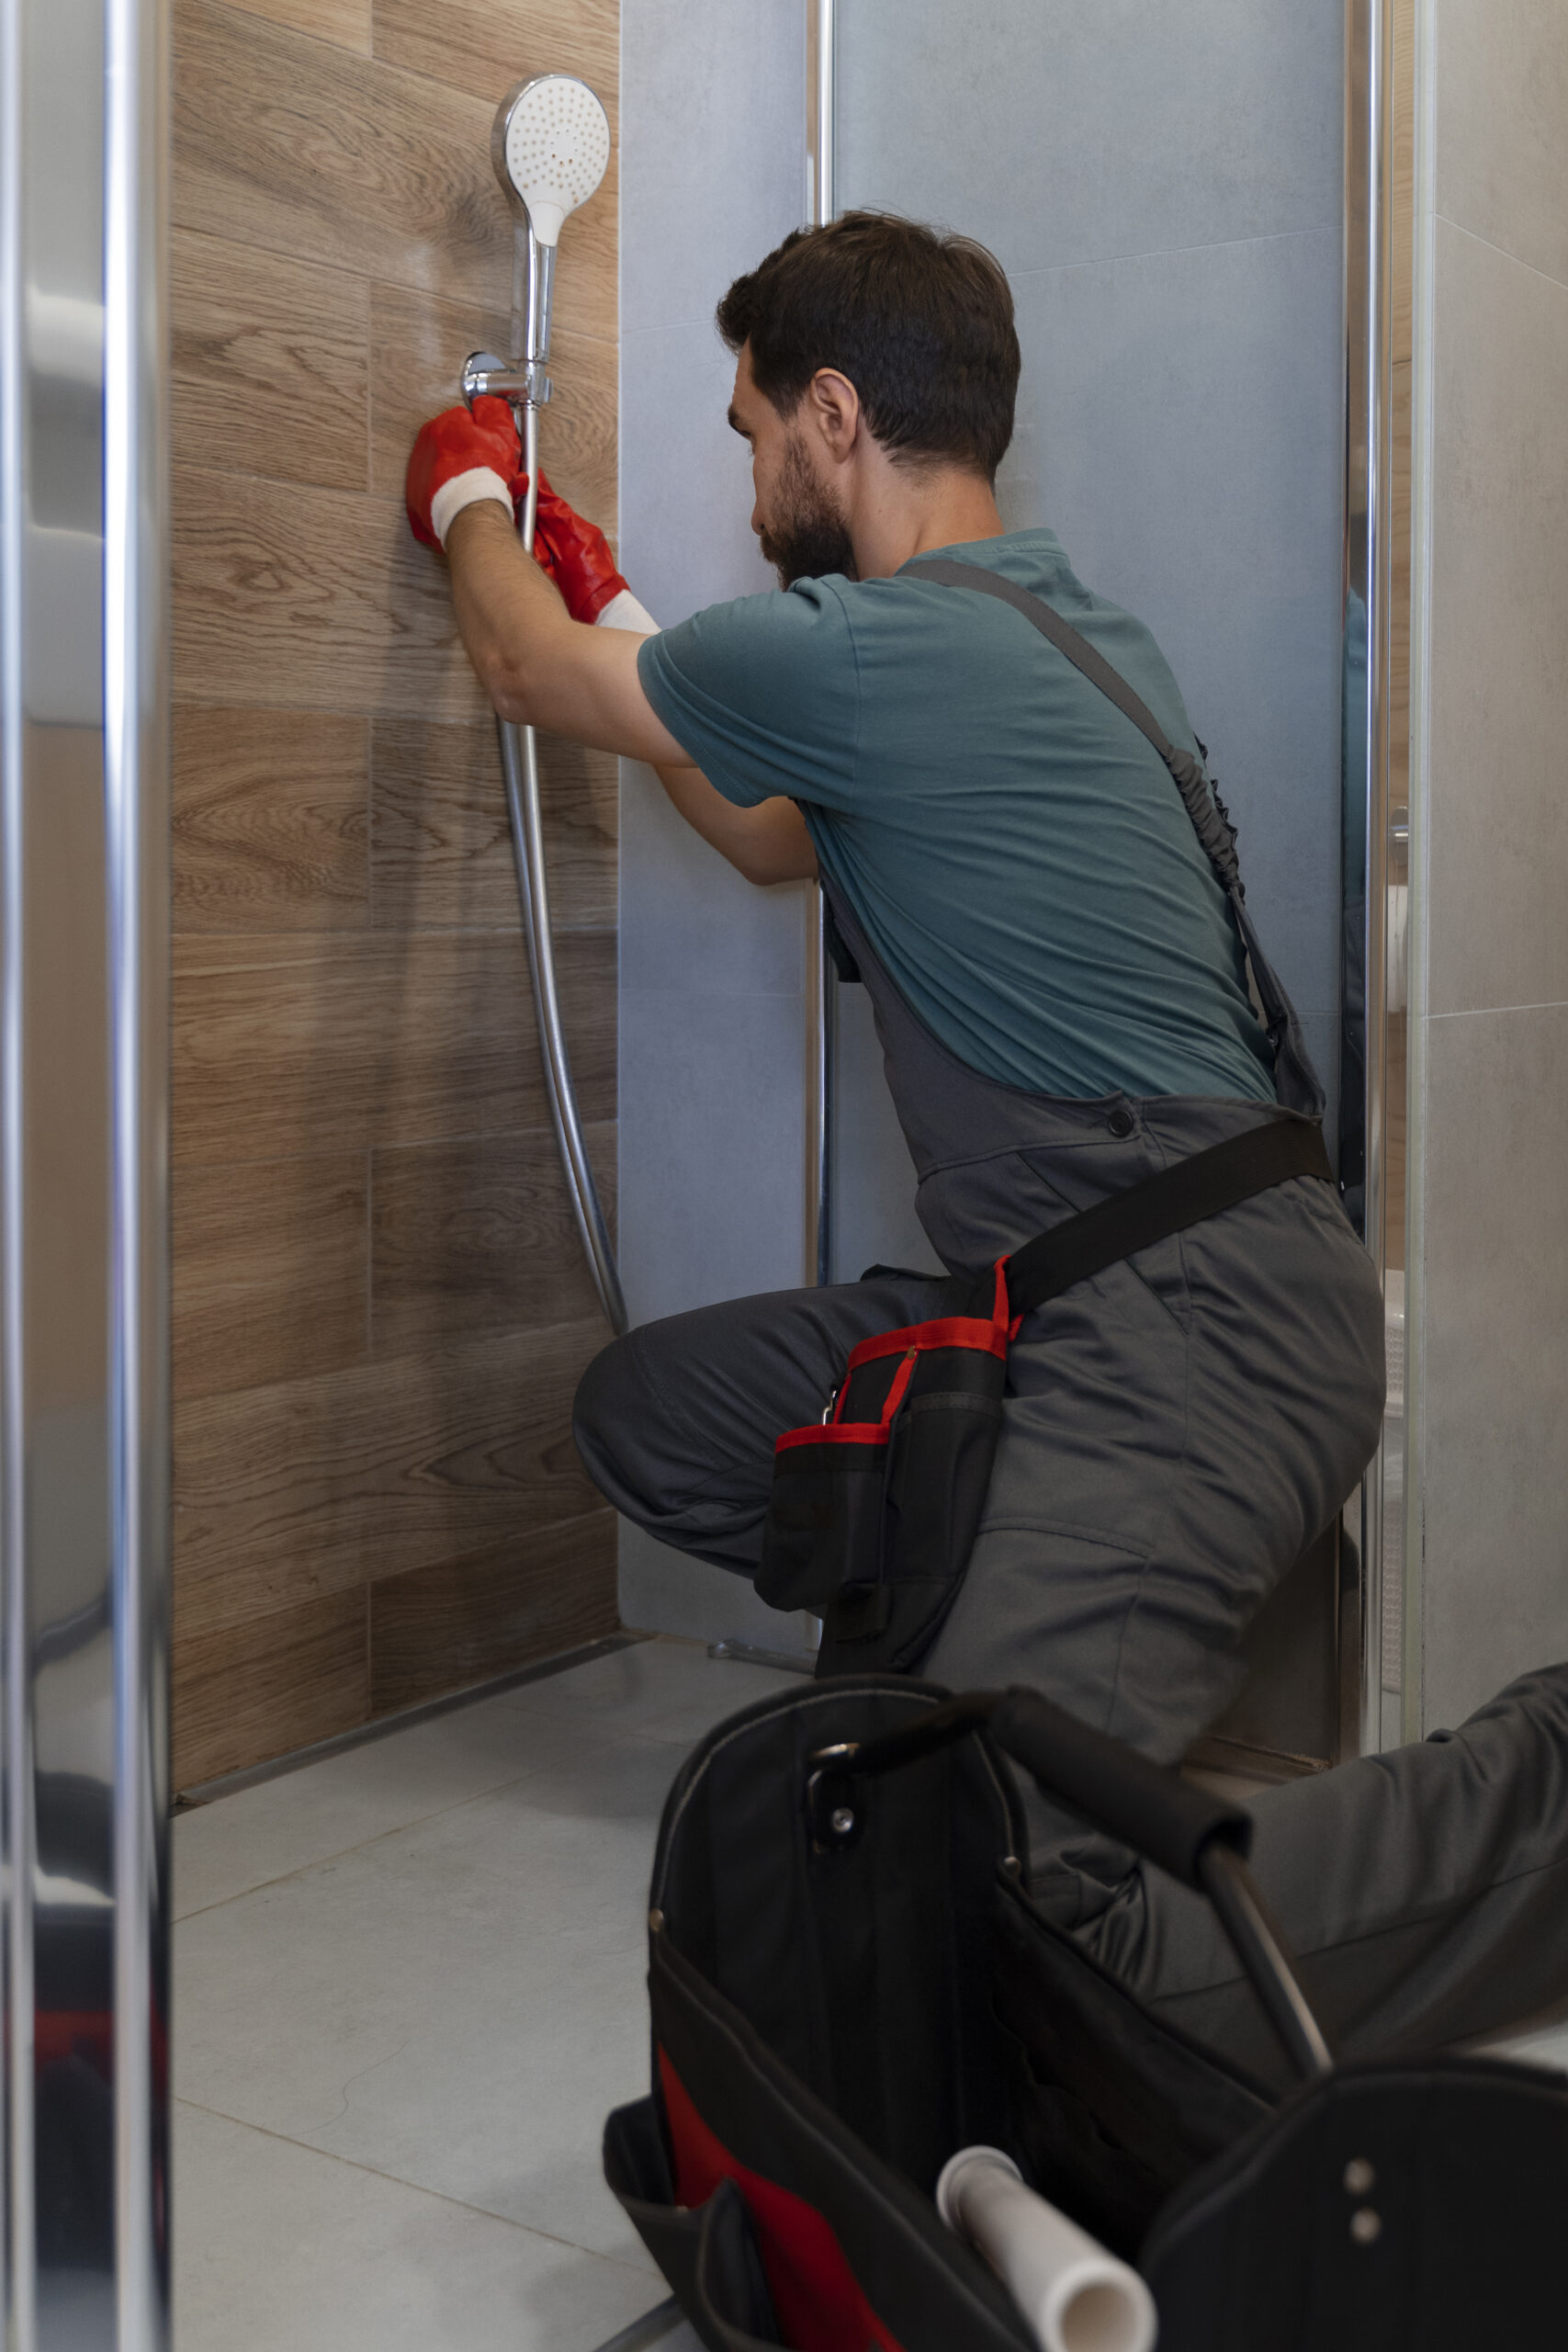
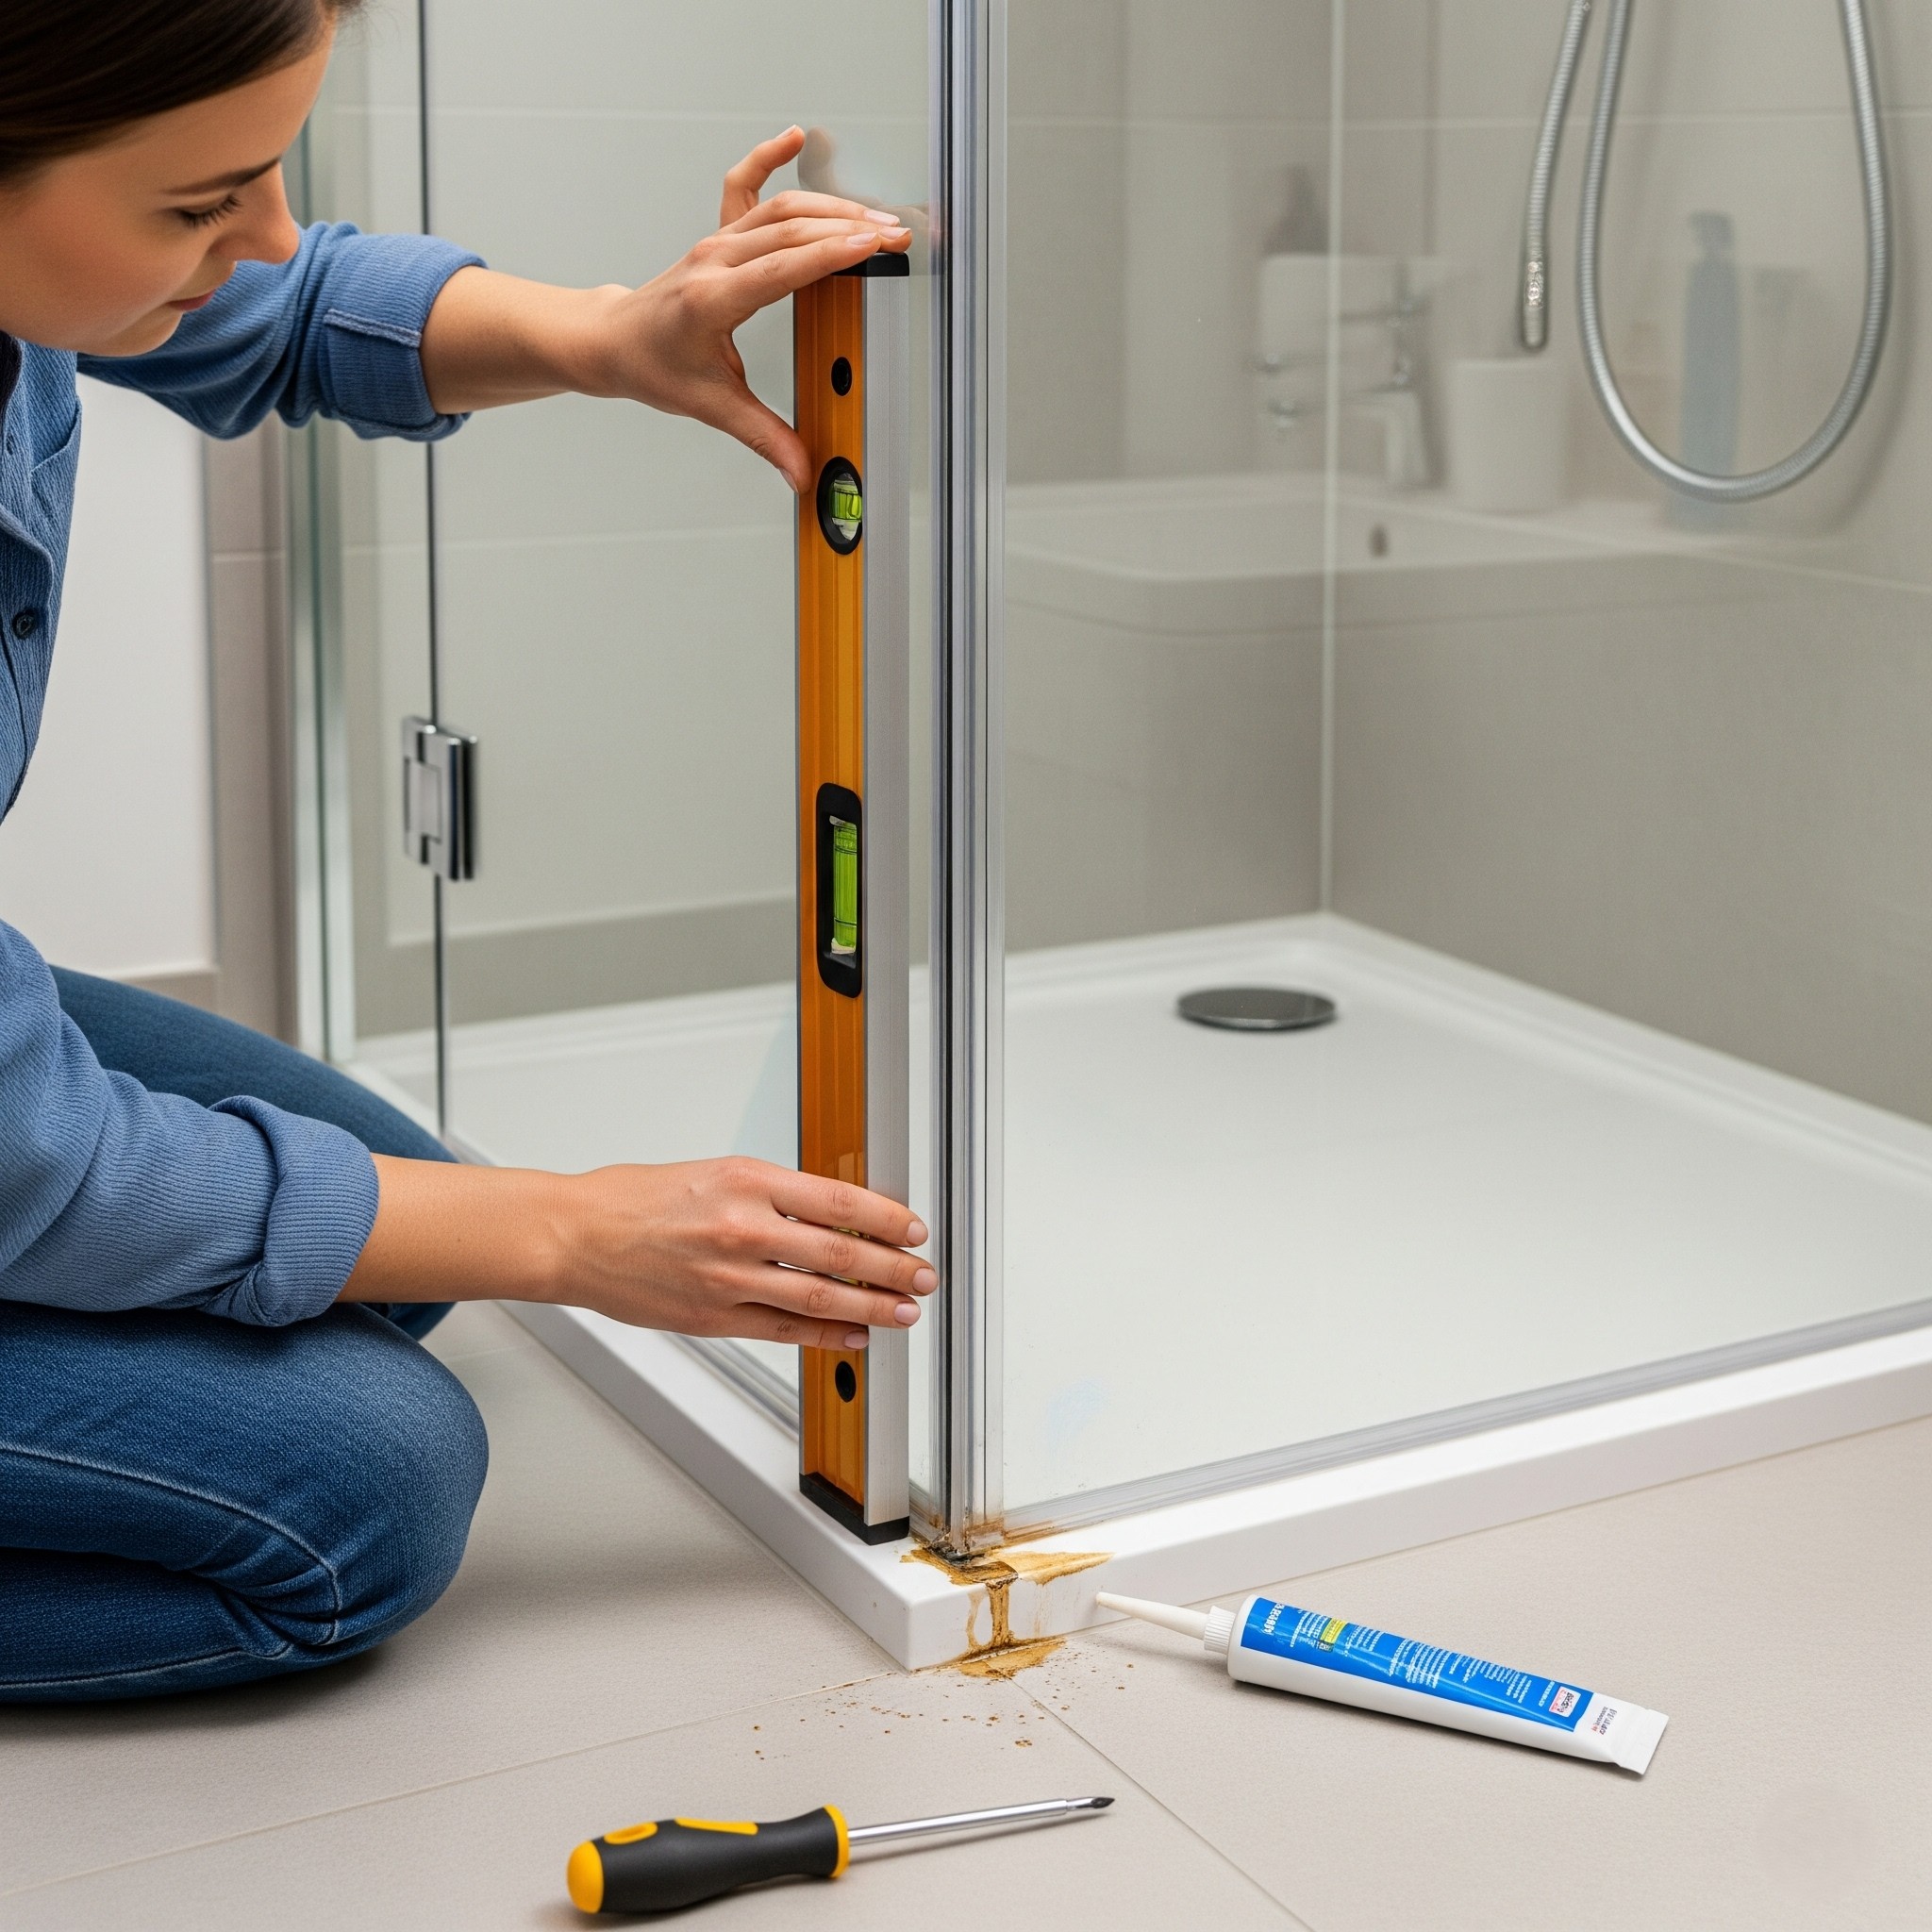
Step 3: Fitting Shower Doors
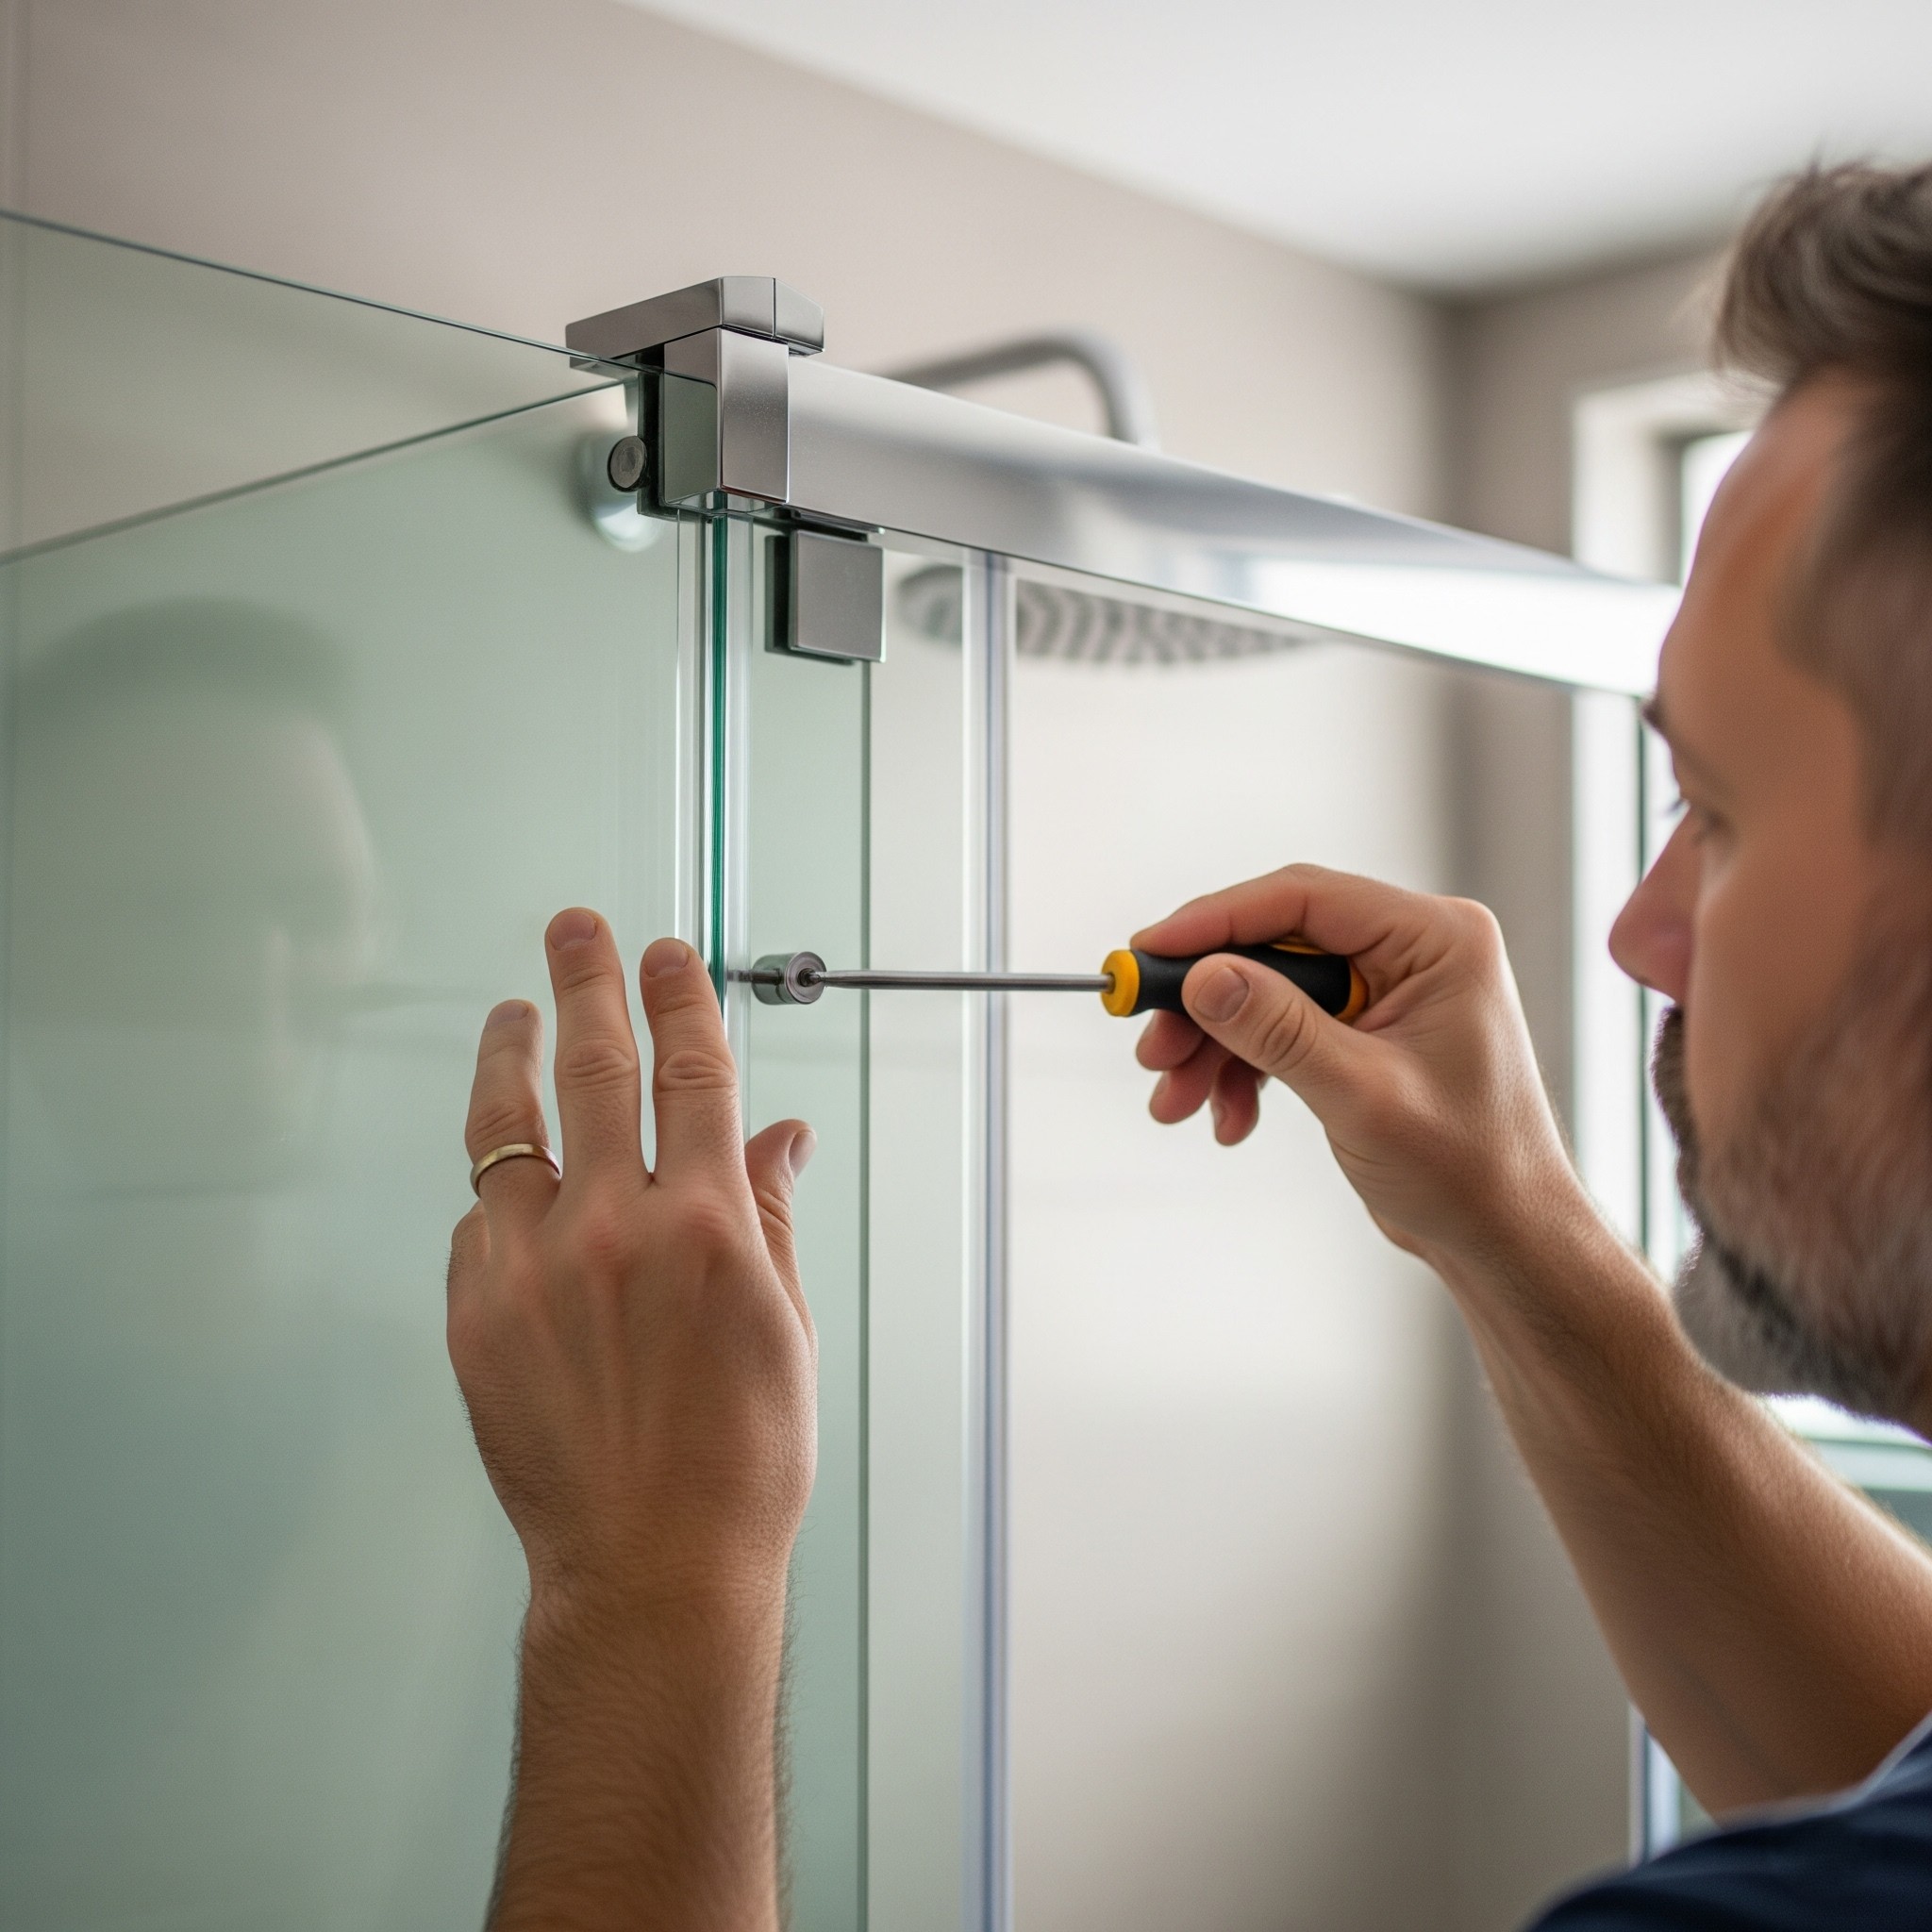
Your new shower deserves an entry that matches its fresh look! Time to install the door—typically the last step.
- Double-check level and plumb on the door frame. No one loves a door that swings open by itself!
- Align the door frame and attach as instructed. Most glass shower kit doors use a sliding or hinged mechanism—secure all fasteners tightly.
- Install the glass pane/s, ensuring all rubber gaskets or seals are correctly placed to prevent leaks.
- Test the door movement and adjust for smooth, even opening.
Glass Shower Kit Options
If you’re feeling fancy, consider a glass shower kit with clear, frosted, or etched panels. Glass elevates the space, bounces around natural light, and pairs beautifully with any tile or paint scheme. For families with small children or accessibility needs, opt for tempered or shatter-resistant glass for added peace of mind.
Shower Enclosures with Seat
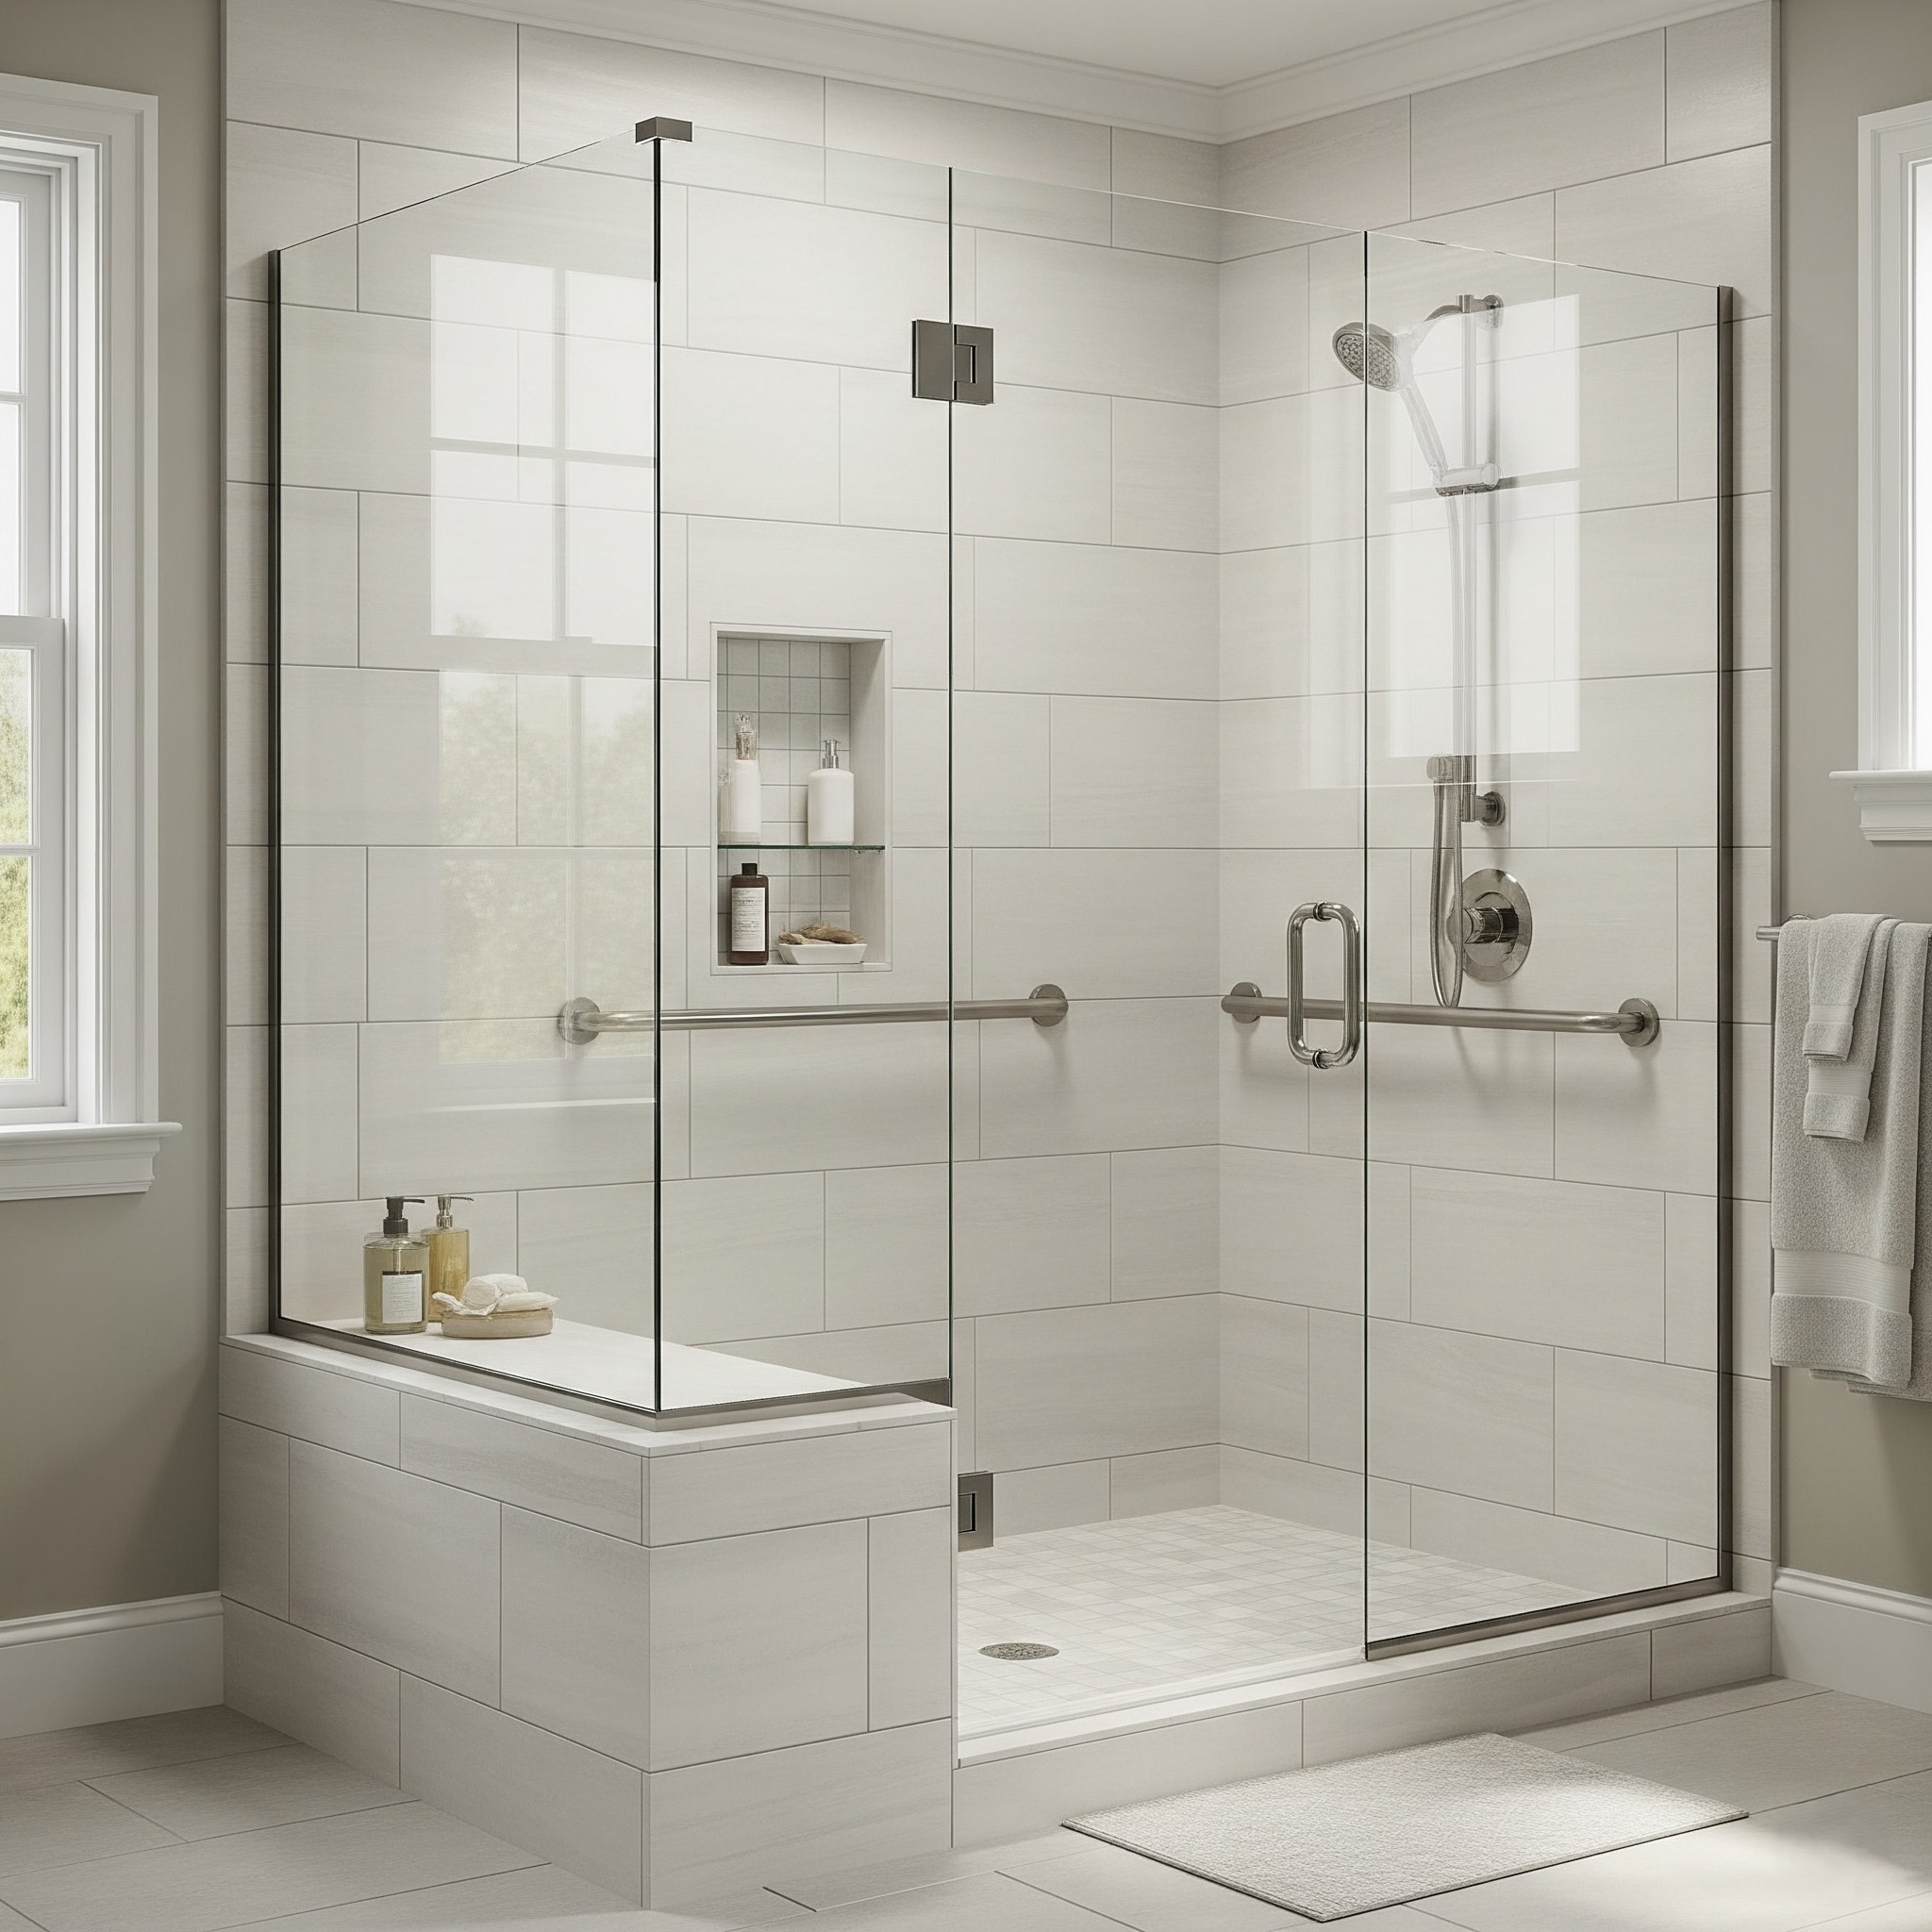
Luxurious, practical, and oh-so-welcome after a long day, shower enclosures with seat are a top choice for relaxation. These kits install just like traditional shower stalls, but offer an integrated bench or ledge for safe, comfortable seating.
Tips for a Successful Installation
A beautiful walk in shower isn’t just about looks—it needs to work hard, too! Here’s how to ensure your project is as flawless as it is fabulous.
Ensuring Proper Waterproofing
Waterproofing is the number-one key to longevity. Use high-quality silicone caulk around all edges—where walls meet the base, at seams, and any joints around fixtures. Don’t rush this step; let every seal cure long enough to ensure maximum protection.
Adjusting for Drainage and Plumbing

Double-check that your shower base slopes gently toward the drain (even a minor tilt can prevent pooling water!). If your drain location doesn’t match your shower base perfectly, now’s the time to adapt the plumbing. It costs a bit of patience up front but saves you headaches down the line.
Post-Installation Care and Maintenance

Congrats, your shower kit looks amazing! Keep it sparkling—and functioning perfectly—with just a bit of regular TLC.
Regular Cleaning Tips for Shower Inserts
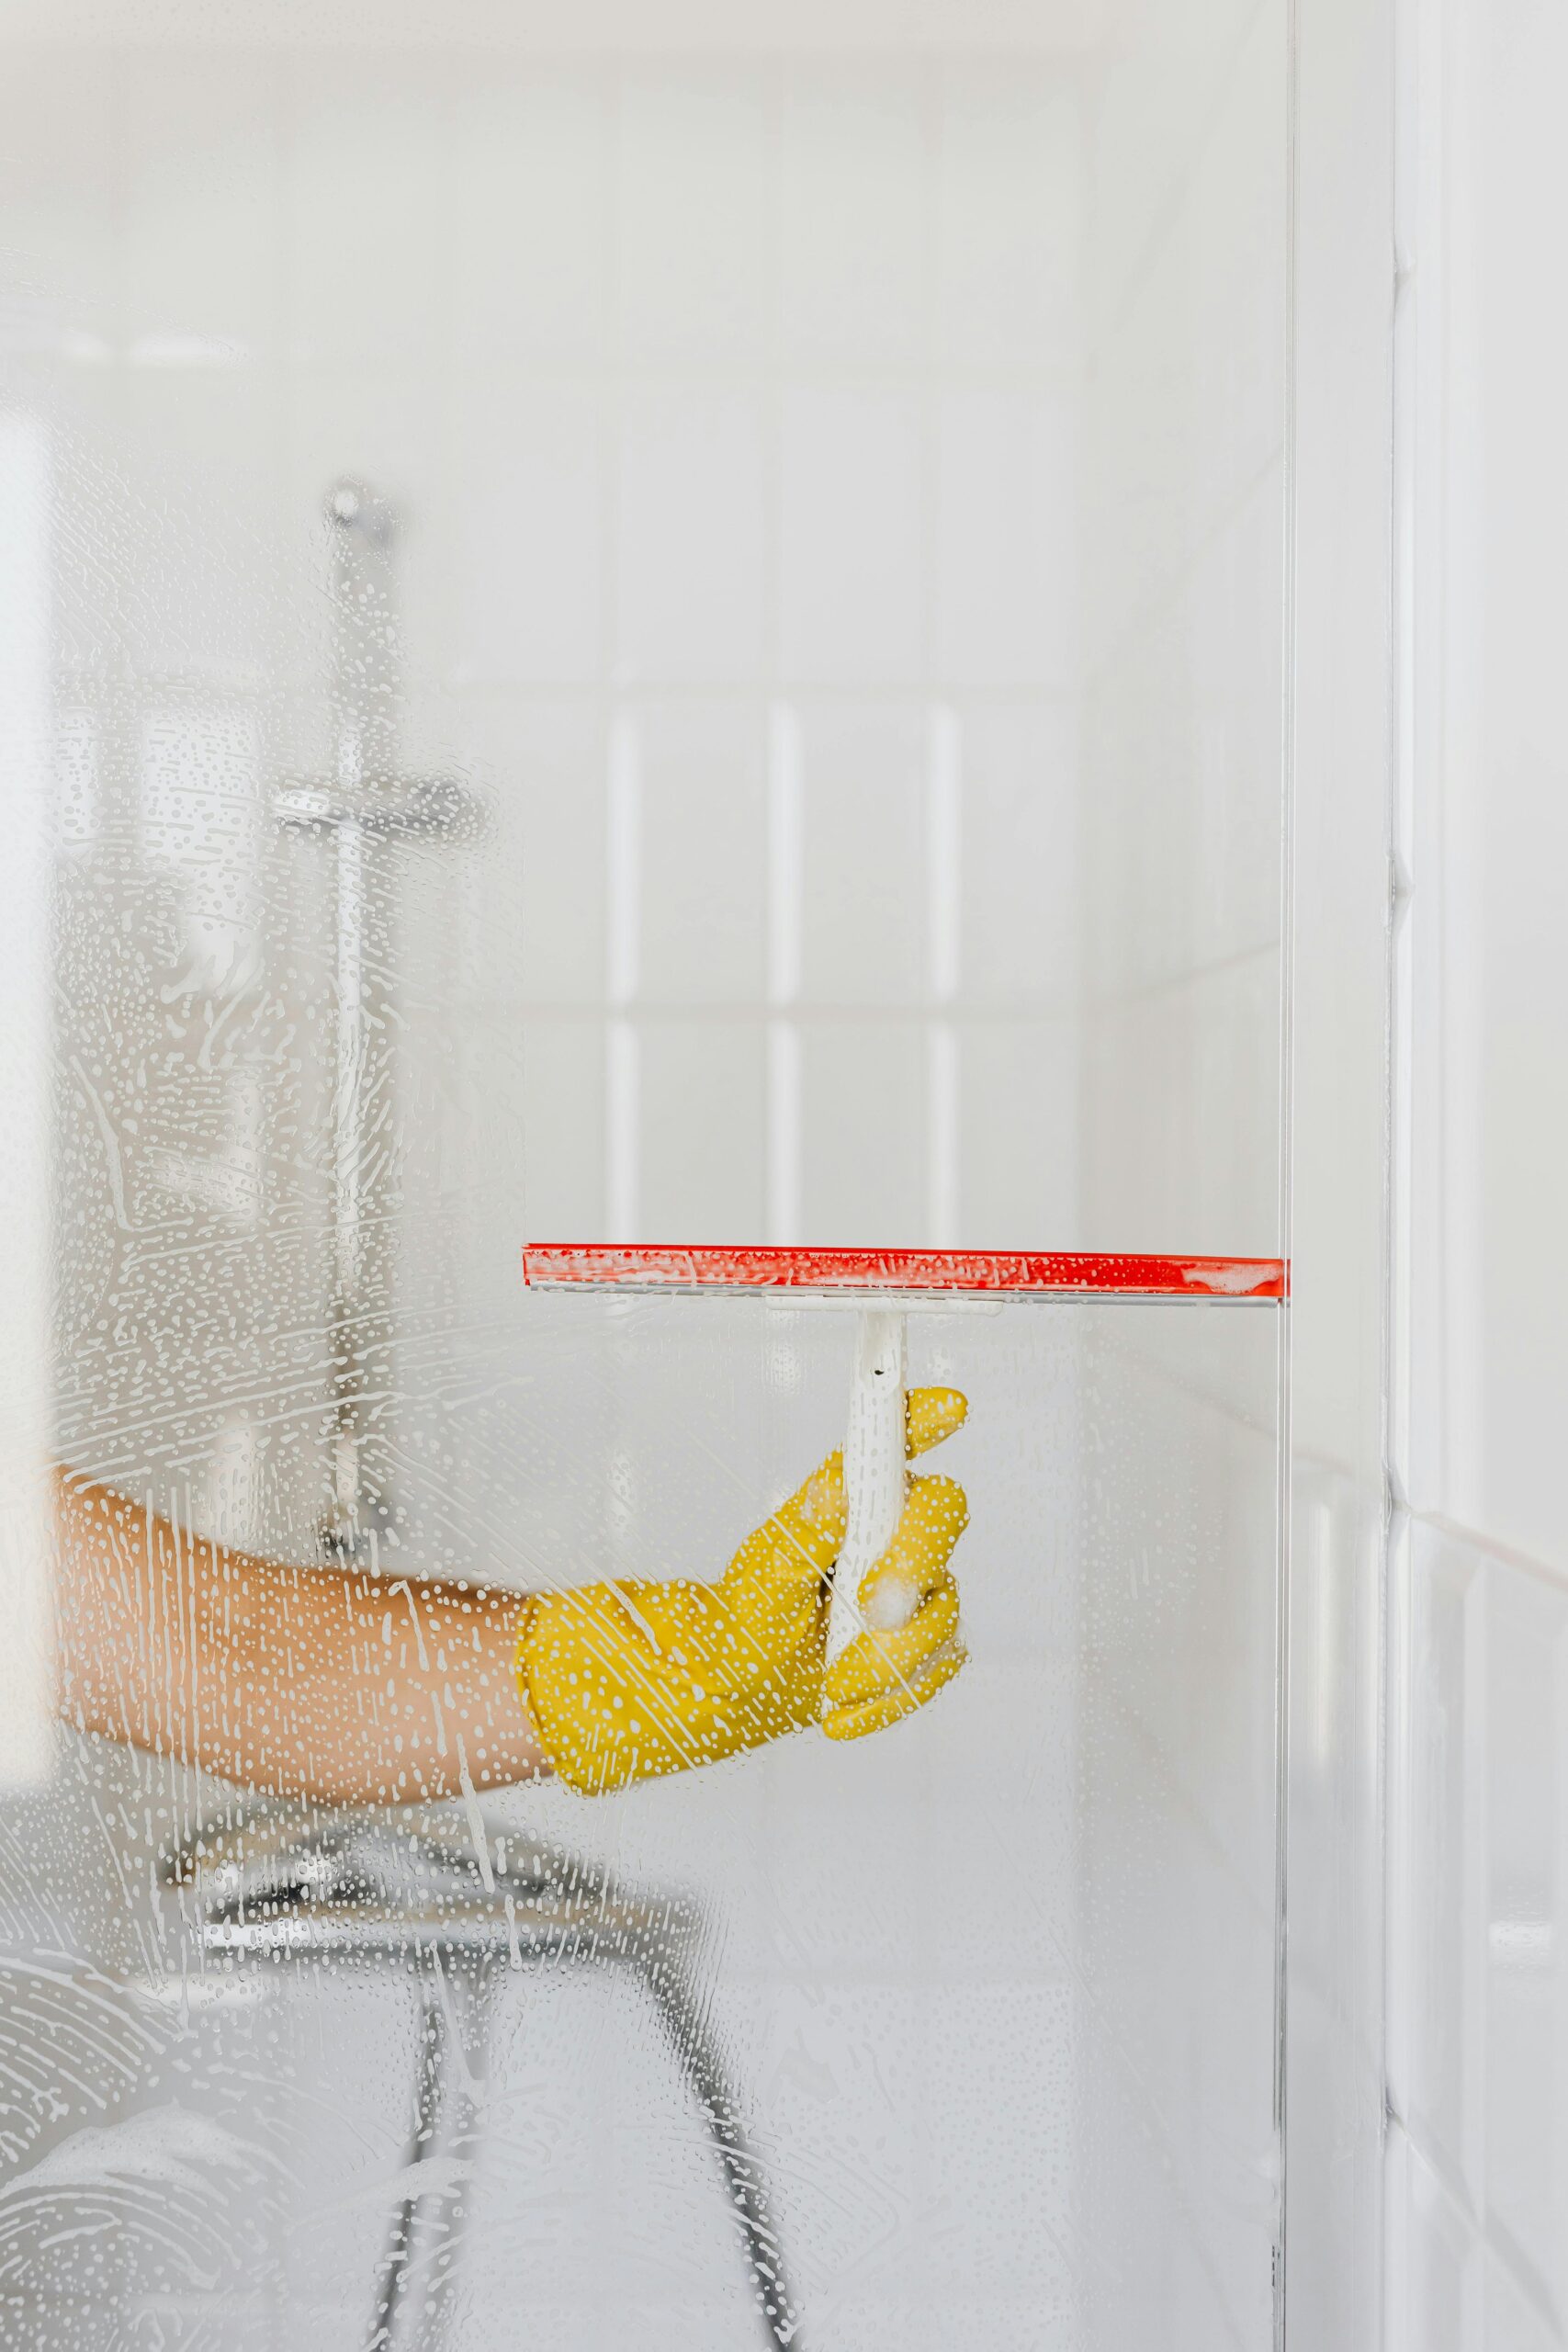
A quick once-over after showers goes a long way. Use a gentle, non-abrasive cleaner or just a vinegar-water spray on walls and door panels to prevent soap scum and mildew. For glass, a squeegee after each use keeps water spots and streaks away.
Maintaining Shower Enclosures
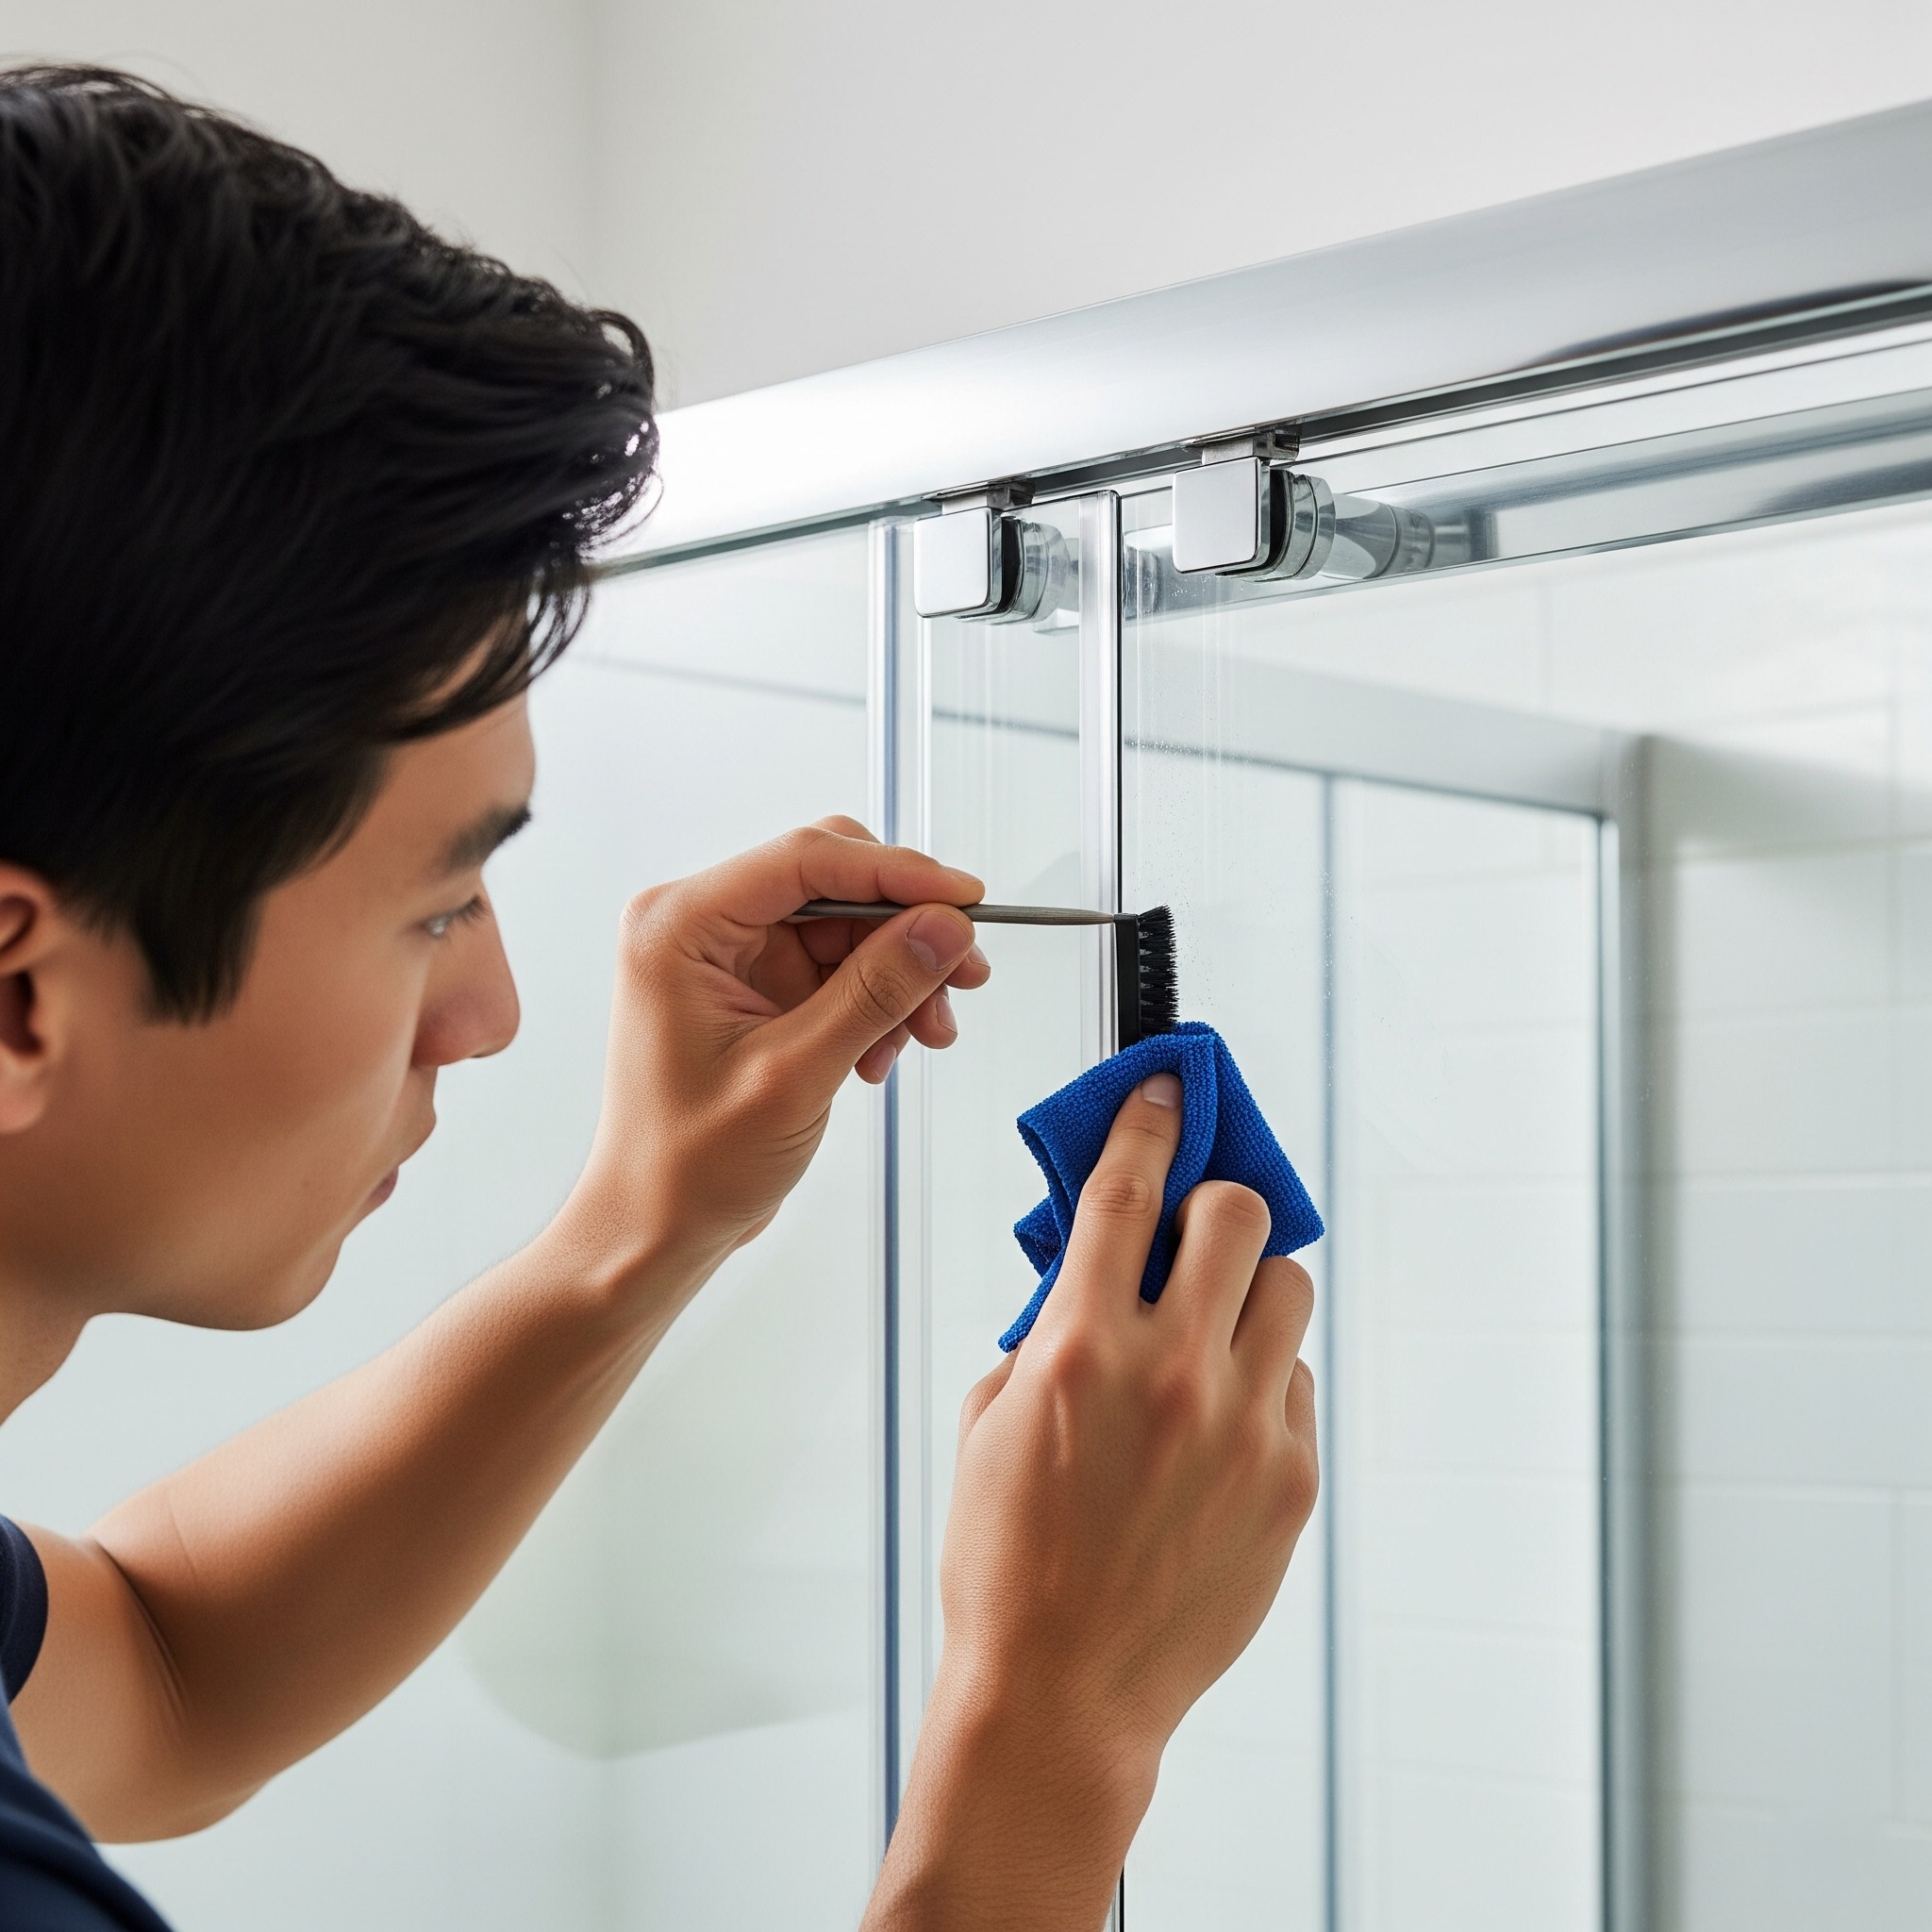
Check caulking every few months—redo any spots that look cracked or worn. Tighten hardware (like door handles and hinges), and inspect seals to keep your bathroom leak-free for years to come.
Common Issues and Solutions
No DIY journey is totally bump-free—and that’s OK! Here are some common shower stall kit hiccups and easy ways to fix them.
Troubleshooting Installation Problems
Loose panels or shifting base? Check that shims are properly placed and all adhesives have set fully.
Door scraping or sticking? Re-adjust the frame and check for level. If you’re struggling, a second set of hands makes this step much easier.
Addressing Water Leakage
If you notice drips where base meets wall, you may need to recaulk joints or reseat wall panels. Always test with a few buckets of water before full use, and address leaks immediately to protect your investment.
Conclusion
There you have it—your complete, cozy-friend guide to mastering walk in shower kits, shower inserts, and stand up shower installations! Whether you tackle your first shower kit or become the designated fixer-upper for friends and family, you’ve got all the tools and tips for a hassle-free, high-value upgrade.
If you enjoyed this article, don’t forget to save it on Pinterest or share it with a friend for their next home project inspiration! Happy installing—and remember, the best bathrooms are built with both heart and hands.
2 Comments
[…] When comparing options, look for a handheld sprayer. It’s a lifesaver for rinsing hair, cleaning the tub, or filling a nearby plant watering can. Check flow rates for adequate fill speed, especially if your tub is extra deep. If your water heater is undersized, consider a tankless water heater or a high-capacity unit so you never run out of hot water mid-soak. Many homeowners don’t realize the garden tub capacity until the first fill, so planning hot water supply is a smart step in your bathroom renovation. […]
[…] your bath with sink becomes a hub for storage, hygiene, and style. It should harmonize with your shower or tub, lighting, and flooring while giving you the daily ease you deserve. Think of it like the […]