
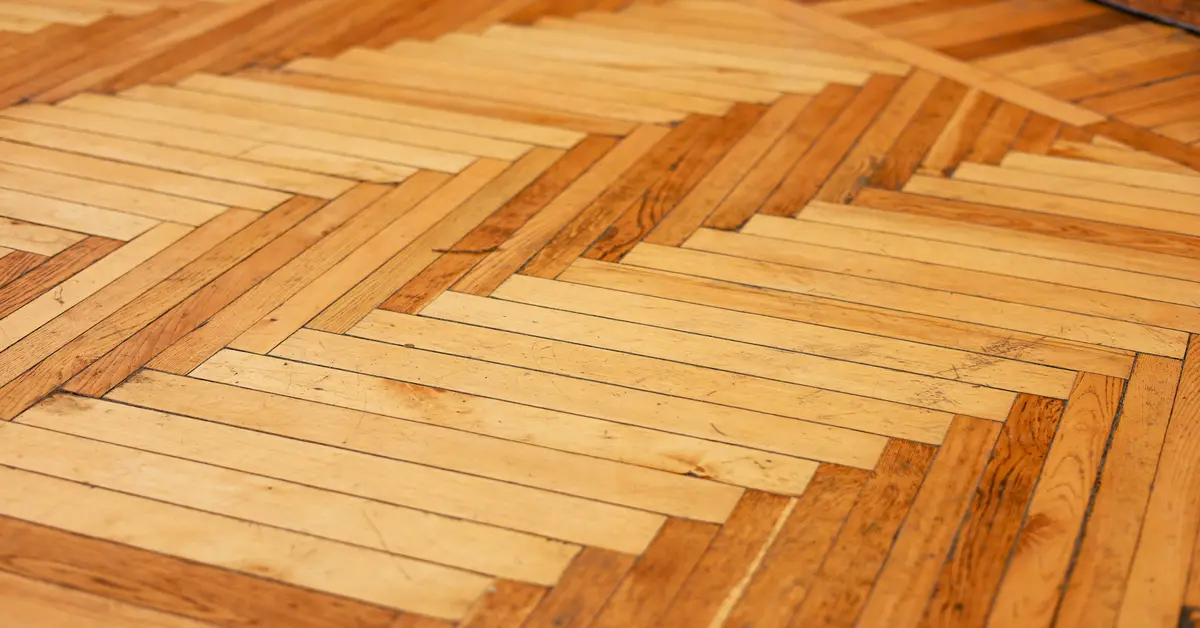
Are your once-glorious hardwood floors looking dull, scuffed, and lifeless? Don’t despair! You don’t always need to call in expensive professionals to restore their beauty. With a bit of elbow grease, the right tools, and some patience, diy wood floor refinishing can transform your home. This comprehensive guide will walk you through every essential step, helping you achieve stunning results and breathe new life into your beloved floors.
Refinishing wood floors yourself is not just a cost-effective solution; it’s also a deeply satisfying project that can significantly boost your home’s aesthetic appeal and value. From understanding when your floors need attention to the final coat of finish, we’ll cover everything you need to know to tackle this rewarding home improvement task confidently. Get ready to unveil the hidden beauty beneath those scuffs and scratches!
Is DIY Wood Floor Refinishing Right for You?
Before diving into the project, it’s crucial to assess if
Consider your comfort level with power tools, dust management, and meticulous work. While challenging, the financial savings can be substantial compared to hiring professionals. On average,
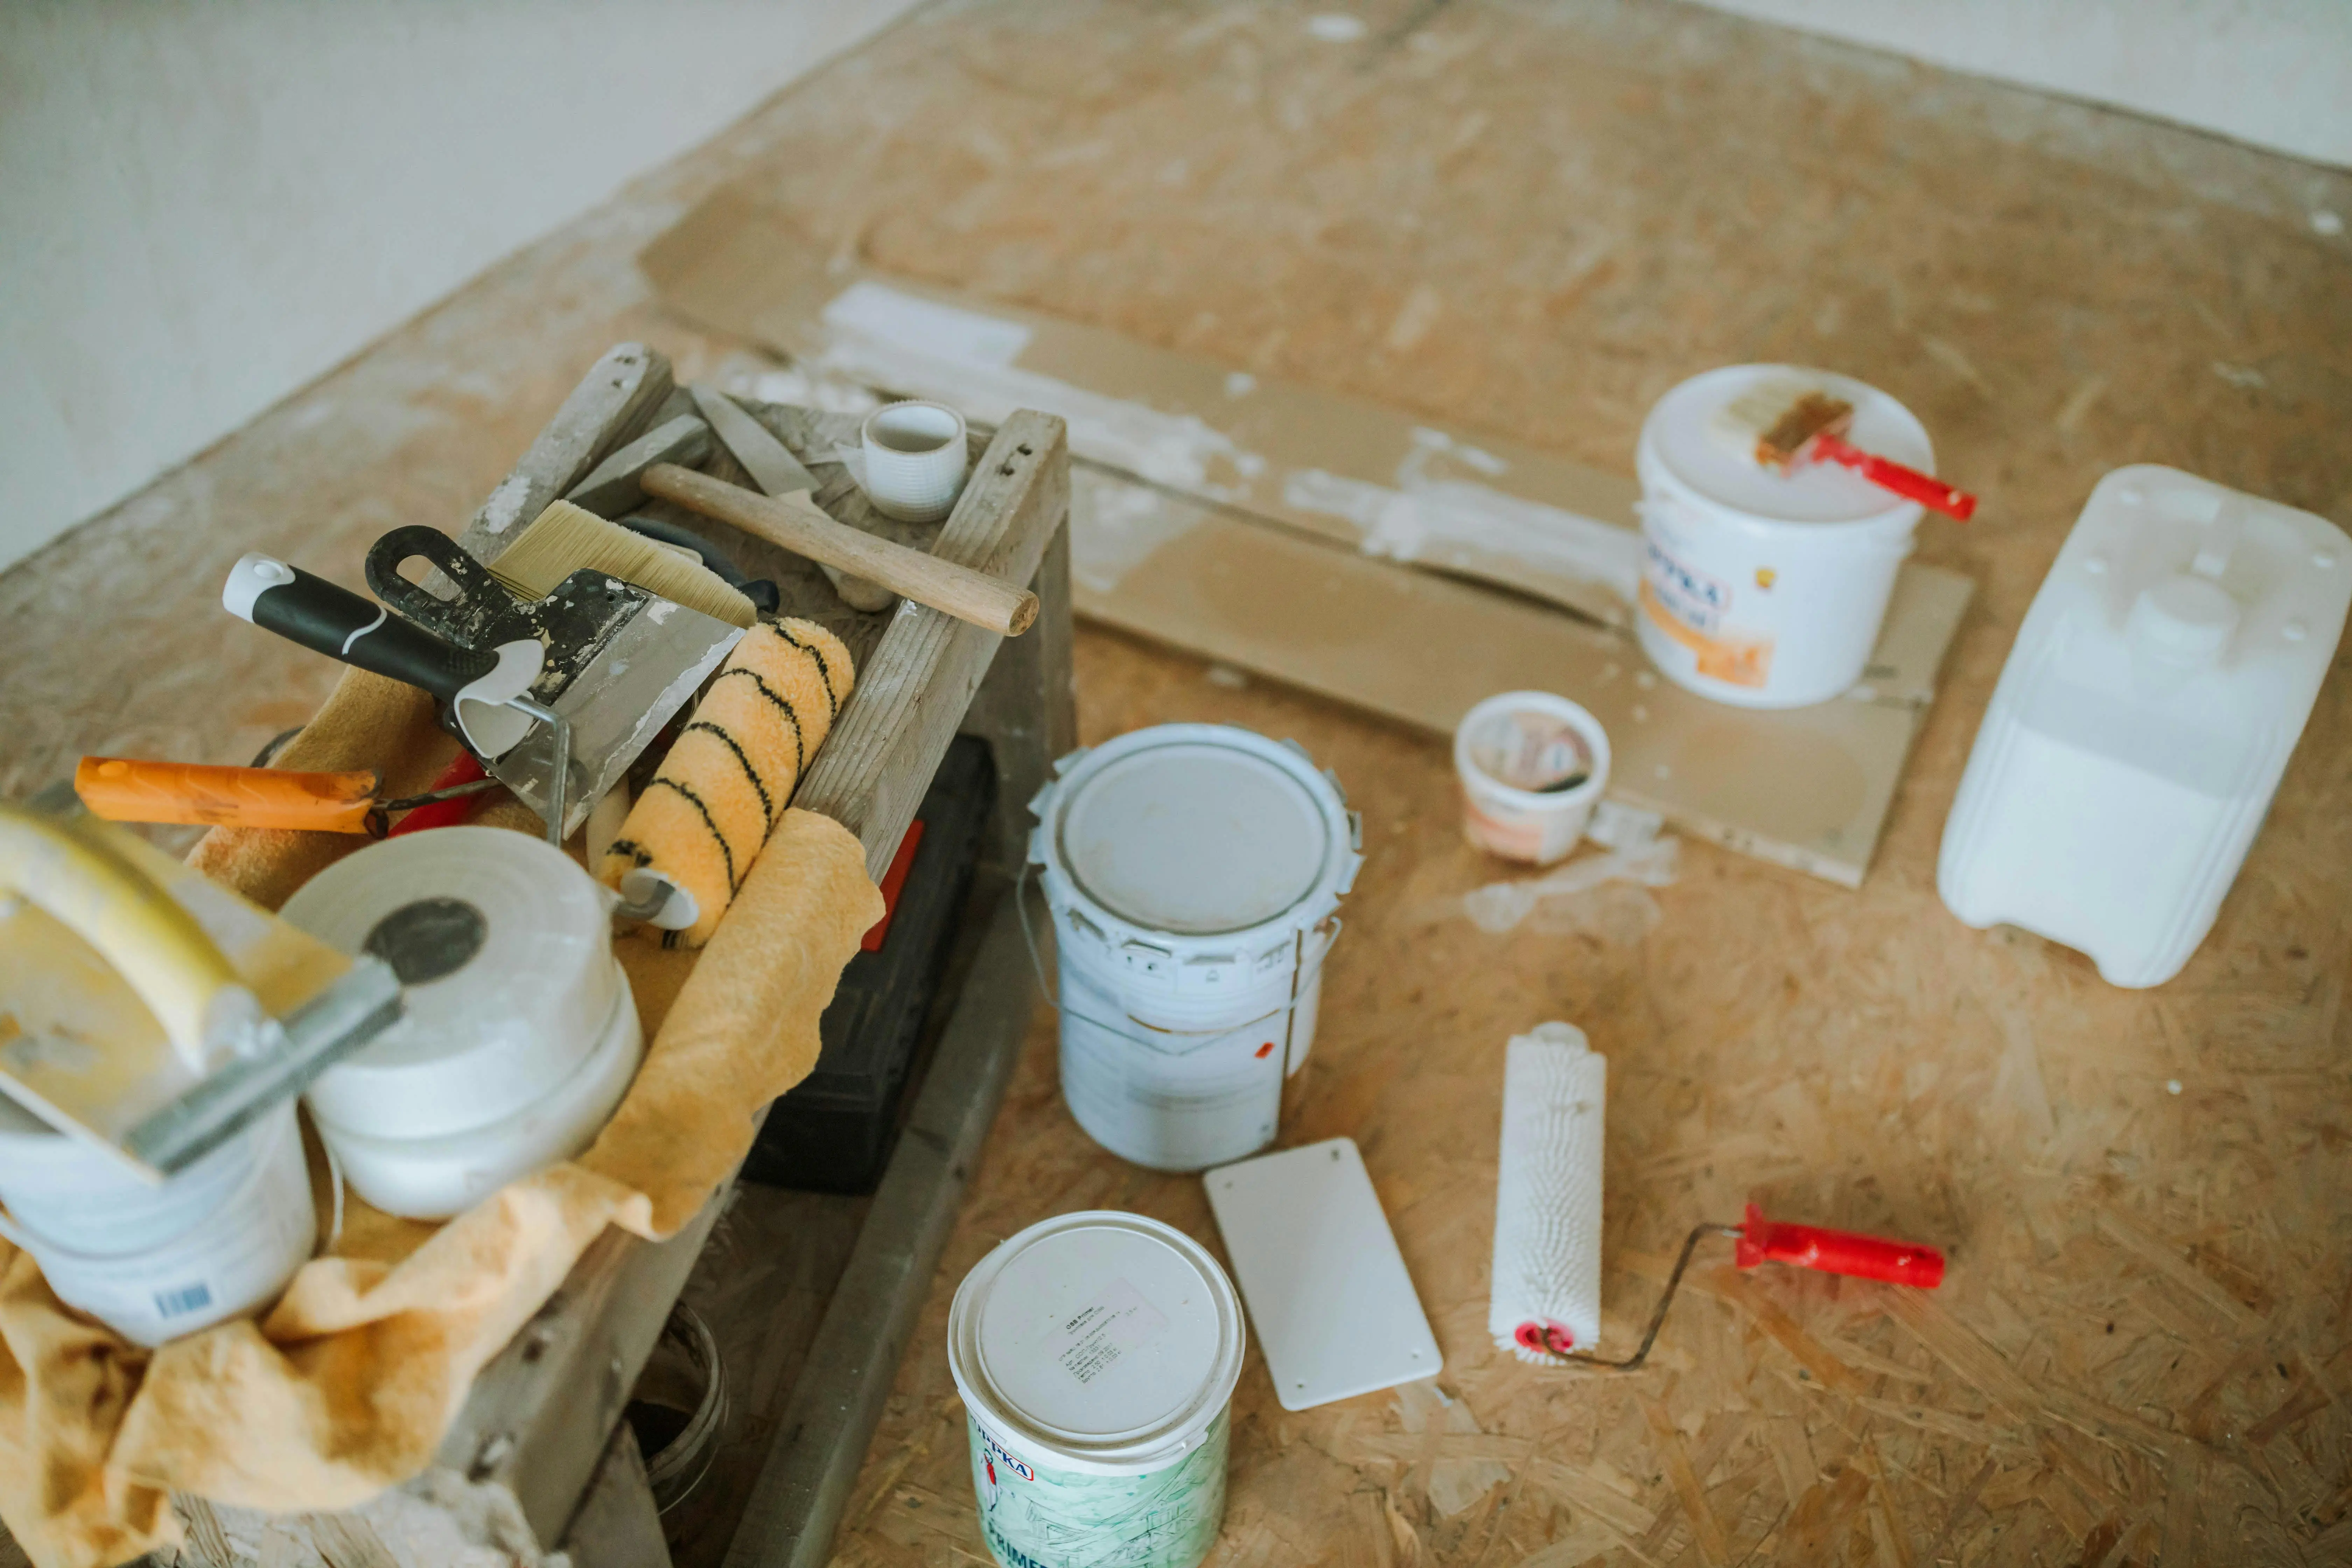
Gathering Your Essential Tools and Materials
Proper preparation is key to a successful refinishing job. Here’s a checklist of what you’ll need:
- Drum sander (rental) and edger sander (rental)
- Orbital sander or detail sander for corners
- Various grits of sandpaper (40, 60-80, 100-120)
- Wood filler or putty (matching color)
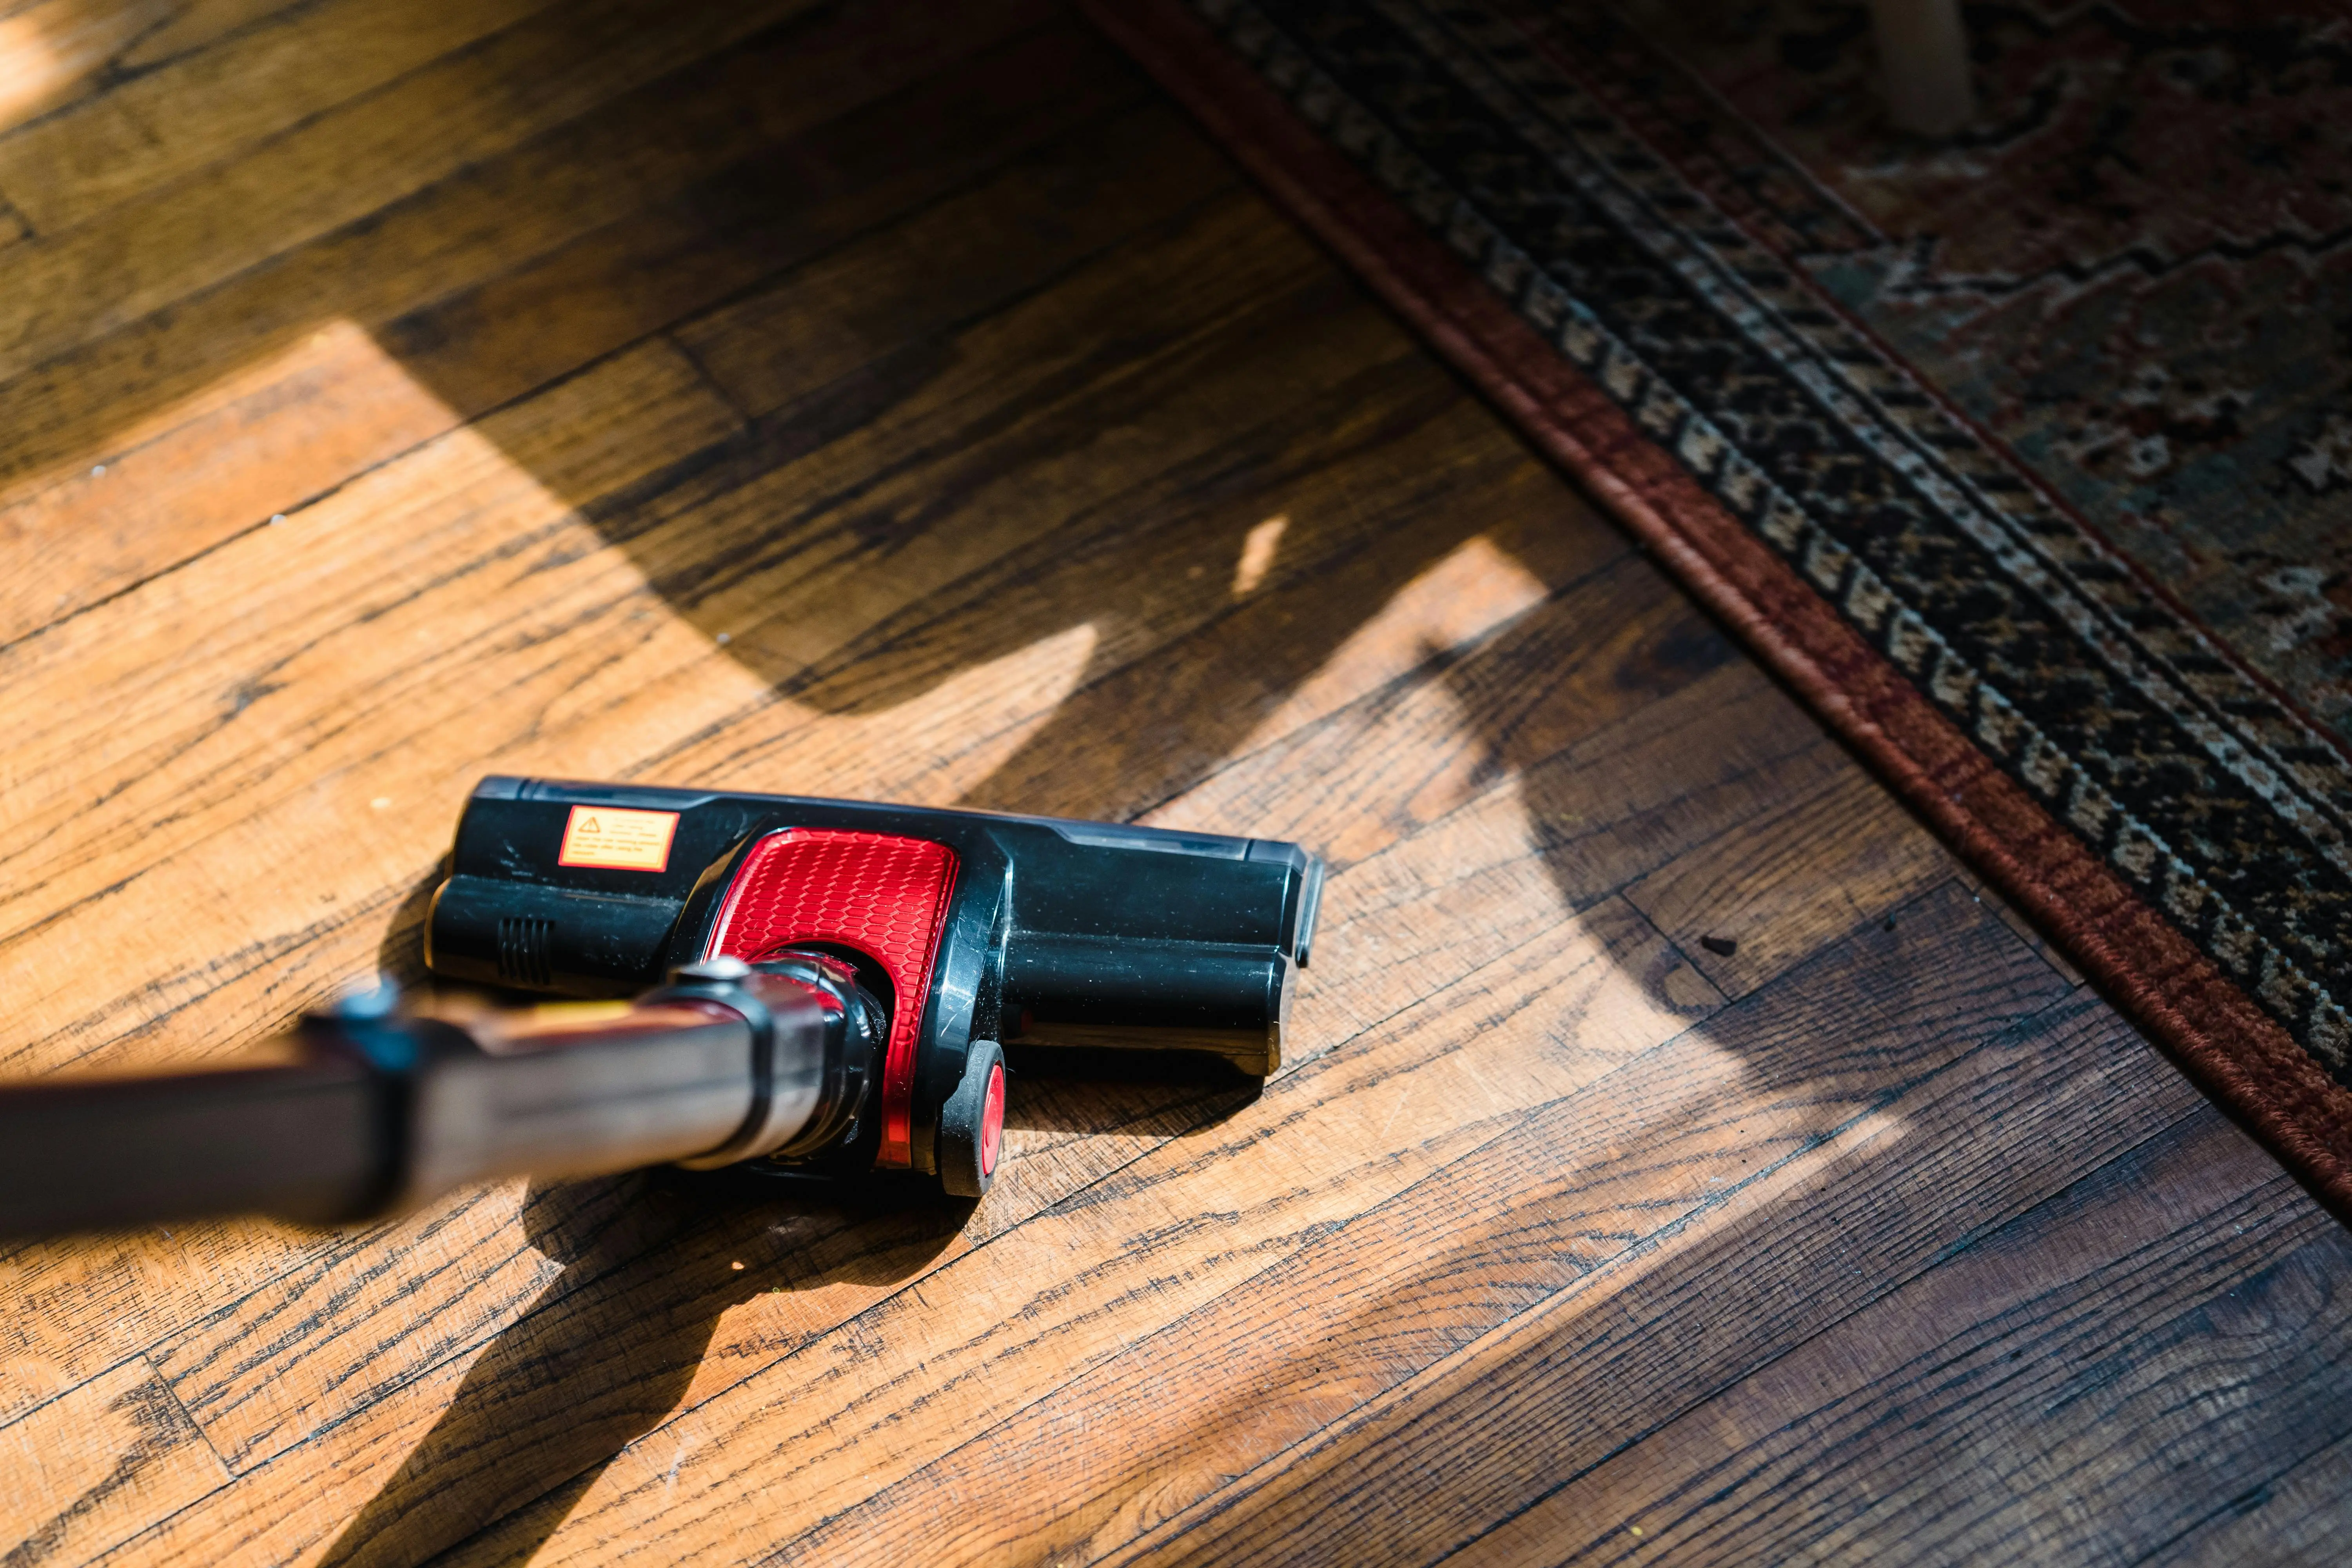
- Vacuum cleaner and tack cloth
- Respirator mask, safety glasses, ear protection
- Knee pads and work gloves
- Applicators for stain and finish (pads, rollers, brushes)
- Wood stain (if desired)
- Polyurethane finish (oil-based or water-based)
- Mineral spirits or paint thinner for oil-based products
- Plastic sheeting and painter’s tape
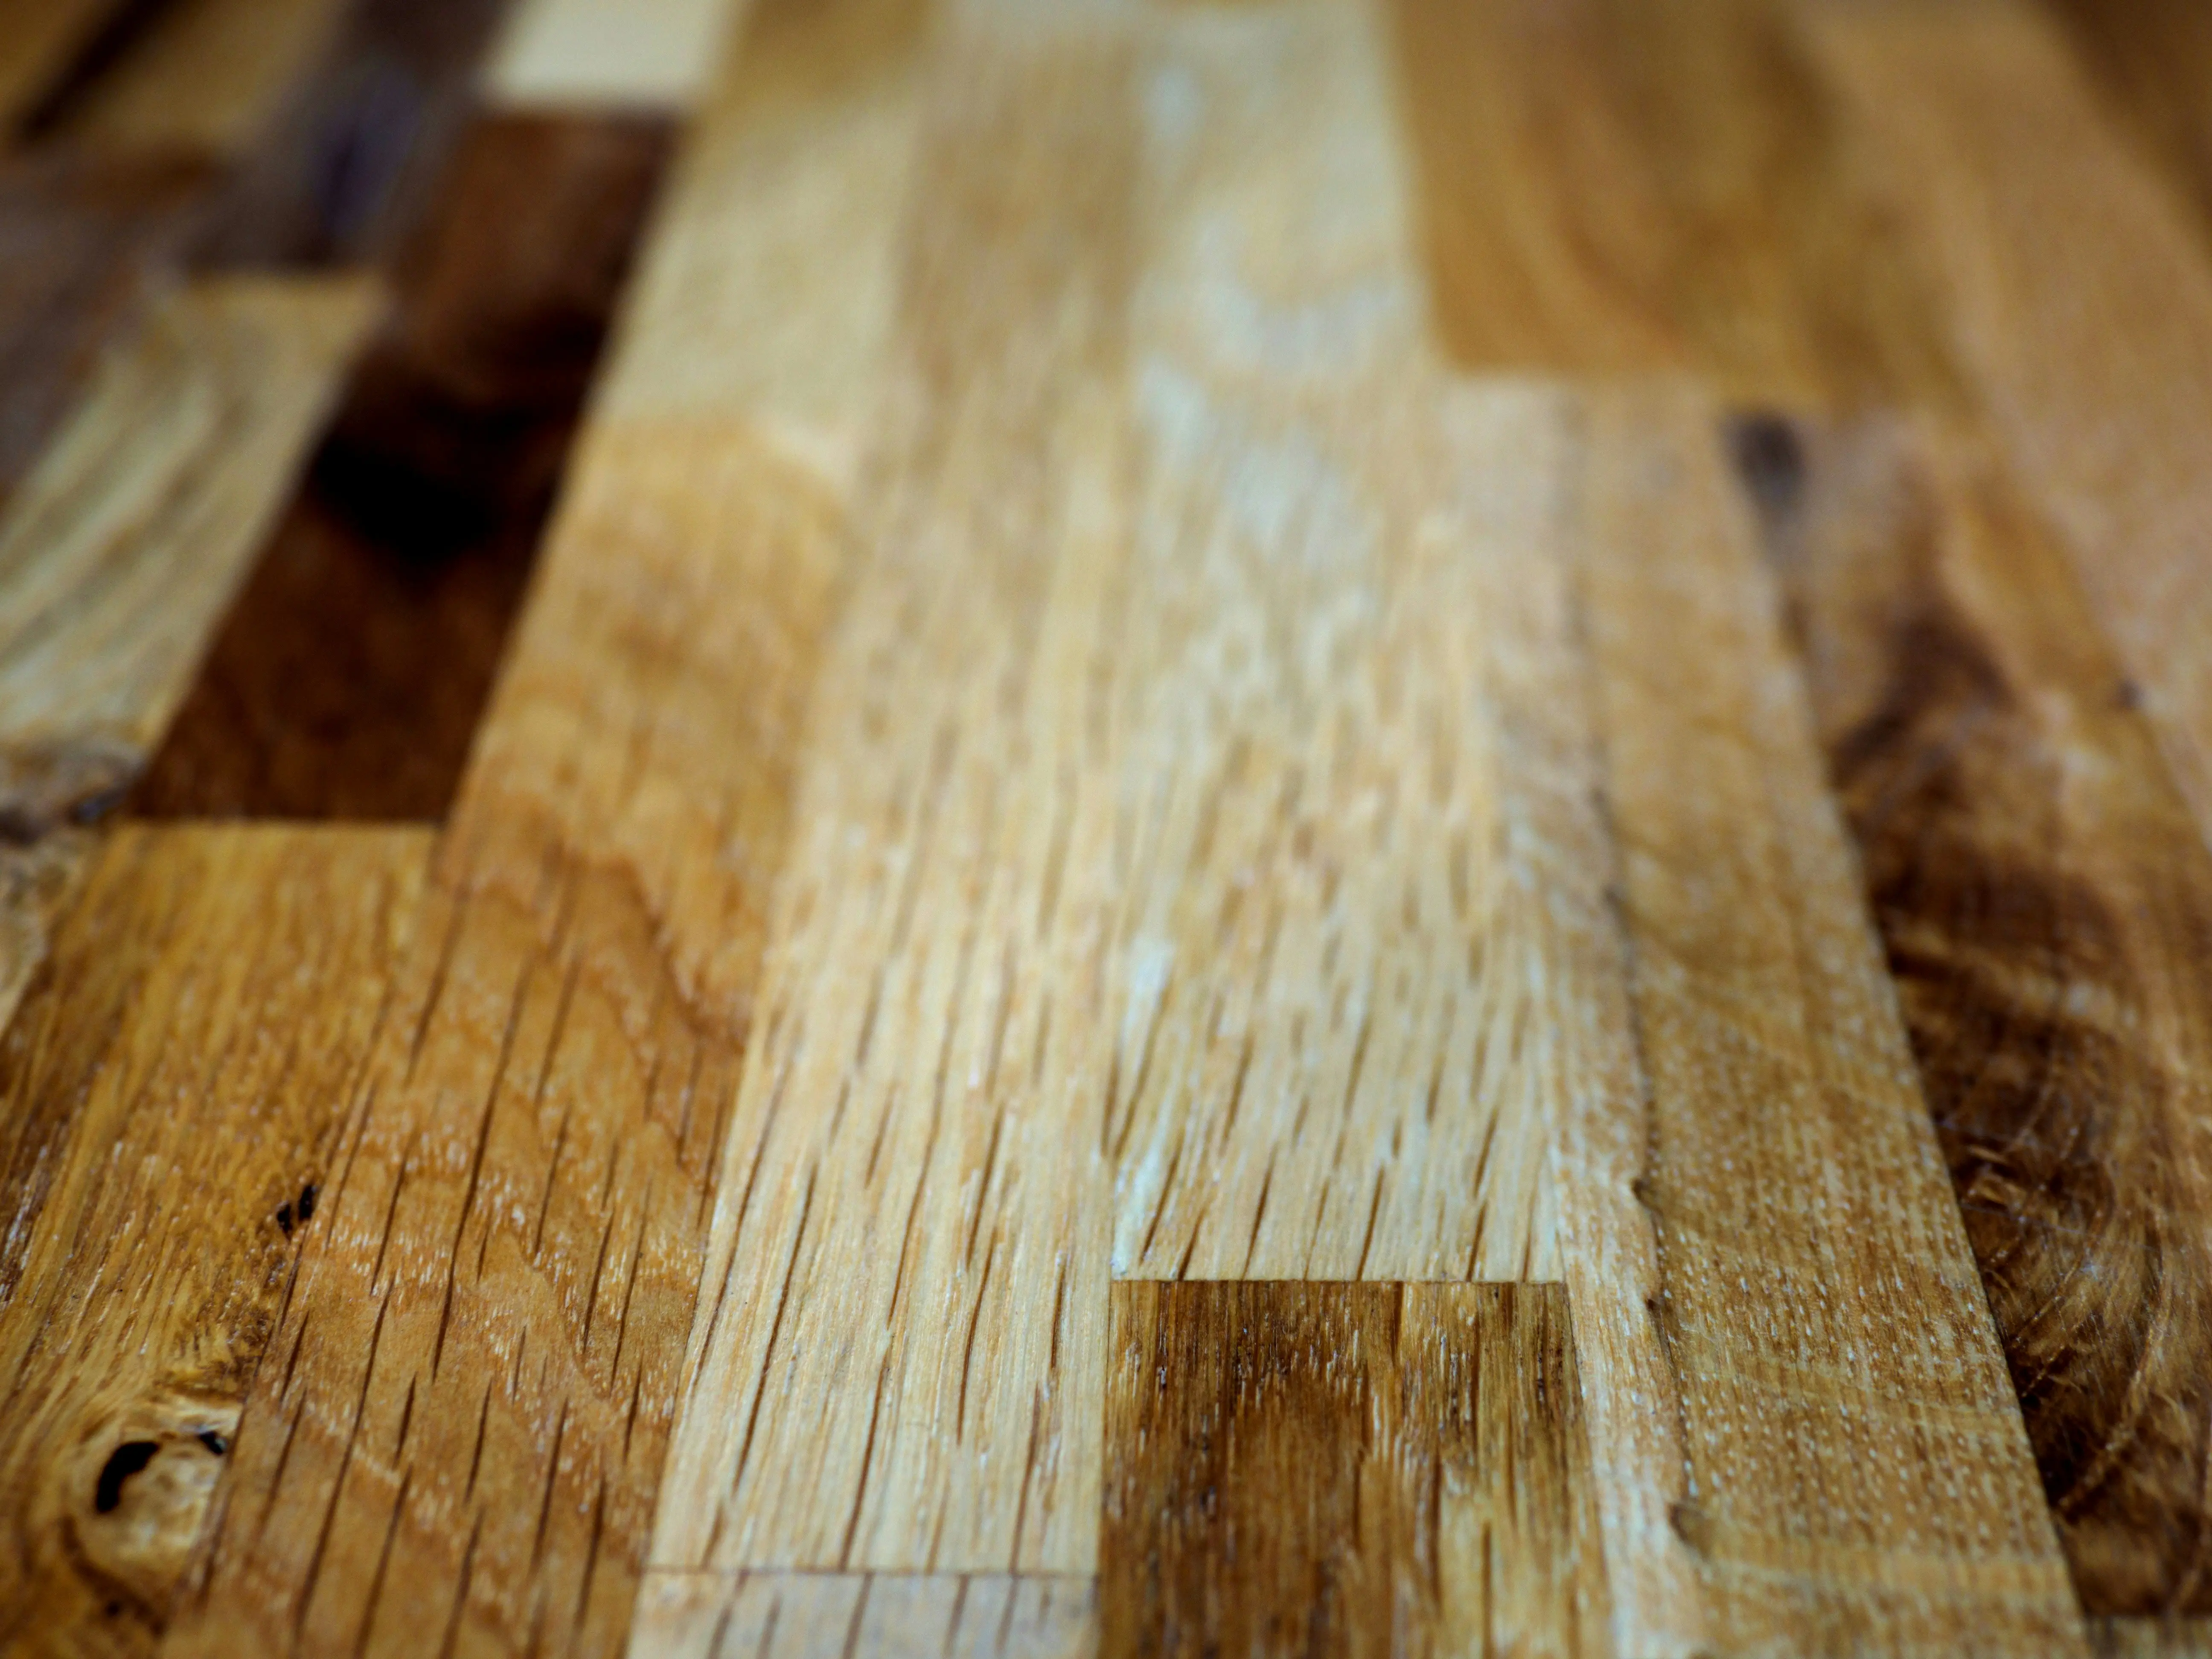
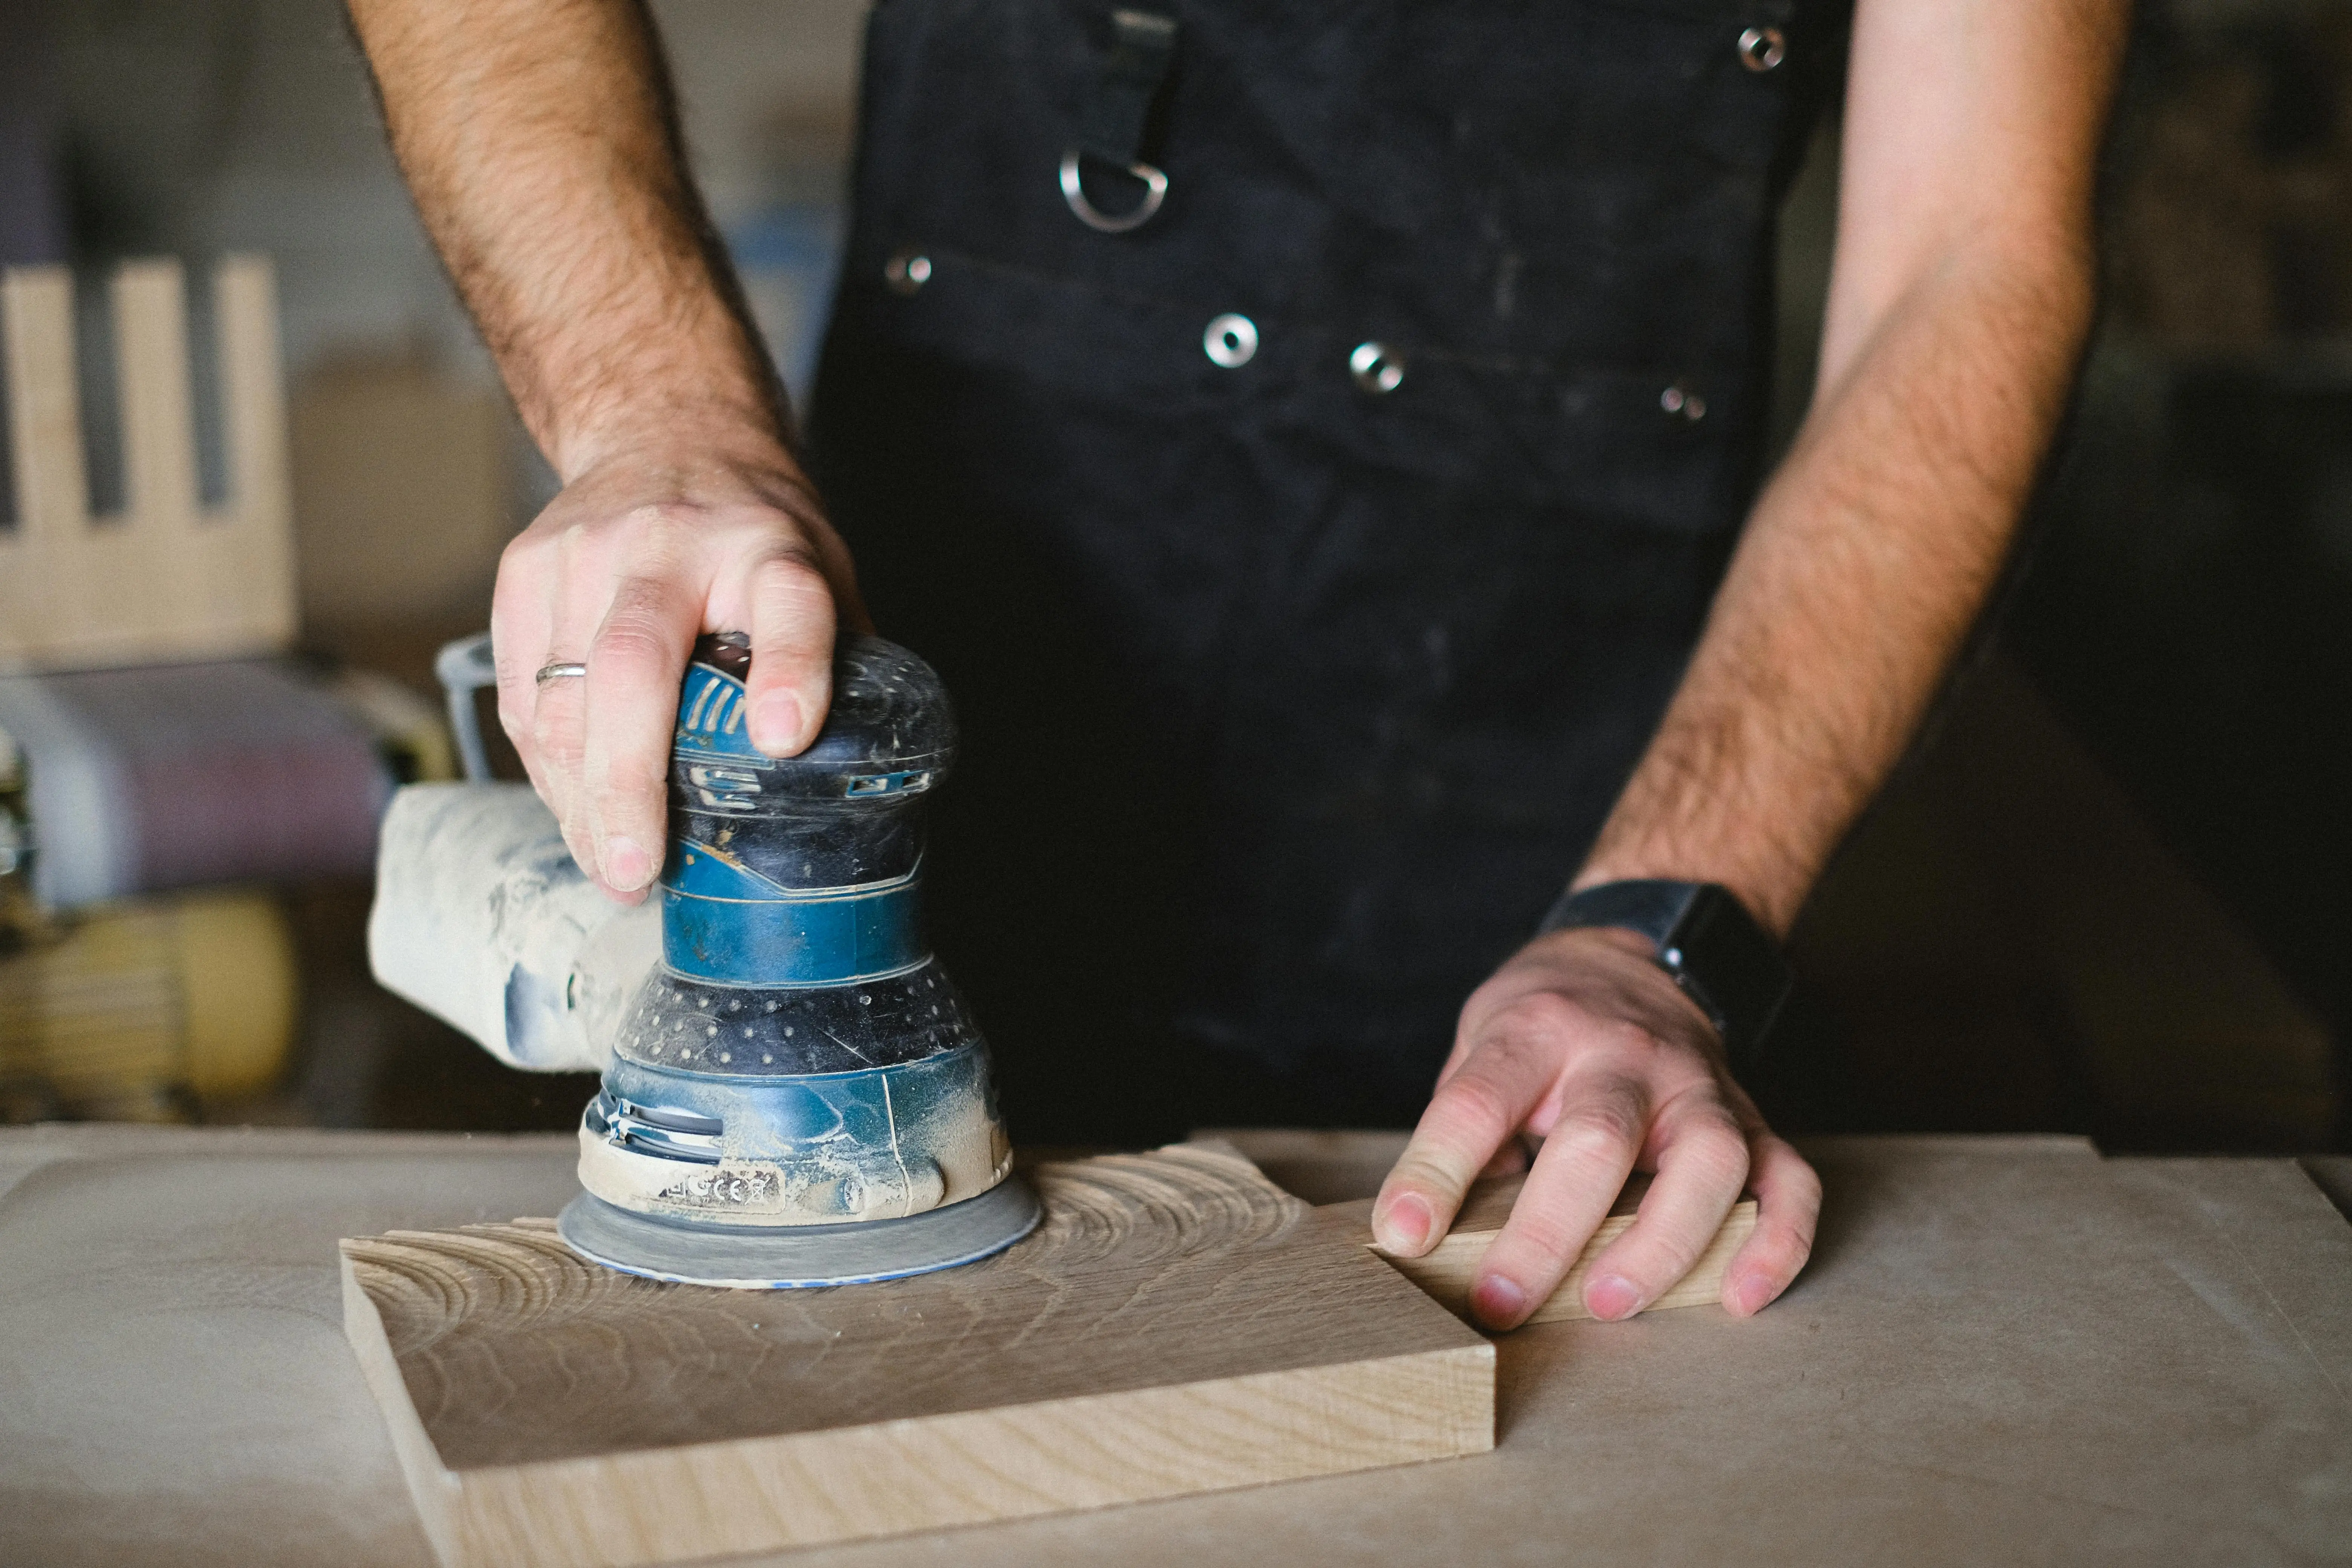
The Crucial Sanding Process
Sanding is the most labor-intensive but vital part of
Subsequent passes with finer grits (60-80 and then 100-120) are essential for a smooth finish. Each pass should remove the sanding marks from the previous grit. After each sanding stage, thoroughly vacuum the entire room, including ledges and windowsills, and then use a tack cloth to pick up any remaining fine dust. Proper dust removal prevents imperfections in your finish.
Staining Hardwood Floors (Optional)
If you prefer a different look or want to enhance the wood’s natural color, consider
Allow adequate drying time, often 12-24 hours, before applying the finish. Ensure the room is well-ventilated during and after staining. If you decide not to stain, you can proceed directly to applying your chosen finish after sanding and cleaning.
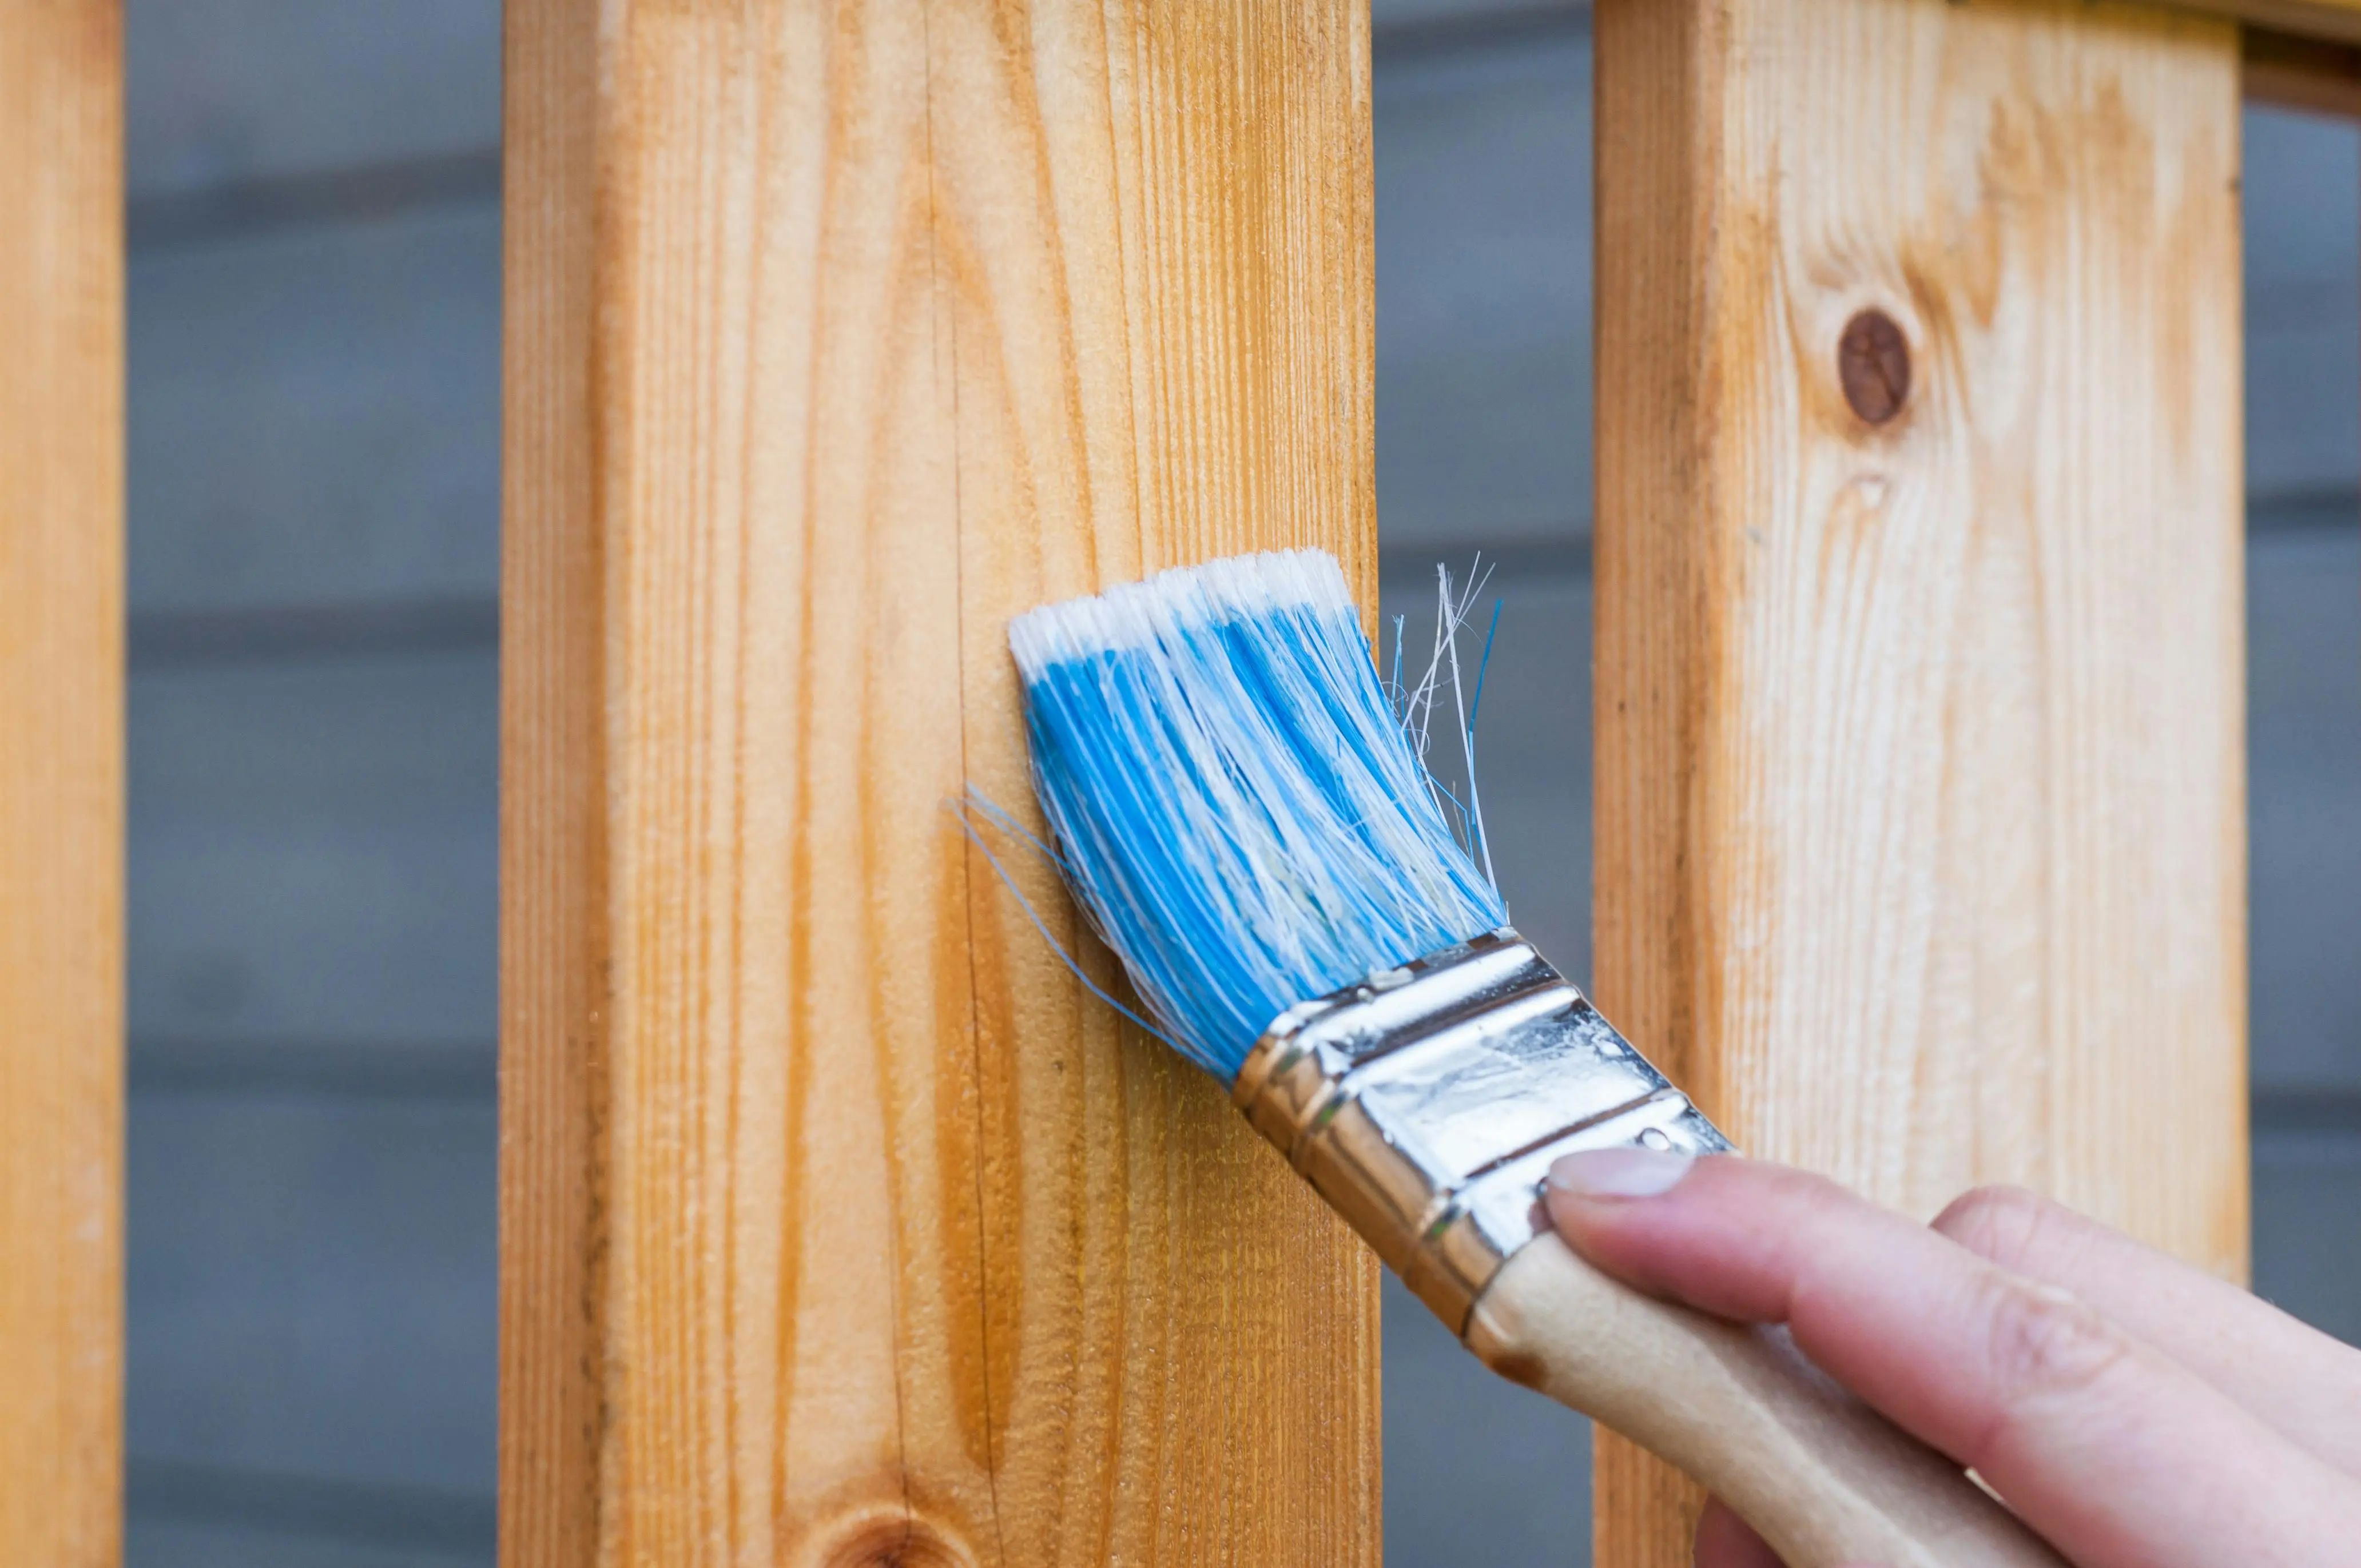
Applying the Protective Finish
The finish protects your floors and gives them their sheen. Polyurethane is a popular choice, available in water-based (dries faster, less odor) and oil-based (more durable, richer amber tone) formulas. Apply the first coat thinly and evenly, using a lamb’s wool applicator, roller, or brush. Work your way out of the room, ensuring no puddles form.
Allow the first coat to dry completely (check manufacturer’s guidelines). Lightly scuff-sand with fine-grit sandpaper (e.g., 220-grit) or a a fine sanding screen between coats to ensure good adhesion, then vacuum thoroughly and wipe with a tack cloth. Apply two to three more coats, following the same drying and scuff-sanding process. The final coat typically doesn’t need sanding.
DIY Wood Floor Refinishing FAQ
How long does DIY wood floor refinishing take?
For an average-sized room, expect 3-5 days, accounting for sanding, staining (if applicable), and multiple coats of finish with drying times in between.
Can all wood floors be refinished?
Most solid hardwood floors can be. Engineered wood can be refinished if its veneer layer is thick enough; consult a professional if unsure.
Do I need to wear a respirator?
Absolutely. Sanding creates fine dust, and stains/finishes emit fumes that can be harmful. Always wear a proper respirator, safety glasses, and ear protection.
How much does it cost to refinish wood floors yourself?
Costs can vary, but typically range from $1-$3 per square foot, covering sander rental, sandpaper, stain, and finish. This is significantly less than professional services.
What’s the difference between oil-based and water-based polyurethane?
Oil-based offers more durability and a richer, amber tone but has longer drying times and stronger fumes. Water-based dries faster, has less odor, and a clearer finish but might be slightly less durable.
Enjoy Your Beautifully Restored Floors!
Undertaking a DIY wood floor refinishing project is a journey that requires effort and attention to detail, but the outcome is truly rewarding. You’ll not only save a significant amount of money but also gain immense satisfaction from transforming your home with your own hands. Remember; patience is your best friend throughout this process, especially during drying times.
Once your floors are complete and fully cured (which can take several weeks for the finish to harden completely), they will be a stunning focal point, reflecting light and adding warmth to your living space. Follow these steps meticulously, and you’ll soon be enjoying beautifully restored hardwood floors that look professional and revitalized. Discover the joy of a refreshed home today!