
Transforming your garage from a drab, dusty space into a showroom-quality area is a dream for many homeowners. The secret weapon for achieving this stunning makeover? A DIY dance-floor coating DIY project. Far from being an intimidating task reserved for professionals, applying an epoxy coating yourself is a rewarding endeavor that can significantly enhance the aesthetics and functionality of your garage. Not only does it provide a durable, chemical-resistant surface that stands up to spills, stains, and heavy vehicle traffic, but it also brightens the entire space, making it feel cleaner and more organized. This comprehensive guide will walk you through every step of the process, ensuring your epoxy garage floor coating DIY project is a resounding success. We’ll delve into essential preparation techniques, discuss the different types of epoxy available, and share expert tips to avoid common pitfalls, ultimately empowering you to achieve a professional-grade finish. Get ready to revitalize your garage and enjoy a floor that’s as tough as it is beautiful.
Many homeowners are initially hesitant about tackling a task like this, fearing complexity or a less-than-perfect outcome. However, with the right knowledge, tools, and a methodical approach, applying an epoxy garage floor coating DIY can be a straightforward process yielding impressive results. The benefits extend beyond just appearance; an epoxy floor significantly reduces dust, makes cleaning a breeze, and even increases the value of your home. Imagine a garage where oil spills wipe clean without a trace, where tires don’t leave permanent marks, and where the floor itself contributes to the overall appeal of your property. This guide is designed to demystify the process, breaking it down into manageable steps and equipping you with the confidence to tackle your own epoxy garage floor coating DIY project. From choosing the best kit to the final topcoat application, we’ve got you covered.
Why Choose an Epoxy Garage Floor Coating DIY?
Opting for an epoxy garage floor coating DIY project offers a multitude of advantages over leaving your concrete floor bare or hiring a professional. First and foremost, cost savings are a significant factor. While professional installation can run into thousands of dollars, a quality DIY epoxy kit for a standard two-car garage is considerably more affordable, putting a premium finish within reach for most budgets. Beyond the financial benefits, there’s immense satisfaction in successfully completing a home improvement project yourself, and an epoxy floor provides a tangible, long-lasting testament to your efforts.
Durability is another key reason to choose epoxy. Concrete floors, while strong, are porous and susceptible to staining from oil, grease, chemicals, and even water. They can also spall or crack over time due to temperature fluctuations and heavy impact. An epoxy coating creates a seamless, non-porous barrier that is exceptionally resistant to abrasions, impacts, chemicals, and stains. This means your garage floor will not only look fantastic but will also withstand the rigors of vehicle parking, tool drops, and workshop activities for many years to come.
Furthermore, an epoxy garage floor coating DIY project significantly improves the aesthetics and cleanliness of your garage. The bright, reflective surface instantly transforms a utilitarian space into a more inviting and organized environment. Easier to clean than bare concrete, spills can be quickly wiped away, and dust accumulation is visibly reduced. For those who use their garage as a workshop, gym, or even an extra recreational area, the enhanced visual appeal and ease of maintenance are invaluable. It’s an investment that pays dividends in both functionality and property value.
Benefits of DIY Epoxy Flooring
- Cost-Effective: Save significantly on labor costs by doing it yourself.
- Extreme Durability: Resists stains, chemicals, impacts, and abrasions.
- Enhanced Appearance: Transforms a dull concrete slab into a vibrant, clean space.
- Easy to Clean: Non-porous surface makes spills and dirt simple to wipe up.
- Increased Home Value: A well-maintained and attractive garage floor can boost curb appeal and resale value.
- Personal Satisfaction: The pride of completing a significant home improvement project.
- Reduced Dust: Seals the concrete, preventing dust from shedding.
Essential Preparation for a Perfect Finish
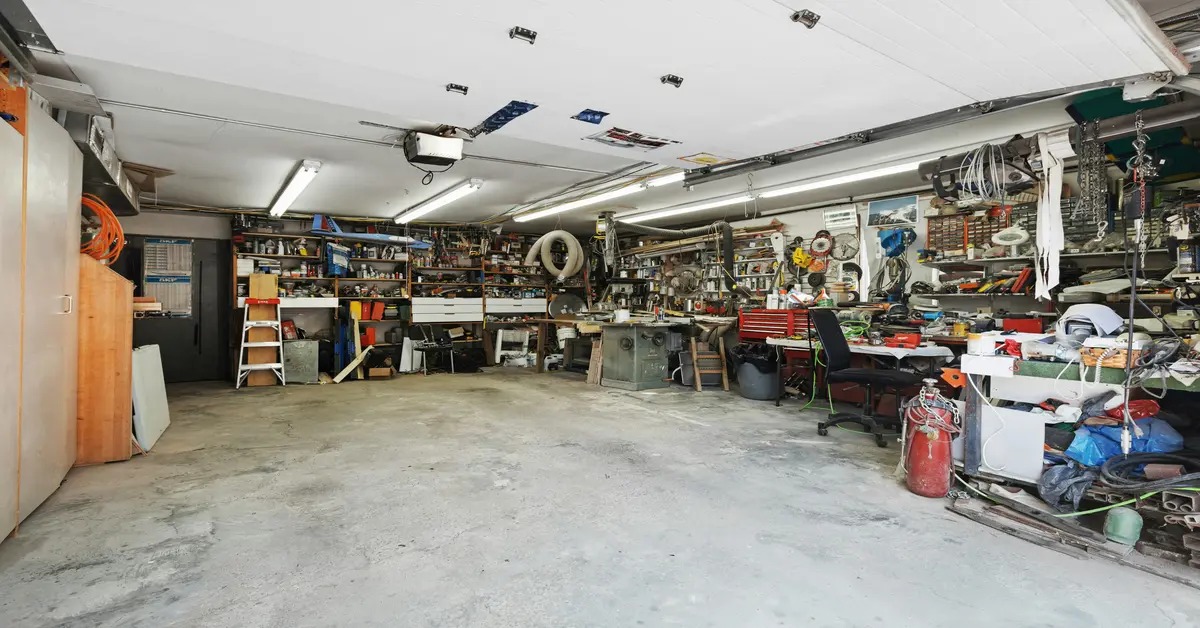
Preparation is undeniably the most critical step for any successful epoxy garage floor coating DIY project. Skimping on this stage will almost certainly lead to adhesion issues, bubbling, peeling, and a short lifespan for your new floor. A beautifully applied epoxy coating is only as good as the surface it adheres to, so meticulous cleaning and profiling of the concrete are non-negotiable. Begin by completely emptying your garage. This means moving out everything – vehicles, tools, storage units, and anything else that might obstruct your work. Once clear, thoroughly sweep and vacuum the floor to remove all loose dirt, dust, and debris. This initial cleaning sets the stage for more intensive preparation.
Next, tackle any oil or grease stains. These contaminants will prevent epoxy from bonding properly. Use a strong degreaser, scrubbing the stained areas vigorously with a stiff brush. Multiple applications might be necessary for stubborn stains. Rinse the degreased areas thoroughly, ensuring no residue remains. After degreasing, inspect the floor for cracks, holes, or spalled areas. These imperfections need to be repaired before applying epoxy. Use a concrete patch or repair kit, following the manufacturer’s instructions carefully. Allow ample time for the repairs to cure fully, which can take several days depending on the product and ambient conditions.
The final and most crucial preparation step is concrete etching or grinding. For most epoxy garage floor coating DIY kits, an acid etch solution is provided to lightly profile the concrete, opening up its pores to allow the epoxy to penetrate and bond mechanically. Follow the kit’s instructions precisely for mixing and applying the etch. Alternatively, for a superior bond, especially on very smooth or previously sealed concrete, consider renting a concrete grinder. Grinding creates an ideal profile for epoxy adhesion. Regardless of the method, after etching or grinding, rinse the floor multiple times with clean water, using a squeegee to remove all remaining debris and acid residue. Allow the floor to dry completely – this often takes 24-48 hours, and using fans or a dehumidifier can accelerate the process. A simple test involves taping a small piece of plastic to the floor overnight; if condensation forms underneath, the floor is still too wet.
Choosing the Right Epoxy Flooring DIY Kit
Selecting the appropriate epoxy garage floor coating DIY kit is paramount to the success and longevity of your project. The market offers a range of options, each with its own characteristics, pros, and cons. Generally, you’ll encounter two main types: water-based epoxy and 100% solids epoxy. Understanding the differences will help you make an informed decision based on your expectations for durability, ease of application, and budget. While many DIY kits lean towards water-based formulas due to their user-friendliness, exploring 100% solids options can provide a more professional and robust finish if you’re up for a slightly more challenging application.
Water-based epoxy kits are often favored by DIYers because of their lower VOCs (volatile organic compounds), which means less odor during application and easier cleanup with water. They are typically thinner, making them easier to apply, and they dry faster. However, their thinner consistency also means they offer a thinner protective layer and are generally less durable than 100% solids epoxy. They are a good choice for garages with lighter traffic and for those prioritizing ease of application and minimal fumes during their epoxy garage floor coating DIY.
For maximum durability and a truly professional-grade finish, 100% solids epoxy is the superior choice. As the name suggests, it contains no water or solvents that evaporate, meaning the applied thickness remains the same once cured. This results in a much thicker, harder, and more chemical-resistant coating that can withstand heavy traffic, abrasive conditions, and harsh chemicals without breaking down. The trade-off is a higher cost, a shorter pot life (the time you have to work with the mixed product), and stronger fumes, necessitating good ventilation. Application can also be a bit more challenging due to its thick viscosity. When considering a 100% solids system for your diy epoxy floor, always read reviews, check the coverage rates, and ensure the kit includes all necessary components like a primer and an optional topcoat for enhanced protection and UV resistance.
Key Considerations When Purchasing DIY Epoxy:
- Type of Epoxy: Water-based for ease, 100% solids for maximum durability.
- Coverage Area: Ensure the kit is sized correctly for your garage.
- Kit Inclusions: Does it come with etch, decorative flakes, and an applicator?
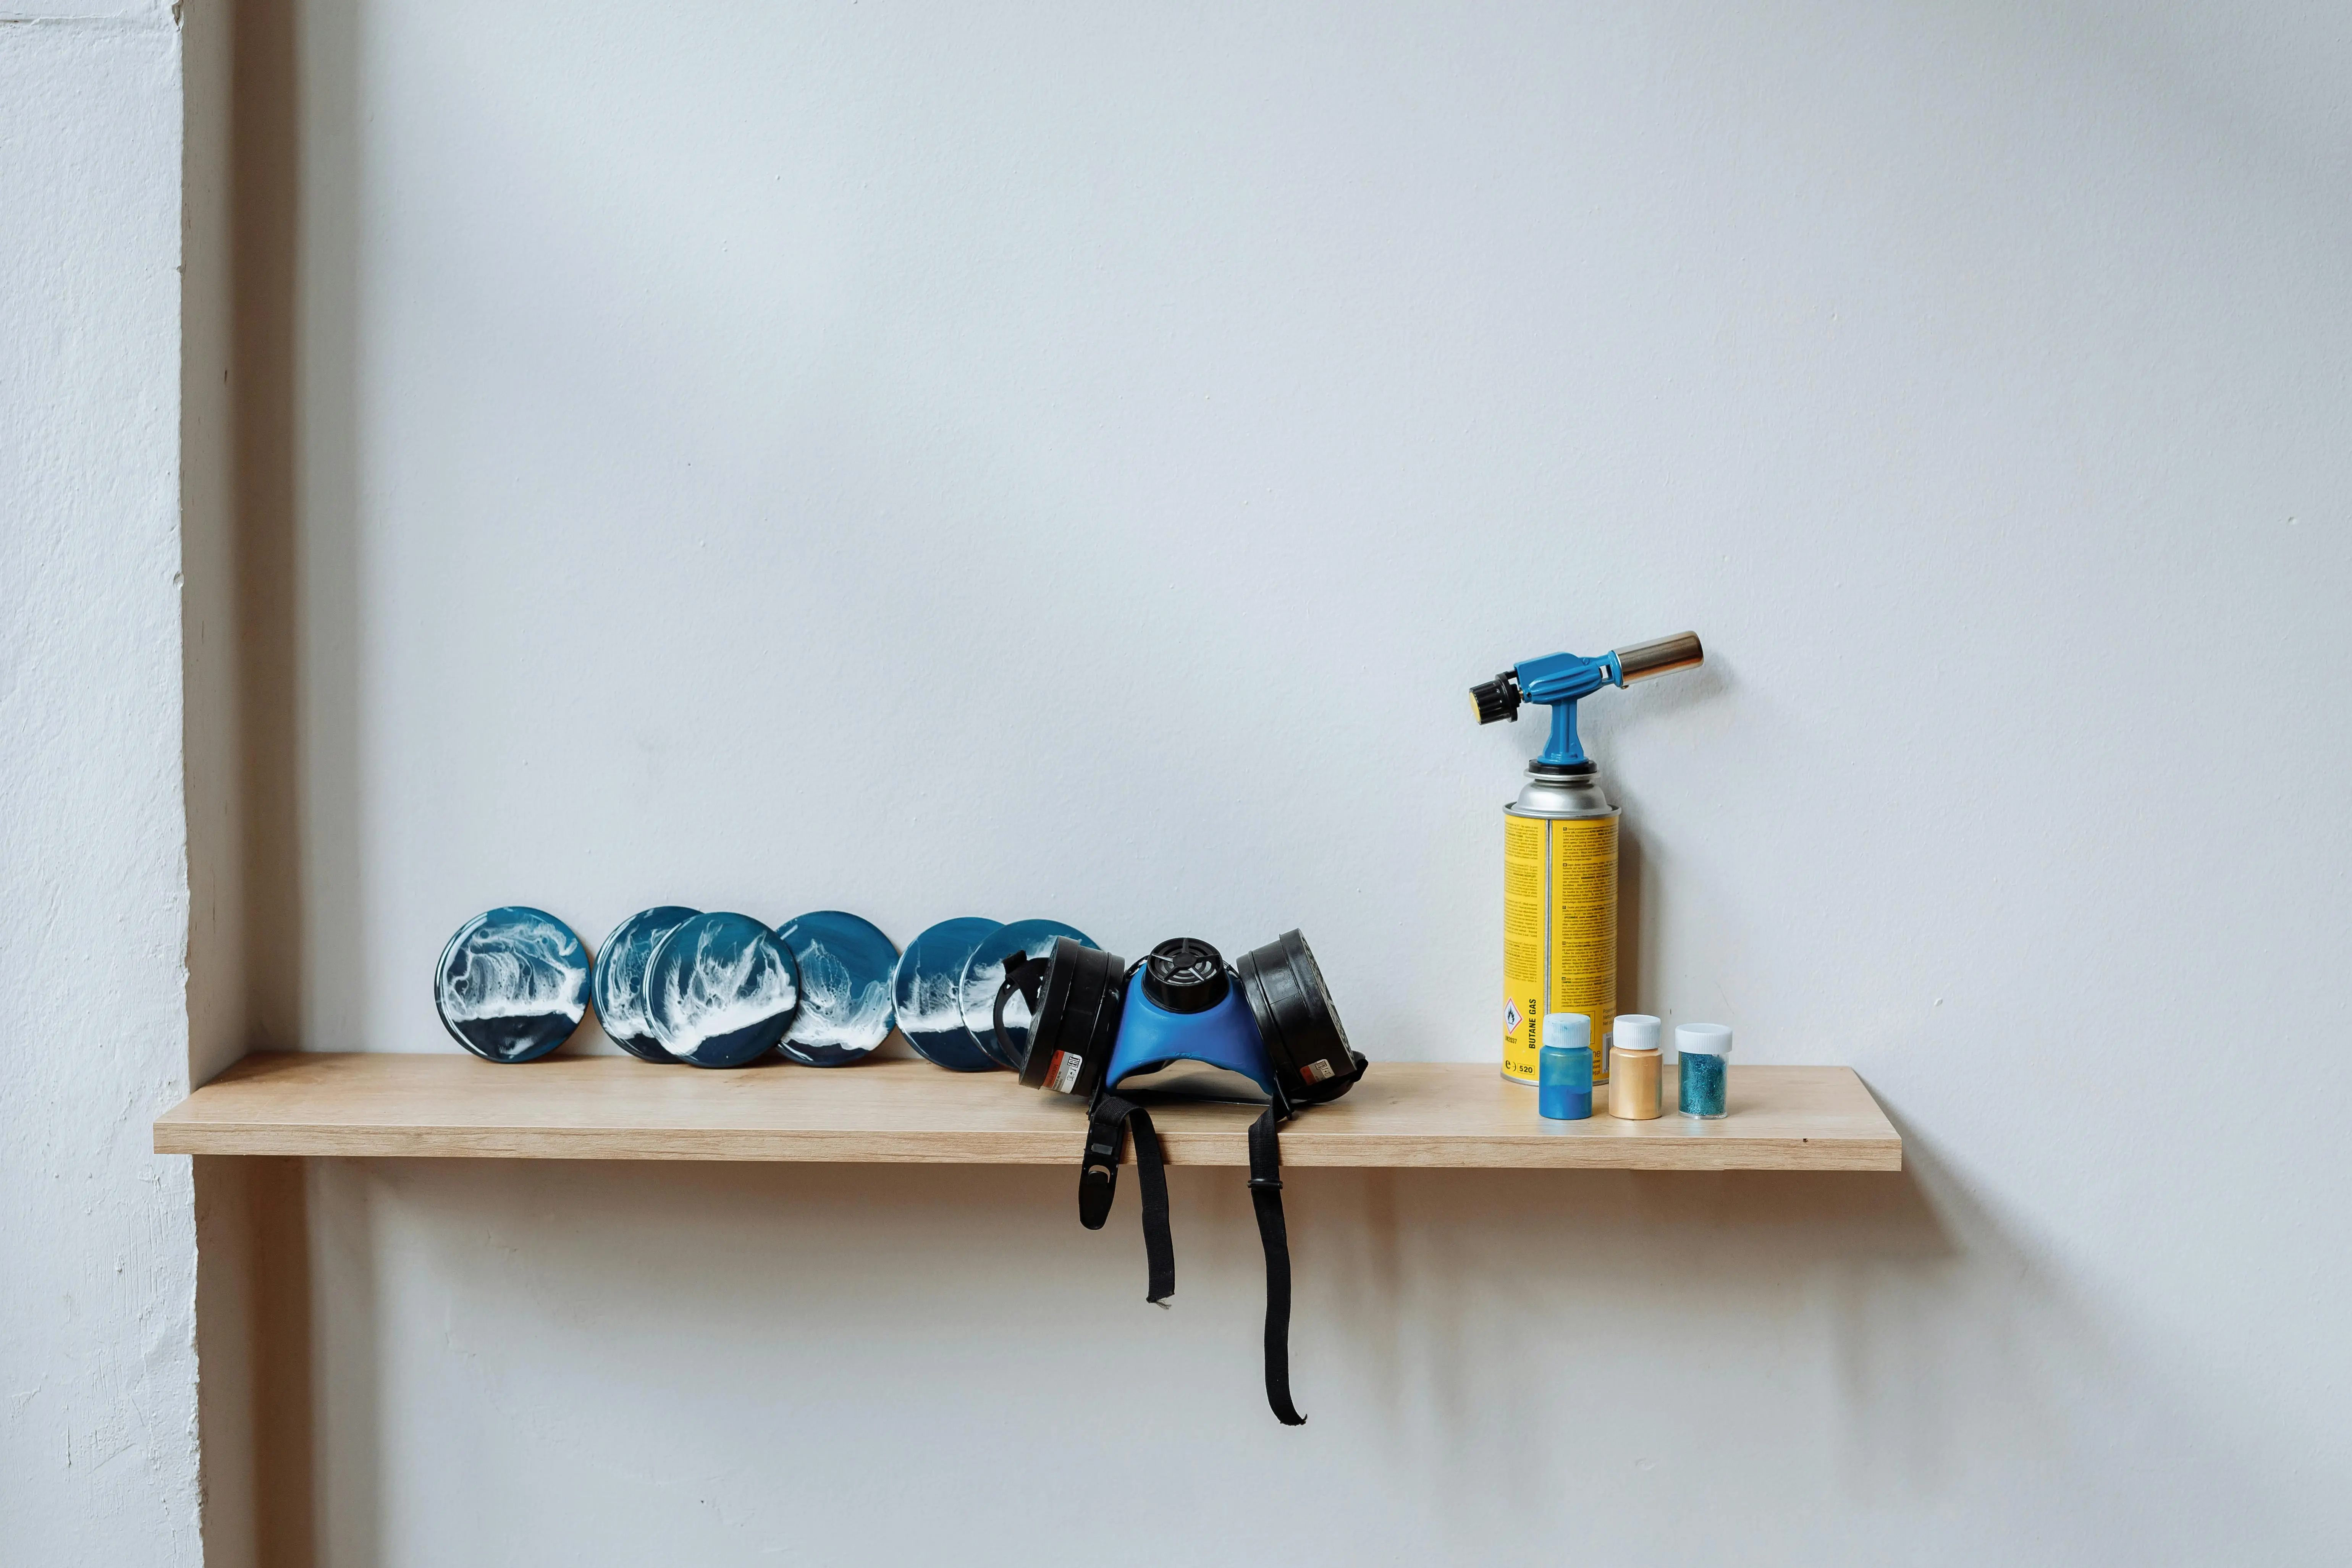
- Color and Flakes: Choose a color that complements your space and decide on decorative flakes for added appeal and slip resistance.
- Pot Life vs. Working Time: Especially crucial for 100% solids epoxy.
- UV Resistance: Important if your garage gets direct sunlight to prevent yellowing.
- Customer Reviews: Learn from others’ experiences with specific kits.
The Application Process: Step-by-Step Guidance
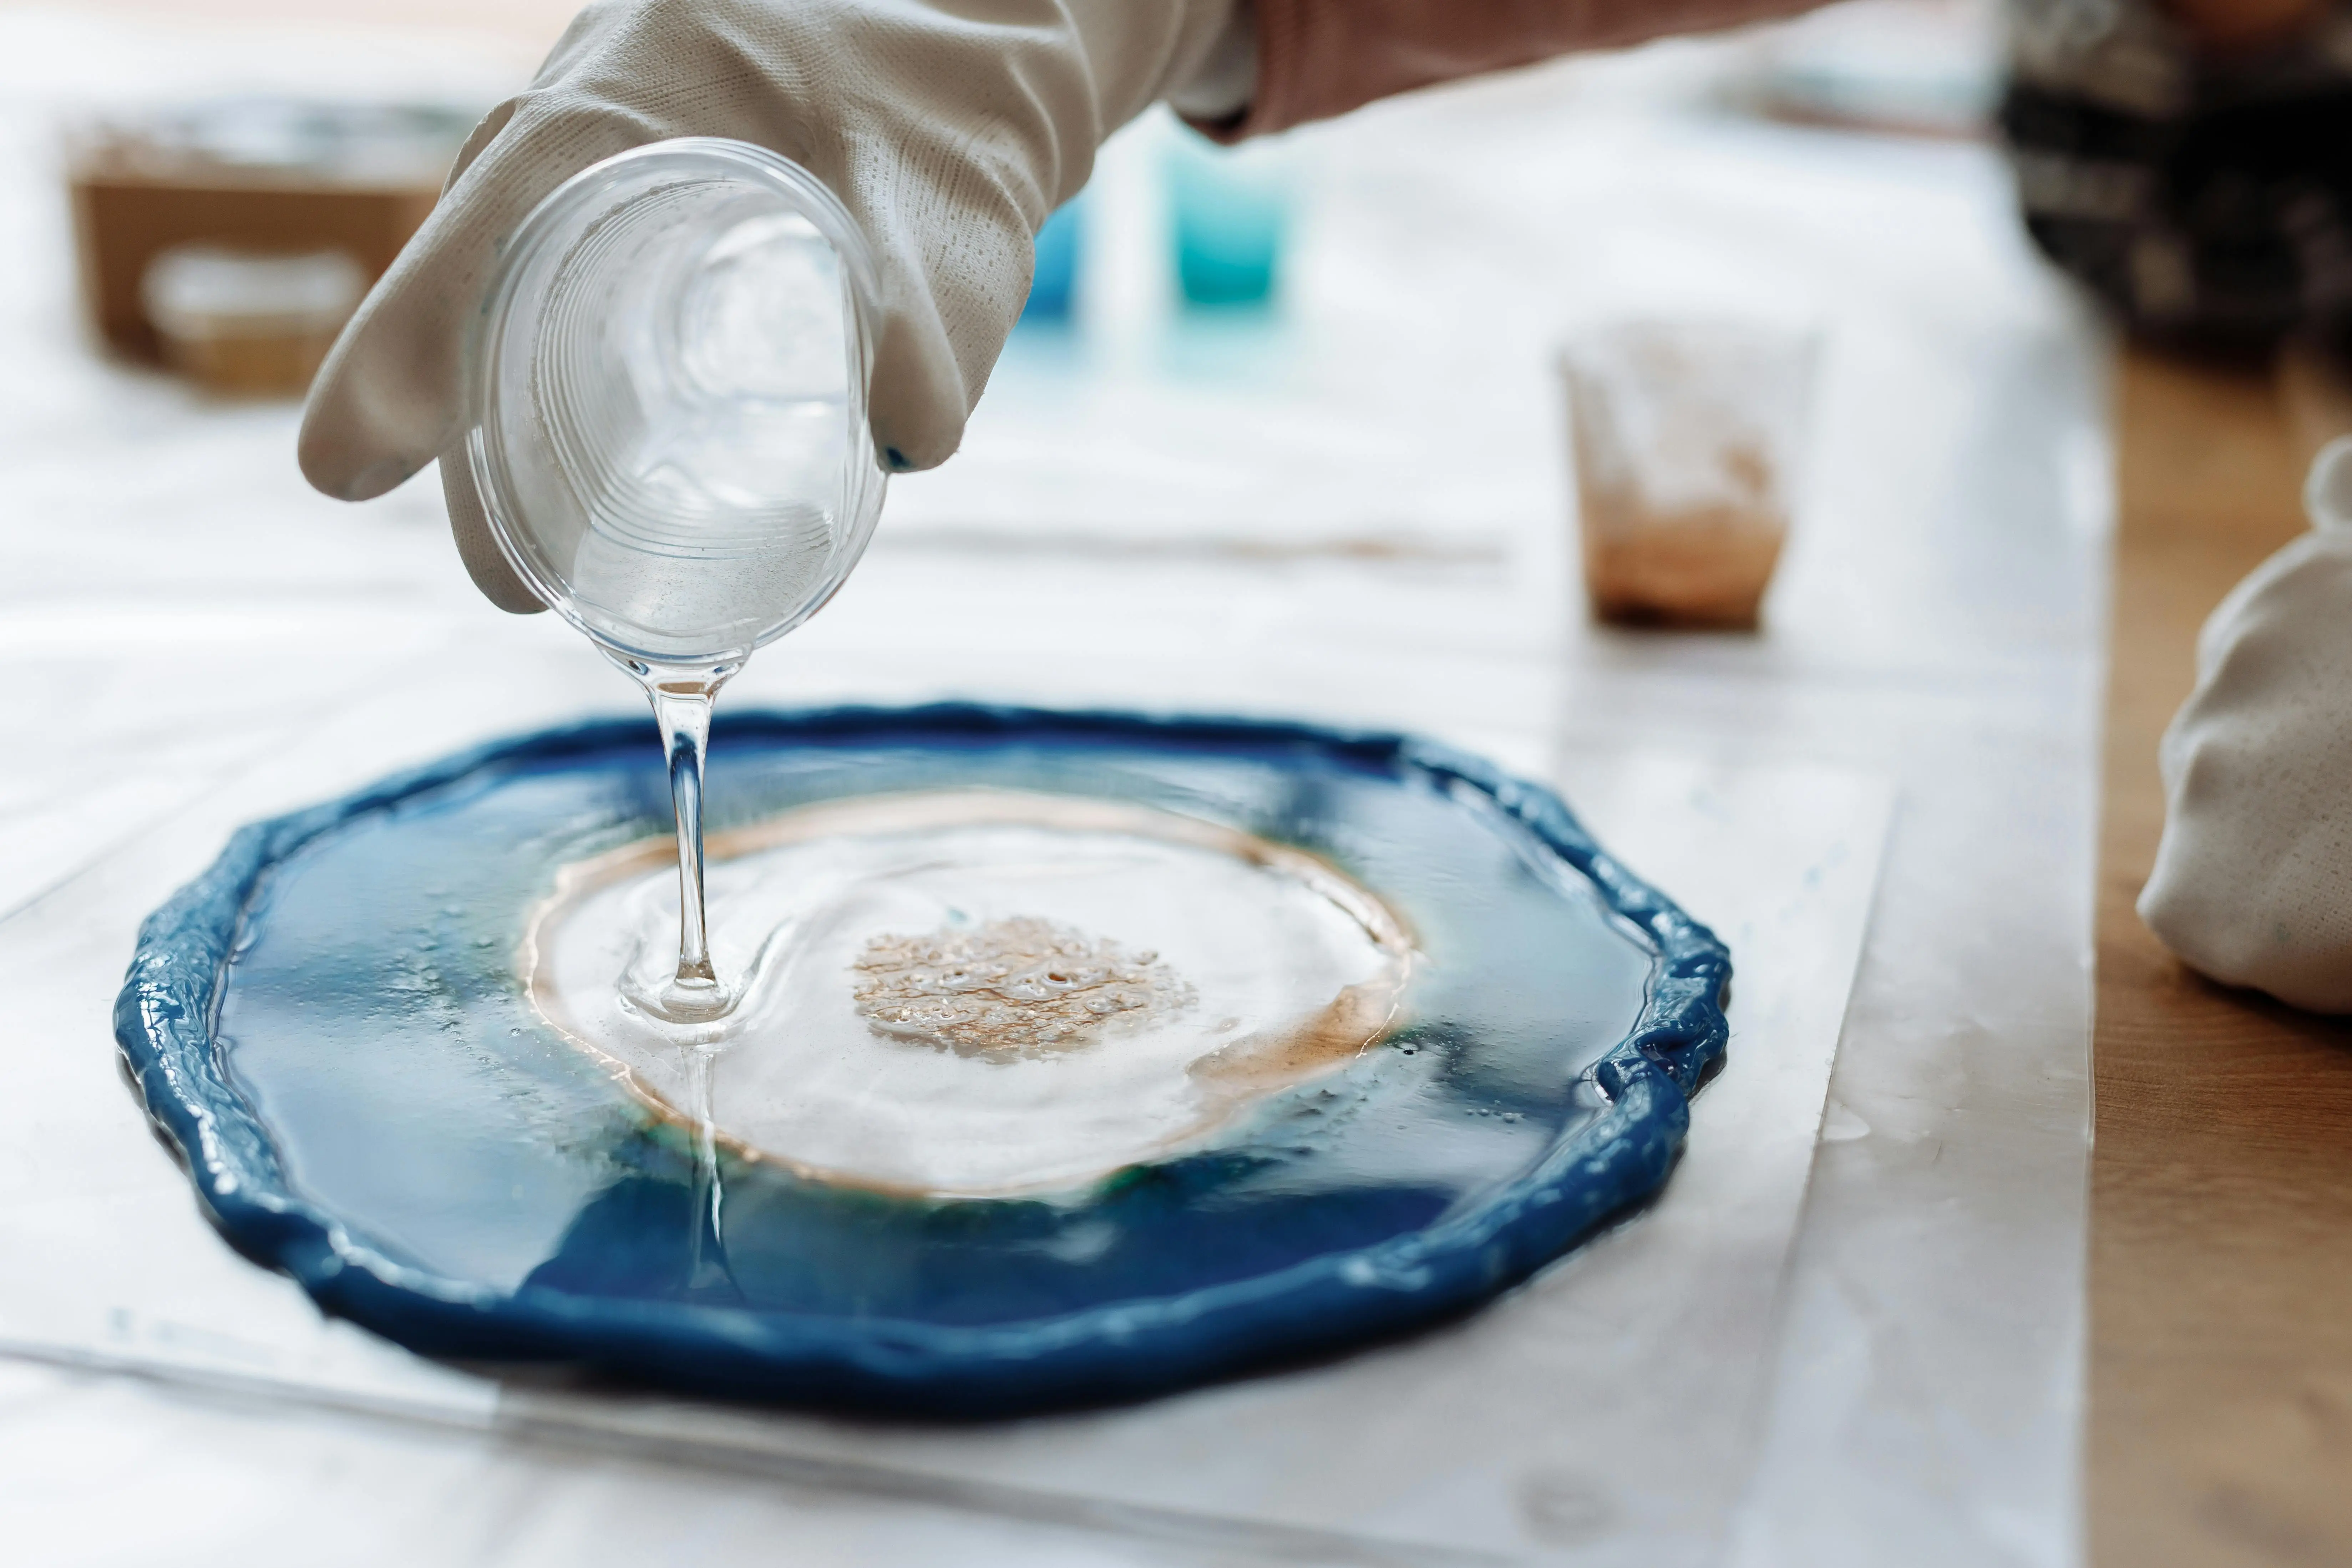
Once your garage floor is meticulously prepared and you’ve chosen your ideal epoxy garage floor coating DIY kit, it’s time for application. This stage requires methodical work, attention to detail, and adherence to the manufacturer’s instructions. Always wear appropriate personal protective equipment (PPE), including safety glasses, gloves, and a respirator, especially when working with 100% solids epoxy. Good ventilation is crucial throughout the process.
Begin by carefully mixing the epoxy components. Most kits are two-part systems, requiring you to mix a resin (Part A) with a hardener (Part B). Follow the mixing ratios and times precisely as failure to do so can result in improper curing or a sticky finish. Use a drill with a mixing paddle for thorough blending. Once mixed, the clock starts ticking on your pot life, so work efficiently. Pour the mixed epoxy into a roller tray. Cut in the edges of the garage floor first using a brush, applying a thin, even coat along the perimeter and around any floor drains or obstructions. This ensures these areas are covered before the bulk of the floor.
For the main floor area, use a shed-resistant roller cover (typically 3/8-inch nap for smooth finishes or 1/2-inch for a slightly textured finish). Apply the epoxy in thin, even coats, working in small sections (e.g., 4×4 or 5×5 feet) to maintain a wet edge. Roll the product out evenly, avoiding puddles or thick spots, as these can lead to curing issues. Overlap each pass slightly to ensure full coverage. If your kit includes decorative flakes, broadcasting them into the wet epoxy is usually done immediately after applying each section, ensuring they adhere properly. Walk carefully on spiked shoes to avoid disturbing the wet epoxy. Work your way out of the garage, ensuring you don’t paint yourself into a corner.
After the first coat is applied and flakes are broadcast (if using), allow it to cure according to the manufacturer’s specified recoat window. This is usually between 12-24 hours but can vary. Applying a second coat too soon can cause issues, while waiting too long might require light sanding for proper adhesion. Once cured sufficiently, apply a second coat following the same procedure as the first. This typically provides a more uniform color, increased durability, and a richer finish for your epoxy garage floor coating DIY project. Some kits may also recommend a clear topcoat for enhanced UV protection and abrasion resistance; if so, apply this as the final layer after the second color coat has cured. Let the entire system cure for the recommended time before allowing foot traffic (usually 24 hours) and vehicle traffic (typically 3-7 days, some up to 14 days).
Common Pitfalls and How to Avoid Them
While an epoxy garage floor coating DIY project is certainly achievable for homeowners, several common pitfalls can derail your efforts and lead to unsatisfactory results. Being aware of these potential issues beforehand can significantly increase your chances of a flawless finish. One of the most frequent problems stems from inadequate surface preparation. As discussed, concrete must be clean, dry, and properly profiled. Failing to degrease oil spots or not etching/grinding the concrete adequately will prevent the epoxy from bonding, leading to hot tire pickup, peeling, or delamination. Always err on the side of over-preparing the surface.
Another common mistake is improper mixing of the epoxy components. Epoxy is a two-part chemical system; the resin and hardener must be mixed in the correct ratio for the chemical reaction to occur properly. If the mixture is off, the epoxy may not cure fully, leaving sticky spots, or it may cure too quickly. Always use a timer and a drill with a mixing paddle to ensure thorough, consistent mixing for the specified duration. Related to this is ignoring the pot life. Once mixed, epoxy begins to cure. If you try to apply epoxy that has started to thicken in the pot, it will be difficult to roll out evenly, and its adhesion and durability will be compromised. Work efficiently and in manageable sections.
Environmental conditions also play a crucial role. Applying epoxy in extreme temperatures (too hot or too cold) or in high humidity can lead to curing problems, bubbling, or improper adhesion. Most epoxy kits specify an ideal temperature range (typically 55-85°F or 13-30°C) and recommend applying in low humidity. Check the forecast before you begin your diy epoxy floor project and attempt to control the garage environment as much as possible with fans or heaters/AC if necessary. Don’t rush the curing process. Rushing to put vehicles back on the floor before the epoxy has fully cured will cause tire marks, indents, or peeling. Adhere strictly to the manufacturer’s recommended cure times for light foot traffic and vehicle traffic. Patience is a virtue when it comes to epoxy.
Troubleshooting Tips for Your DIY Epoxy Floor:
- Bubbles: Often caused by outgassing from concrete (moisture or temperature changes) or improper rolling. Ensure the floor is dry and temperatures are stable. Roll with even pressure.
- Peeling/Delamination: Almost always due to poor surface preparation (not clean, dry, or etched enough). Re-prep and reapply affected areas.
- Sticky Spots: Indicates improper mixing of parts A and B, or temperature too low. Ensure thorough mixing and proper temp.
- Uneven Color/Flaking: Can be from uneven application or flakes not broadcast properly. Apply in thin, even coats and broadcast flakes while wet.
- Yellowing (UV exposure): Use a UV-resistant topcoat if your garage receives direct sunlight, especially for lighter colors.
Maintenance and Long-Term Care for Your Epoxy Garage Floor
Once your epoxy garage floor coating DIY project is complete and fully cured, you’ll want to ensure its beauty and durability last for many years to come. The good news is that epoxy floors are remarkably easy to maintain compared to bare concrete, but a little regular care goes a long way in preserving their appearance and extending their lifespan. Routine cleaning is very straightforward. For daily or weekly maintenance, a simple sweep or vacuum is usually sufficient to remove dust, dirt, and light debris. This prevents abrasive particles from being ground into the surface, which can dull the finish over time.
For deeper cleaning or to tackle spills, a mop with a mixture of warm water and a mild, non-acidic cleaner is ideal. Avoid using harsh chemicals, citrus-based cleaners, or abrasive scrubbing pads, as these can dull the epoxy’s sheen or, in some cases, etch the surface over time. Many commercial floor cleaners are safe for epoxy, but always check the label or test in an inconspicuous area if unsure. Specifically, steer clear of cleaners containing acids (like vinegar) or strong solvents. For stubborn oil or grease spills, a degreaser formulated for epoxy floors can be used, followed by a thorough rinse with clean water.
While epoxy is incredibly durable, it’s not entirely impervious to damage. Take precautions against heavy impacts or sharp objects that could potentially chip or scratch the coating. For instance, if you’re frequently dropping heavy tools, consider using rubber mats in those specific work areas. If your garage receives direct sunlight, especially for prolonged periods, and you opted for a non-UV stable epoxy (or a lighter color without a UV-resistant topcoat), you might notice slight yellowing or ambering over many years. This is primarily an aesthetic issue and doesn’t typically affect the floor’s integrity. For ultimate protection, a clear, UV-resistant polyurethane topcoat can be applied over your epoxy, offering an additional layer of wear resistance and UV stability, ensuring your diy epoxy floor looks pristine for decades.
FAQ: Your Epoxy Garage Floor Coating DIY Questions Answered
What is the ideal temperature for applying an epoxy garage floor coating DIY?
The ideal temperature for applying an epoxy garage floor coating DIY is typically between 55-85°F (13-30°C). Applying outside this range can lead to curing issues, such as the epoxy drying too fast, too slow, or not curing properly at all. High humidity can also be problematic, so always check the manufacturer’s specific recommendations.
How long does an epoxy garage floor coating DIY typically last?
With proper preparation, application, and maintenance, a high-quality epoxy garage floor coating DIY can last for 10-20 years or even longer. The lifespan depends significantly on the type of epoxy used (100% solids being more durable), the amount of traffic, and adherence to maintenance guidelines. Water-based epoxies might have a slightly shorter lifespan.
Can I apply an epoxy coating over an old, painted garage floor?
It is generally not recommended to apply new epoxy directly over old paint or poor-quality existing coatings. The existing coating must be in excellent condition and well-adhered. Otherwise, the new epoxy will only bond to the old coating, and if the old coating fails, the new one will fail with it. For best results, it’s always advisable to remove the old coating through grinding or chemical stripping and prepare the bare concrete.
What are the biggest mistakes to avoid during an epoxy garage floor coating DIY project?
The biggest mistakes to avoid include inadequate surface preparation (not cleaning, degreasing, or etching properly), improper mixing of the epoxy components, ignoring the pot life by taking too long to apply, and applying in unsuitable environmental conditions (e.g., too cold, too hot, or high humidity). Rushing the curing process by putting vehicles back too soon is also a common error.
Is an epoxy garage floor coating DIY truly slip-resistant?
Standard epoxy coatings can be slippery when wet. To enhance slip resistance for your epoxy garage floor coating DIY, it’s highly recommended to add anti-slip additives directly into the final topcoat or broadcast fine aggregate (like silica sand) into the wet final coat. Many kits include decorative flakes which also offer some level of added texture and grip.
Conclusion: Achieve a Professional Epoxy Garage Floor Coating DIY
Embarking on an epoxy garage floor coating DIY project is a truly rewarding endeavor that can drastically upgrade the appearance, functionality, and value of your home. By now, you should feel equipped with the comprehensive knowledge needed to confidently approach each stage, from meticulous preparation to the final touches. Remember, the key to a successful and long-lasting finish lies in patience and attention to detail, especially during the crucial preparation phase. Choosing the right product, understanding the application steps, and being aware of common pitfalls will pave the way for a professional-grade result that you’ll be proud to show off.
Imagine pulling into your garage each day and being greeted by a vibrant, clean, and incredibly durable floor that shrugs off spills and resists wear. No more dusty, stained concrete; instead, a polished surface that enhances your entire home’s aesthetic. The transformation an epoxy garage floor coating DIY provides is not just superficial; it creates a more usable and enjoyable space for hobbies, vehicle maintenance, or simply a tidier storage area. The satisfaction of having completed such a significant upgrade yourself is unparalleled.
Don’t let the idea of a complex project deter you. With the right planning, tools, and this detailed guide, you possess all the information needed to achieve an outstanding diy epoxy floor. Take your time, follow the instructions carefully, and soon you’ll be enjoying the pristine, resilient garage floor you’ve always wanted. Ready to transform your garage? Gather your supplies, clear your schedule, and get started on your incredible epoxy journey today!