
Introduction to Home Aesthetic DIY
If your rooms feel a little “meh,” you’re in the right place. This is your friendly guide to home aesthetic DIY—simple, stylish projects that make your space feel intentional, cozy, and totally you.
From DIY wall art ideas to affordable home upgrades, we’ll walk through doable steps you can try this weekend. Think modern farmhouse decor touches, aesthetic home decor accents, and DIY interior design tricks that feel boutique, not budget. Grab a coffee, queue up your favorite playlist, and let’s make your house feel like your happiest place.
Importance of Personal Style
Your home should feel like a hug when you walk in. Personal style is the secret that makes any space feel calm, curated, and welcoming—no matter the size or budget.
When you lean into what you love—colors, textures, memories—your rooms begin telling your story. That’s the magic of aesthetic home decor: it’s less about trends and more about the vibe you live for.
Benefits of DIY Projects
DIY gives you control over the details that matter. You get custom pieces without the custom price, which means more room in the budget for things like quality rugs, smart home security devices, or that dreamy statement light.
It’s also deeply satisfying. You’ll build skills, reduce waste with upcycled materials, and create a space that’s unique. Bonus: DIY is a proven way to boost your home’s perceived value with affordable home upgrades that look designer.
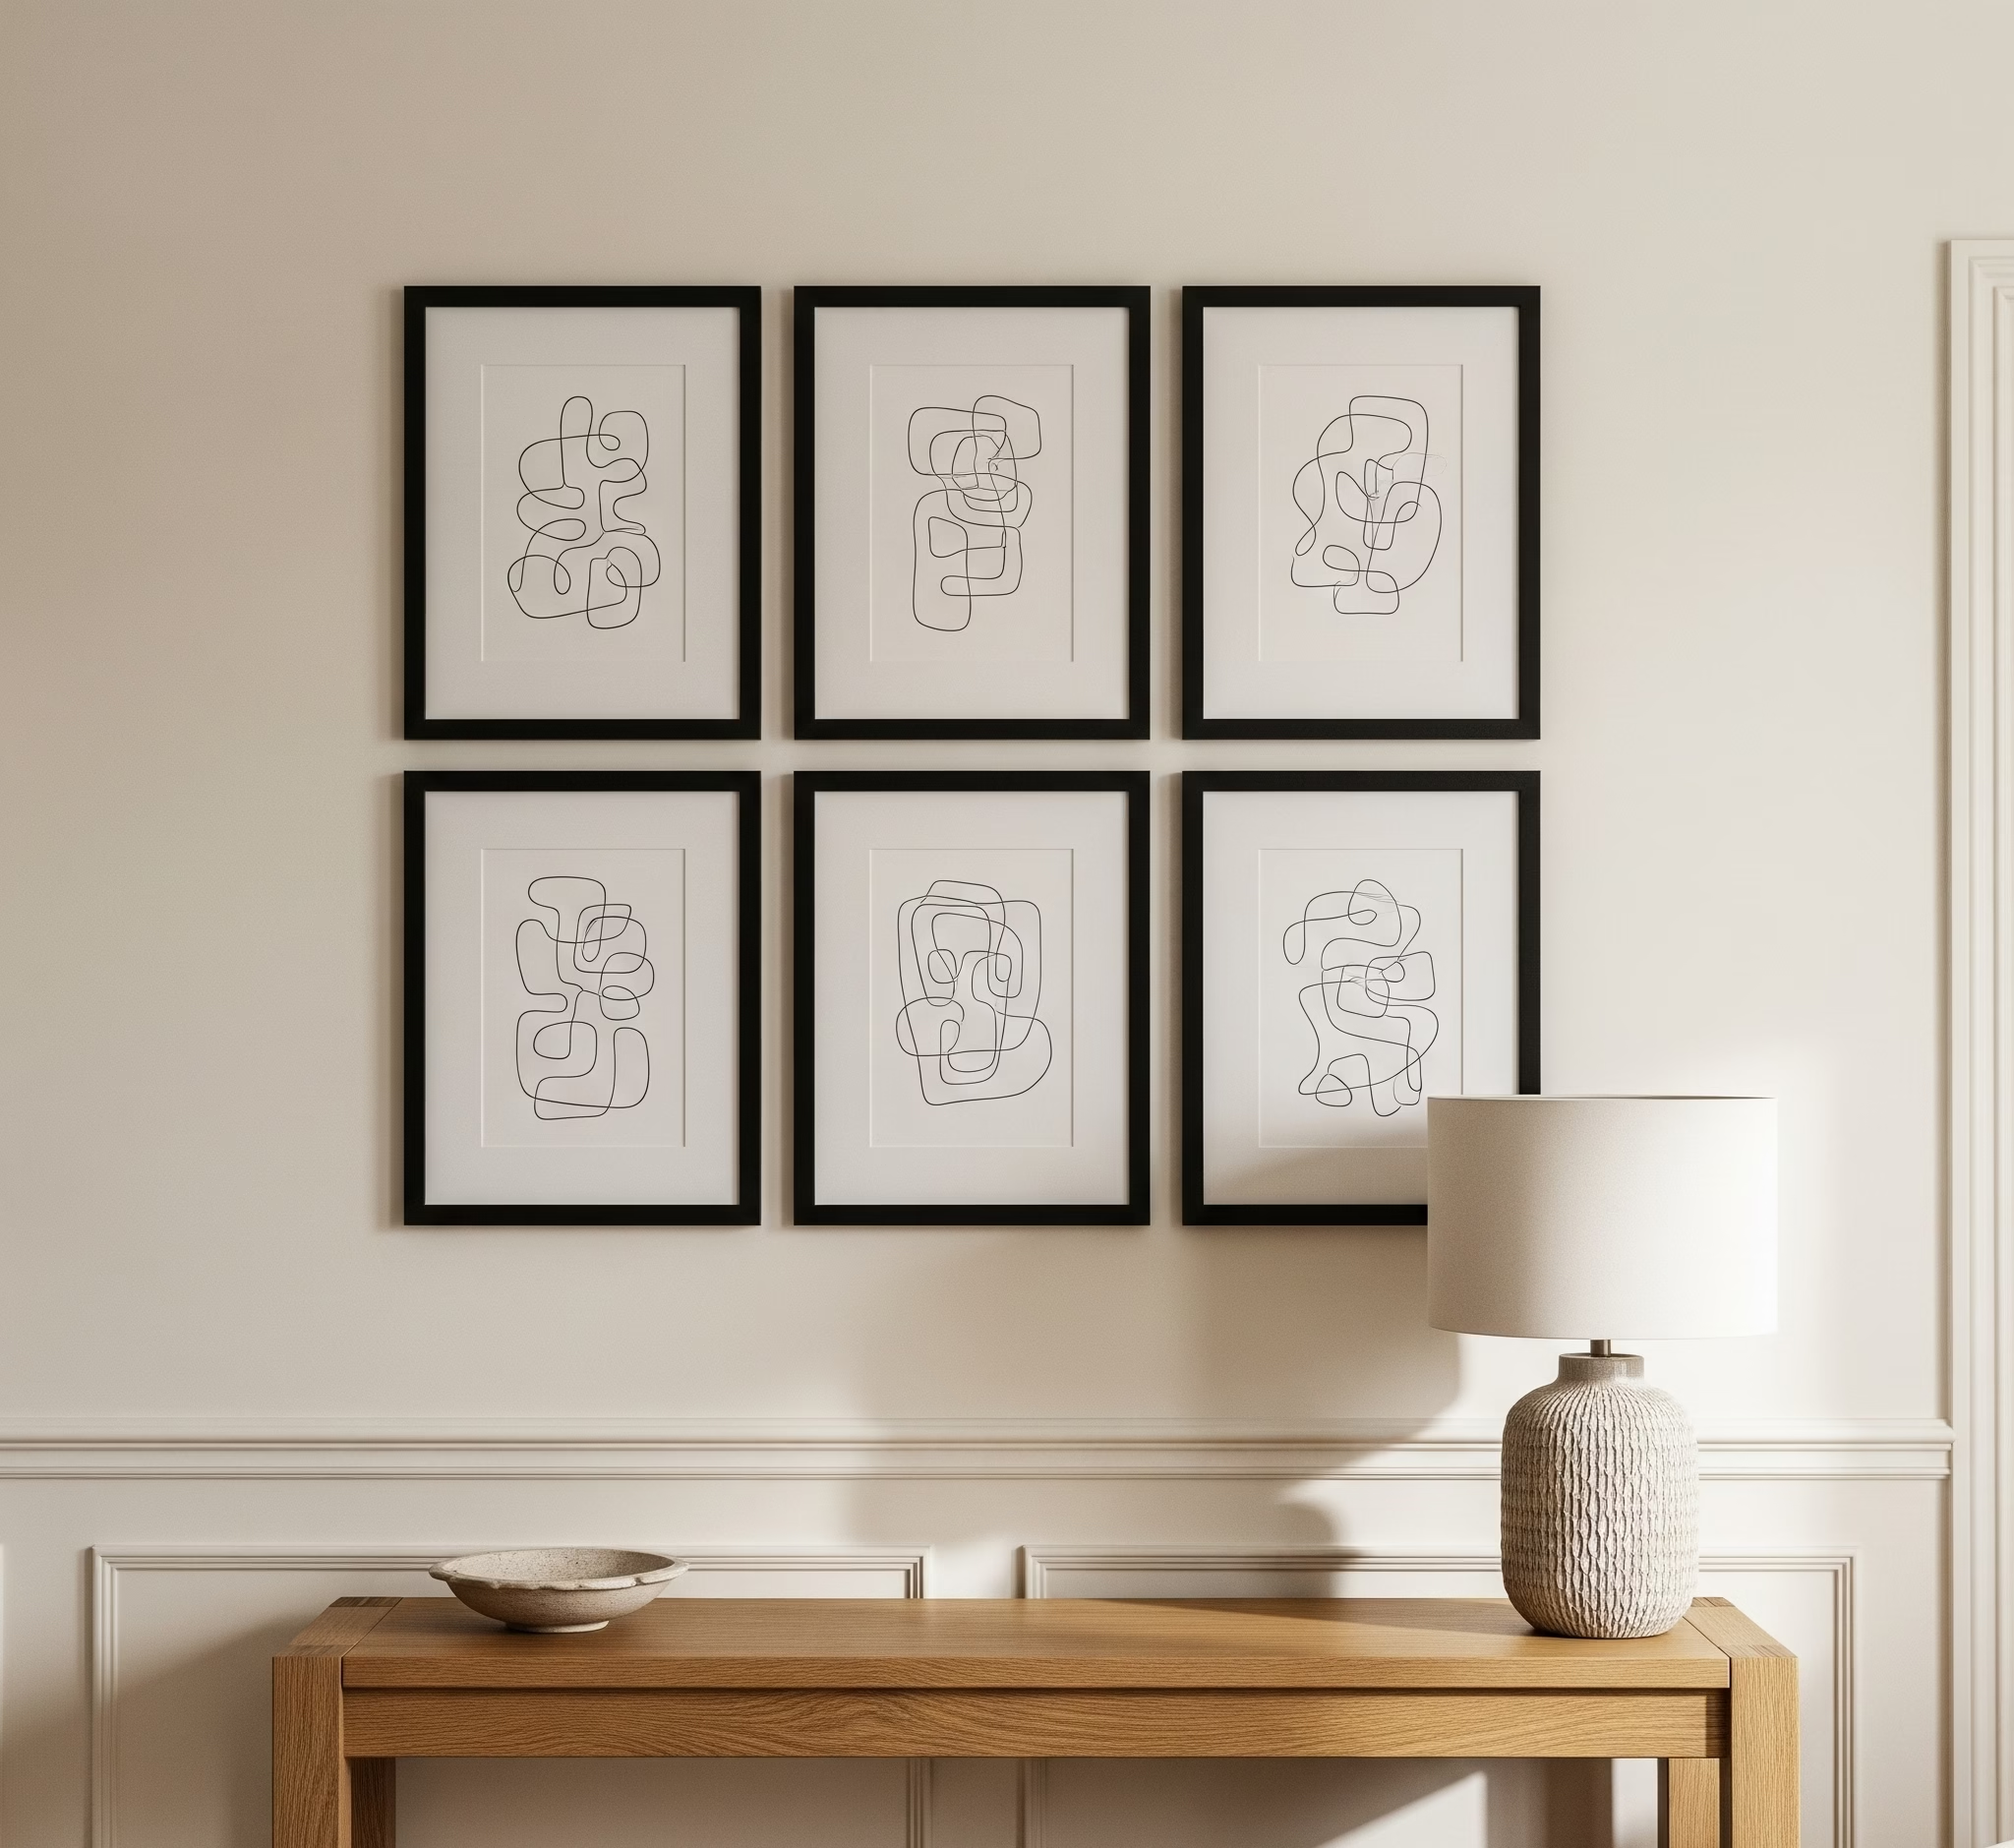
DIY Wall Art Ideas
Wall art can change a room in a single afternoon. It creates a focal point, pulls together color, and adds personality you can’t get from mass-produced prints alone.
Here are two projects that look high-end but are blissfully simple.
Create a Textured Canvas
There’s a reason textured canvases are all over Pinterest. They bring depth and quiet drama without shouting for attention.
What you’ll need: pre-stretched canvases, joint compound or lightweight spackle, a putty knife, painter’s tape, and acrylic paint. Optional: a little baking soda to give paint a chalky, ceramic-like finish.
Step-by-step:
- Tape off a simple geometric pattern or go freeform with soft, organic swirls.
- Spread joint compound with your putty knife, dragging and lifting to create ridges and valleys.
- Let it dry completely. Sand lightly if needed for baby-smooth peaks.
- Paint in a monochrome palette—think bone, greige, sand, or inky black for contrast.
Styling tip: Hang a diptych over your sofa or a single oversized piece above a console. The texture reads as art, not craft, making it perfect for a living room refresh or bedroom sanctuary.
Budget note: This is one of the cheapest ways to get gallery-level art. It’s tailor-made for renters or anyone craving an affordable home upgrade that still wows.
Upcycled Frame Art Gallery
Have a stack of mismatched frames hiding in a box? Time to turn them into a collected, soulful gallery wall.
What you’ll need: thrifted frames, spray primer, matte spray paint in a unifying color (black, bronze, or bone), and art. Consider printable art, old book pages, travel postcards, botanical prints, or your kids’ best sketches turned chic with white mats.
Step-by-step:
- Remove glass and backing. Clean frames and prime to ensure paint sticks.
- Spray frames in your chosen finish. Matte always looks modern, while a rubbed bronze leans into modern farmhouse decor.
- Mix art sizes and orientations. Keep a 2–3 cm gap between frames for a cohesive look.
- Lay everything on the floor first, snap a photo, and then transfer to the wall with painters’ tape and small nails.
Styling tip: For aesthetic home decor, use consistent matting to make inexpensive prints feel elevated. A crisp white mat around a simple line drawing is minimalist perfection.
Bonus idea: Add a narrow picture ledge so you can refresh art seasonally without new holes ideal for evolving DIY interior design.
Affordable Home Upgrades
You don’t need a full remodel to change how your home feels. Small, strategic upgrades can freshen function and style for a fraction of the price.
Below are two projects that offer big visual return with minimal effort.
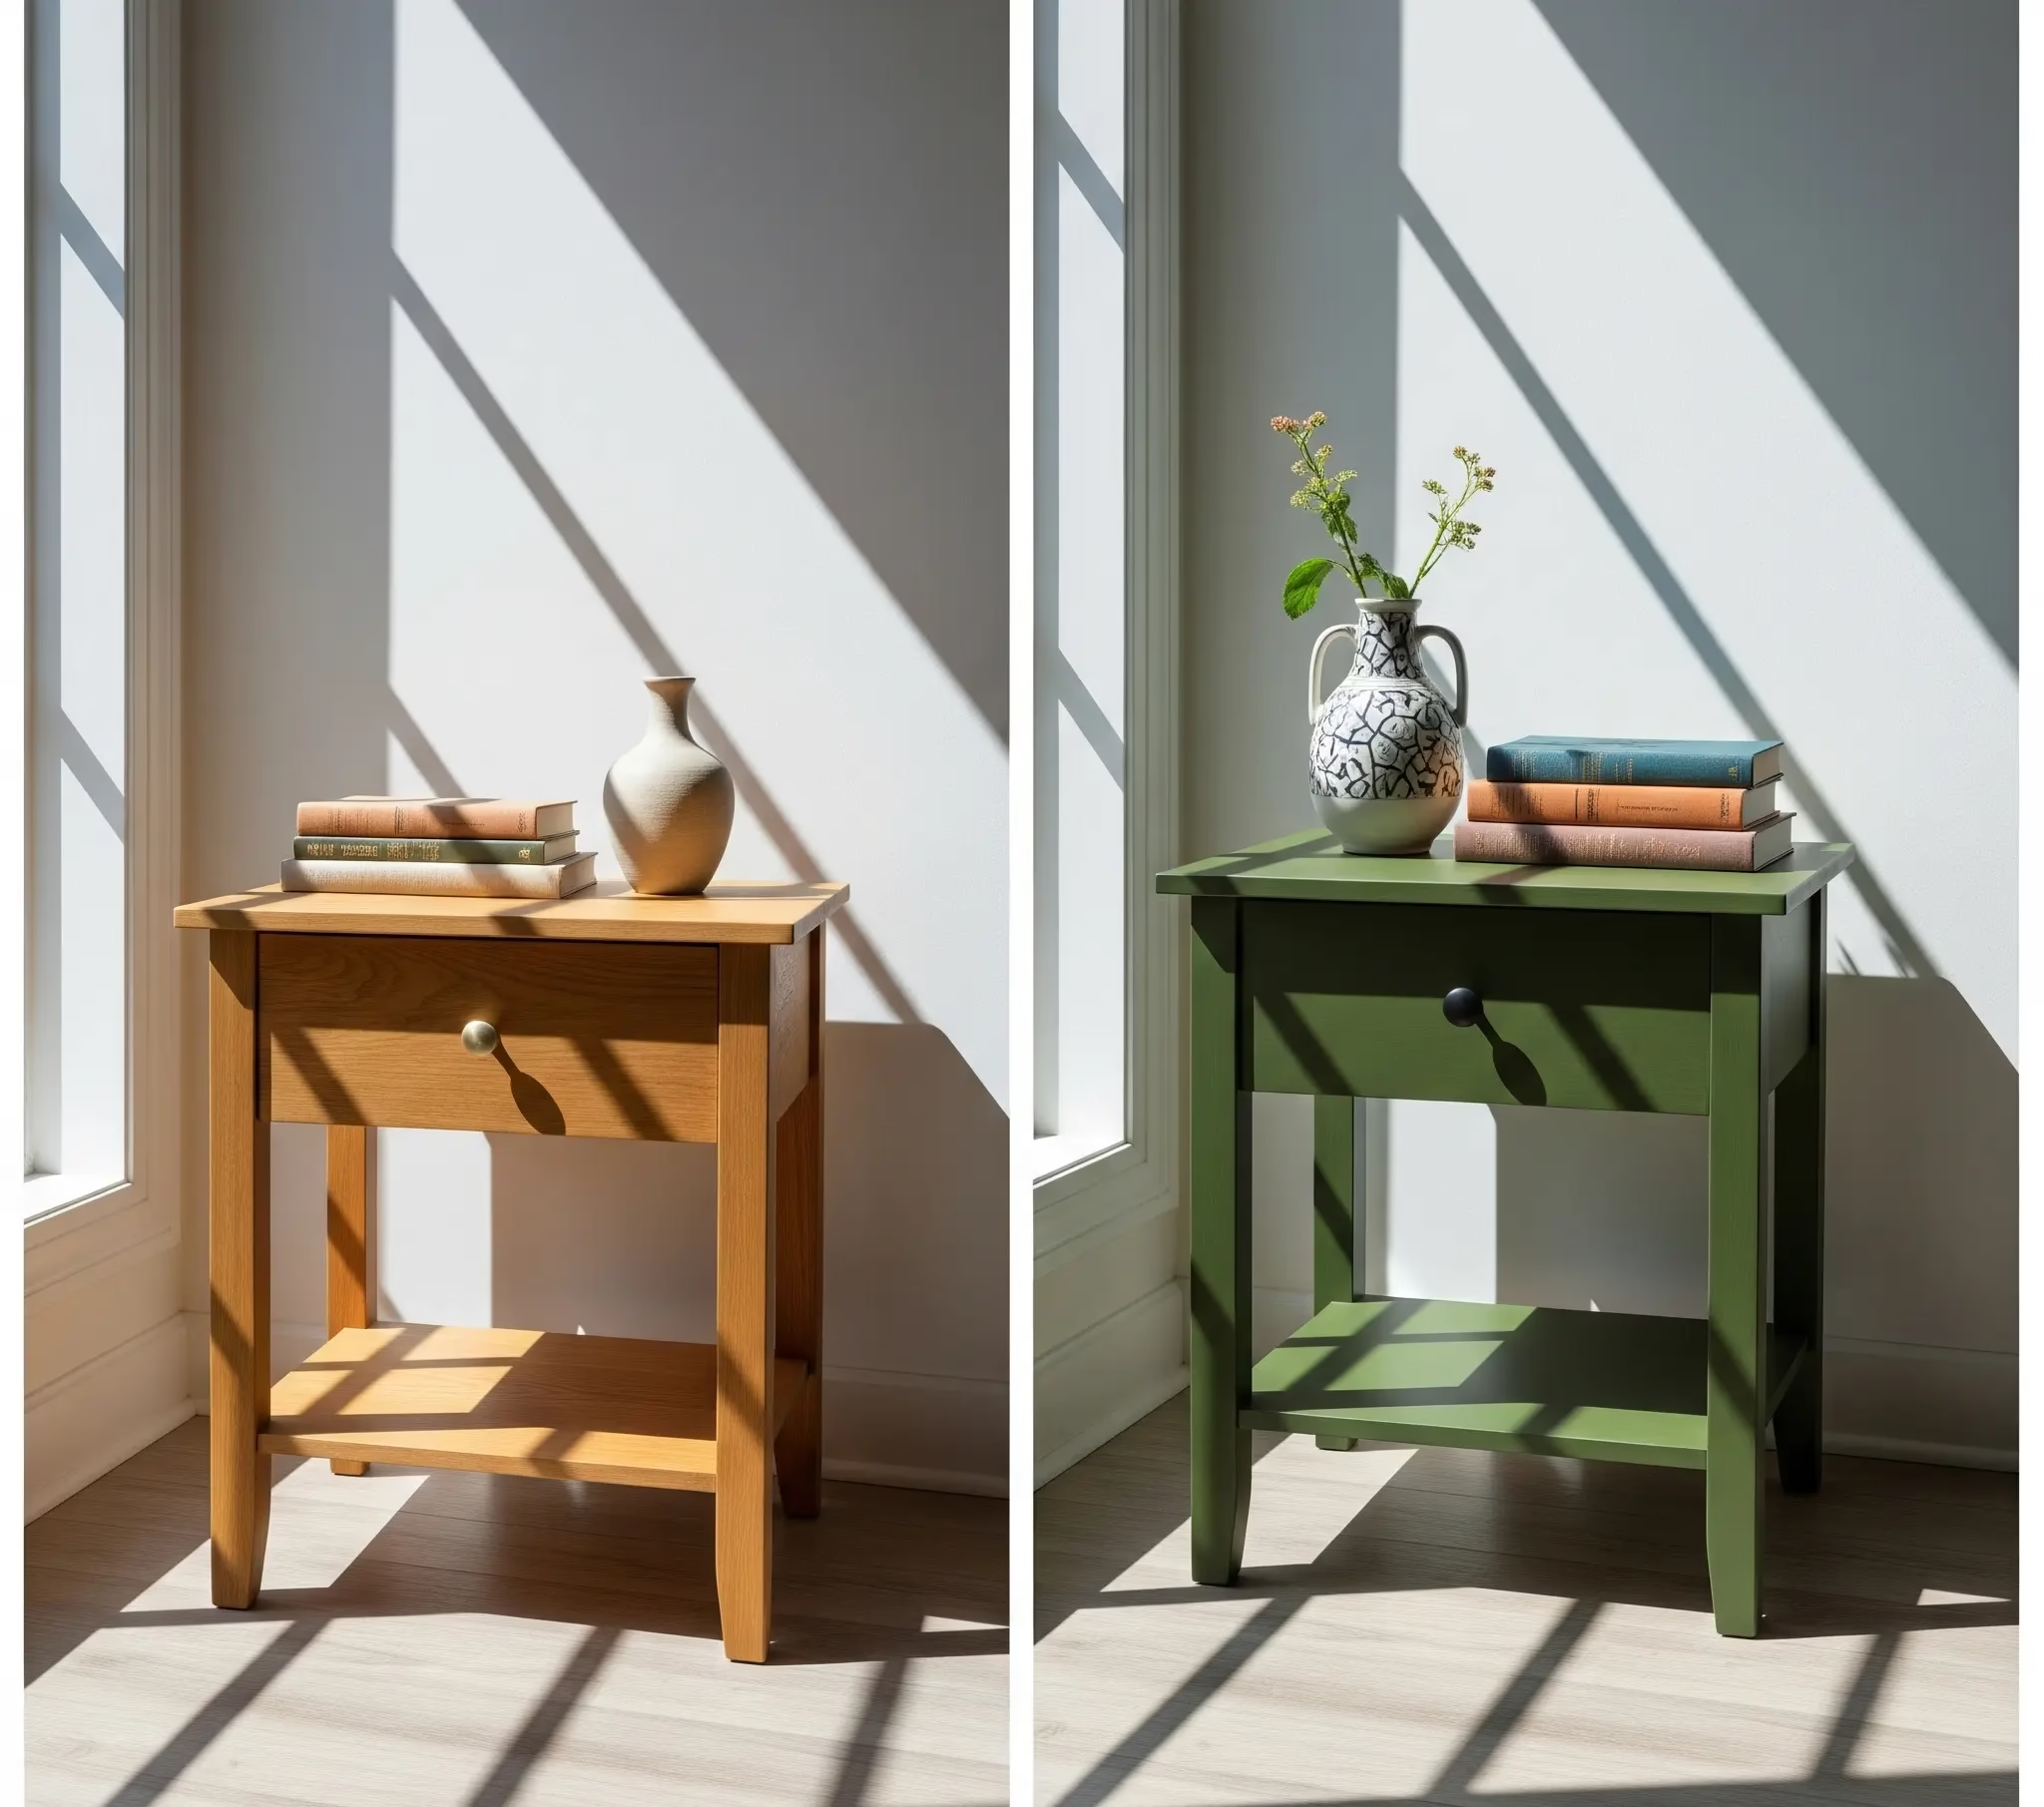
Transforming Furniture with Paint
Paint is an instant facelift for tired pieces—dressers, nightstands, consoles, or that coffee table you’ve had since college.
What you’ll need: deglosser or sandpaper, primer, high-quality paint (alkyd or enamel for durability), angled brush, foam roller, and new hardware. If you’re aiming for a high-end look, consider brass or matte black pulls—think “quiet luxury.”
Step-by-step:
- Clean thoroughly and lightly sand. Degloss if the finish is glossy.
- Prime for adhesion. Don’t skip this; it’s the difference between “meh” and “wow.”
- Apply two thin coats of paint, letting each coat dry fully. Soft white, charcoal, or deep moss are timeless.
- Swap hardware last for an instant designer moment.
Pro tip: Consider adding fluted trim, cane webbing, or reeded details to doors for texture before painting. It gives an expensive furniture-store vibe without the price tag.
Money angle: This is a classic affordable home upgrade that can improve the perceived value of your space and stretch your decorating budget further than a new piece would.
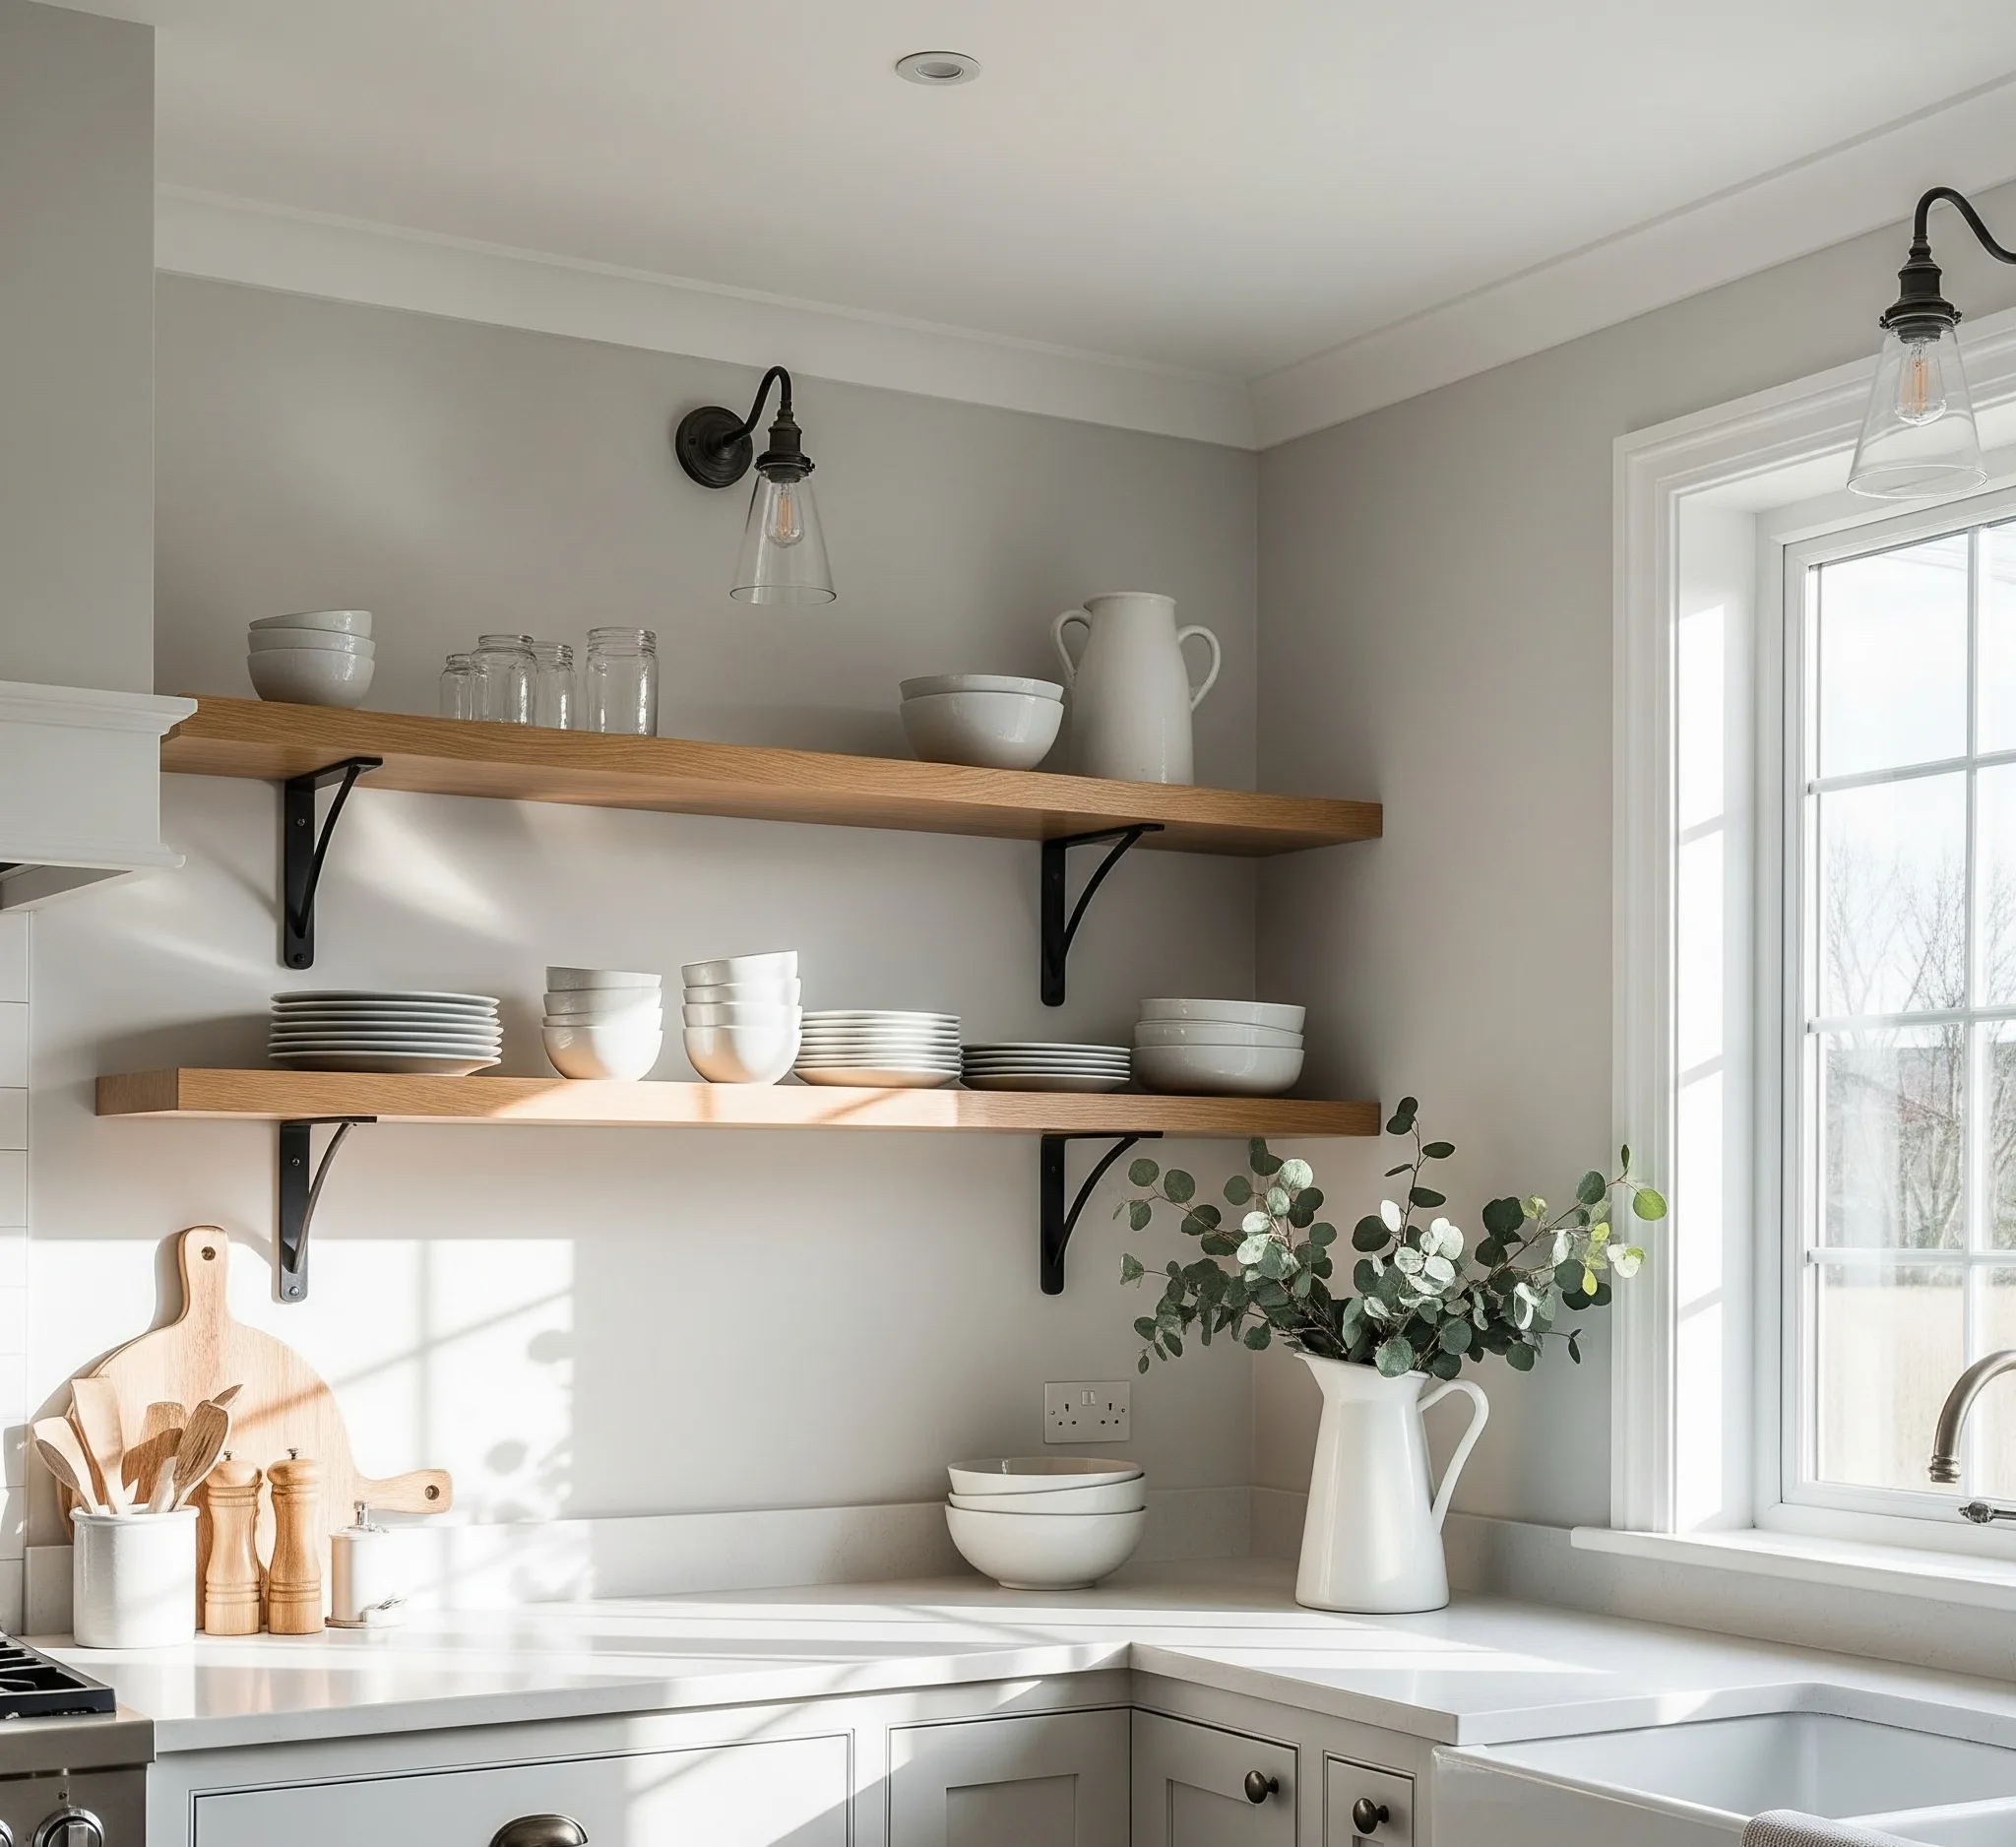
DIY Open Shelving Solutions
Open shelving turns storage into display and helps small spaces feel lighter. It’s incredibly practical in kitchens, offices, and bathrooms.
What you’ll need: 2.5–3 cm-thick wood boards, brackets (black steel for modern farmhouse decor or brass for classic glam), wall anchors, level, and a stud finder.
Step-by-step:
- Measure twice, cut once. Mark studs and use appropriate anchors.
- Sand boards. If you love warm tones, stain in a honey oak or walnut; for coastal calm, try a light whitewash.
- Install brackets level and secure. Add boards and check for wobble.
- Style with a mix of pretty and practical—stacked bowls, cookbooks, a trailing pothos, and a sculptural vase.
Styling tip: Use the “triangle rule” to create visual balance. Place taller items in a loose triangle across shelves so the eye zigzags naturally.
Functional bonus: Open shelves can reduce the urge to overbuy. When everything is visible, you keep only what you truly love or use.
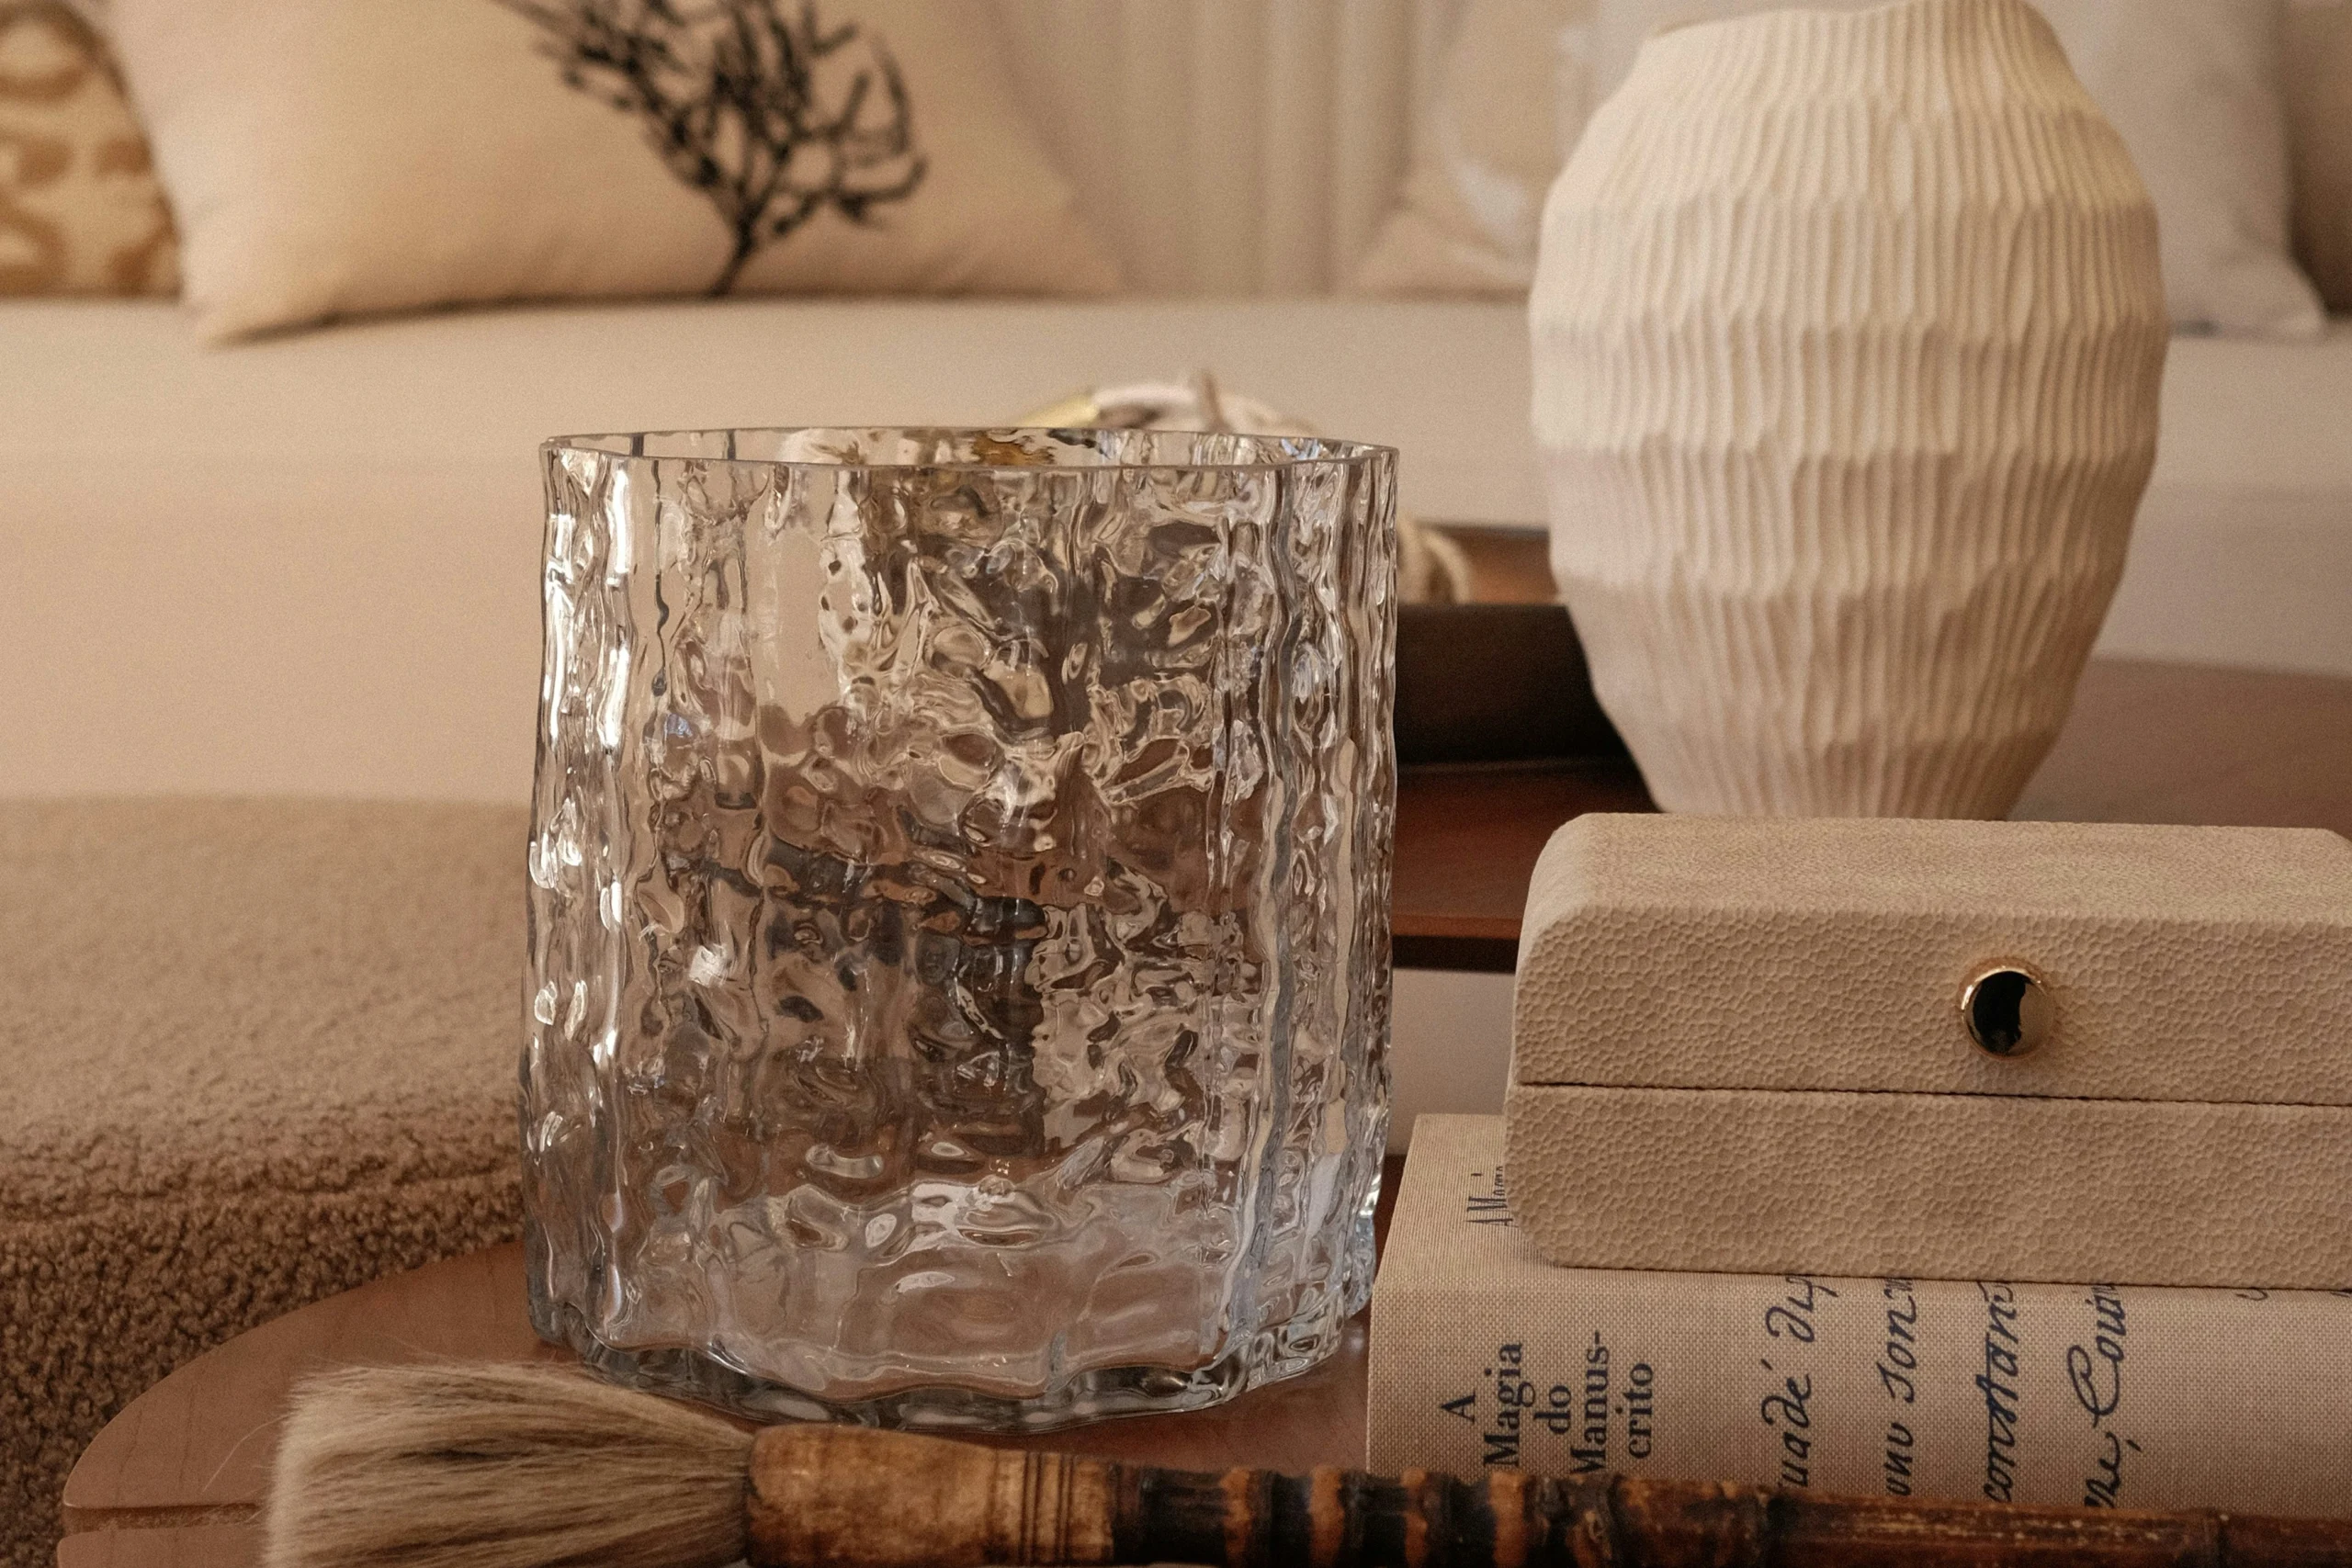
Aesthetic Home Decor
Aesthetic home decor is about layers—quiet details that whisper “someone thoughtful lives here.” Small changes can shift your whole mood.
Let’s bring in nature and greenery for instant warmth and texture.
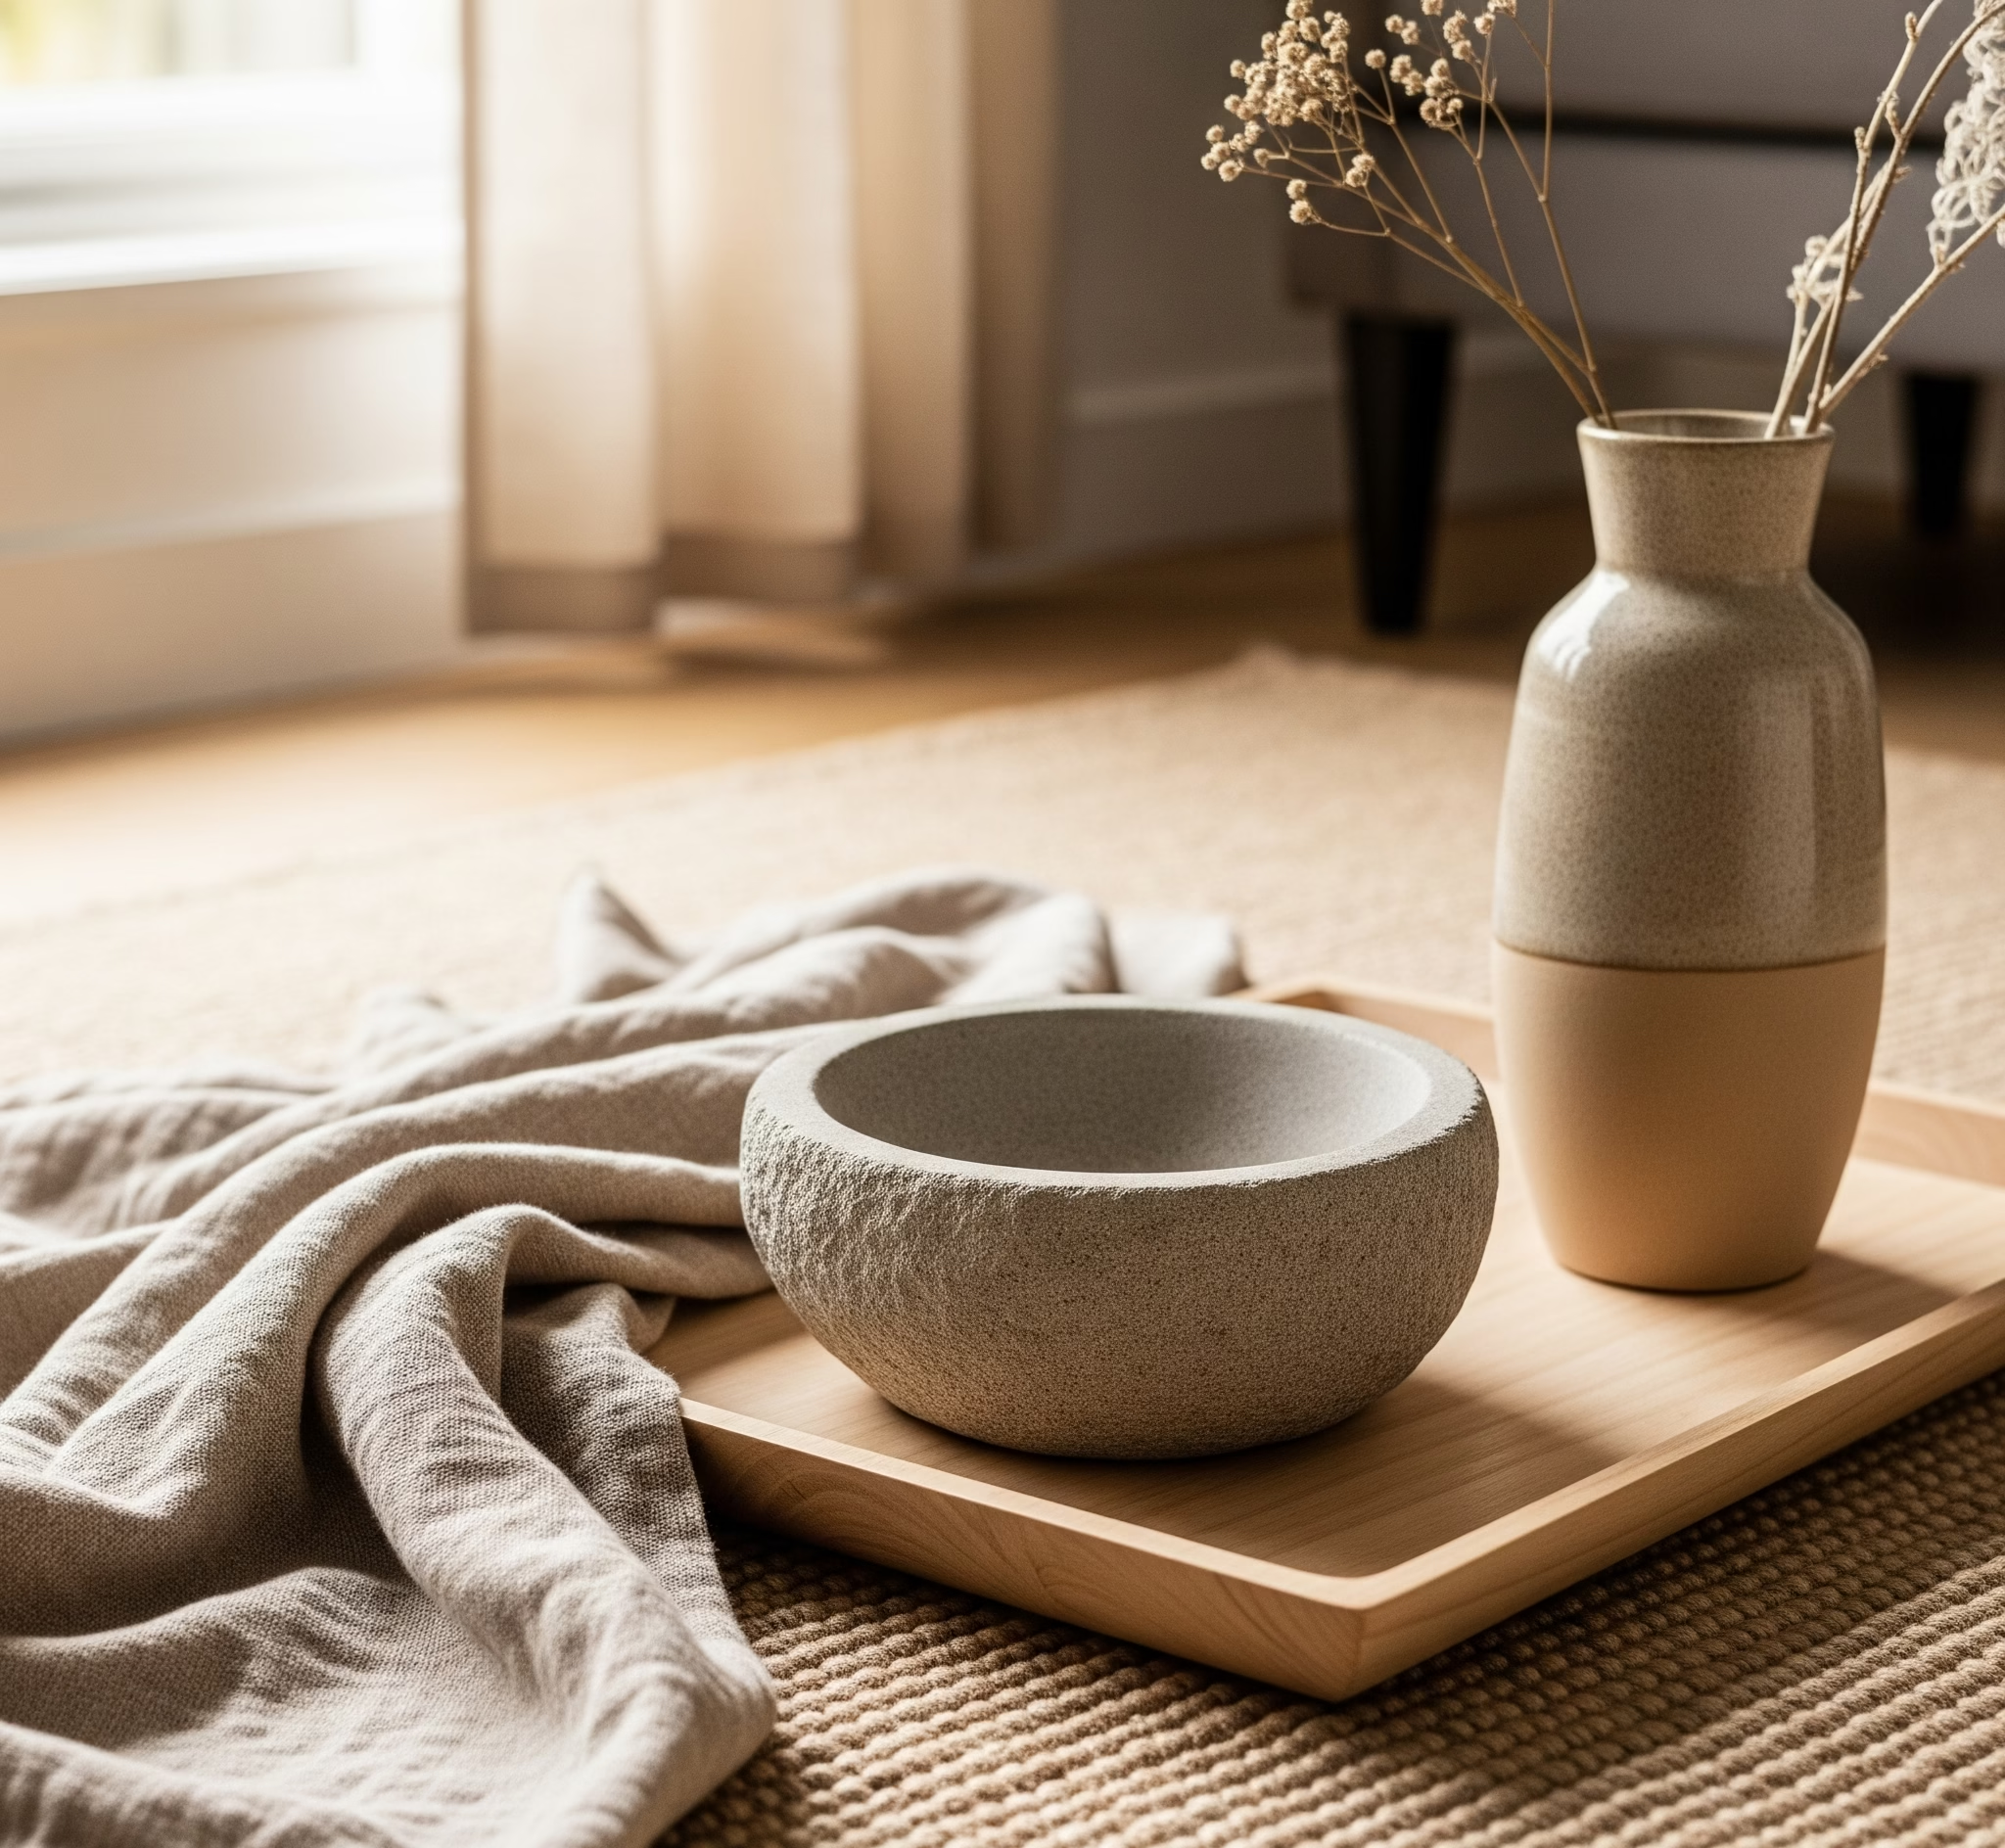
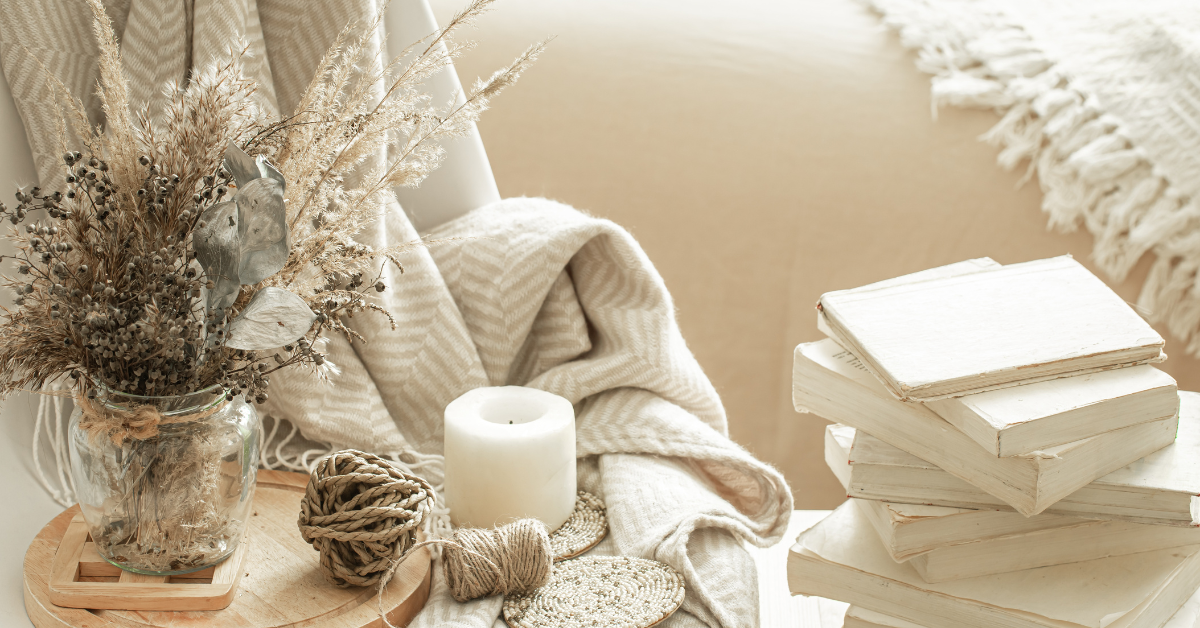
Incorporating Natural Elements
Natural materials add soul to a space. They ground clean lines and soften modern shapes.
Layer materials: Try a jute rug under a softer wool or faux hide. Add linen curtains that move with the breeze, a wood bowl on your coffee table, or stone coasters that feel cool to the touch.
Curate a collected look: A stack of vintage cutting boards, a marble pedestal, and a clay vessel instantly feel artisanal. Pair with a single taper candle for quiet evening glow.
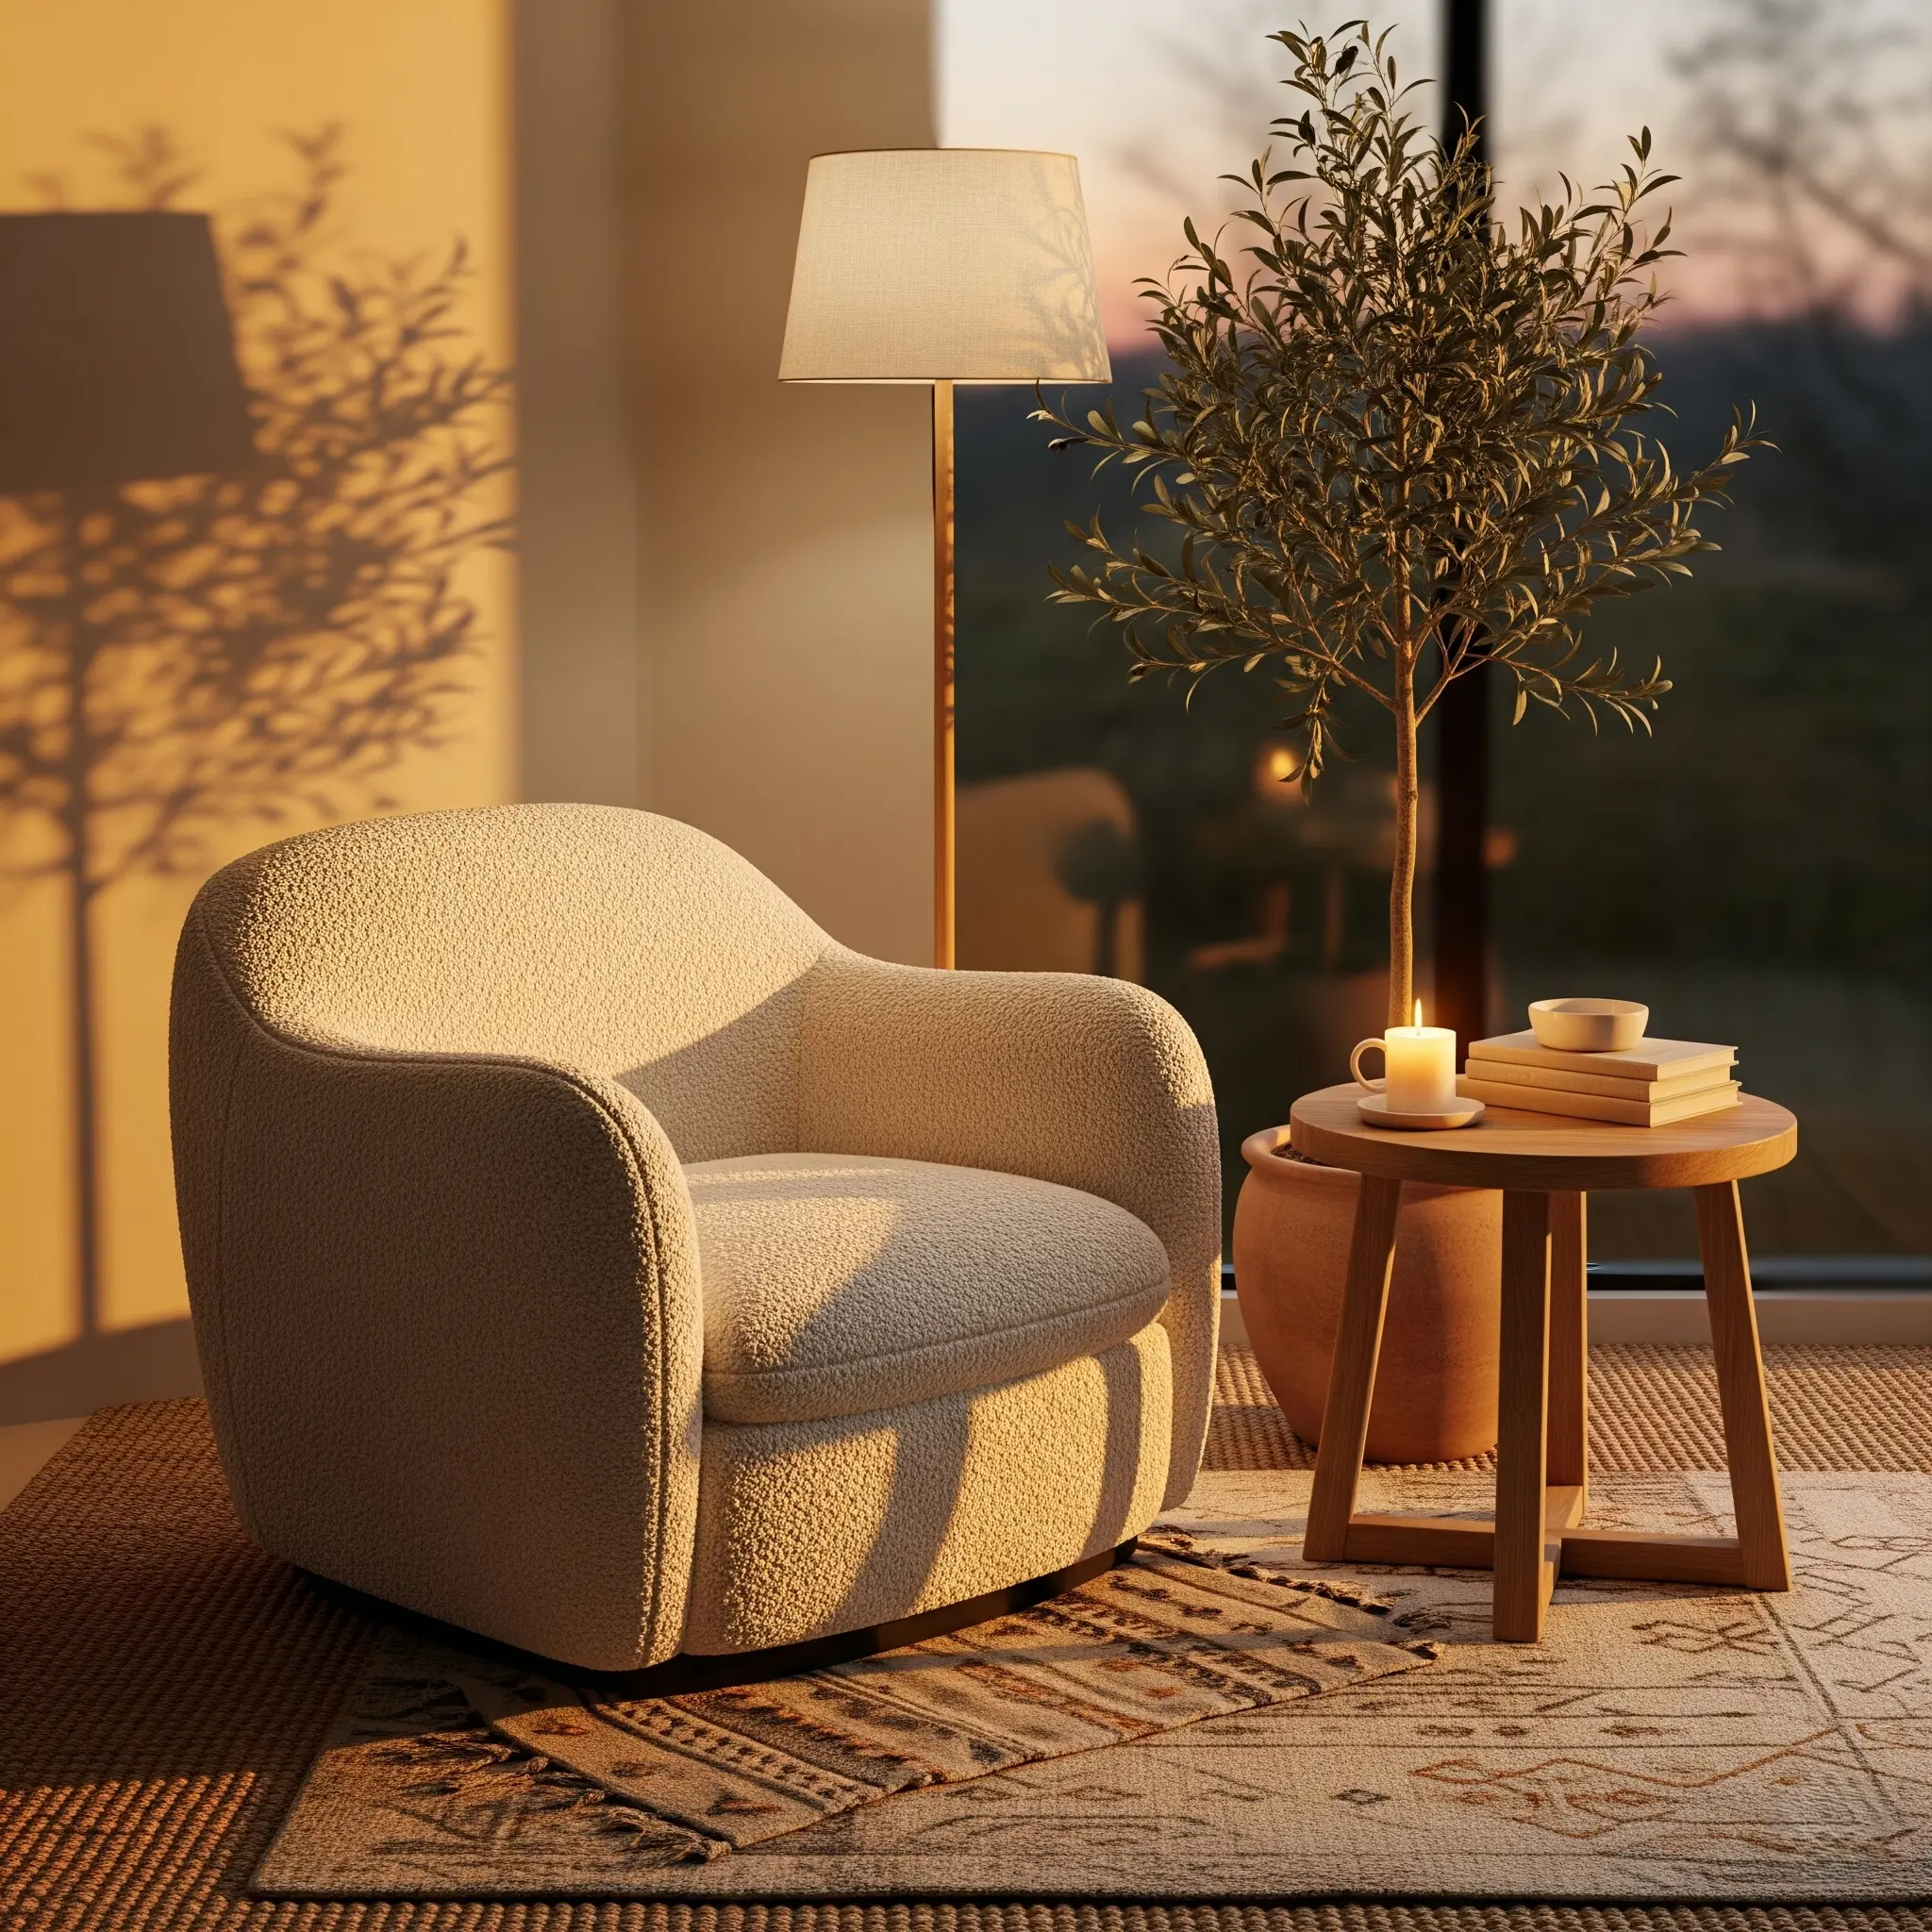
Sensory tip: Think sound and scent. A small water fountain near your reading chair makes a gentle hush; a cedar or fig candle gives cozy, boutique-hotel vibes without the nightly rate.
Budget tip: Thrift stores are treasure maps for natural decor. Look for real wood frames, woven baskets, terracotta planters, and stoneware pitchers. Clean, oil, and they’ll last forever.
Stylish Indoor Planters
Plants are like jewelry for your room—they finish the outfit. The planter is half the look.
Mix heights and textures: Try a floor snake plant in a matte ceramic pot, a trailing pothos in a hanging brass planter, and a tiny succulent in a stone bowl on a stack of books.
Color strategy: For a minimal palette, stick to black, white, and terracotta planters. For a softer home aesthetic DIY feel, choose warm greige, putty, and sand tones so the green really pops.
Practical tip: If you’re new to plants, start with low-maintenance heroes—ZZ plants, pothos, or philodendron. Place them near bright, indirect light and water sparingly.
Quick upgrade: Hide plastic nursery pots inside pretty cachepots to keep moisture contained and your shelves clean. It’s renter-proof and very Pinterest-friendly.
Modern Farmhouse Decor
Modern farmhouse decor blends rustic warmth with a clean, updated silhouette. It’s about brushed metals, distressed woods, and creamy neutrals paired with thoughtful, functional elements.
These two projects nail that vibe with minimal tools and mess.
Rustic Wooden Signs
You’ve seen them in glossy catalog spreads: weathered wood signs with simple text that feels cozy and inviting.
What you’ll need: reclaimed wood (or new wood you’ll distress), stencils or vinyl letters, paint, sandpaper, and a clear matte sealant.
Step-by-step:
- Sand the board lightly. If new wood, dent edges with a hammer for natural-looking wear.
- Stencil your phrase—keep it simple: “Gather,” “Fresh Flowers,” or your family name and established date.
- Paint letters and let dry. Lightly sand to distress, focusing on edges and corners.
- Seal with a matte finish for a timeworn look without the splinters.
Styling tip: Lean a medium-sized sign on your kitchen counter behind a crock of wooden spoons. Pair with a small vase of eucalyptus for a fresh farmhouse moment.
Color palette: Soft black, oatmeal, and warm white keep it modern, not kitschy.
DIY Farmhouse-Style Centerpieces
A good centerpiece makes your dining table feel styled even on cereal-for-dinner nights.
What you’ll need: a long wood trough or a line of simple mason jars, faux or fresh stems (olive branches or eucalyptus), and a runner in natural linen.
Step-by-step:
- Center your runner and trough. Layer in greenery; tuck in flameless taper candles for safe, soft glow.
- For seasonal tweaks, add tiny white pumpkins in fall, citrus in winter, or peonies in spring.
Budget alternative: Use three mismatched vintage vases grouped together. Keep stems low and airy—think meadowy, not formal.
Entertaining tip: Dim overhead lights and rely on candles. It’s instantly flattering and gives that “restaurant at home” ambiance we all crave.
DIY Interior Design Techniques
Decorating isn’t just about pretty objects—it’s understanding how to play with scale, texture, and color. These techniques tie everything together and give your rooms that editorial polish.
Layering Textiles for Depth
Textiles are the fastest way to shift mood and temperature in a room—literally and visually.
Sofa styling: Start with a neutral base and add two pillow sizes. Mix a heavy linen, a nubby boucle, and a soft velvet. Aim for a 2–1–1 pattern: two solids, one subtle stripe, one micro-print.
Bed styling: Choose a crisp cotton or percale sheet, a lightweight duvet, and a textured throw at the foot. Stack two Euro pillows for height, then two standard pillows, then one lumbar in a contrasting texture.
Window magic: Floor-length curtains make ceilings feel taller. Hang rods 10–15 cm above the frame and extend beyond the window to maximize light. Linen or linen blends give that relaxed, breathable look.
Rug rules: Anchor conversation areas with a rug large enough for at least the front legs of furniture. Layer a patterned vintage-style rug over a chunky jute for dimension.
Sensory details: Think temperature and touch—sherpa throws for winter coziness, airy cotton for summer. Rotate seasonally to keep your space feeling fresh.
Creating a Focal Point with Color
Color sets the mood and directs the eye. You don’t need to repaint the whole house—just choose where you want attention.
Accent wall wisdom: Pick the wall you want to highlight—typically behind the sofa or bed. Go moody with charcoal, deep olive, or midnight blue for instant drama.
Painted arch: A soft painted arch behind a console or reading chair feels custom and whimsical. It frames your decor like a picture without costing much.
Color continuity: Pull one accent hue into small accessories across the room—pillows, a vase, a throw—so the eye sees a cohesive story.
Sample first: Test swatches at different times of day. Morning light can make warm colors glow; evening light can cool them down. Photos on Pinterest are filtered; your real-life lighting is the truth-teller.
Ceiling play: A barely-there tint on the ceiling—think the palest greige or a soft blush—adds depth and warmth without overwhelming the room.
Conclusion: Your Aesthetic Awaits
Your home doesn’t need to be perfect to be beautiful. It needs to be yours—filled with pieces that hold memories, textures that invite you in, and colors that make you exhale.
Whether you’re trying DIY wall art ideas, adding modern farmhouse decor touches, or revamping a thrifted dresser, every small step is progress. That’s the heart of DIY interior design: thoughtful choices layered over time. Start with one project, then another, and watch your space blossom.
If a room is calling for change, listen. Your next favorite corner might be one weekend away.
FAQs on Aesthetic DIY Projects
What’s the easiest place to start if I’m overwhelmed? Begin with a small win, like a textured canvas or a planter refresh. These quick projects build confidence and momentum for bigger affordable home upgrades.
How do I make my space cohesive if I love many styles? Choose a limited color palette and repeat materials—wood, brass, linen—throughout. This lets you blend aesthetic home decor elements from modern, boho, and farmhouse without visual chaos.
Can DIY actually save money? Absolutely. Upcycling furniture, painting, and creating your own art can trim costs dramatically. The savings can go toward higher-impact items like a high-quality area rug or upgraded light fixtures.
What paint finish should I choose for furniture? Satin or semi-gloss for durability and cleanability. For a more matte, designer look, use a high-end hybrid enamel that cures hard and avoids sticky drawers.
How do I style open shelves without clutter? Think in thirds: one stack of dishes, one plant, one vertical element like a carafe or vase. Leave breathing room so each piece can shine.
What’s a no-fail color palette? Warm white walls, black accents, oak wood tones, and a pop of deep green or muted blue. It feels timeless, cozy, and very Pinterest-friendly.
How do I pick art sizes for over the sofa? Aim for artwork that’s roughly two-thirds the width of your sofa. If using multiple pieces, keep a tight spacing of 2–3 cm between frames for a cohesive gallery moment.
I rent—how can I personalize without risking my deposit? Use removable wallpaper, large-scale art leaned against walls, and picture ledges. Swap hardware on furniture (not walls), then take it all with you when you move.
What’s a quick way to add modern farmhouse decor? Install black metal hooks in the entry, add a rustic wooden sign, and layer a jute runner. Mix in a few matte black frames and eucalyptus stems to tie it all together.
How can I improve lighting on a budget? Add dimmable bulbs, a plug-in wall sconce, and a table lamp with a linen shade. Layering light sources creates warmth and depth—and it’s one of the best returns on investment in DIY interior design.
Are there eco-friendly options for these projects? Yes. Use low-VOC paint, thrifted wood, and natural fibers like jute and linen. Upcycling frames and furniture keeps items out of landfills while saving you money.
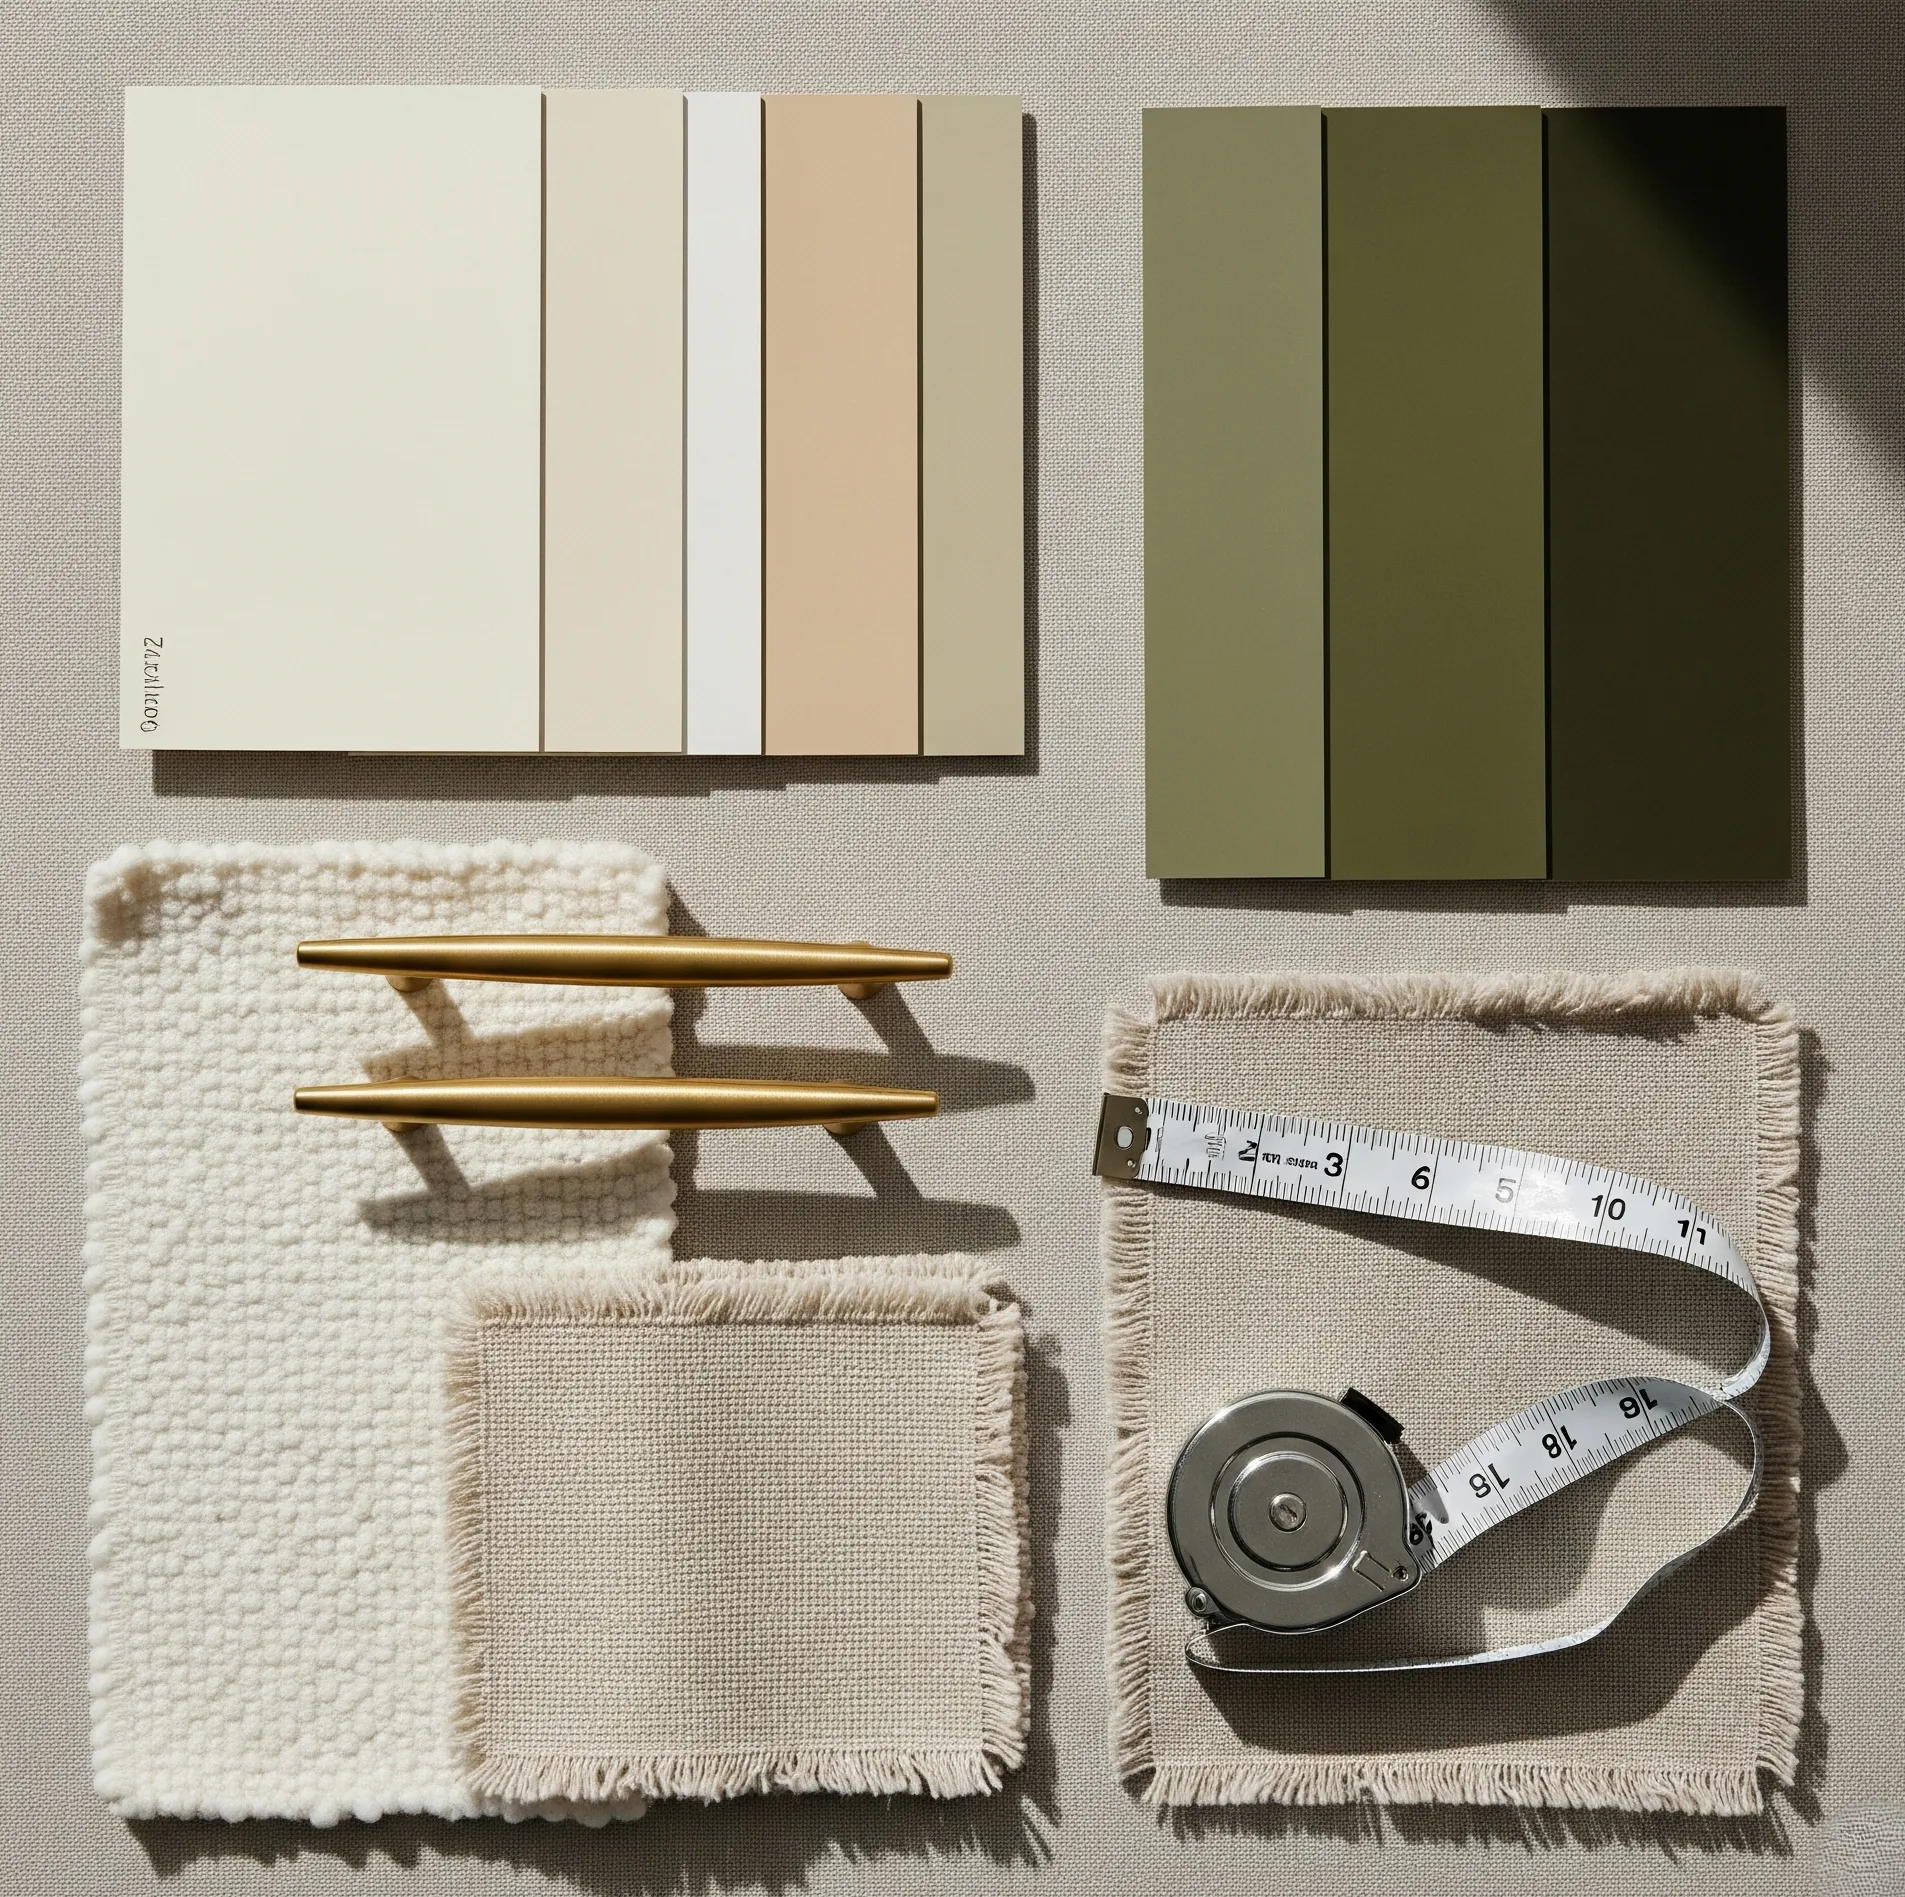
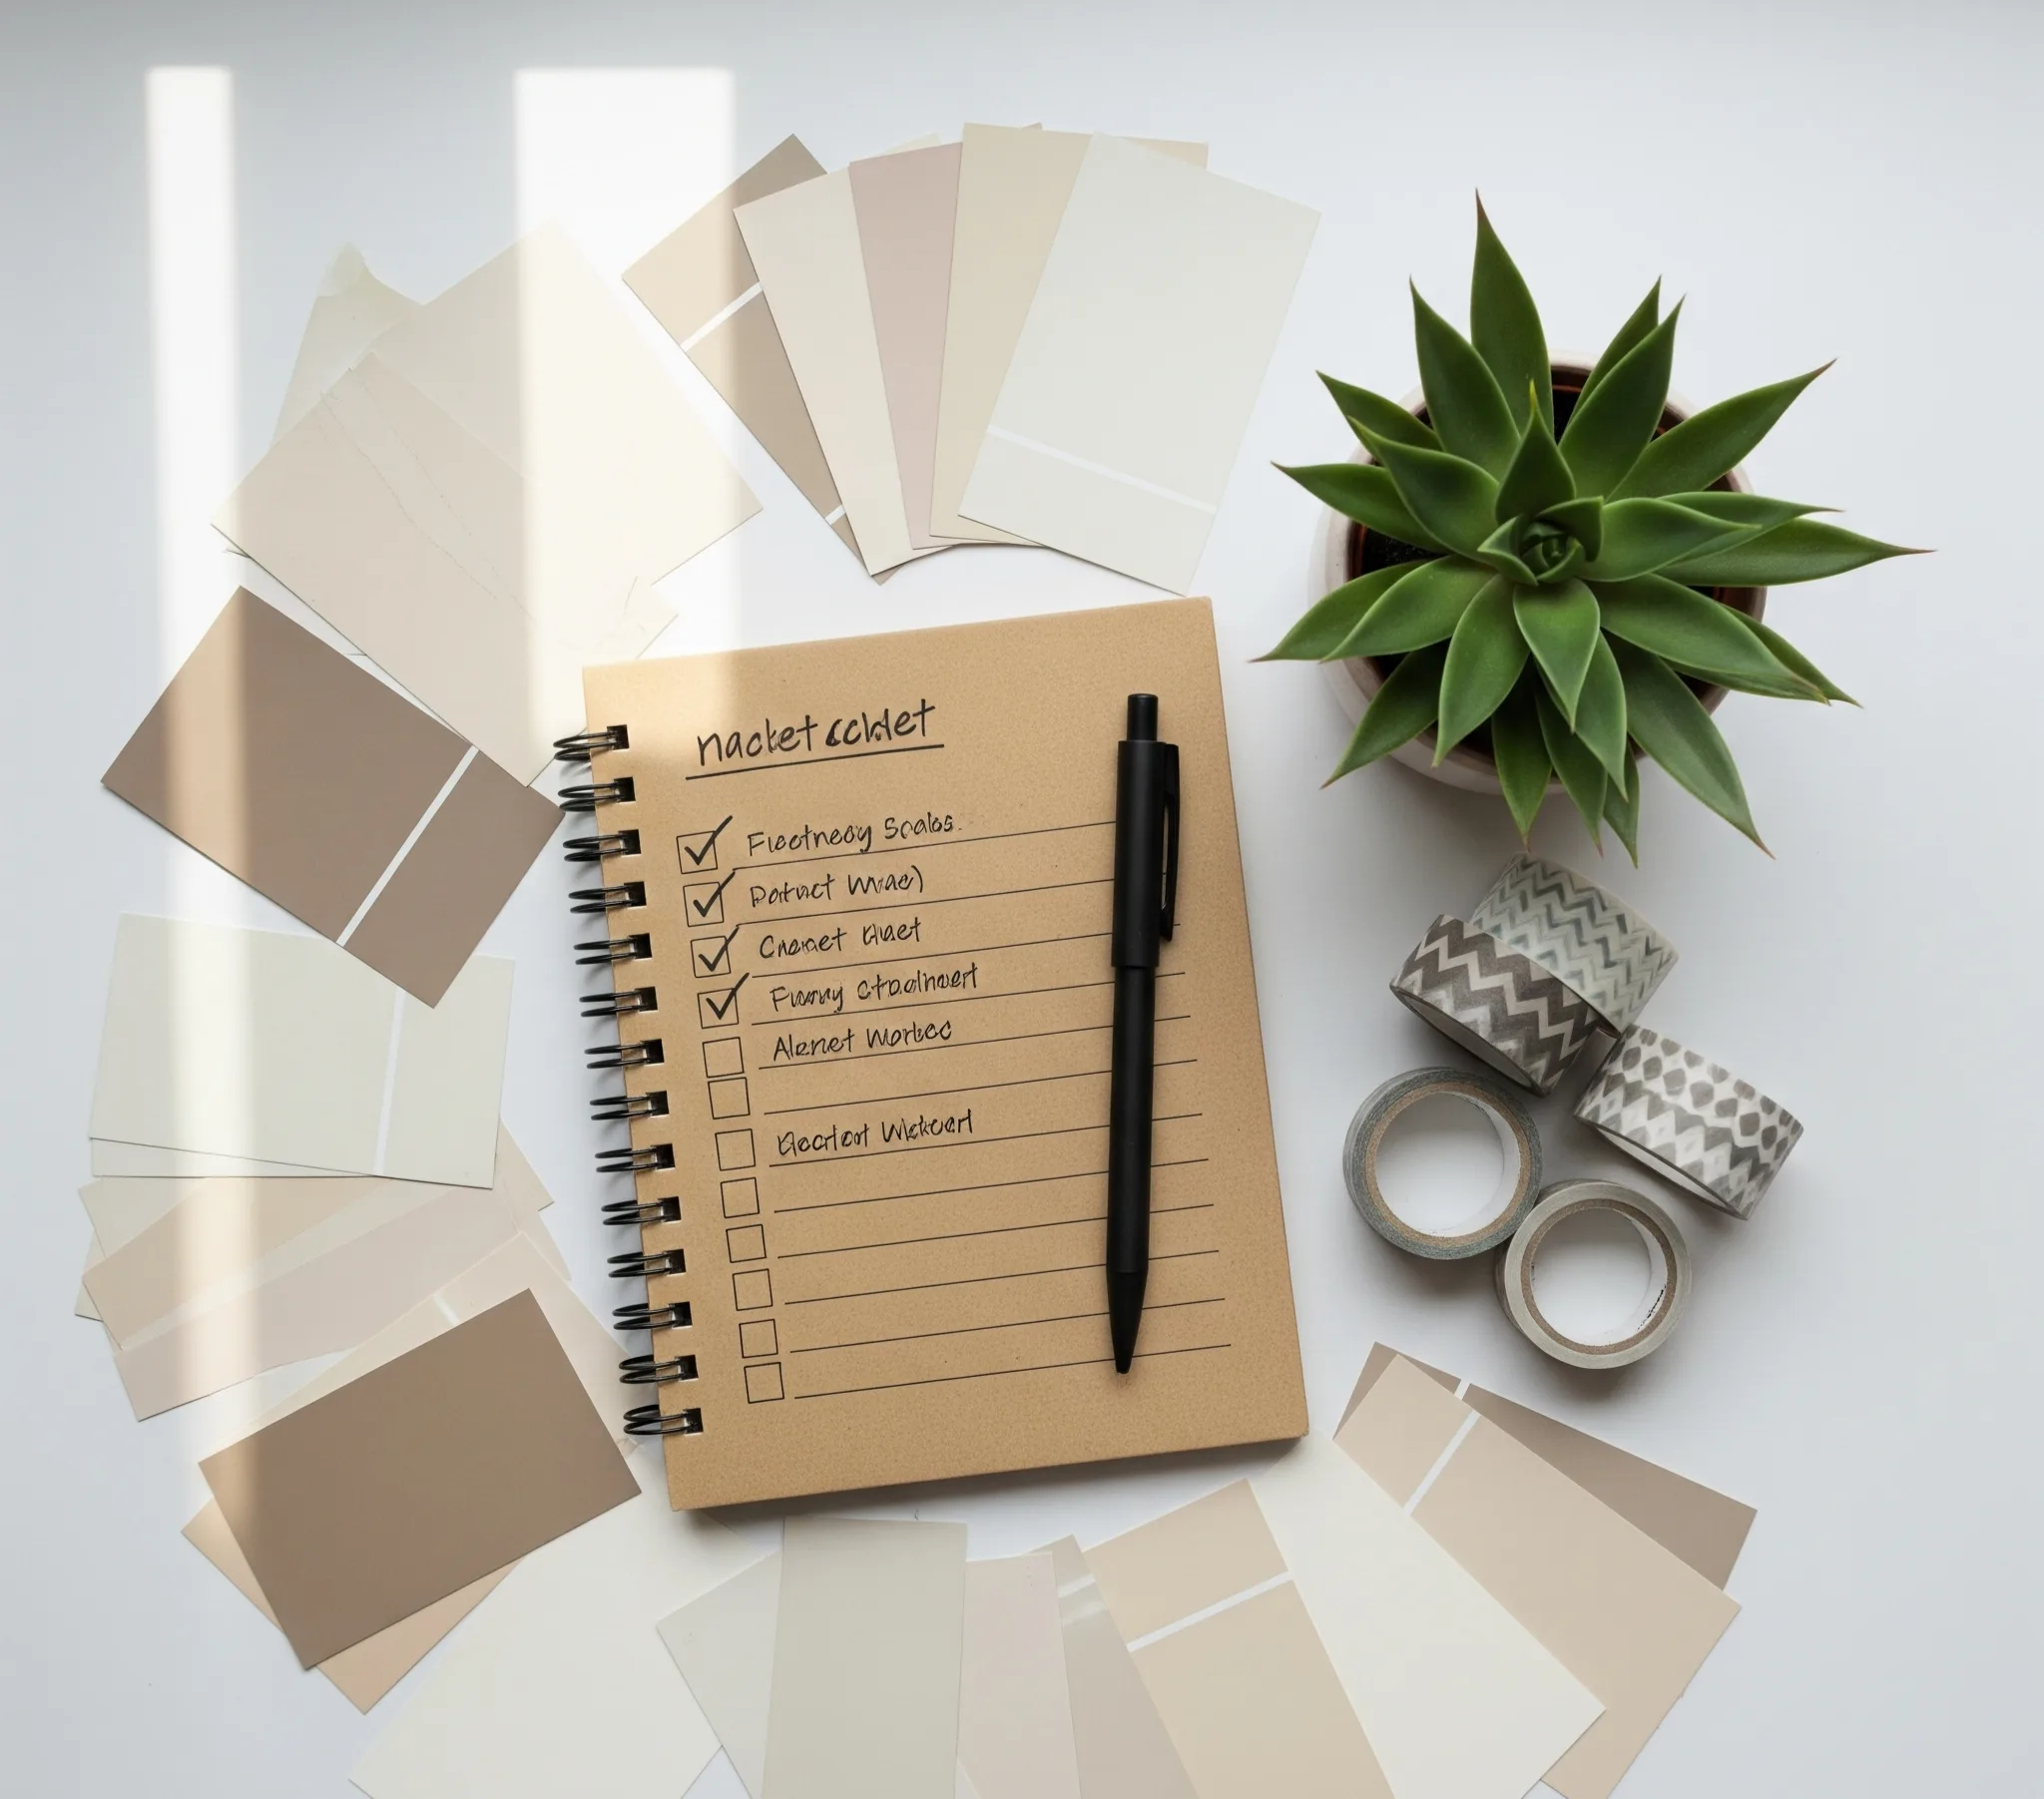
What’s the best way to plan a room refresh? Create a simple mood board with 6–8 elements: a rug, two paint options, a sofa or chair, curtains, art, and lighting. If it looks balanced on the board, it’ll likely feel balanced in real life.
How do I style a coffee table so it doesn’t look cluttered? Use a tray to corral items, a stack of two design books, a candle, and a small plant. Vary heights and textures, and leave space for your mug and the TV remote.
Can I mix metals? Definitely. Stick to two metals max—like brass and matte black—to keep it intentional. Repeat each at least twice in the room for harmony.
What upgrades feel “high-end” without a renovation? Swap outdated switch plates, add new cabinet knobs, use matching frames for art, and invest in window treatments that actually touch the floor. These affordable home upgrades pack a surprisingly luxe punch.
If you enjoyed this article, don’t forget to save it on Pinterest or share it with a friend!