
Introduction
If the inside of your oven looks like a campfire happened and no one sent the cleanup crew, you’re in the right place. Today I’m sharing exactly how to clean your oven naturally using pantry staples no choking fumes, no harsh chemicals, just results you can feel good about.
We’ll make a homemade oven cleaner that’s budget-friendly, effective, and perfect for busy weeknights and weekend deep cleans alike. You’ll learn the magic of a vinegar and baking soda oven cleaner, why an environmentally safe oven cleaner matters, and how to clean your oven with natural ingredients that actually work. Bonus: your kitchen will smell fresh, not “chemical.”
Benefits of Using Natural Cleaning Solutions
Cleaning shouldn’t require a hazmat suit. Choosing natural products means you can breathe easy and keep your home safer for kids, pets, and anyone with allergies or sensitivities. Plus, you’ll be cutting back on single-use plastics and pricey specialty products.
Natural ingredients can be surprisingly powerful. When combined properly, they break down grease, neutralize odors, and lift baked-on grime without scratching the enamel or clouding the glass. Your oven will look better, and you’ll feel better about how you got there.
Environmentally Safe Oven Cleaners
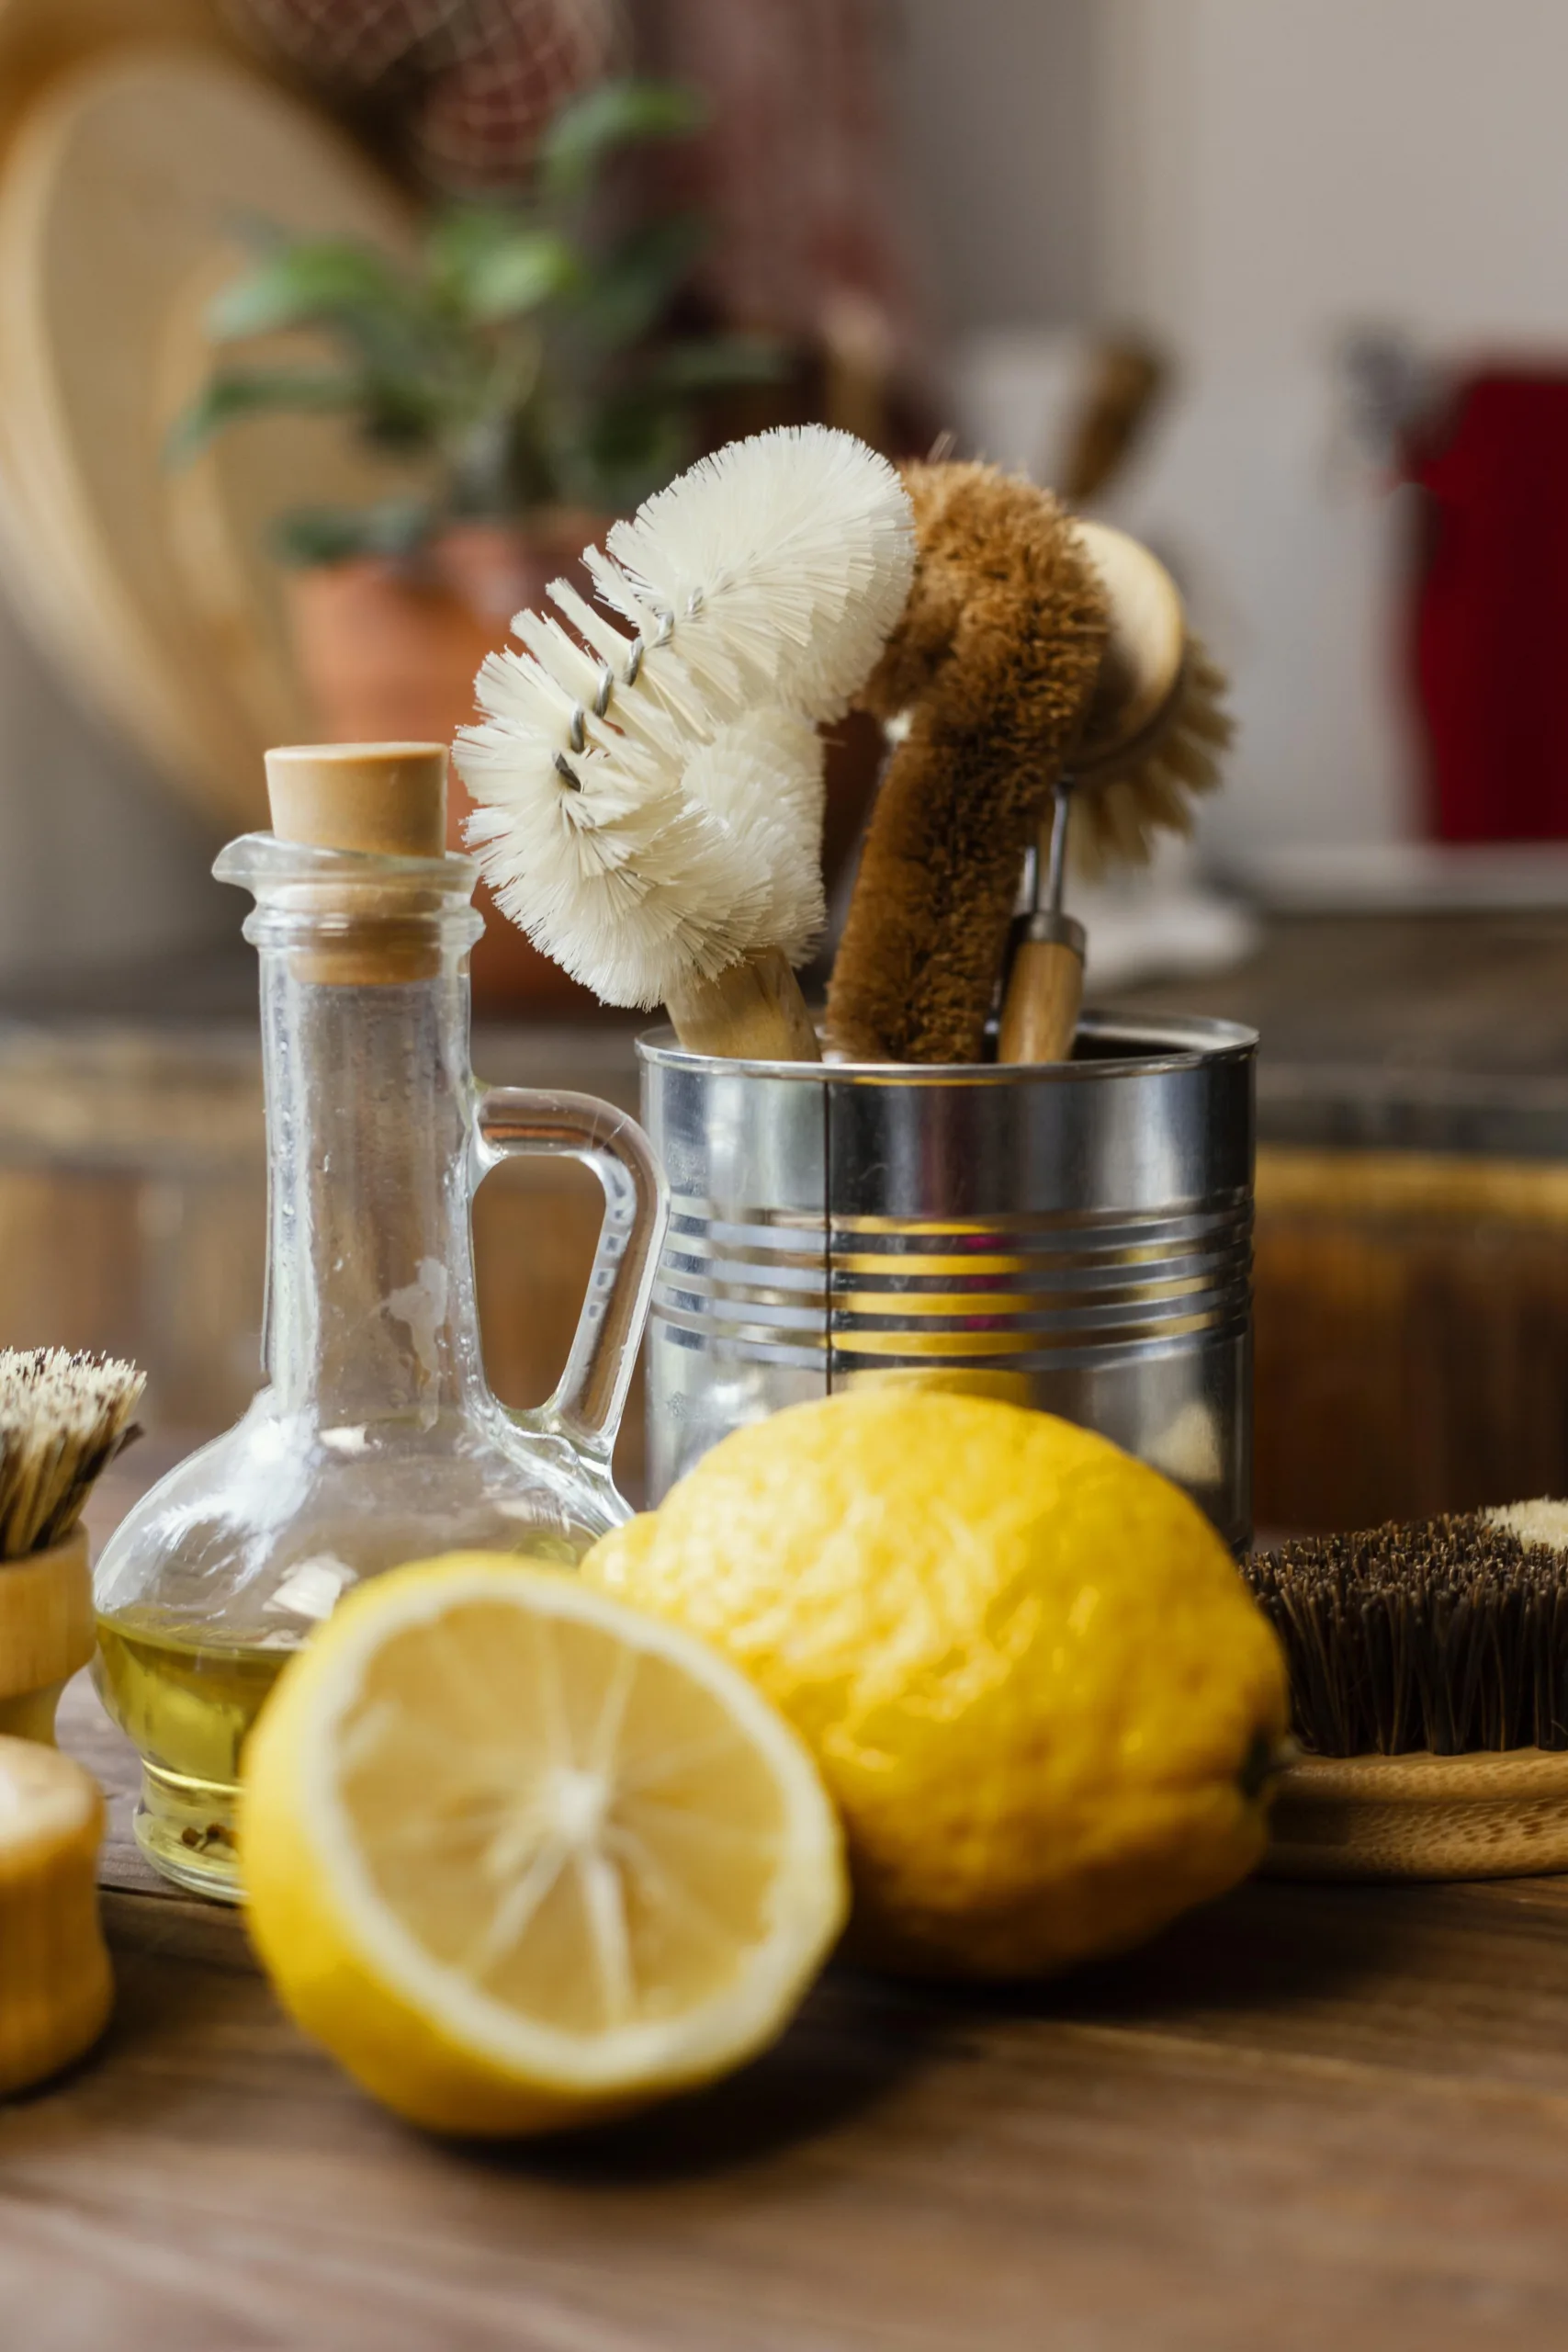
An environmentally safe oven cleaner doesn’t release harsh VOCs into the air or wash hazardous residues into our waterways. Instead, it relies on biodegradable ingredients like white vinegar, baking soda, lemon, and plant-based soaps.
By using greener options, you also reduce the packaging waste that comes with traditional chemical cleaners. A glass spray bottle and a bulk bag of baking soda can last for months, keeping your routine both eco-conscious and economical.
Non-Toxic Oven Cleaner Advantages
A non-toxic oven cleaner won’t make your eyes water or your throat burn. That matters when you’re leaning into an oven cavity and scrubbing for a few minutes. No more pausing to catch your breath or cracking open every window in the house.
It’s also kinder to your oven. Harsh commercial formulas can etch surfaces or weaken door seals over time. Natural methods clean gently, so your appliance stays looking and working like new longer saving you money on repairs and replacements.
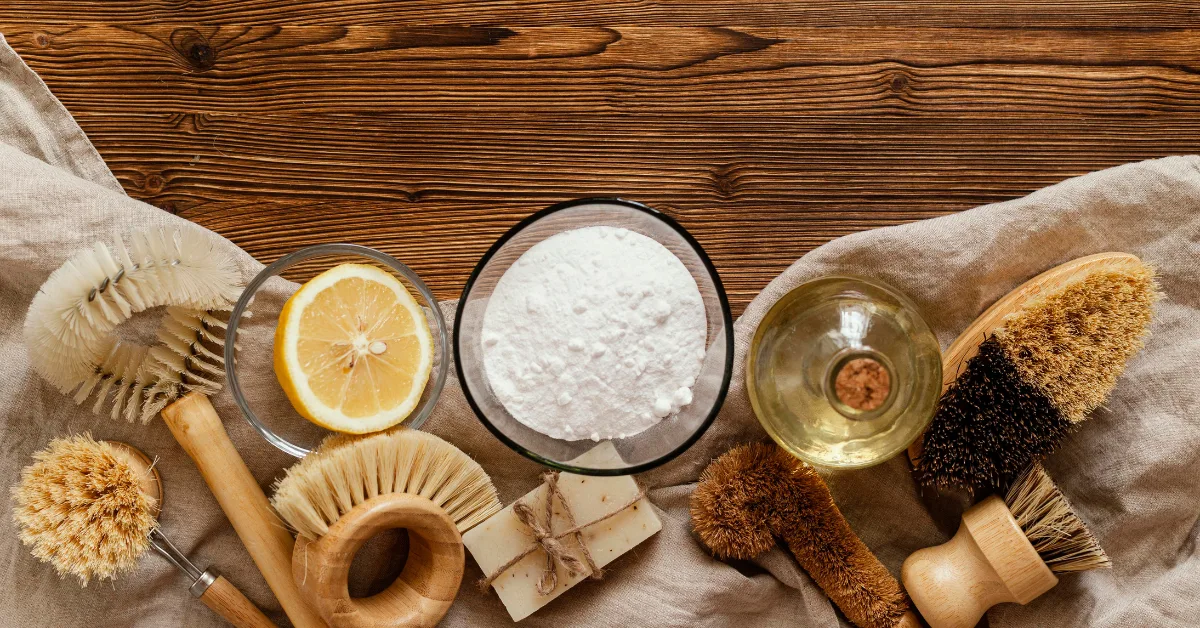
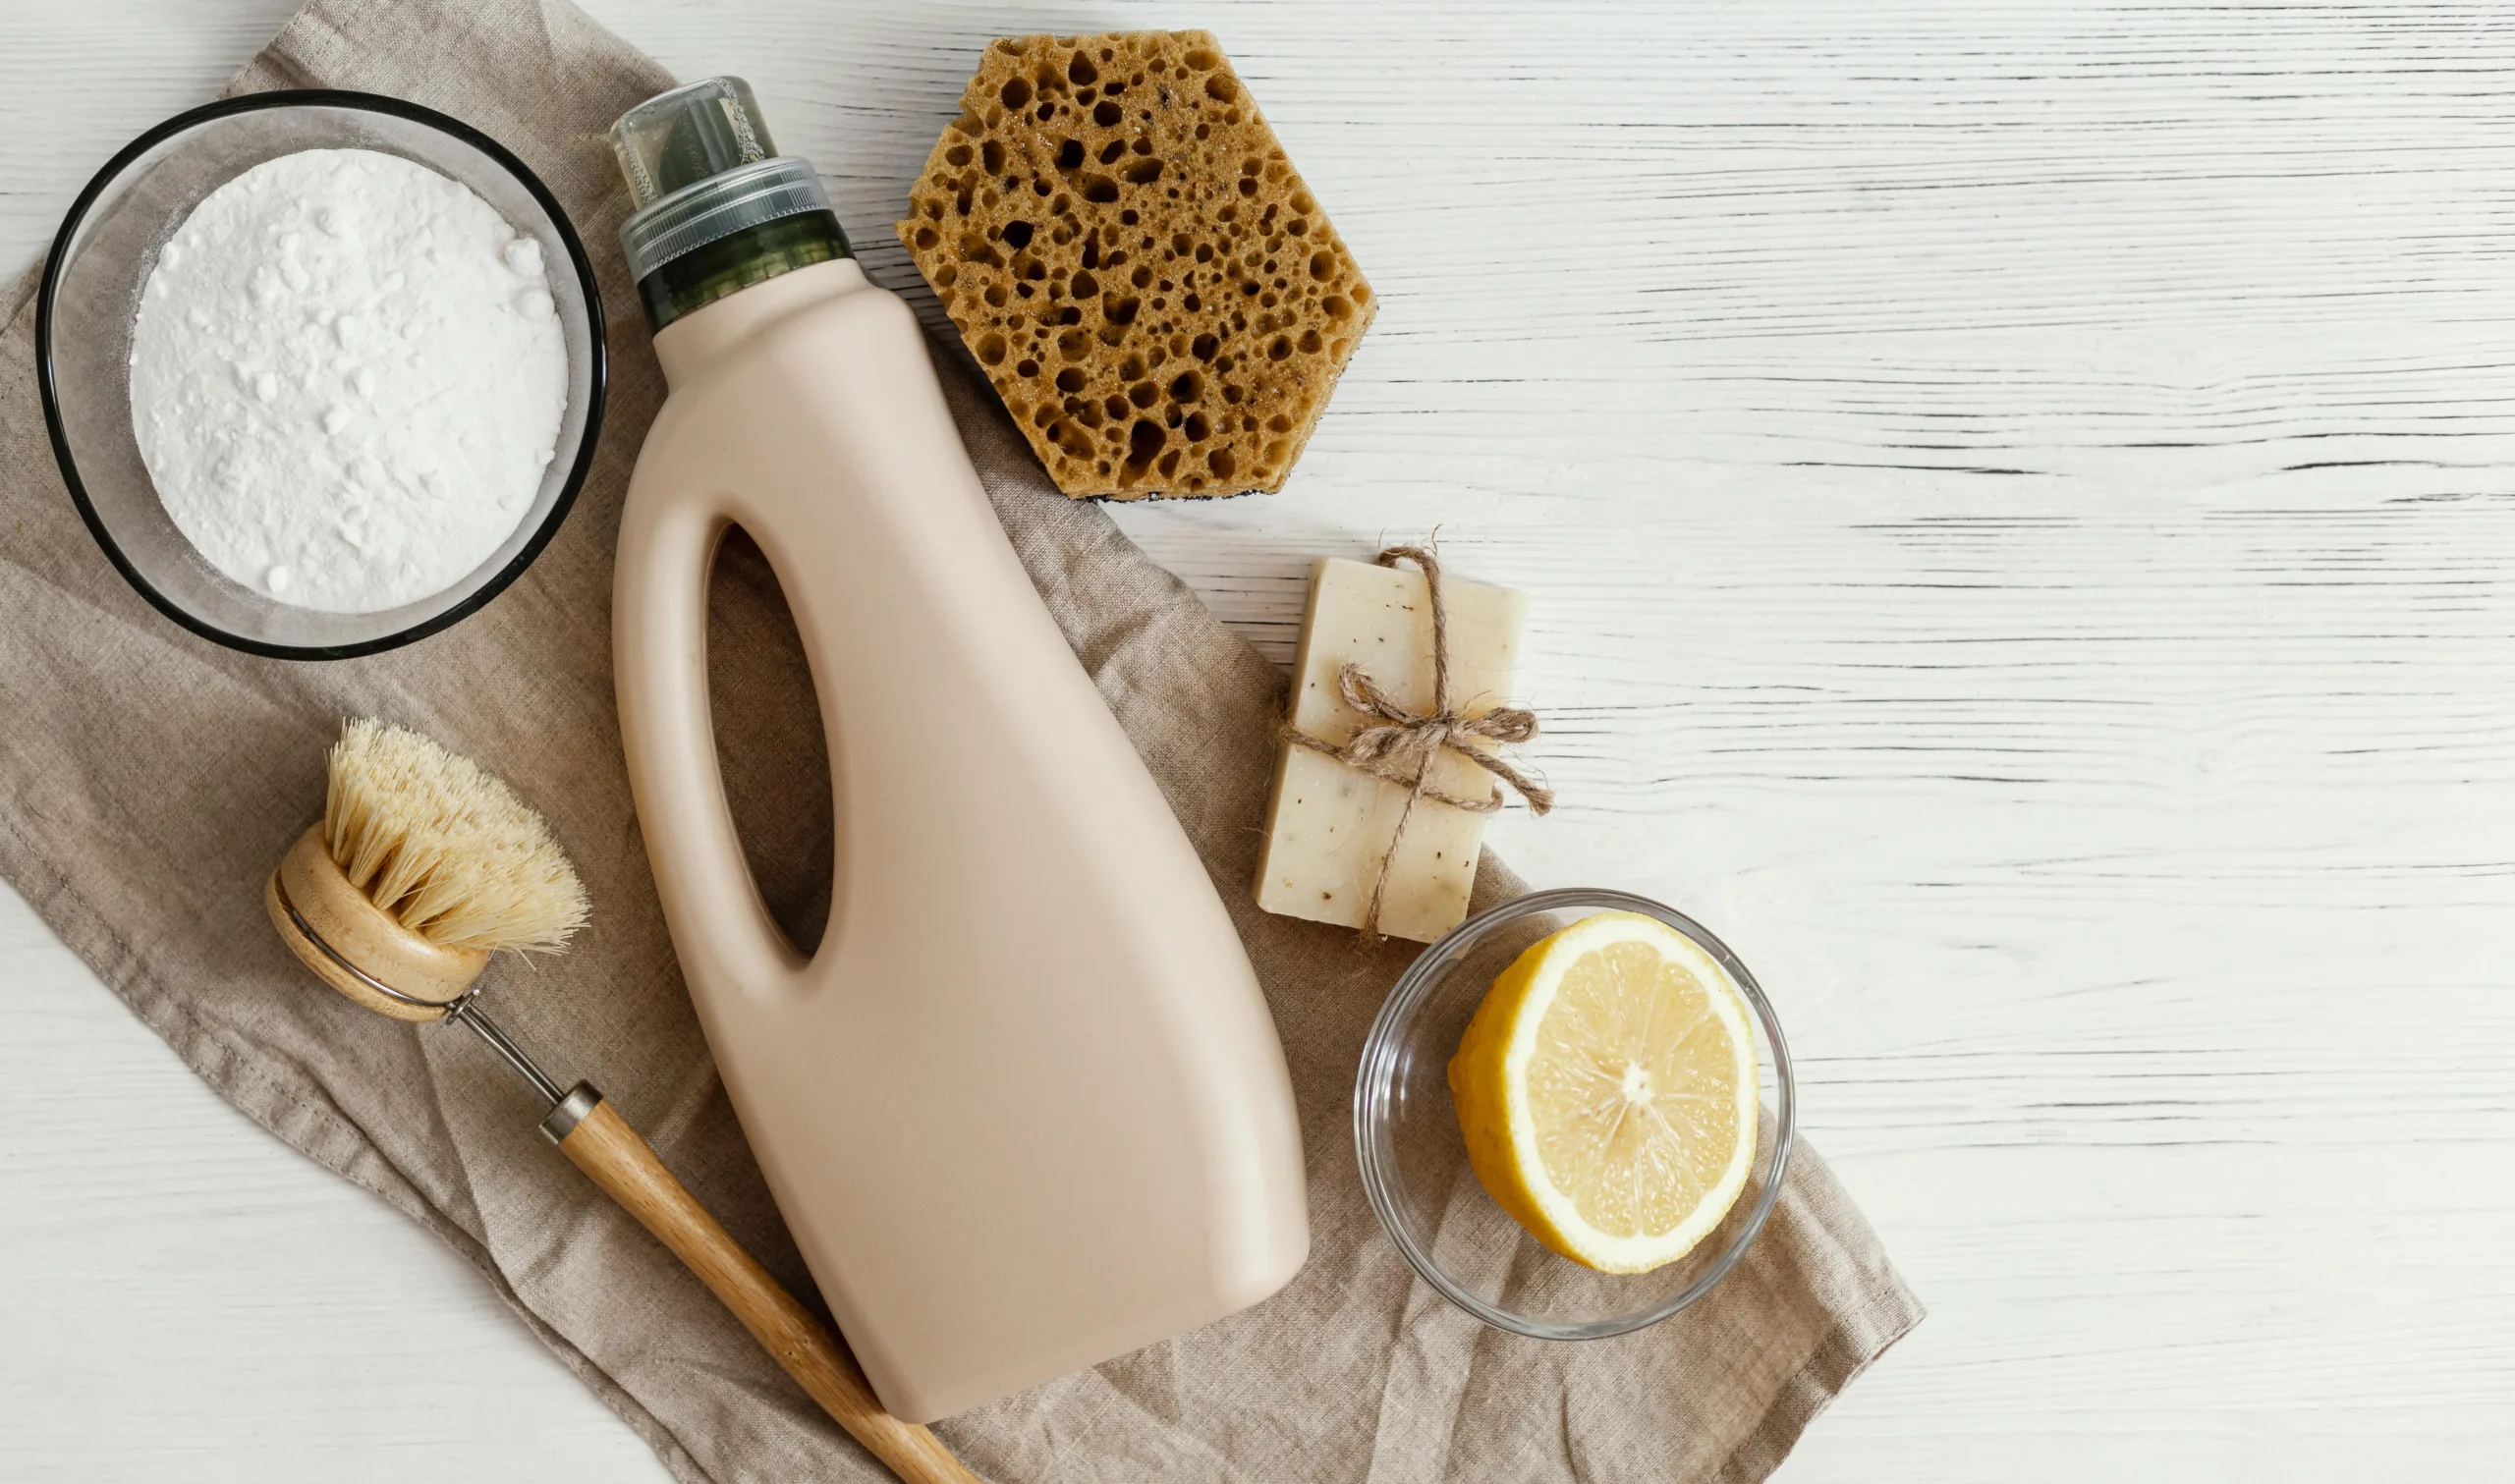
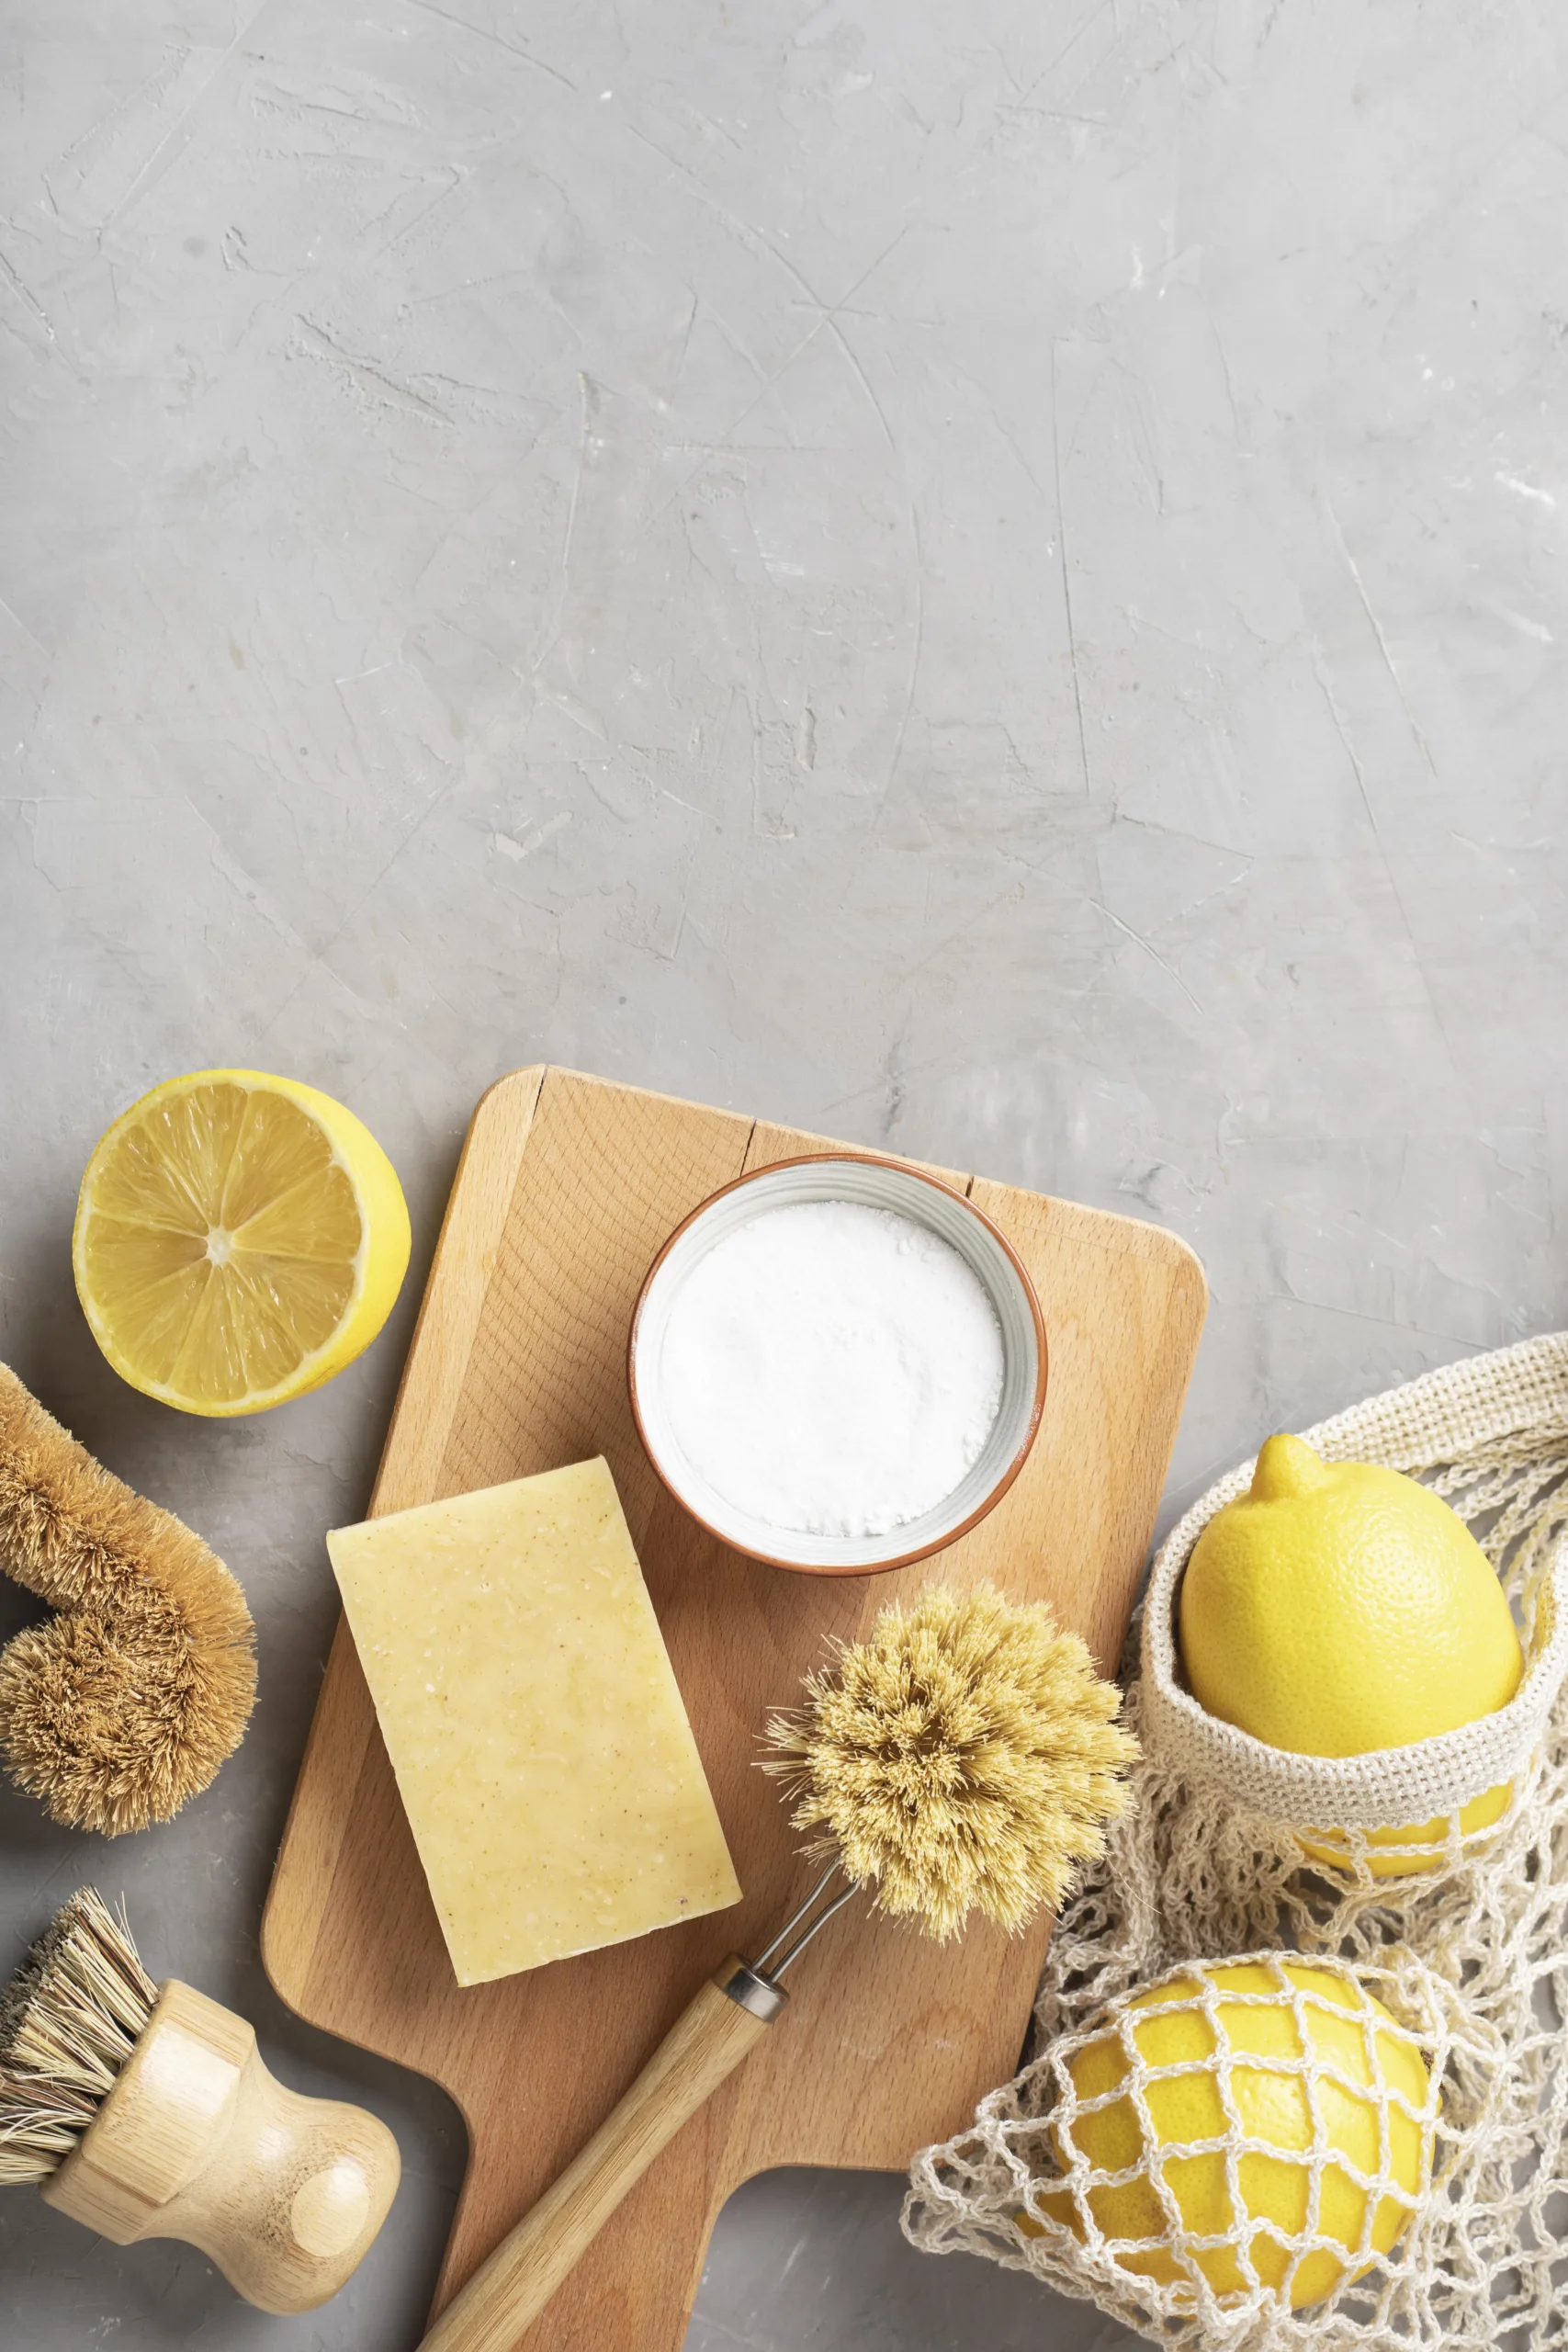
Step 1: Gather Your Ingredients
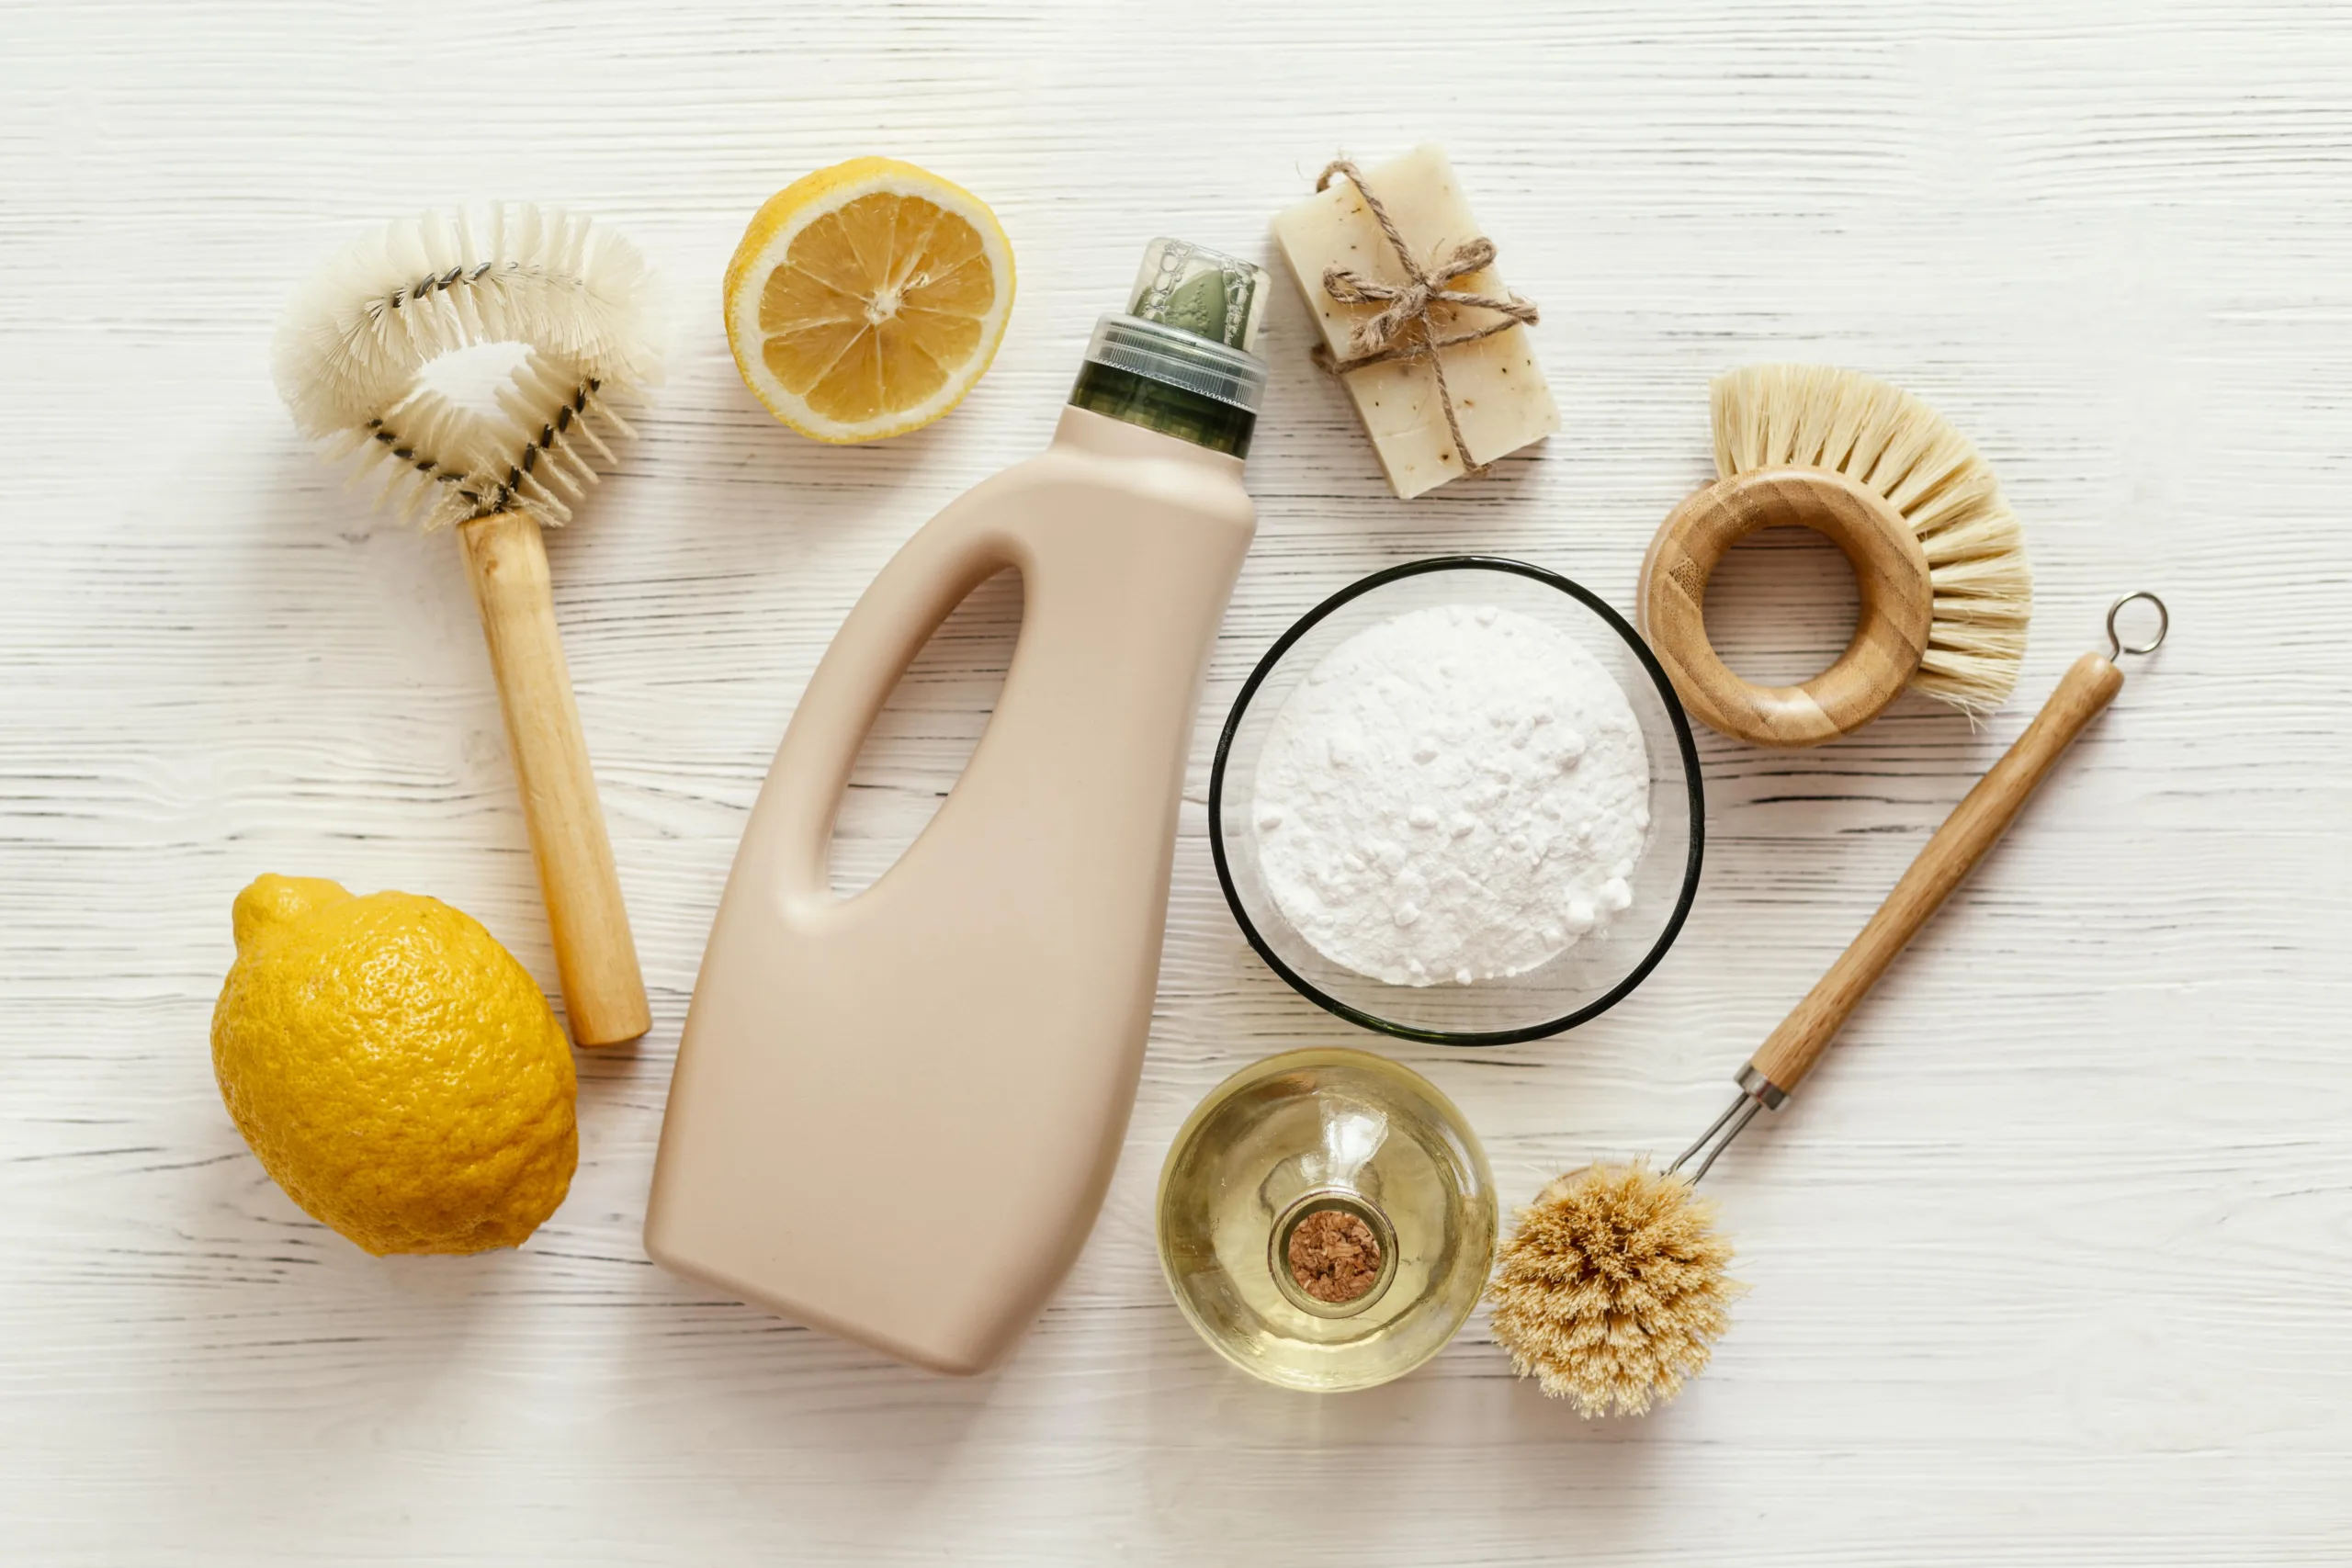
You don’t need an overflowing cart at the store. Most of the best cleaners are already in your pantry. Think of this as a zero-stress, zero-fuss project that delivers high-impact results.
A few tools and simple ingredients transform sticky, brown build-up into a smooth, wipeable surface. You’ll be amazed how quickly grime loosens without scrubbing your arms sore.
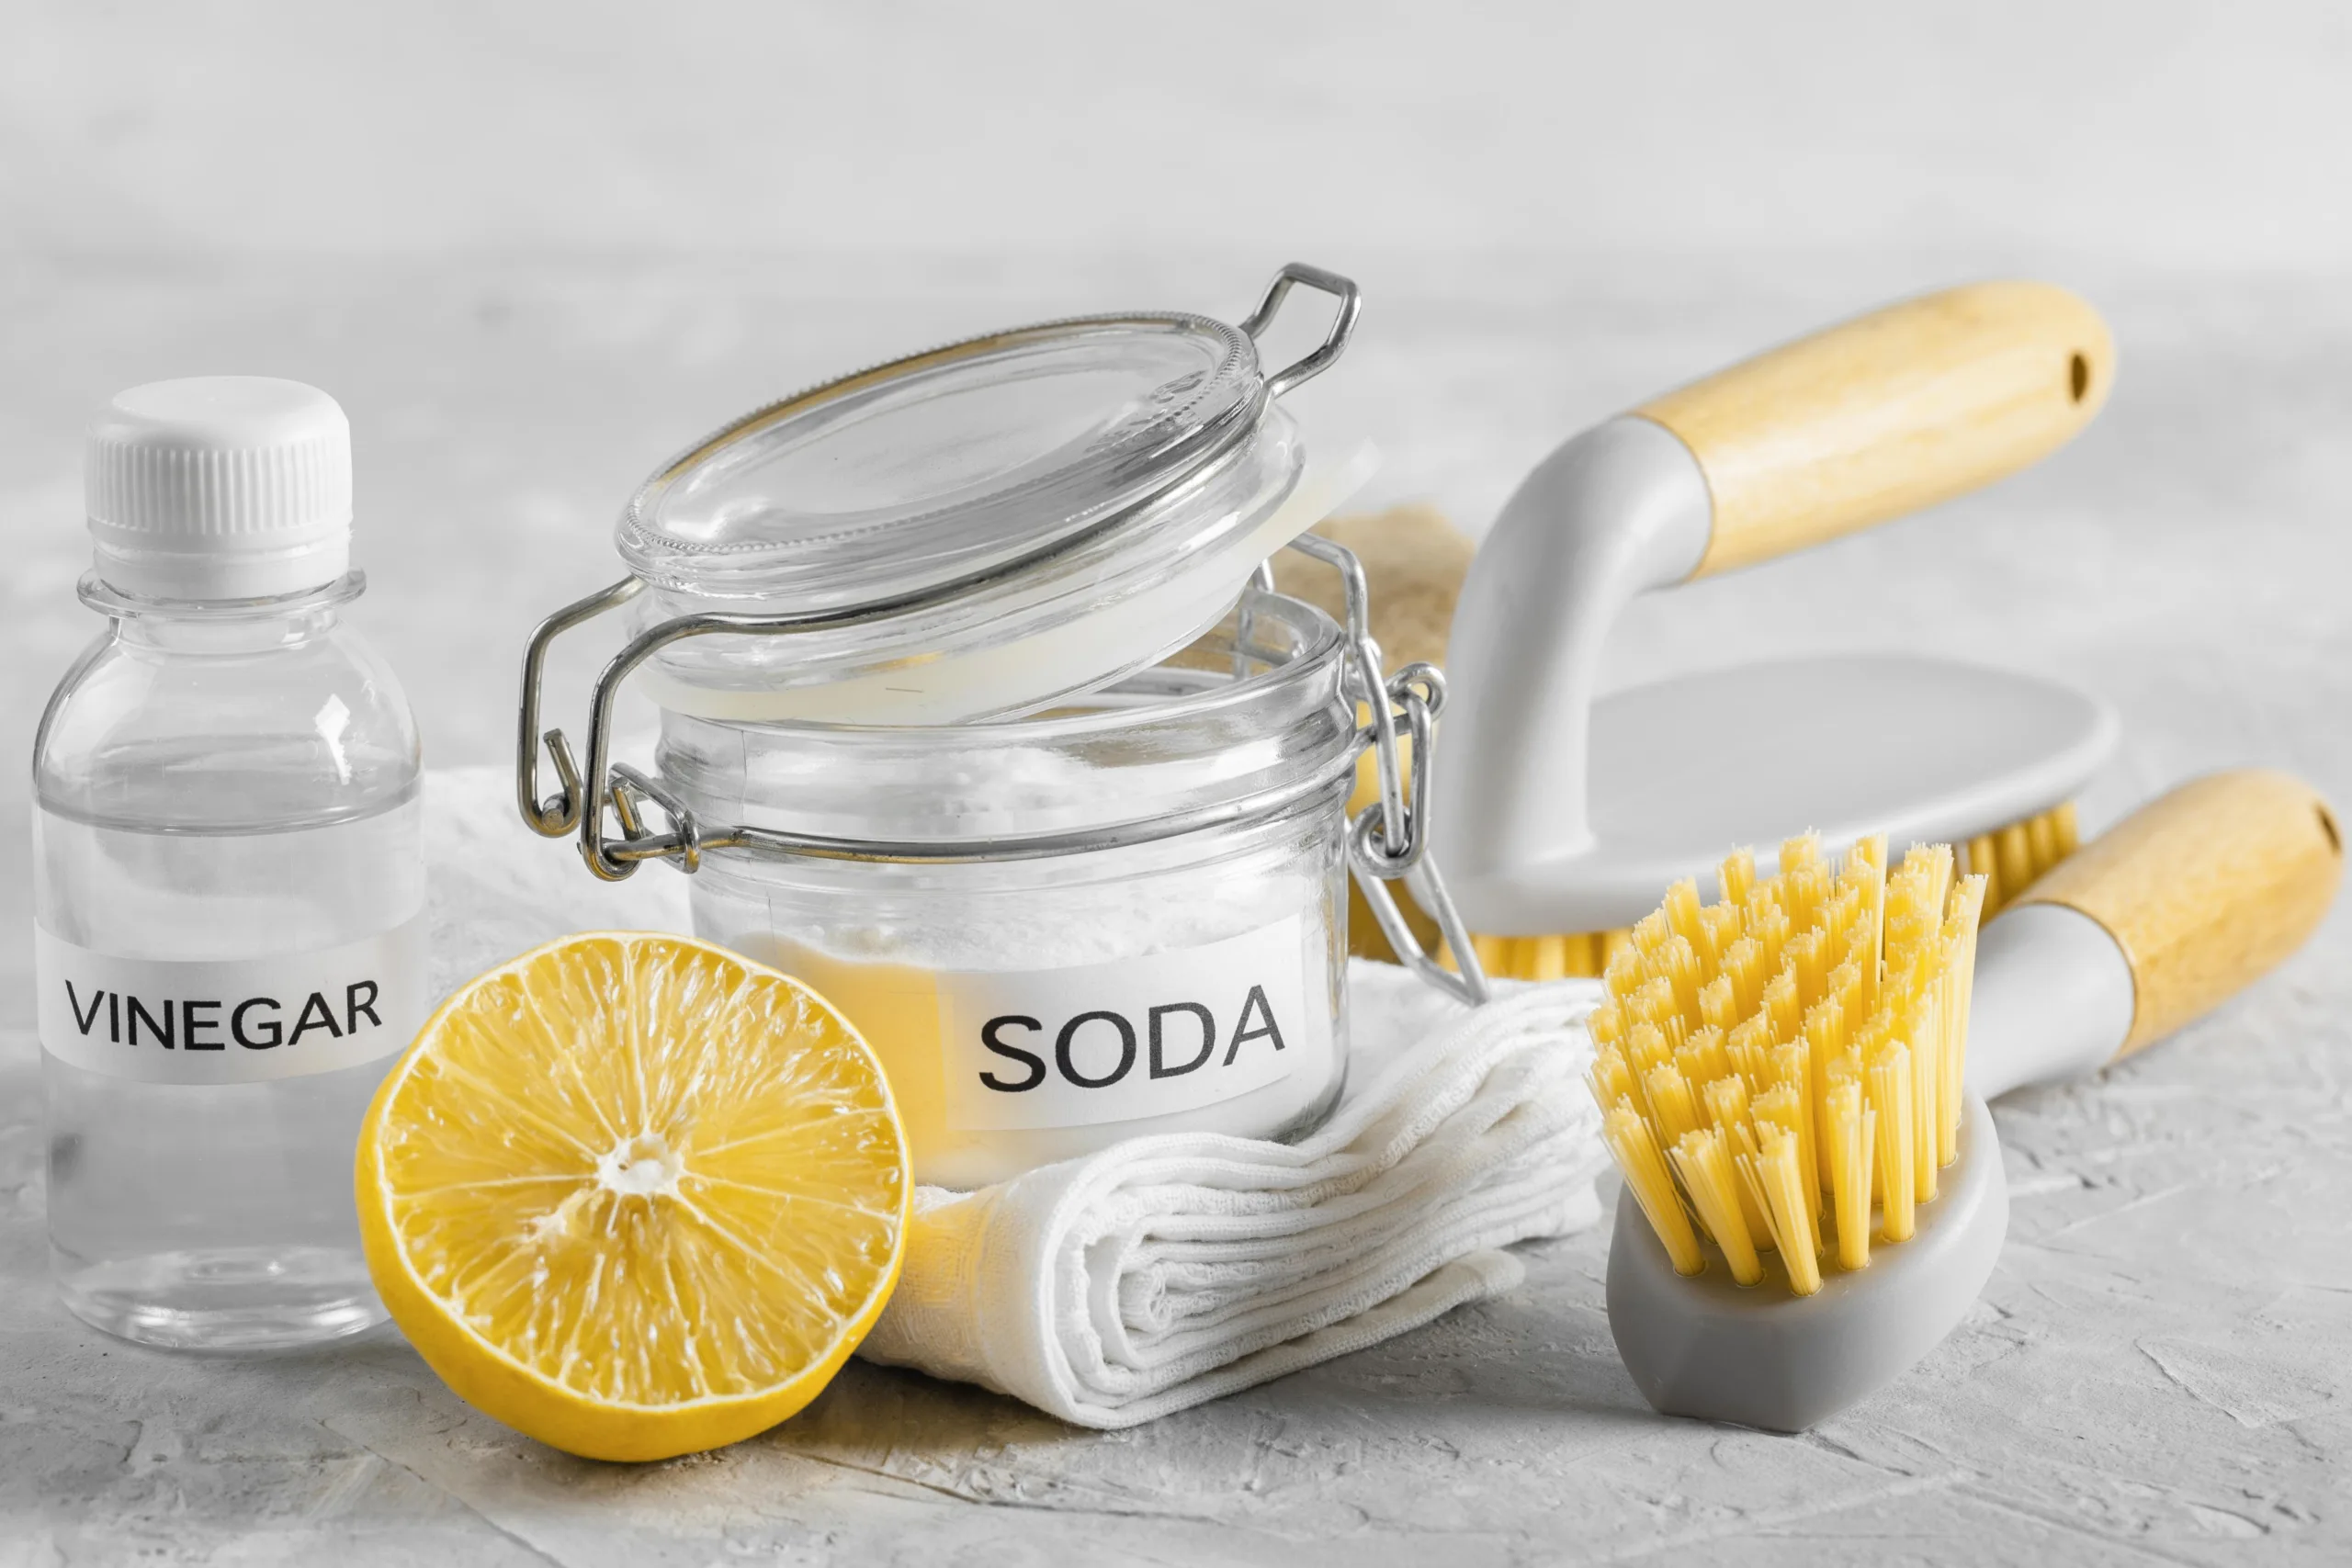
Recommended Natural Products
- Distilled white vinegar: Cuts grease and dissolves mineral residues while neutralizing odors.
- Baking soda: A gentle abrasive that “lifts” charred bits and softens sticky messes.
- Dish soap (plant-based): Helps emulsify oils and adds slip for easier wiping.
- Lemon juice: Natural deodorizer and shine booster; helps cut tough grease.
- Coarse salt: Optional, adds extra grit for stubborn areas without scratching enamel.
- Hydrogen peroxide (3%): Optional, brightens and helps with tough spots when mixed with baking soda.
- Microfiber cloths, non-scratch scrub pads, and an old toothbrush: For targeted cleaning power.
- A plastic or silicone scraper: Helpful for lifting baked-on patches safely.
- Spray bottles and a small bowl: For mixing and applying your environmentally safe oven cleaner.
Pro tip: Wear kitchen-safe gloves. Even natural solutions can dry out your hands after a good deep clean.
Homemade Oven Cleaner Recipes
Try one of these simple blends for a non-toxic oven cleaner that works:
Everyday Degreaser Spray
- 1 cup white vinegar
- 1 cup warm water
- 1 teaspoon plant-based dish soap
- Optional: 10 drops lemon or orange essential oil for a fresh scent
Heavy-Duty Paste (Primary Workhorse)
- 1/2 cup baking soda
- 2–3 tablespoons water (or lemon juice) to form a spreadable paste
- Optional: 1 tablespoon hydrogen peroxide for extra whitening on the door glass
Citrus Boost Cleaner
- 1/2 cup baking soda
- 1/4 cup lemon juice
- 2 tablespoons white vinegar (add slowly; it will fizz)
- A few drops of dish soap
These blends are easy to customize. Need more slip? Add a tiny bit more water or soap. Need more grip? Add a sprinkle of baking soda.
Step 2: Make a Vinegar and Baking Soda Mixture
A vinegar and baking soda oven cleaner is the classic, for good reason. The fizzing reaction helps loosen grime, the baking soda lifts and deodorizes, and the vinegar cuts through lingering grease.
This dynamic duo works on enamel, metal, and glass without the harshness of traditional products. It’s budget-friendly, kid-safe when used properly, and seriously effective.
Mixing Instructions
- Start with 1/2 cup baking soda in a small bowl.
- Add 2 tablespoons water, stirring until it forms a thick, spreadable paste. Think toothpaste texture.
- For extra oomph on stubborn spots, add 1 tablespoon hydrogen peroxide.
- Keep vinegar in a separate spray bottle. Don’t mix it directly into the paste yet, you’ll use it to activate the paste on the oven surface.
If you prefer a scented touch, add a drop or two of lemon essential oil to the paste. Keep it minimal to avoid residue.
Application Techniques
- Remove oven racks and any thermometer or pizza stone. Set them aside for a separate clean.
- Use a spatula or your gloved fingers to smear the paste on the interior surfaces, floor, sides, back wall, and especially those greasy corners.
- Avoid the heating elements. If your oven has exposed elements, go around them carefully.
- Apply a slightly thicker layer to the worst spots, like sausage splatter or cheese crust around the door gasket.
- Lightly mist the pasted areas with white vinegar. The fizz means it’s working.
Work in small sections if your kitchen is warm, the paste can dry quickly. A quick vinegar spritz keeps it active.
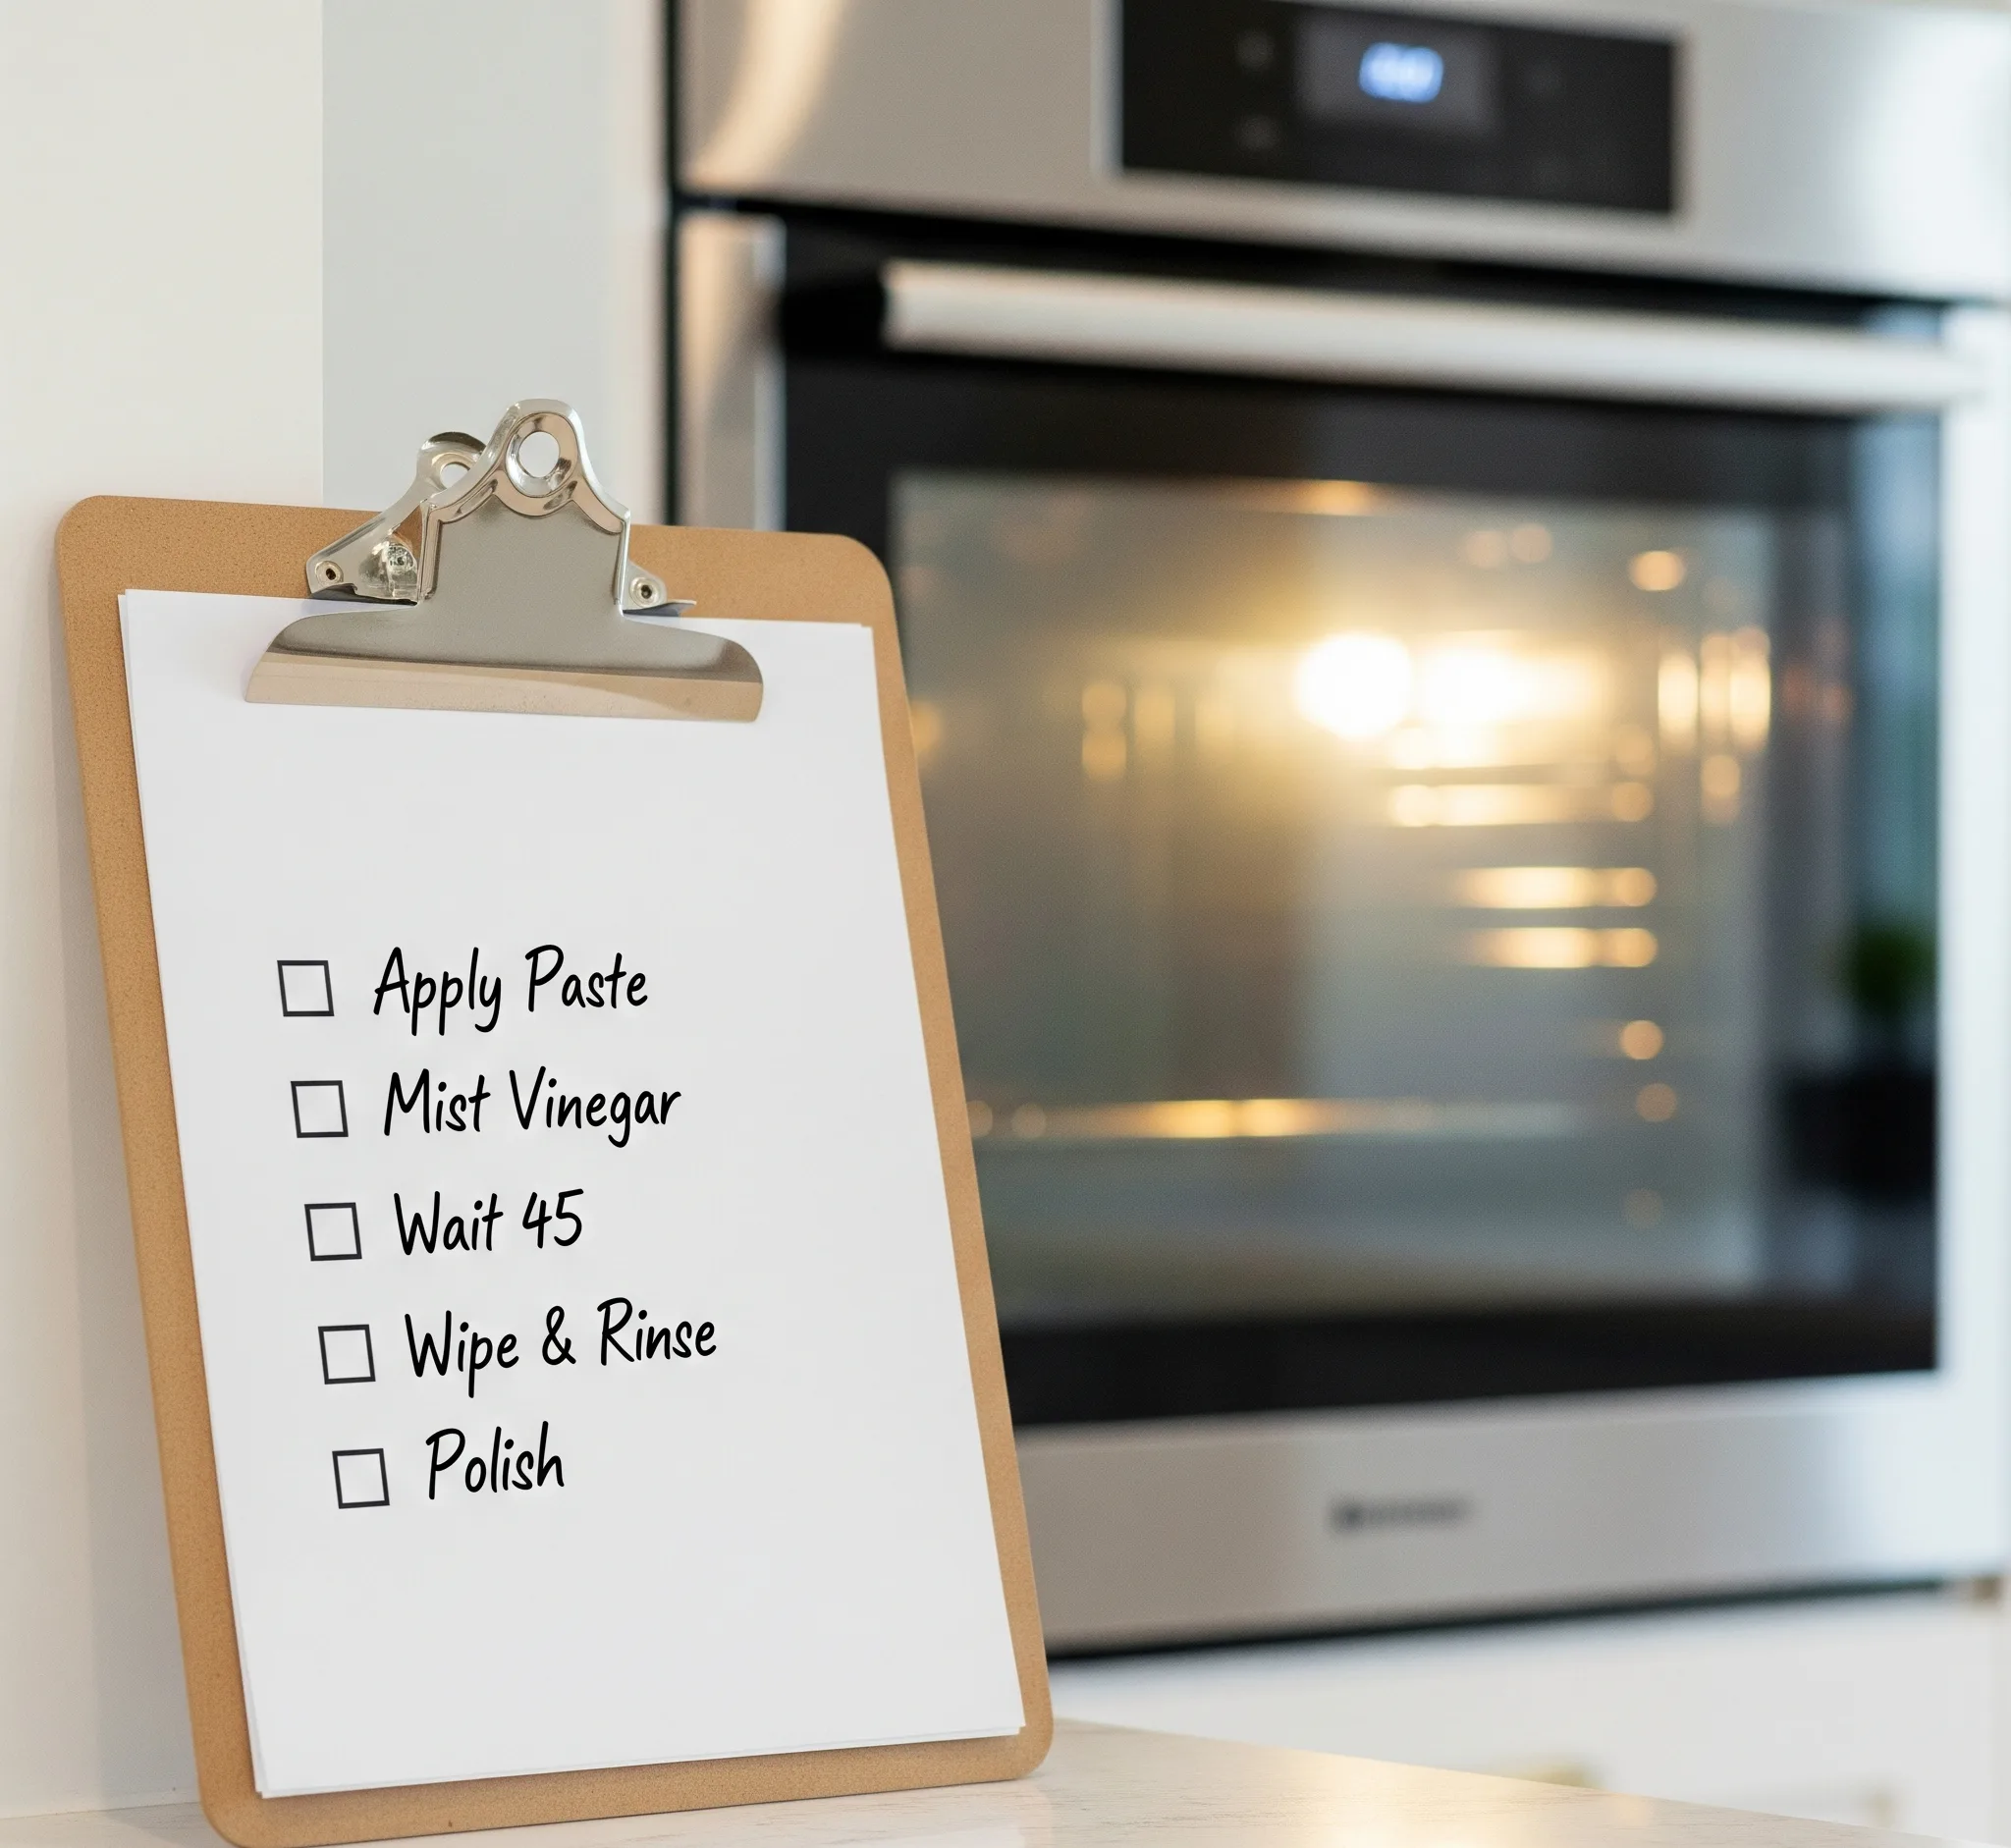
Step 3: Apply the Cleaner

The success of any non-toxic oven cleaner hinges on even coverage and a little patience. Covering all the nooks and crannies lets the ingredients break down residue instead of relying on brute-force scrubbing.
Your goal is a smooth, even coat on every grimy area. Think of icing a cake, only this frosting fights grease and smells like a salad dressing.
How to Clean Your Oven with Natural Ingredients
- Start at the back of the oven and work toward the front, so you don’t lean over freshly applied paste.
- Spread the paste on the bottom, sides, and back walls. Don’t forget the door, especially along the bottom lip where drips collect.
- For the door glass, use a thinner layer. If you added hydrogen peroxide to your paste, this is where it shines.
- Gently massage paste into burnt-on patches with a circular motion using a non-scratch pad.
If there’s a heavy buildup on the bottom, use a plastic scraper to lift any loose fragments before applying paste. Less debris means your paste can focus on the stubborn, stuck-on bits.
Best Practices for Effective Cleaning
- Ventilate the kitchen with a cracked window or the vent hood on low for fresh airflow.
- Keep the paste moist. If it dries too quickly, spritz with vinegar or warm water.
- Avoid using metal scrapers or steel wool, which can scratch enamel.
- For the door gasket (that soft, rubbery seal), use only a lightly damp cloth with a bit of vinegar and a toothbrush. Be gentle, damage here can affect heat retention.
Wipe any paste that gets onto the hinges or latch. Those parts prefer to stay clean and dry.
Step 4: Let it Sit

Dwell time is where the real magic happens. A few minutes of waiting can save you twenty minutes of scrubbing. Consider it your coffee break while chemistry goes to work.
Even natural cleaners need time to penetrate and soften baked-on spills. The payoff is a smoother wipe-down and far less elbow grease.
Importance of Dwell Time
- Light to moderate mess: 20–30 minutes is usually enough.
- Tough or older buildup: 45–60 minutes makes a big difference.
- Mega-messes (no judgment): Apply paste, let it sit 60 minutes, wipe, then repeat for round two.
If the paste starts looking chalky, spritz lightly with vinegar to reactivate. You’ll hear a soft fizz and see it revive.
Additional Tips for Stubborn Stains
- For caramelized sugars or cheesy pizza drips, place a warm, damp cloth over the spot for 5–10 minutes before scraping with a plastic tool.
- Use a pinch of coarse salt on your damp cloth for extra grit on the bottom panel, great for sticky, lacquer-like stains.
- On the door glass, lay a vinegar-soaked paper towel across the pane for 10 minutes, then apply a fresh layer of baking soda paste. The two-step method melts away cloudiness.
- If you’ve got lingering odors from fish or bacon, place a small oven-safe dish with 1 cup of water, 2 tablespoons vinegar, and a few lemon slices in the oven at 200°F for 15–20 minutes after cleaning. The steam freshens and loosens any last film.
Remember: skip the high-heat self-clean cycle if you’re sensitive to smoke or have an older oven. Natural cleaning keeps fumes low and protects components.
Step 5: Rinse and Wipe Down
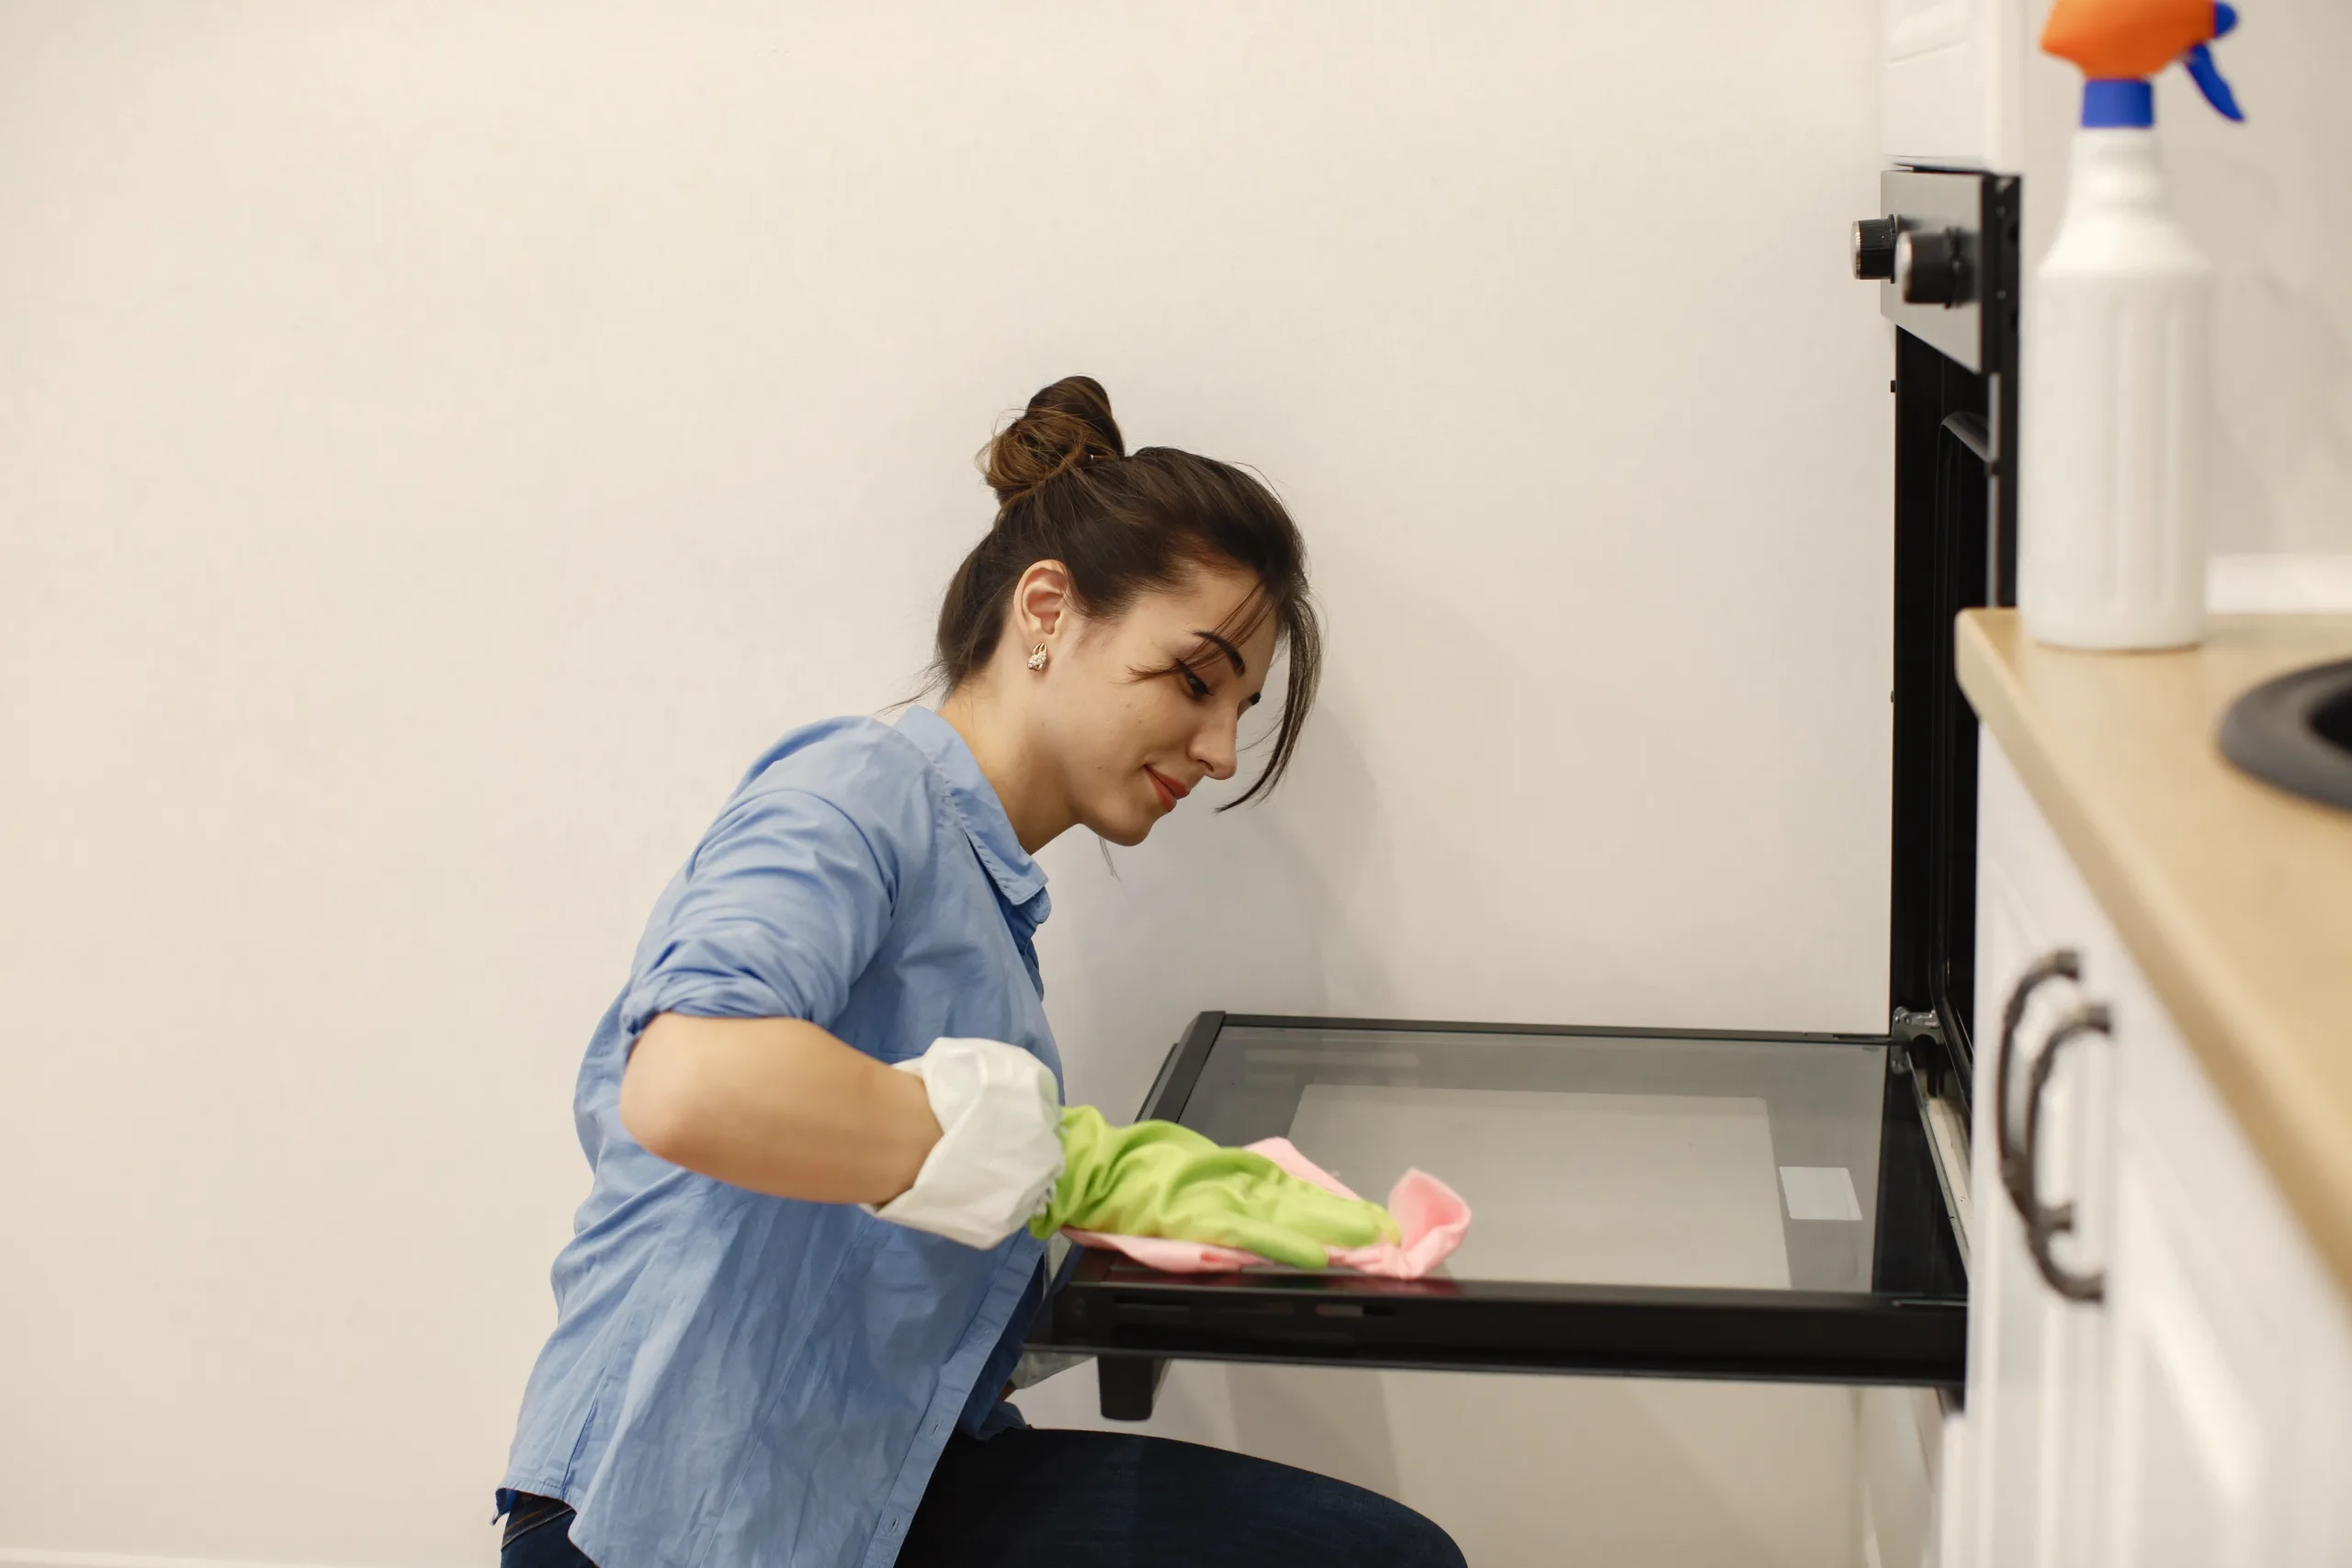
This is the oddly satisfying part. The grime releases, the surface gleams, and your kitchen suddenly smells bright and clean. Take your time here to remove all residue so your next roast tastes like rosemary, not cleaner.
Use fresh cloths so you’re not just moving grease around. A bucket of warm water with a drop of dish soap is your best friend.
Cleaning the Oven Racks
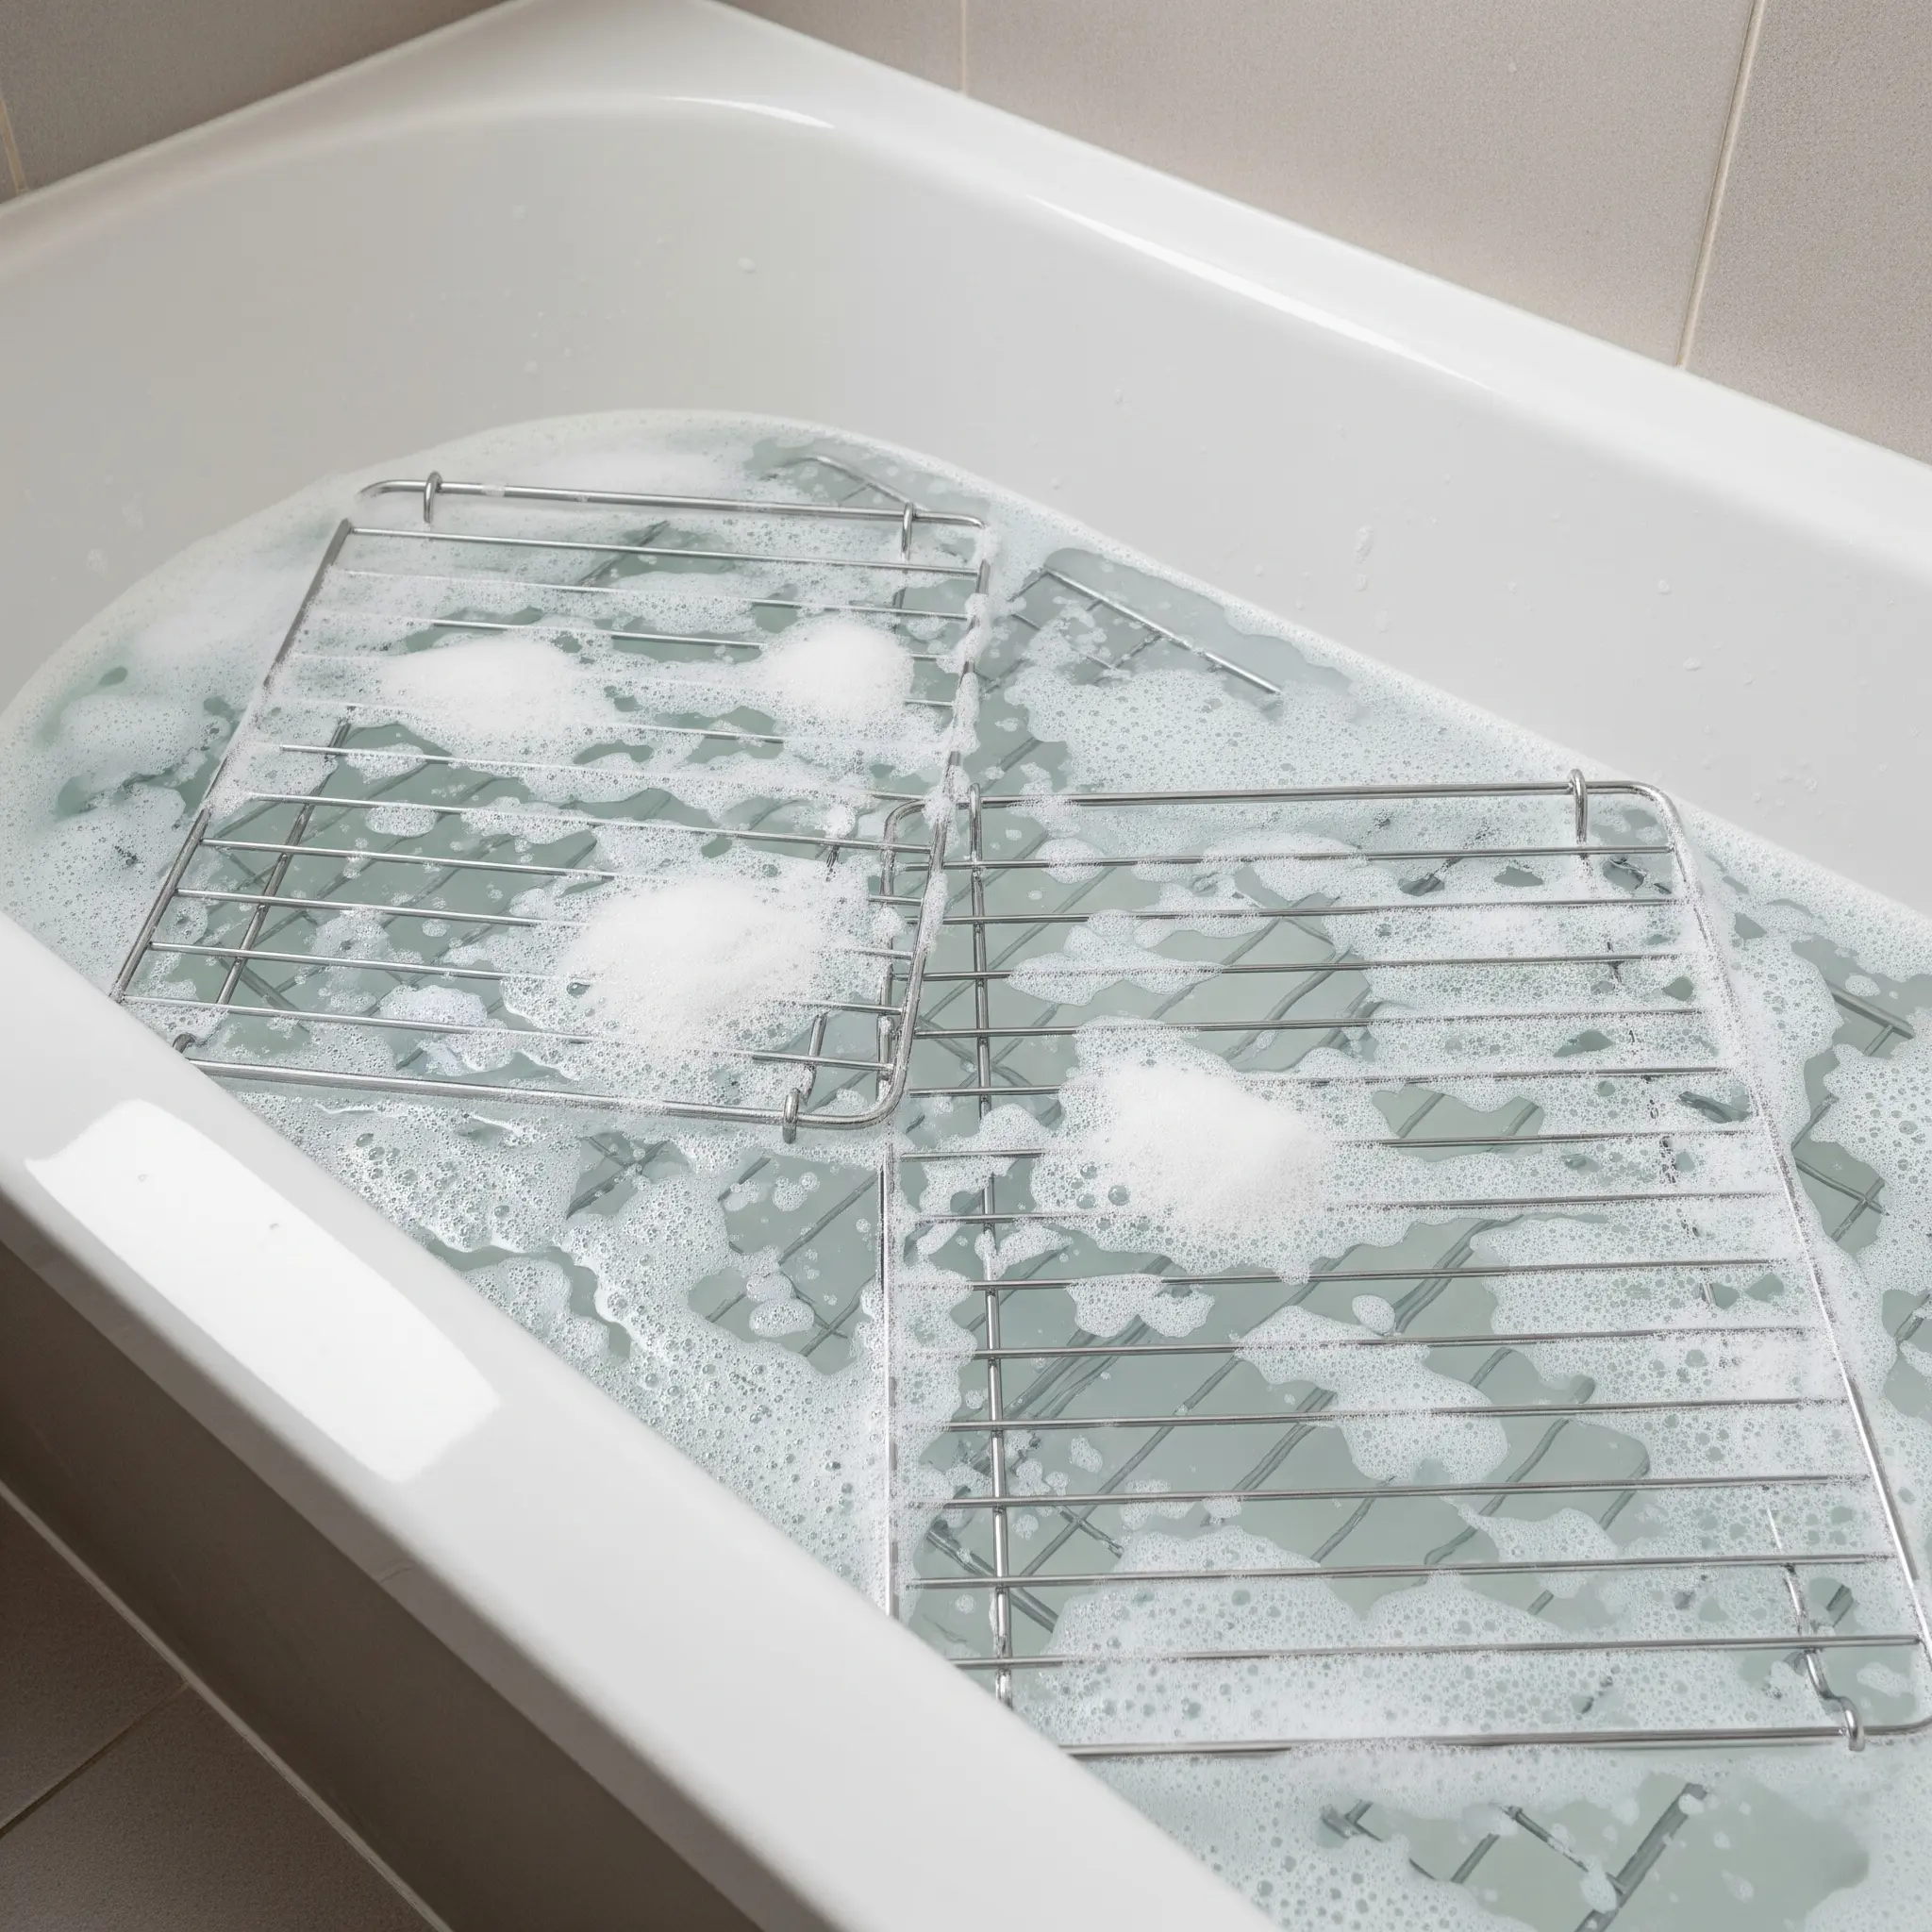
- Fill your sink or bathtub with very warm water, 1/2 cup baking soda, and a generous squeeze of plant-based dish soap.
- Submerge the oven racks for 20–30 minutes. If your tub is large, place an old towel at the bottom to prevent scuffs.
- For heavy grease, sprinkle extra baking soda directly on the racks and scrub with a non-scratch pad or a stiff nylon brush.
- Rinse thoroughly with warm water and dry with a microfiber towel to prevent water spots.
If your racks are extra grimy, try a paste of baking soda and vinegar on the worst bars, then let it sit for 15 minutes before scrubbing. The fizz helps lift gunk trapped near the joints.
Finishing Touches for a Spotless Shine
- Wipe all interior surfaces with a damp microfiber cloth, rinsing the cloth frequently in a bucket of warm water.
- Follow with a light vinegar spritz and a final wipe for a streak-free finish.
- Clean the door glass inside and out with a 50/50 vinegar-water mix for that showroom sparkle.
- Don’t forget the exterior touchpoints: knobs, handle, and the control panel. Use a lightly damp cloth, never soak.
- Slide the clean racks back in, then leave the door slightly open for 10–15 minutes to air dry.
For stainless steel exteriors, go with the grain using a drop of dish soap on a damp cloth, rinse, then finish with a tiny dab of olive oil or mineral oil on a dry cloth for a smudge-resistant gleam.
Conclusion
You just learned how to clean your oven naturally with ingredients you probably already own. No harsh fumes, no costly cleaners, just smart, effective steps and a little dwell time doing the heavy lifting.
The best part? This routine turns a dreaded task into a manageable habit. Once you’ve done the deep clean, quick monthly touch-ups are a breeze.
Recap of Steps
- Gather your ingredients: white vinegar, baking soda, dish soap, lemon, optional hydrogen peroxide, and basic tools.
- Mix your homemade oven cleaner as a paste and keep vinegar in a spray bottle.
- Apply generously to all dirty surfaces, avoiding heating elements and gaskets.
- Let it sit 20–60 minutes, reactivating with vinegar as needed.
- Rinse and wipe thoroughly, clean racks separately, and finish with a shine.
Use these methods for a homemade oven cleaner that doubles as an environmentally safe oven cleaner and a truly non-toxic oven cleaner. Your kitchen will smell fresh, your oven will sparkle, and your meals will taste like they’re supposed to pure and delicious.
Encouragement to Use Natural Products
Natural cleaning isn’t just a trend; it’s a simple, affordable way to protect your family, your appliances, and the planet. When you reach for vinegar, baking soda, and lemon, you’re choosing a healthier home and a cleaner conscience without sacrificing results.
Make this your new seasonal ritual or a quick weekend reset. Your future self (and your next batch of cookies) will thank you.
If you enjoyed this article, don’t forget to save it on Pinterest or share it with a friend!