
Introduction
A fresh coat of paint for metal can turn a rusty patio chair into a backyard showpiece and make a dated light fixture look designer-new. If you’ve ever wondered which paint really sticks to metal, whether spray paint for metal is better than brush-on, or how to choose a safe paint remover for metal, you’re in the right place.
I’ve painted everything from thrifted steel cabinets to cast-iron railings and learned a few shortcuts that can save you money, time, and a lot of sanding. Today I’m sharing the strategies I use when I need the best paint for metal projects that actually lasts, looks gorgeous, and handles weather, fingerprints, and life.
Whether you’re a weekend DIYer or a confident pro, you’ll find practical tools and high-value tips to help you nail your next metal makeover. Grab your coffee, crack a window, and let’s talk smooth finishes, smart prep, and the products that protect your investment.
Tip #1: Understand the Types of Paint for Metal
The world of paint for metal can feel like alphabet soup, but once you know the basics, choosing the right formula becomes easy. Different metals and environments demand different coatings, and your choice will decide how well the finish resists rust, chips, and UV fade.
Start by thinking about the metal itself. Is it ferrous, like iron or steel that can rust, or nonferrous, like aluminum and brass that oxidize differently? Next, consider where the piece will live. An indoor black bookcase needs different toughness than an outdoor wrought-iron bench in Texas sun.
Best paint for metal options
If you crave a durable, glossy finish that feels hard like factory enamel, oil-based enamel paints are a classic. They level beautifully, resist moisture, and hold color well. The trade-off is longer dry times and stronger odor, so good ventilation is a must.
Water-based acrylic paints have come a long way and are now serious contenders for indoor metal. They dry fast, offer low odor, and clean up with soap and water. Paired with the right primer, they deliver a smooth, chip-resistant finish that’s great for items you touch often, like metal bed frames and handles.
Epoxy-based coatings give you extreme durability. If you’ve got a garage shelving unit, a metal toolbox, or a steel door that sees constant abuse, two-part epoxies are like armor. They typically cost more, but in terms of protection, they’re often the best paint for metal when performance matters most.
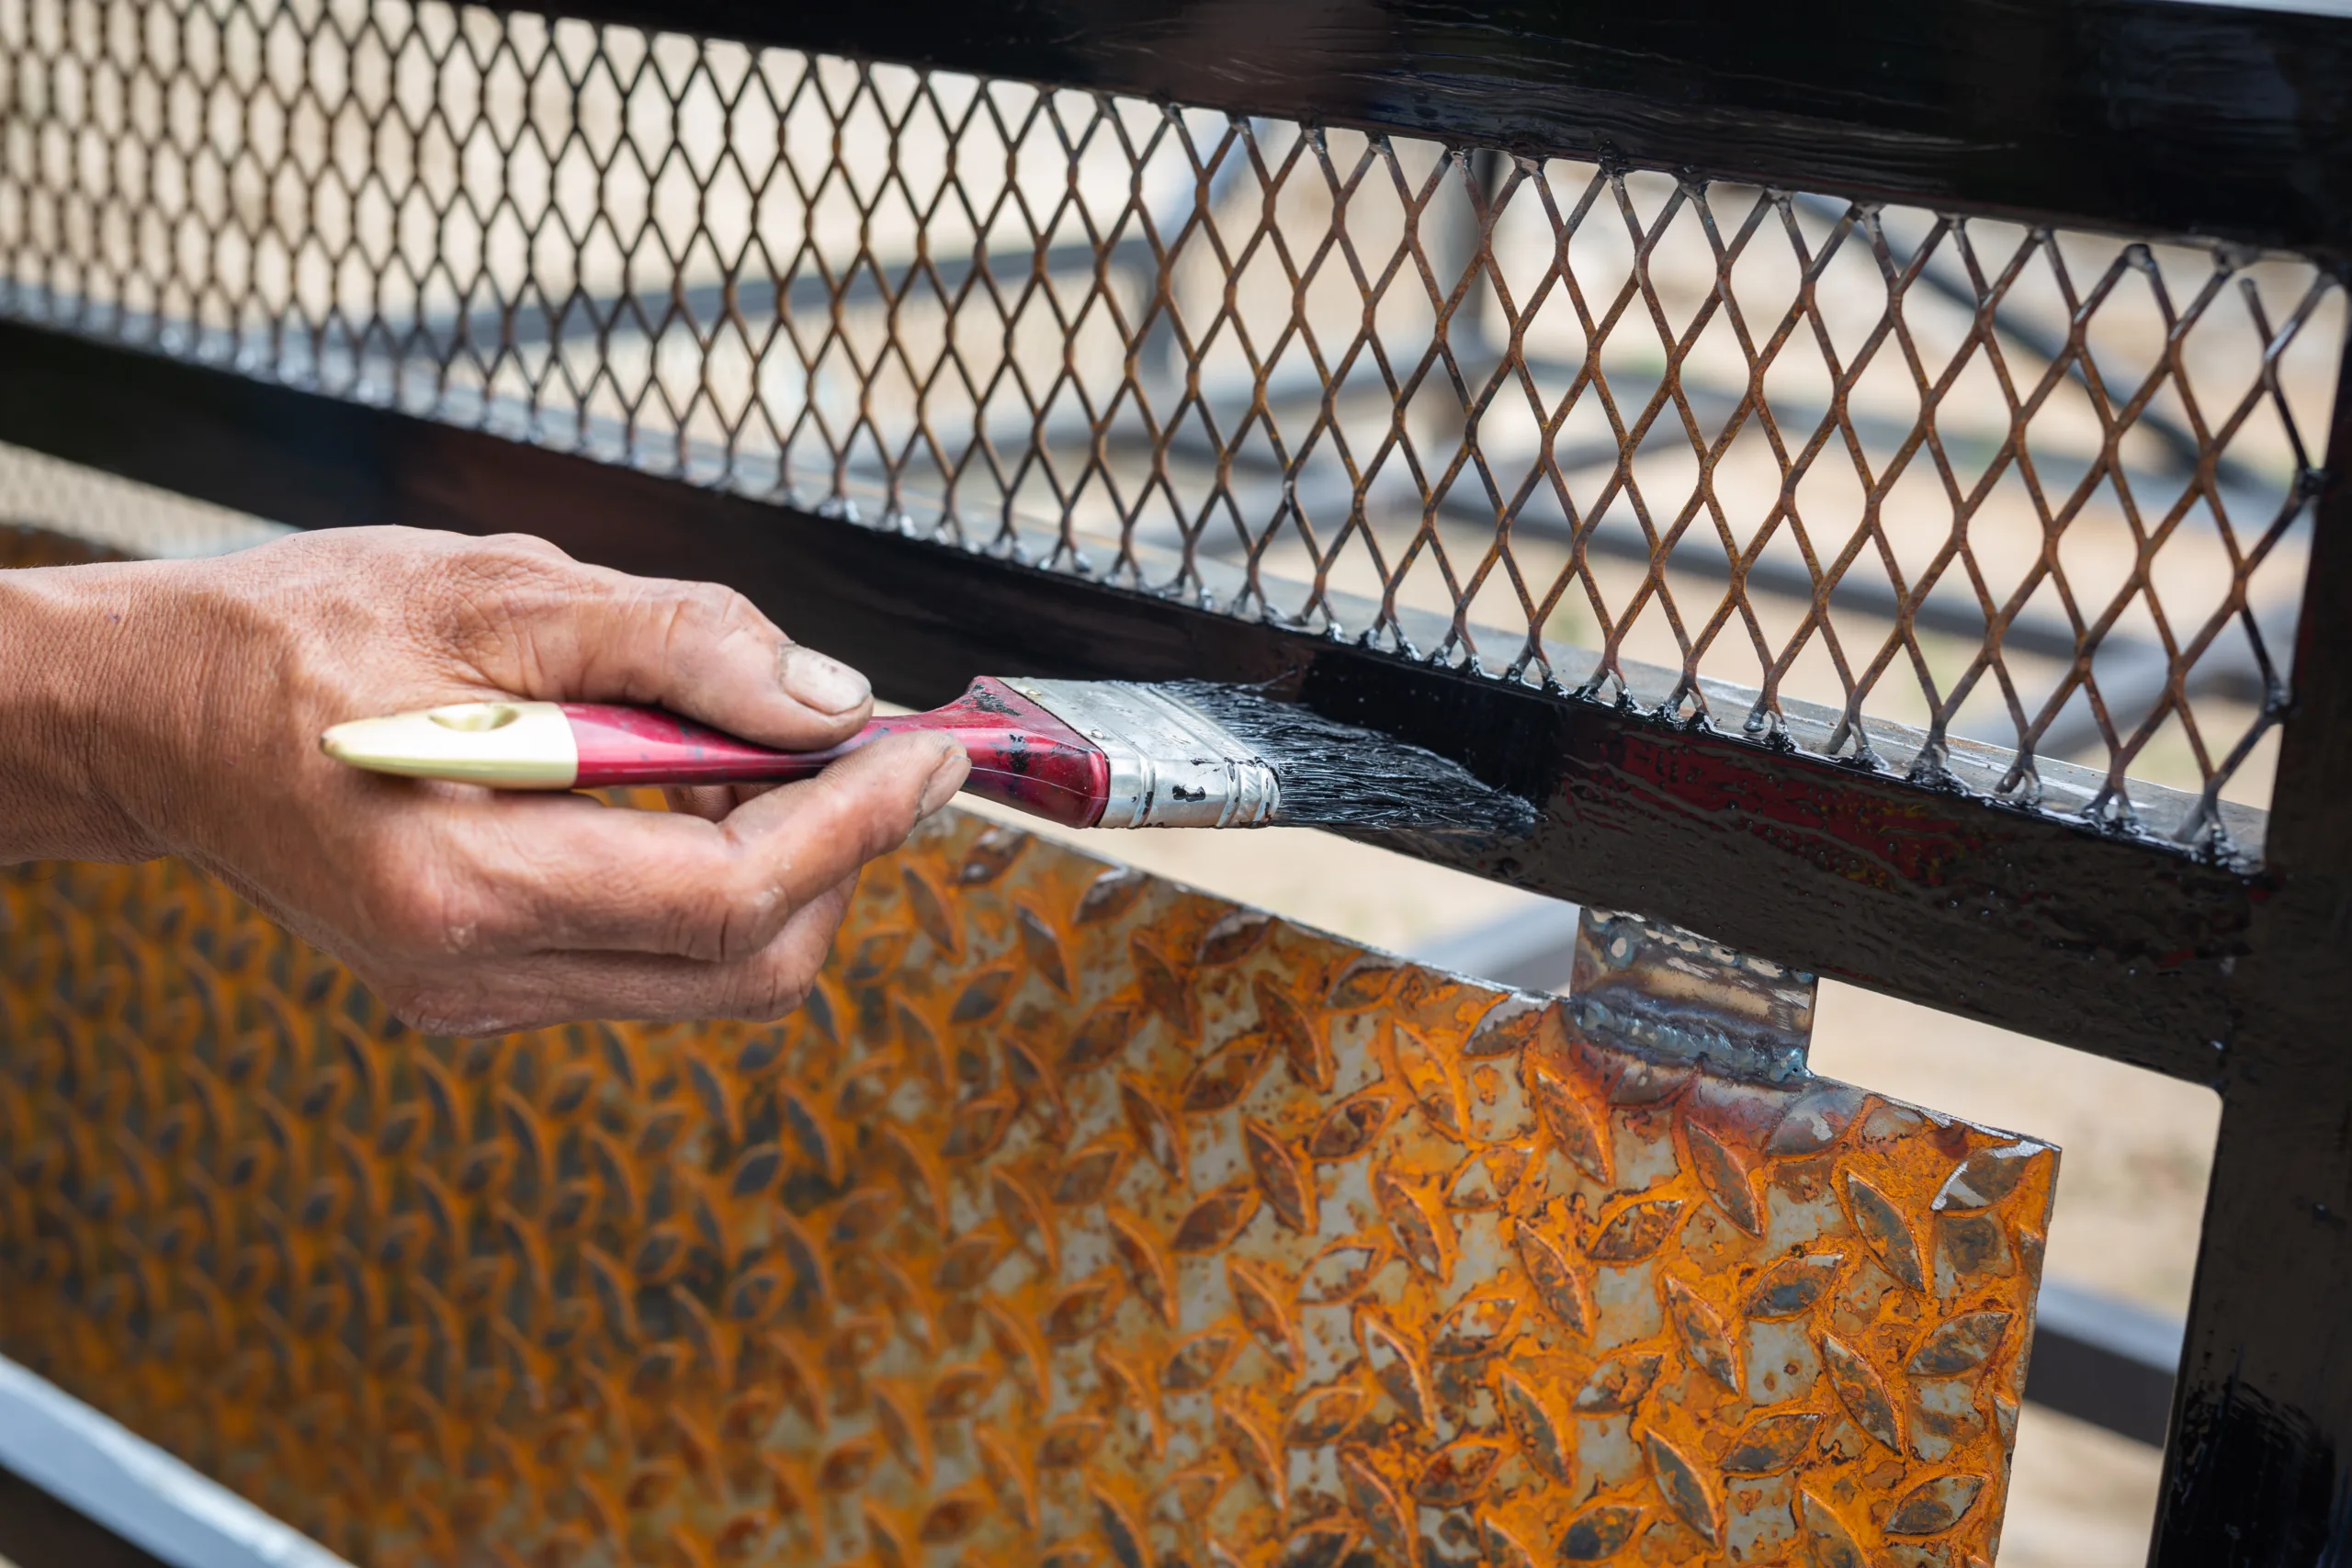
For outdoor pieces, look at alkyd-modified paints that are engineered to flex with temperature changes and handle UV. If rust is already present or a risk, rust-inhibiting paints with built-in corrosion blockers can save a step and extend the life of your project.
Hammered-finish paints are the DIY’er’s secret weapon when a surface has minor imperfections. The slightly textured, dappled look hides past sins while delivering serious coverage, especially when you’re painting garden décor or older furniture that’s seen some life.
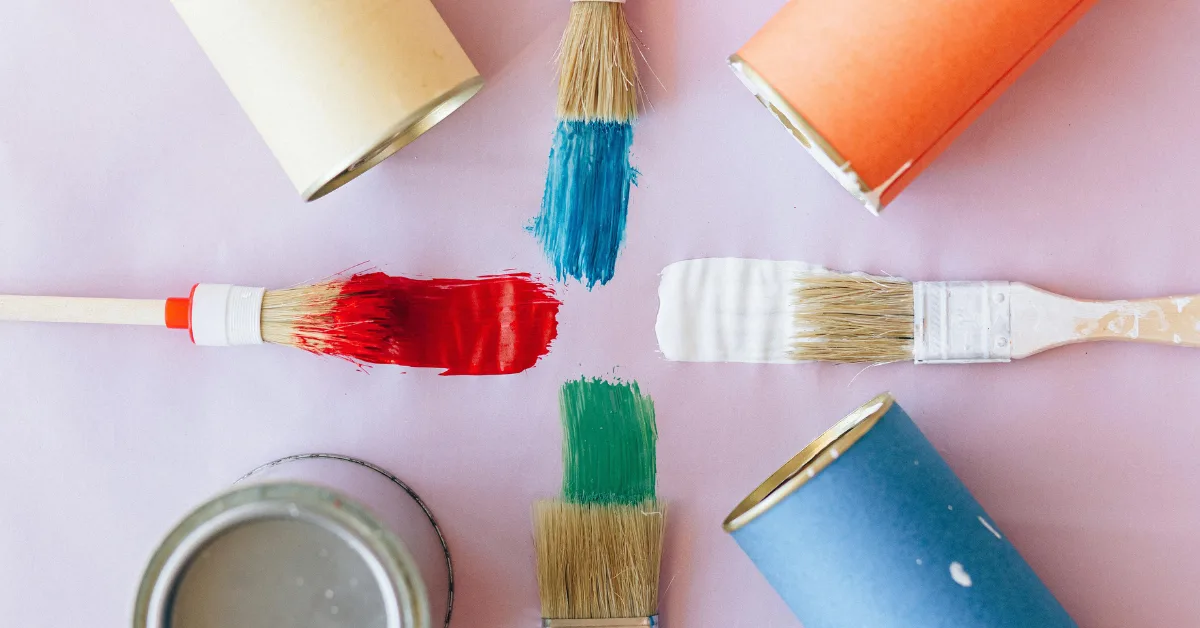
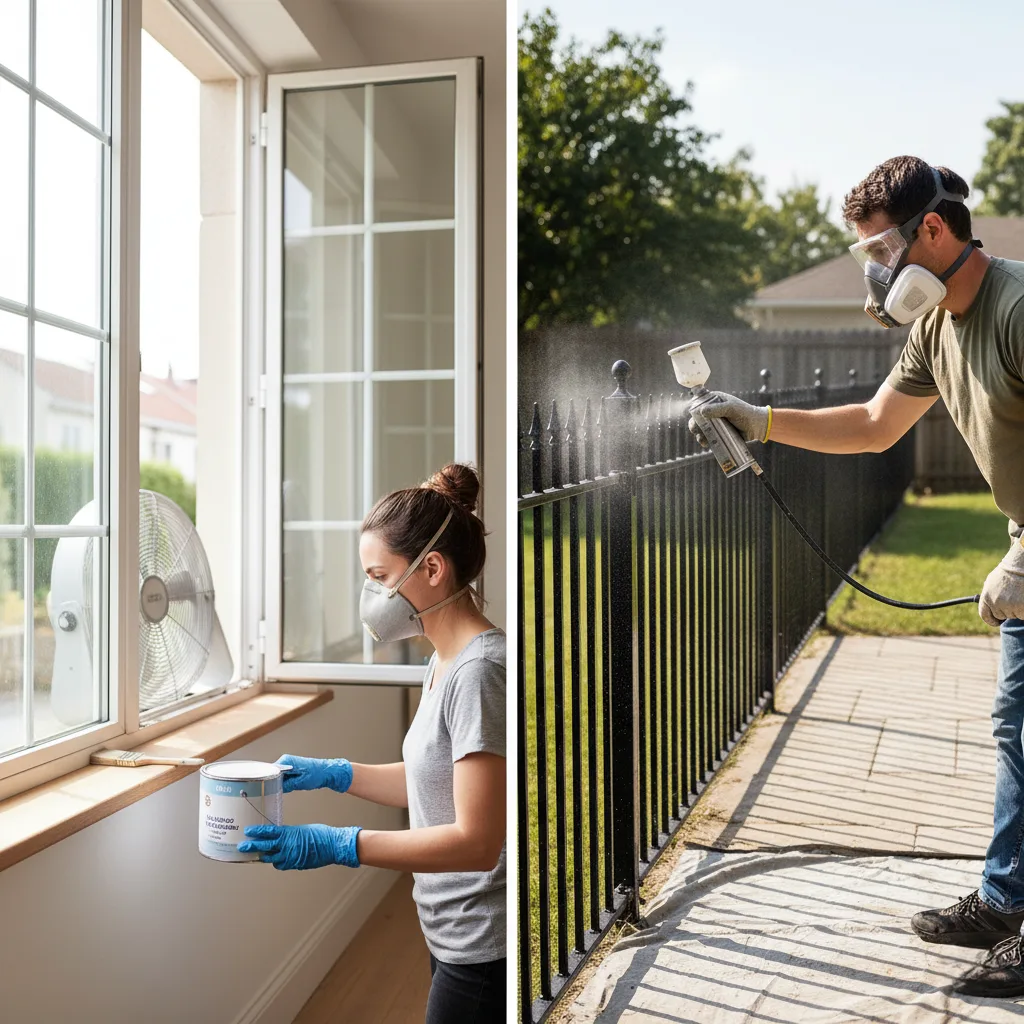
Differences between spray paint for metal and brush-on paint
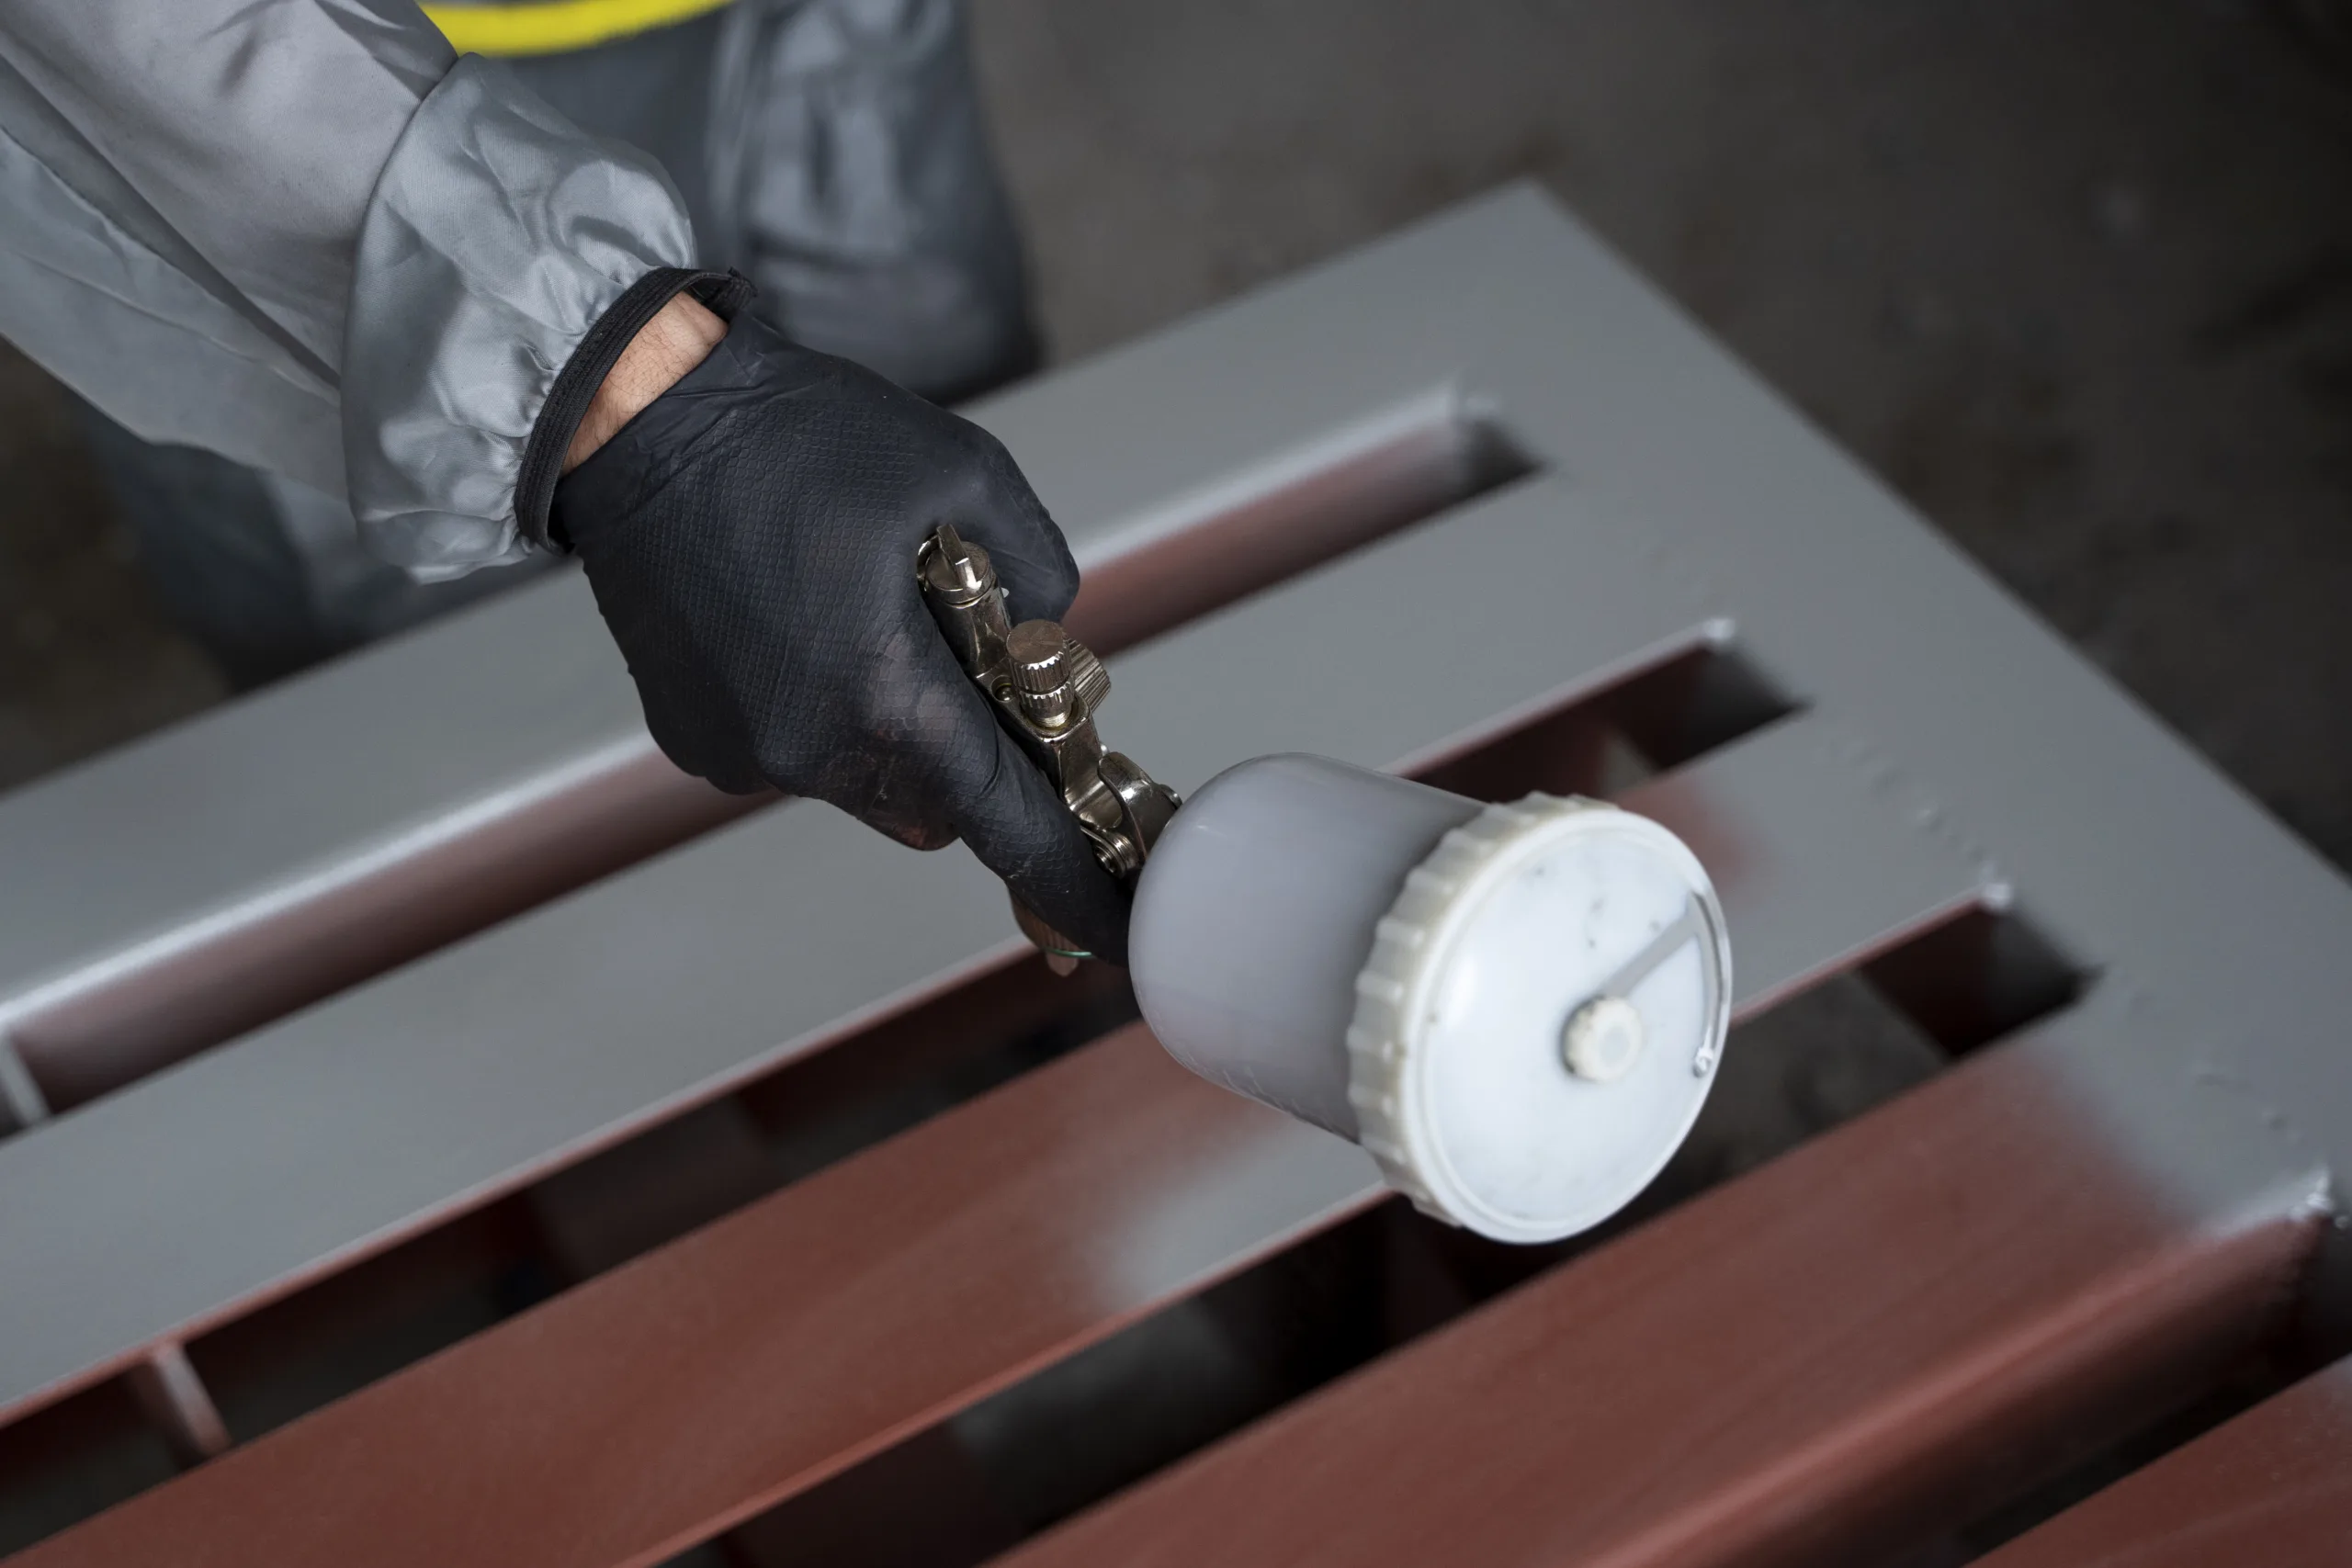
Spray paint for metal wins for speed and a remarkably smooth finish with no brush marks. It’s perfect for chairs with skinny spindles, light fixtures, and anything with curves and crevices. You’ll need to protect nearby surfaces and use multiple thin coats, but the payoff is professional-looking, even coverage.
Brush-on paint shines when you want control. It’s great for big flat surfaces like doors, cabinets, and shelves. You can build thickness, repair drips easily, and save money by using exactly what you need. Plus, certain high-performance paints and epoxies are only available in brush-on or roll-on formulas.
Rollers land right in the middle. A high-density foam roller paired with a quality brush for edges gives you a smooth surface with fewer lap marks. For large, flat metal pieces, it’s a time saver that still delivers a refined look.
One last note: aerosol spray paint for metal usually dries faster and can be recoated within an hour. Brush-on formulas may need 4 to 24 hours between coats, depending on temperature and humidity. Always read the label so your finish cures properly.
Tip #2: Prepare the Metal Surface
Prep is where the magic happens. If your paint for metal chips or peels, nine times out of ten, it’s because the surface wasn’t spotless, de-glossed, or sanded well enough. You don’t have to overthink it, but you do need a system.
My go-to process is simple: clean, de-gloss, sand, and prime. Once you start treating metal like a kitchen skillet that needs to be grease-free before cooking, your finishes get dramatically better. You’ll see less fisheye, fewer bumps, and the paint will bond like a dream.
Importance of cleaning and sanding
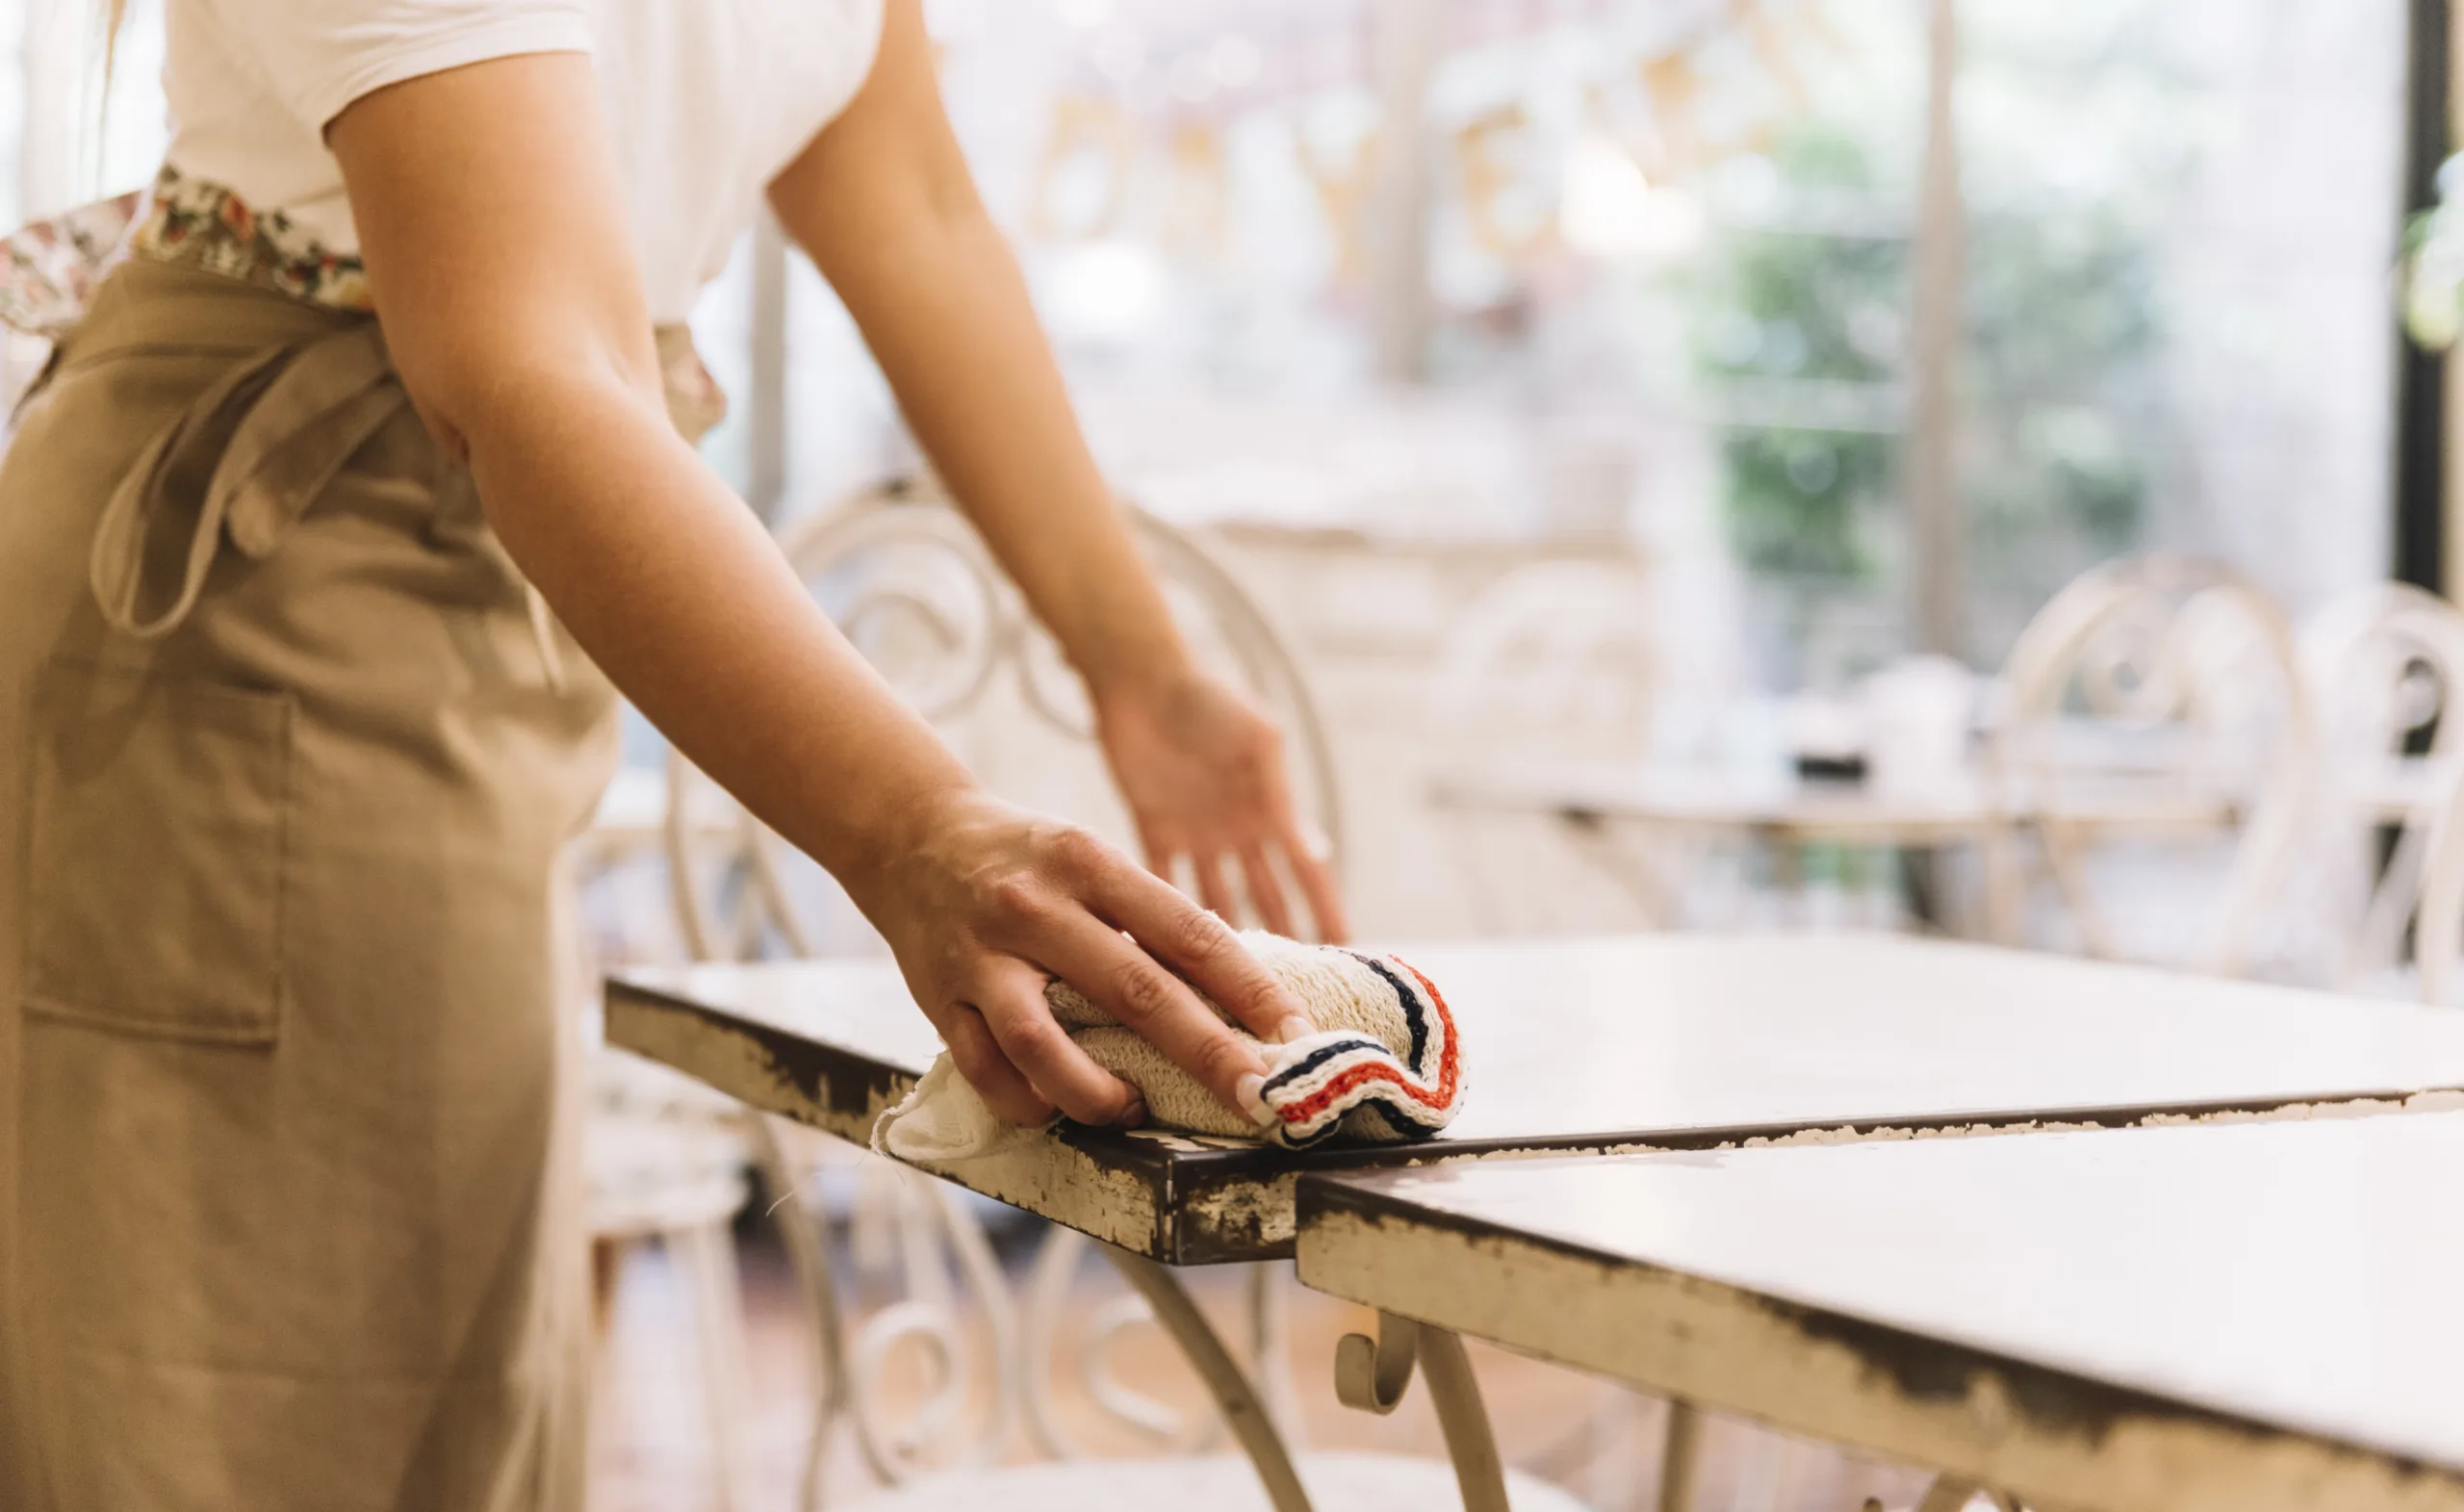
Metal attracts oils from your fingers and airborne grime that interfere with adhesion. Start with a degreaser or a few drops of dish soap in warm water, then rinse and dry completely. For stubborn residue, a swipe of mineral spirits on a lint-free cloth works wonders, but make sure you have ventilation and keep away from flames.
Sanding gives the surface tooth so the paint has something to grab. Use 180–220 grit for glossy metal to scuff the sheen, and 120 grit to knock down rust or rough spots. If you’re dealing with heavy rust, a wire brush attachment on a drill can save your elbows. Finish with a tack cloth or a vacuum and microfiber towel to remove dust.
If there’s loose paint, scrape it until everything that remains is tight. You want a stable base. Don’t worry about a perfect mirror surface; what matters most is consistency and cleanliness.
Using paint stripper for metal
When you’re facing thick, old coatings or multiple mystery layers, a paint stripper for metal can be a lifesaver. It saves hours of sanding and helps prevent gumming up your abrasives. Choose a gel formula for vertical surfaces so it clings and does the heavy lifting.
For safer indoor work, look for low-odor, non-methylene chloride options. They may take a little longer, but I’d rather wait an extra 15 minutes than deal with harsh fumes. Apply a generous layer, cover with plastic wrap to slow evaporation, and let chemistry do its thing. When the paint puckers, scrape gently with a plastic scraper to protect the metal.
If you’re removing powder coat or an especially stubborn epoxy, you might need a professional-grade paint remover for metal or a second application. After stripping, neutralize the surface as directed, wipe clean with mineral spirits or water depending on the product, and let it dry completely. A fast flash-rust can appear on steel, so plan to prime soon after stripping.
Always wear gloves and goggles. Protect your workspace with rosin paper or cardboard, and keep a metal container handy for paint waste so it cools and cures before disposal. Safety might not be glamorous, but it’s essential.
Tip #3: Select Appropriate Primers
Primer is the handshake between your metal and the paint. Skip it, and your finish may never really say hello. The right primer blocks corrosion, evens out porosity, and gives the paint a uniform surface that makes colors pop and last longer.
Think of primer as insurance. It costs a bit up front, but it protects your time and materials, which is where the real investment lies. Whether you’re using brush-on enamel or spray paint for metal, a targeted primer tailored to the metal type is your best friend.
Benefits of priming metal surfaces
Primers seal microscopic pores and micro-scratches from sanding, preventing moisture from sneaking under your paint. On ferrous metals like iron and steel, rust-inhibiting primers create a barrier that slows corrosion dramatically. Many include zinc phosphate or tannic acid to neutralize early rust and keep it from spreading.
Primers also improve coverage. If you’ve ever tried to put a crisp white or candy red over a dark surface and needed four coats, you know the struggle. A tinted primer gets you to full color faster, saving time and money. That means fewer cans, fewer hours, and better consistency across the entire piece.
Adhesion is the big win. Even slick metals like aluminum, stainless steel, and chrome respond better when you first apply a specialized primer that bites into the surface. The result is a finish that resists peeling when bumped or flexed.
Choosing the right primer for various metal types
For regular steel or iron, reach for a rust-inhibiting metal primer. If you’re dealing with light surface rust you can’t fully remove, use a rust-converting primer that chemically transforms remaining rust into a paintable, stable layer.
Aluminum benefits from a self-etching primer. These primers contain a mild acid that microscopically etches the surface, creating a strong bond. They’re my go-to for patio furniture frames, mailboxes, and aluminum window trim.
Galvanized metal can resist standard paints because of its zinc coating. Use a primer specifically labeled for galvanized surfaces to ensure proper adhesion. Once primed, you can apply most acrylic or oil-based topcoats with confidence.
Stainless steel needs a high-adhesion bonding primer since it’s so smooth and corrosion resistant. Brass and copper can be primed with a multipurpose metal primer if you plan to fully paint them. If you want a clear protective finish to keep a metallic look, consider a clear coat with UV inhibitors instead.
When in doubt, check the label of your topcoat. Many manufacturers pair primers with complementary paints. Sticking within a system often yields the best long-term results.
Tip #4: Consider the Environment
Where your metal lives determines how it ages. Choosing the best paint for metal isn’t just about the formula on the can; it’s about matching that formula to sun, moisture, salt, temperature swings, and day-to-day use.
An indoor bookshelf doesn’t face the same challenges as an outdoor grill cart or a coastal balcony railing. When you factor in your climate and the project’s purpose, your paint job will last longer and look better with less maintenance.
Indoor vs. outdoor painting considerations
Indoors, low-odor and low-VOC products are kind to your lungs and faster to recoat. Water-based acrylics and urethane-acrylic hybrids are excellent for items you touch daily because they cure hard without that lingering solvent smell. For high-touch indoor items like metal banisters, a satin or semi-gloss finish hides fingerprints while staying easy to clean.
Outdoors is a different beast. UV rays can bleach colors, and rain or snow invites rust. For exterior metal, choose paints labeled for outdoor use with UV protection and corrosion resistance. Oil-based enamels, alkyds, and certain high-performance acrylics stand up well to the elements. If your winters are severe or your summers scorch, flexibility matters; a finish that can expand and contract without cracking will hold up much better.
If you live near the coast or in areas that use road salt, salt spray and chloride exposure accelerate corrosion. Consider a two-step system: a zinc-rich primer followed by a marine-grade or industrial enamel. It’s a little extra effort, but you’ll gain years of durability.
Weather-resistant paint options
For all-weather projects like metal doors, railings, and outdoor furniture, look for paints with rust inhibitors and UV blockers. If your piece sees a lot of sun, a topcoat with UV resistance preserves color depth. Gloss finishes tend to shed water more effectively and are easier to clean, though they will highlight surface imperfections more than satin.
Epoxy coatings shine in garages and workshops where abrasion, oil spills, and dropped tools happen. If you want a showroom-level finish on a steel workbench or toolbox, a two-part epoxy or polyurethane system is tough to beat.
For grills, fire pits, or anything near heat, use high-heat paint designed for metal. Regular paints can discolor or fail if the temperature exceeds their rating. Always check the product’s maximum temperature range to avoid disappointment.
Finally, if your piece will be exposed to constant moisture, such as pool furniture or outdoor showers, prioritize moisture-curing urethanes or marine-grade enamels. They seal tightly against water ingress and resist blistering.
Tip #5: Test and Evaluate
Before committing to a full makeover, I always do a small test. It’s the easiest way to confirm that your chosen primer and paint for metal love each other and will stand up to everyday life. A 15-minute test can prevent a weekend of regret.
Testing is also where you dial in your technique. Maybe your nozzle distance is too close and causing orange peel, or your brush is leaving marks because the paint is too thick. Tiny experiments lead to big wins with the final finish.
How to test paint adhesion
Start with a prepared, primed corner or a scrap of similar metal. Apply your topcoat as you plan to use it: same number of coats, same drying times. Let it cure for at least 24 to 48 hours at a steady temperature, ideally 70 to 77 degrees Fahrenheit.
Once cured, do a simple crosshatch test with a sharp utility knife. Score a small grid, press a piece of painter’s tape firmly over it, and pull back sharply. If paint lifts to bare metal or pulls away in chunks, you may need a different primer, better surface prep, or more cure time.
Next, test abrasion. Rub the area with a clean cloth and a bit of isopropyl alcohol. If color transfers or dulls significantly, consider adding a protective clear coat, switching to a tougher topcoat, or extending cure time. For outdoor pieces, dribble a few drops of water and leave them for an hour. Any whitening or blistering is a red flag that more cure time or a different paint is needed.
Tips for a successful painting project
Plan your layers. A solid system is everything: clean, sand, degrease, prime, topcoat, and optional clear coat. Skipping steps is the fastest route to failure.
Control your climate. Paint likes consistency. Aim for 60 to 80 degrees Fahrenheit, low humidity, and minimal dust. Indoors, a small fan for air exchange helps, but don’t point it directly at your project or you’ll kick up debris.
Use the right tools. For spray paint for metal, choose a can with an adjustable fan nozzle, and keep a spare nozzle in a cup of mineral spirits to swap if it clogs. For brush-on paint, a high-quality synthetic brush and a foam roller provide a smooth, glassy finish.
Go thin and steady. Multiple thin coats bond better than one heavy coat. Thick coats can wrinkle, sag, or trap solvents that cause soft finishes. Patience now means fewer fixes later.
Mind your edges and undersides. That’s where rust starts. Tip the piece or flip it between coats to reach hidden spots. If it will sit on a damp surface, add felt pads or plastic feet to reduce moisture contact.
Respect cure times. Dry to the touch isn’t cured. Some paints reach full hardness in 7 to 14 days. Avoid heavy use until the finish is fully cured to prevent scuffs and fingerprints embedding in the surface.
Consider a topcoat. A clear polyurethane or acrylic clear coat boosts scratch resistance and adds UV protection. Choose a compatible clear coat designed for metal to avoid lifting or clouding.
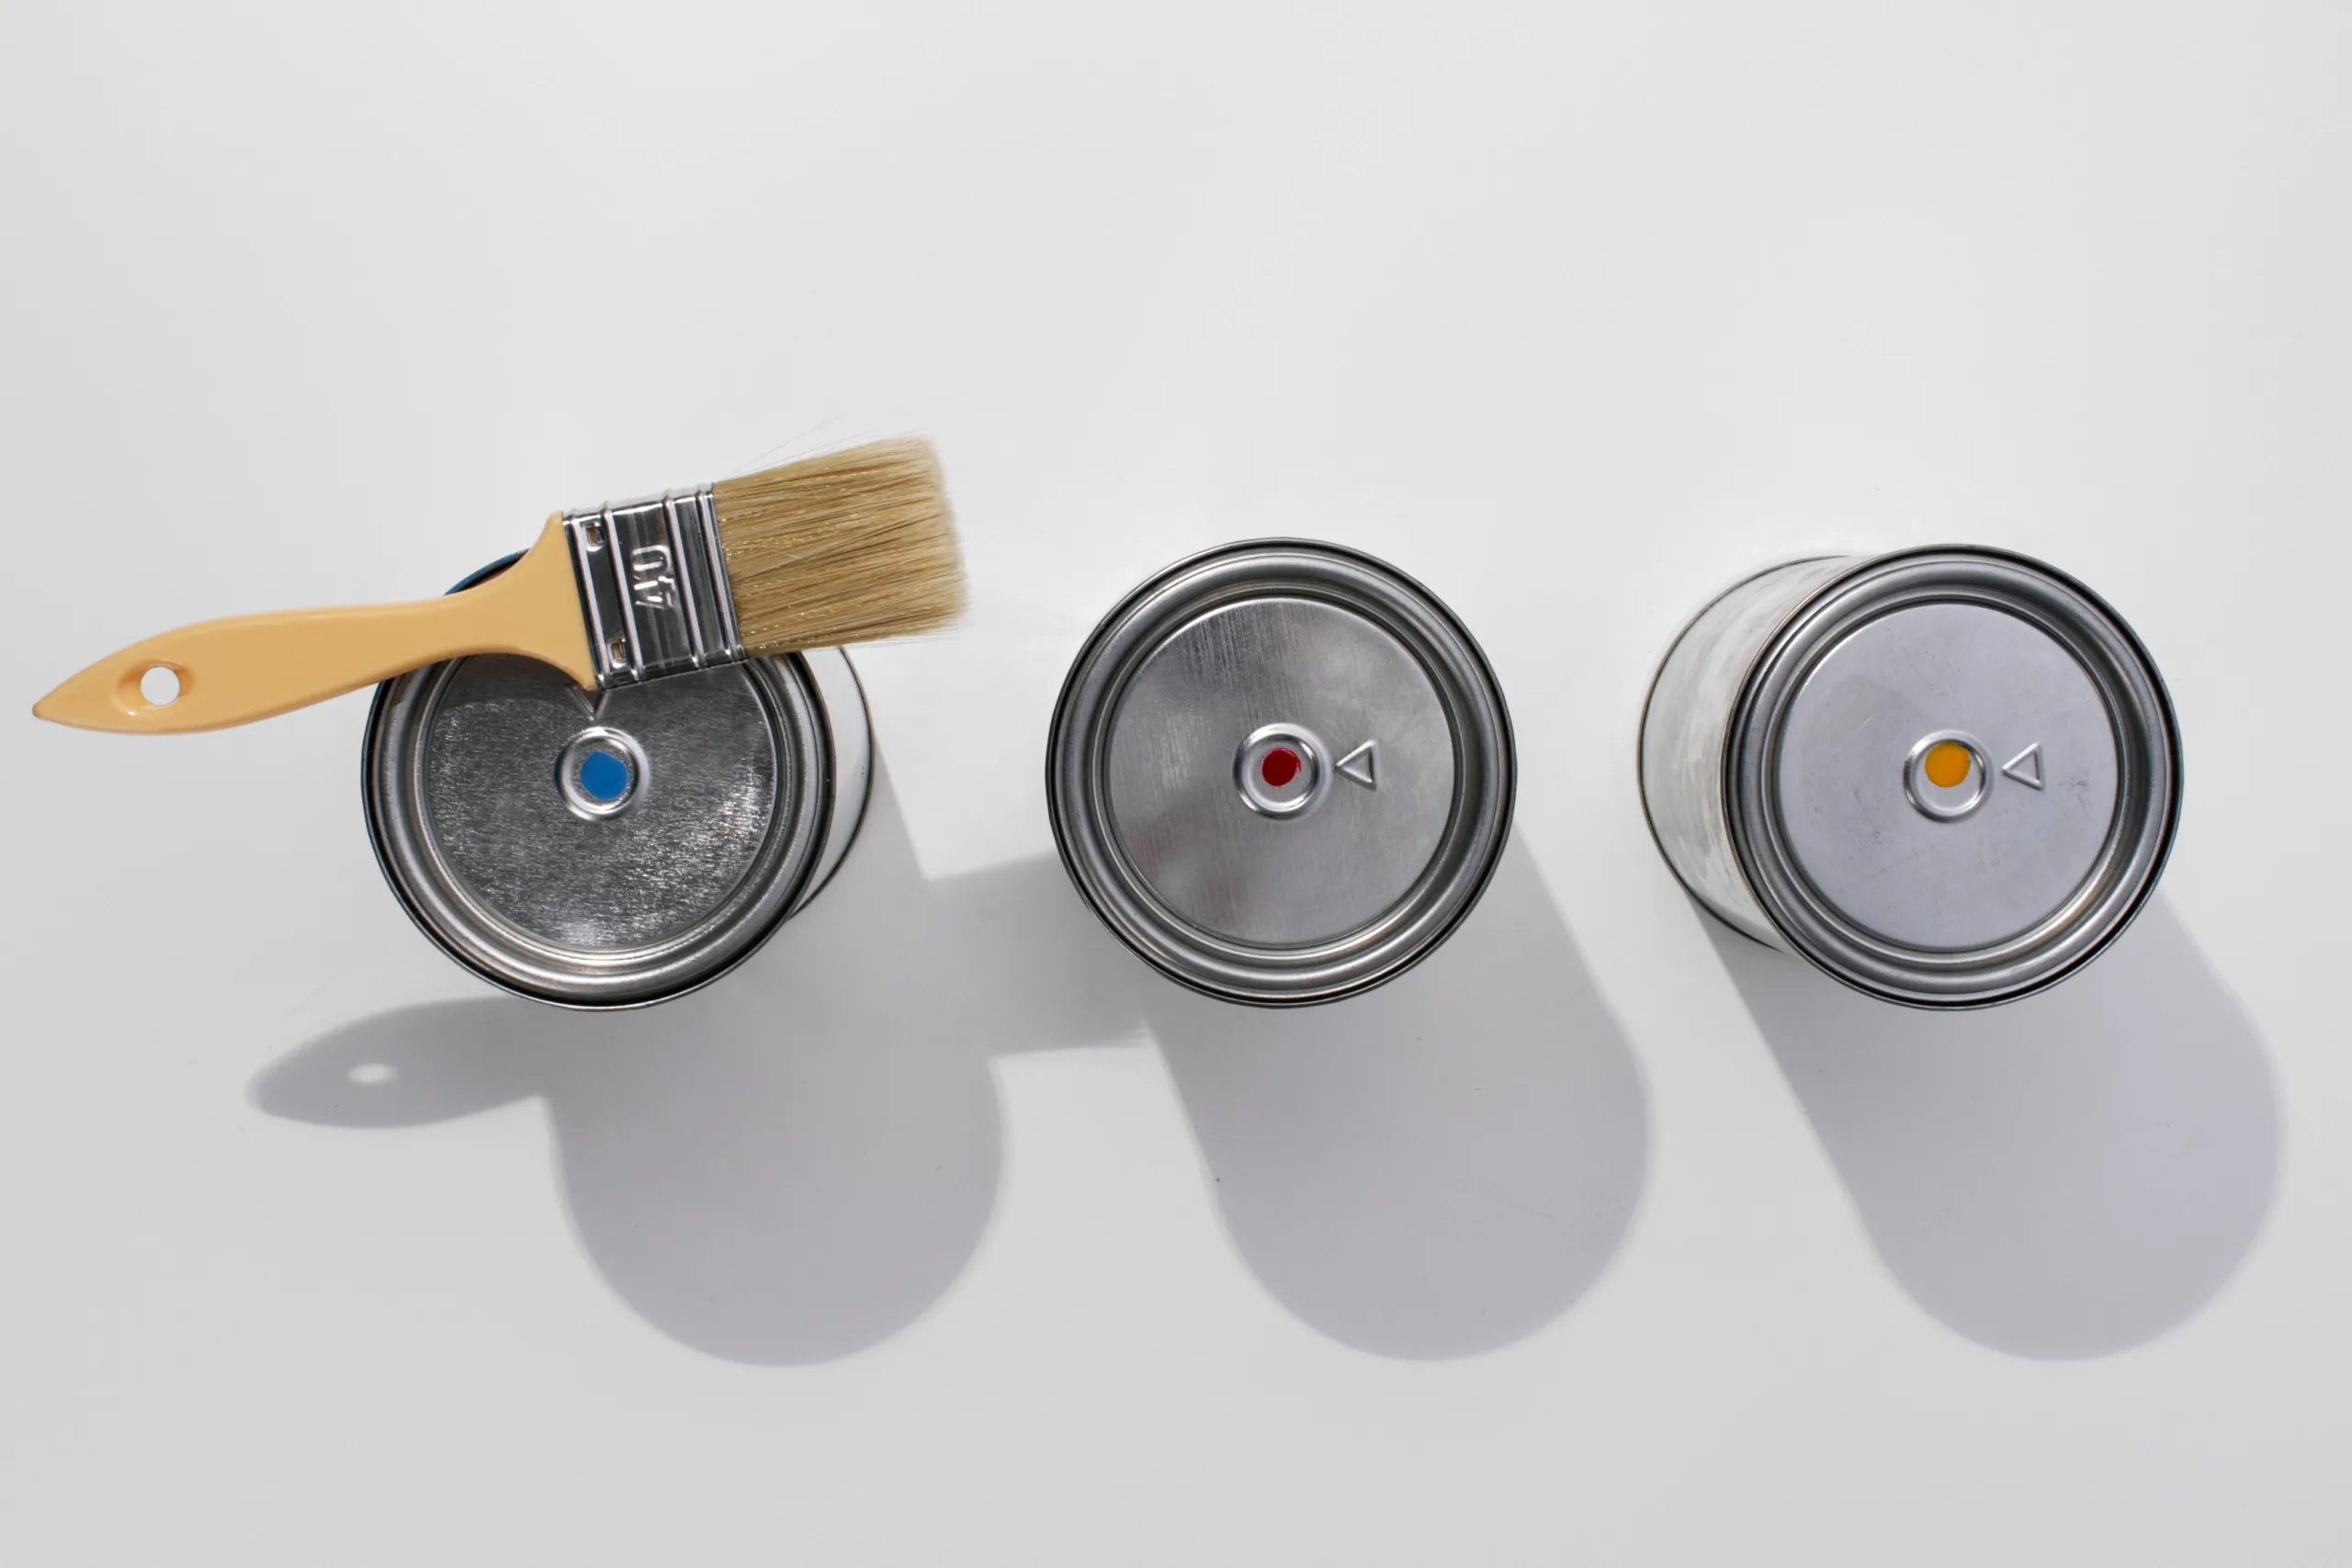
Label your supplies. Write the date, color, and brand on the can lid or your phone notes. When you need to touch up in a year, you’ll be glad you did.
Budget wisely. Premium paint for metal often costs more upfront but delivers fewer coats and longer life. Over time, that can be the most cost-effective route.
Dispose safely. Leftover stripper, paint remover for metal, and solvent-soaked rags need proper disposal. Let rags dry flat outdoors before tossing, and check your city’s guidelines for hazardous waste drop-off.
Project Playbook: A Step-by-Step Cheat Sheet
Clean with degreaser, rinse, and dry.
Sand with 120–220 grit to scuff and smooth.
Wipe with mineral spirits or a tack cloth.
Prime smart: rust-inhibiting, self-etching, or galvanized-specific.
Apply thin, even topcoats. Spray in overlapping passes, or roll and tip with a brush.
Optional: clear coat for extra durability and UV protection.
Cure fully, then reassemble, install, or decorate.
Common Mistakes and Easy Fixes
Fish eyes or craters: Usually contamination. Stop, let it dry, lightly sand, and clean again with a degreaser before recoating.
Orange peel: You’re either too close or too far with spray paint for metal, or your paint is too thick. Adjust distance, temperature, or thin as recommended.
Drips and sags: Don’t panic. Let them tack up, then gently slice and sand before your next coat. Thin coats prevent reoccurrence.
Peeling at edges: Often weak adhesion or missed primer. Sand the edge, re-prime, and feather your topcoat.
Chalky fade outdoors: Sun damage. Add a UV-resistant topcoat or choose a higher-grade exterior paint next time.
Budgeting, Value, and When to Splurge
Not every project calls for top-shelf products, but certain items deserve the upgrade. Outdoor fixtures, exterior doors, railings, and anything you touch daily benefit from the best paint for metal you can afford. The longer lifespan and reduced maintenance often outweigh the higher purchase price.
On décor pieces that won’t see heavy use, midrange acrylics with a good primer work beautifully. Save your splurge for high-heat coatings, two-part epoxies, and marine-grade finishes where performance really matters.
If you’re flipping furniture or renovating a rental, time is money. Faster recoat times and products with excellent coverage can improve your workflow and your bottom line. Calculate by coverage per quart or per can, not just sticker price.
Color and Finish Choices that Elevate Metal
Metal takes color differently than wood, reflecting light in a way that can feel sleek and modern. Charcoal, deep navy, and crisp white are classics that look high-end. For vintage charm, consider muted sage, French blue, or a hammered bronze. A satin finish is forgiving and contemporary, while high gloss screams statement and cleans up easily.
If you love the look of raw steel or brass, consider a clear coat to lock in the patina and slow oxidation. Matte clears keep it industrial-chic; satin adds a soft sheen. Just make sure the clear is compatible with bare metal and offers UV protection if the piece is near a window.
Safety and Ventilation Essentials
Good airflow is part of a pro-level paint job. Open windows, use a box fan to exhaust air outward, and wear a respirator rated for paint fumes if you’re using solvents or aerosol products. Safety glasses keep stray droplets out of your eyes, and nitrile gloves make cleanup painless.
Keep aerosol cans at room temperature for the most consistent spray pattern. Cold cans spit; overheated cans can sputter or even clog. Store them in a cool, dry place, and purge the nozzle upside down after use to prevent blockages.
When using a paint remover for metal or a heavy-duty stripper, read labels carefully, protect your skin, and never mix chemicals. Patience beats brute force every time.
Real-Life Makeover: Wrought-Iron Patio Set
A few summers ago, I rescued a sun-bleached wrought-iron patio set from the curb. It had flaky paint, patches of rust, and plenty of spiderwebs. Here’s how I turned it into a centerpiece that still looks new.
I started with a stiff brush and soapy water to evict dust and grime, followed by a rinse and full dry in the afternoon sun. A drill-mounted wire cup brushed off loose rust, then I hand-sanded problem spots with 120 grit and finished with 220 grit for an even scuff across the whole set.
Because a few rust freckles remained, I used a rust-converting primer on every inch, paying extra attention to joints and undersides where moisture hides. After the primer cured, I chose a high-quality spray paint for metal in a satin charcoal. Multiple thin passes, moving the can before I pressed the nozzle and releasing after, kept the finish even.
The result was silky smooth and tough. One year later, after sun, rain, and countless lunches, there were zero chips. That’s the power of good prep and the right products. If you want a quick win with maximum wow, outdoor furniture is a fantastic place to start.
Choosing Between Stripping and Sanding
When should you strip, and when should you sand? If the existing paint is glossy but firmly attached, sanding and priming are enough. If you see alligatoring, flaking, or unknown coatings stacked like a birthday cake, a paint stripper for metal will save you hours and deliver a cleaner base.
Stripping is also smart when switching paint types. Going from oil-based to water-based can be tricky without a strong primer. Removing the old finish eliminates compatibility questions and reduces the risk of peeling later.
Storage, Maintenance, and Touch-Ups
Once your masterpiece is cured, keep it looking fresh with a quick monthly wipe-down. Dust and salts attack finishes over time. Mild soap and water are usually enough. For outdoor items, a spring check for chips at footings and joints can prevent rust from getting a foothold.
Store touch-up paint in a small glass jar labeled with color and date. A cotton swab or artist brush handles tiny dings in seconds. For aerosol finishes, spray a bit of paint into a paper cup and use a brush for pinpoint repairs.
If winter is harsh where you live, bring smaller pieces indoors or cover them with breathable furniture covers. Avoid plastic tarps that trap condensation against the metal.
Frequently Asked Questions
Q: What’s the absolute best paint for metal if I want zero chipping?
A: For heavy-use items, a two-part epoxy or a polyurethane topcoat over a compatible primer is incredibly durable. For most décor, a rust-inhibiting primer plus a premium enamel or acrylic-urethane topcoat gives excellent results without the complexity.
Q: Can I use regular wall paint on metal?
A: You can, but you probably shouldn’t. Wall paints aren’t designed for metal’s expansion, abrasion, or rust risks. A dedicated paint for metal will bond better and last longer.
Q: Do I need a primer if the paint says “paint and primer in one”?
A: Those products are fine for previously painted, well-adhered surfaces after a scuff sand. On bare metal or rust-prone items, a dedicated metal primer outperforms a combined product every time.
Q: What’s the easiest way to avoid brush marks?
A: Use a high-quality synthetic brush, thin paint only if the manufacturer allows, and roll large areas with a foam roller before lightly “tipping off” with the brush. Maintain a wet edge and don’t overwork it.
Q: Is a paint remover for metal safe on brass or copper?
A: Yes, but pick a stripper labeled for delicate metals and test a small area first. Some aggressive removers can darken or pit softer metals. Neutralize and rinse as instructed, then dry thoroughly before priming.
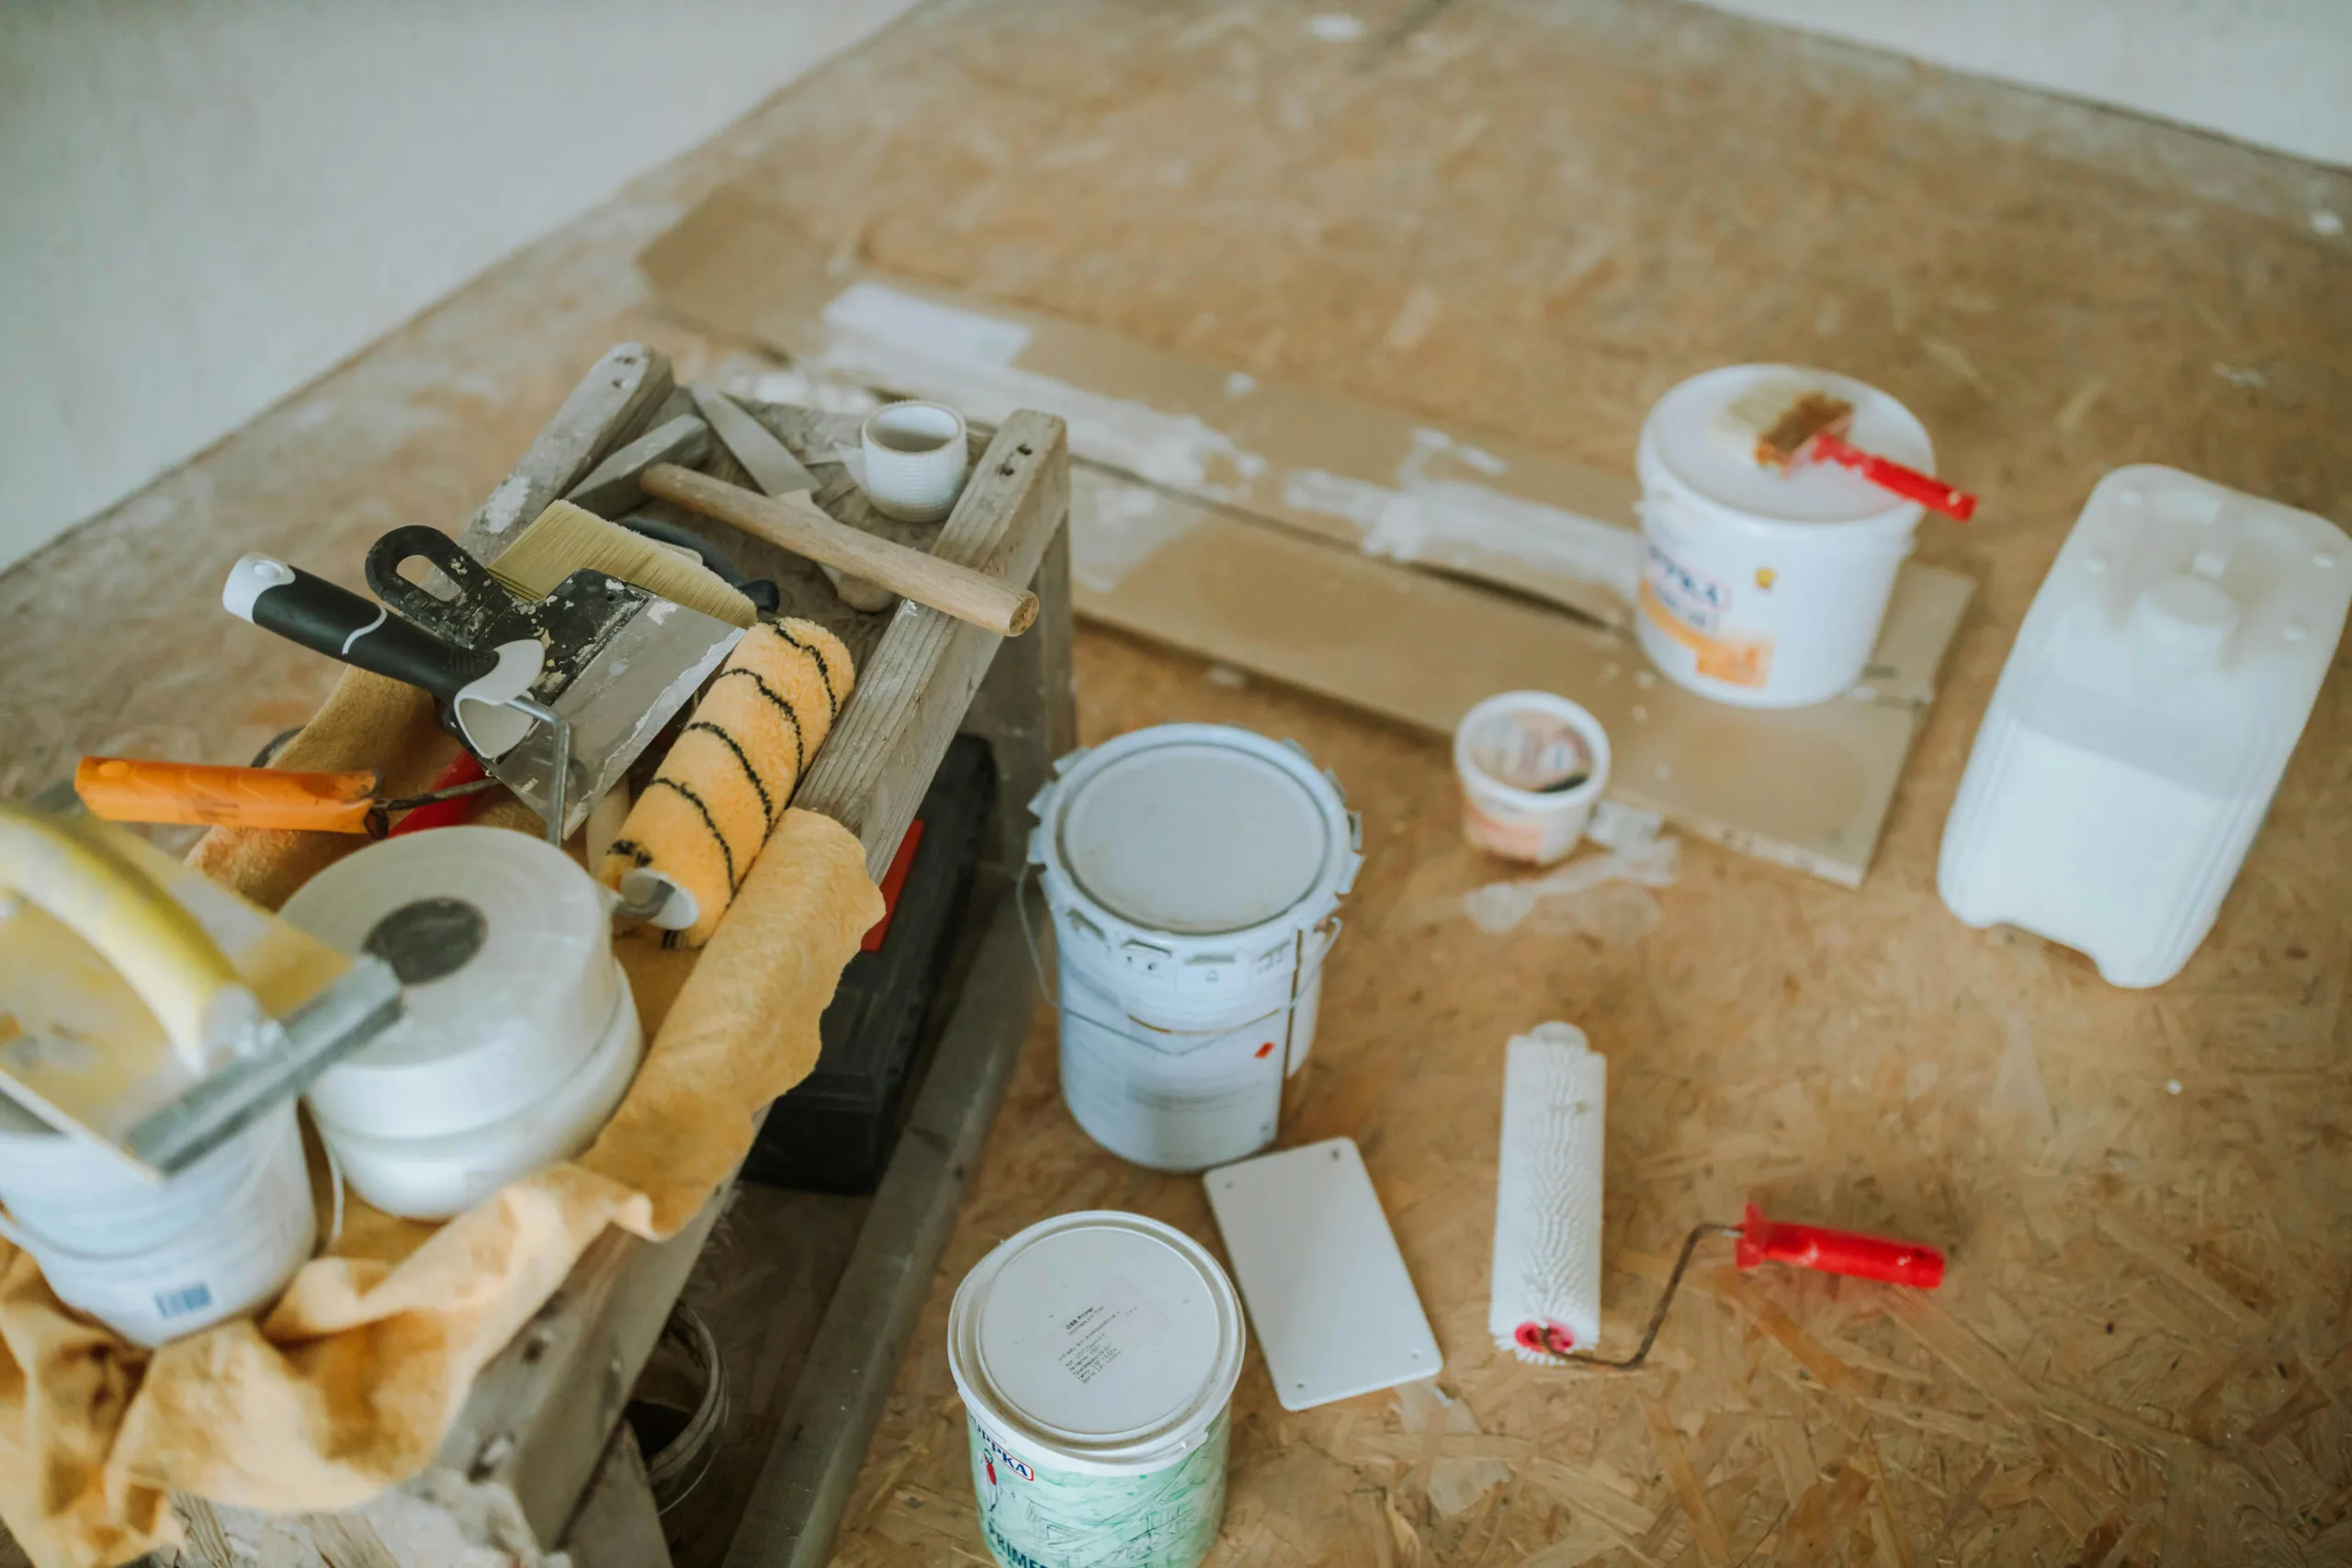
Quick Shopping List
- Degreaser or dish soap
- 120 and 220 grit sandpaper, tack cloths
- Wire brush or drill-mounted wire cup
- Painter’s tape and drop cloths
- Rust-inhibiting, self-etching, or galvanized metal primer
- Topcoat: enamel, acrylic-urethane, epoxy, or hammered-finish paint for metal
- Optional clear coat with UV protection
- Respirator, gloves, and safety glasses
- Paint stripper for metal and plastic scraper, if needed
High-Impact Ideas for Every Room
Entry: Transform a tired steel console table with a satin black enamel. Add brass knobs for contrast and seal with a clear coat for scratch resistance.
Kitchen: Refresh metal bar stools with a hammered silver finish that hides scuffs. Add felt pads to protect floors.
Bedroom: Upgrade a metal bed frame in a moody navy satin. It’s fingerprint friendly and adds hotel-level polish.
Living room: Paint a thrifted metal bookshelf a creamy white to bounce light. Pair with baskets for texture.
Patio: Give planters and lanterns a matte charcoal makeover to unify mismatched pieces. Use exterior-rated paint and hit undersides to block rust.
The Bottom Line
A lasting metal makeover isn’t about luck. It’s about pairing the right prep with the right primer and the right paint for metal, then letting each layer cure as intended. If you remember nothing else, remember this: clean thoroughly, scuff lightly, prime wisely, and paint in thin, patient coats.
Whether you reach for brush-on enamel, a two-part epoxy, or a quick-drying spray paint for metal, a careful process beats a fancy label every time. And if the old finish fights you, a good paint remover for metal or a safer gel stripper turns a battle into a breeze.
You don’t need a giant workshop or pro-level tools to get a professional finish. You just need a plan, a free afternoon, and a willingness to take your time. The results are worth it, and every project builds your confidence for the next.
If you enjoyed this article, don’t forget to save it on Pinterest or share it with a friend!