
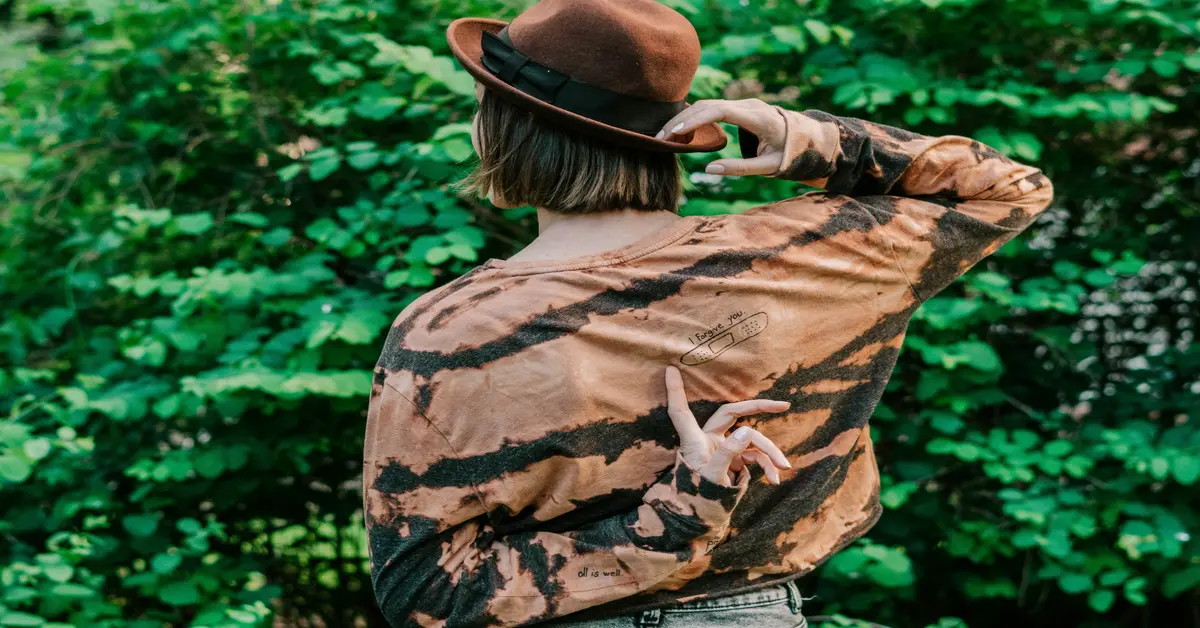

Welcome to the exciting world of bleach blue-tie-dye-shirt/”>tie dye! If you’re looking for a fresh, edgy way to transform old garments or create unique new ones, this technique is your answer. Forget traditional colorful tie-dye for a moment; we’re diving into the art of removing color to reveal stunning, unexpected patterns. This method, sometimes called reverse tie dye with bleach, allows for incredible creative freedom, turning plain fabrics into personalized masterpieces. Whether you’re a seasoned crafter or a complete beginner, the allure of bleach tie dye lies in its simplicity and the spectacular results it can achieve. Get ready to explore how to turn ordinary into extraordinary with just a few household items.
Understanding the Bleach Tie Dye Process
The core concept behind bleach tie dye is chemical reaction. Instead of adding dye, you’re strategically applying bleach to remove the existing color from fabric. This creates lighter areas where the bleach has acted, contrasting beautifully with the original fabric color. Most natural fibers, especially cotton, work best for this technique, as synthetic materials may not react as effectively. The concentration of your bleach, the type of fabric, and the duration of exposure all play a crucial role in the final outcome. Safety is paramount; always work in a well-ventilated area, wear gloves, and protect your eyes. Diluting your bleach is often a good starting point to control the intensity of the lightening effect and prevent accidental damage to the fabric.
Choosing Your Fabric Wisely
Not all fabrics are created equal when it comes to tie dying shirts with bleach. Darker colored 100% cotton garments tend to yield the most dramatic and satisfying results. Think black, navy, forest green, or deep red. The bleach reacts strongly with these dyes, often revealing a surprisingly vibrant underlying hue, like orange, pink, or yellow. Test a small, inconspicuous area if you’re unsure how a particular fabric or dye will react. This little step can save you from disappointment and help you anticipate the final aesthetic of your unique bleach tie dye project.

Essential Supplies for Your Bleach Tie Dye Project
Before you embark on your creative journey, gathering the right supplies is crucial for a smooth and safe bleach tie dye experience. You’ll need your chosen garments (dark-colored cotton works best!), household bleach (standard chlorine bleach is fine), rubber bands or string for tying, spray bottles or squeeze bottles for application, and a plastic tarp or old sheets to protect your workspace. Don’t forget safety gear: rubber gloves and eye protection are non-negotiable. A bucket of water with a bleach neutralizer (like hydrogen peroxide) is also highly recommended for stopping the bleaching process effectively and preserving fabric integrity. Having everything laid out and ready will make the process much more enjoyable.

Popular Bleach Tie Dye Patterns to Try
The beauty of bleach tie dye lies in its versatility. You can achieve a multitude of stunning patterns. Here are a few popular techniques:
- Crumple/Scrunch: Lay your damp garment flat, then randomly scrunch and crumple it into a tight ball. Secure with rubber bands. Spray or drizzle bleach for a marbled, organic look.
- Spiral: Pinch the center of your garment and twist it tightly, creating a flat spiral. Secure with multiple rubber bands to divide it into wedges. Apply bleach to alternating sections for a classic spiral effect.
- Stripes: Fold your garment accordion-style, either vertically or horizontally. Secure with rubber bands at intervals. Apply bleach to the exposed edges for striped patterns.
- Ombre/Dip-Dye: Dip a portion of your garment into diluted bleach, gradually submerging more or less for a gradient effect.
- Splatter/Freestyle: Lay your garment flat and use a brush or spray bottle to randomly splatter or draw with bleach for an abstract, artistic design.
Experimentation is key, especially with reverse tie dye with bleach, so don’t be afraid to mix and match techniques!

Safety First: Handling Bleach Responsibly
When working with bleach tie dye, safety should always be your top priority. Bleach is a powerful chemical that can cause skin irritation, eye damage, and respiratory issues if not handled correctly. Always wear rubber gloves and eye protection. Work in a well-ventilated area, preferably outdoors. Protect your work surfaces with a plastic tarp or old newspapers to prevent damage. Keep bleach away from children and pets. If bleach comes into contact with your skin or eyes, rinse thoroughly with water immediately. Have a bucket of water with a bleach neutralizer (like a splash of hydrogen peroxide) ready to submerge your items once they reach the desired level of lightening, preventing the bleach from continuing to eat away at the fabric.

Bleach Tie Dye FAQs
What kind of bleach should I use for bleach tie dye?
Standard household chlorine bleach works best for bleach tie dye. Avoid color-safe bleach as it won’t remove color effectively.
Do I need to dilute the bleach?
Yes, diluting the bleach with water (e.g., 1 part bleach to 1-2 parts water) is often recommended, especially for beginners. It gives you more control and reduces the risk of damaging the fabric too quickly.
What fabrics work best for reverse tie dye with bleach?
100% cotton garments, especially darker colors like black, navy, or dark gray, yield the most dramatic and satisfying results.
How long should I leave the bleach on the fabric?
The time varies depending on the fabric, bleach strength, and desired effect. Start with 5-10 minutes and check periodically. Once you achieve the desired lightness, rinse thoroughly and neutralize.
How do I neutralize the bleach after dyeing?
After rinsing off excess bleach, soak the item in a bucket of water mixed with a few tablespoons of hydrogen peroxide for about 10-15 minutes. This stops the bleaching process and prevents fabric degradation.

Finalizing Your Bleach Tie Dye Creation
Once you’re satisfied with your bleach tie dye pattern, it’s time for the crucial final steps. Carefully remove the rubber bands and thoroughly rinse your garment under cold running water until the water runs clear. This removes any residual bleach and loose dye. Next, it’s highly recommended to neutralize the bleach. You can do this by soaking the item in a solution of water and a small amount of hydrogen peroxide for about 10-15 minutes. This step stops the bleaching process completely, preventing further fabric damage and ensuring the longevity of your design. Finally, wash your bleach tie dye item alone in cold water with a mild detergent for its first wash. This will remove any lingering chemicals and set the design. Now, proudly wear your unique, handcrafted piece! Dive into the world of tie dying shirts with bleach and unlock endless creative possibilities.