
Transforming your garage coating–diy/”>floor can dramatically enhance its appearance, durability, and functionality. A diy garage floor coating project, while seemingly daunting, is entirely achievable with the right preparation and knowledge. Beyond just aesthetics, a properly applied coating protects your concrete from stains, spills, and wear, making cleaning a breeze and extending the life of your garage floor. This guide will walk you through everything you need to know to achieve professional-looking results yourself, ensuring your investment stands the test of time.
From choosing the right product to mastering application techniques, we’re here to help you navigate the process. Get ready to elevate your garage from a forgotten storage space to a truly impressive and resilient area with a stunning new floor.
Why Invest in a DIY Garage Floor Coating?
A high-quality diy garage floor coating offers numerous advantages for any homeowner. Firstly, it provides superior protection against common garage hazards like oil spills, chemical stains, and tire marks. This protective layer makes cleanup effortless, requiring just a simple wipe or hose-down. Beyond protection, a coated floor significantly boosts your garage’s aesthetic appeal, transforming a dull, gray slab into a vibrant and inviting space.
Furthermore, many modern coatings, especially advanced polyurea floor coating systems, offer enhanced slip resistance, improving safety in an area prone to slips and falls. The reflective properties of lighter coatings can also brighten your garage, reducing the need for artificial lighting. For those looking to increase their home’s value, a well-maintained and attractive garage floor can be a significant selling point.

Choosing the Right Coating: Epoxy vs. Polyurea
When it comes to selecting a diy garage floor coating, the two most popular options are epoxy and polyurea. Each has distinct characteristics that make them suitable for different needs.
Epoxy Floor Coating
- Durability: Highly durable, resistant to abrasions and chemicals.
- Appearance: Offers a glossy, professional finish.
- Application: Typically a two-part system requiring mixing. Can be sensitive to temperature and humidity during application.
- Cure Time: Generally longer cure times (several days to a week) before full use.
- Cost: Often more budget-friendly upfront.
Polyurea Floor Coating
- Durability: Superior strength and flexibility, excellent resistance to impact, abrasions, and UV light (won’t yellow).
- Appearance: Can provide a similar glossy finish to epoxy, often with more color and flake options.
- Application: Fast drying times, often allowing for garage use within 24 hours. Less sensitive to environmental conditions.
- Cure Time: Significantly faster cure times, making it a popular choice for quick projects.
- Cost: Higher initial investment, but offers superior longevity and performance.
For a durable and long-lasting solution, especially in challenging environments, a polyurea floor coating is often the preferred choice despite the higher cost. However, for a more economical yet robust option, epoxy remains a strong contender.
Essential Preparation Steps for a Flawless Finish
The success of your diy garage floor coating hinges almost entirely on proper preparation. Skimping on these steps will inevitably lead to adhesion issues and a less durable finish.
- Clear the Space: Remove everything from your garage. This includes vehicles, tools, storage units, and anything else touching the floor.
- Clean Thoroughly: Sweep or vacuum the entire floor to remove loose dirt and debris.
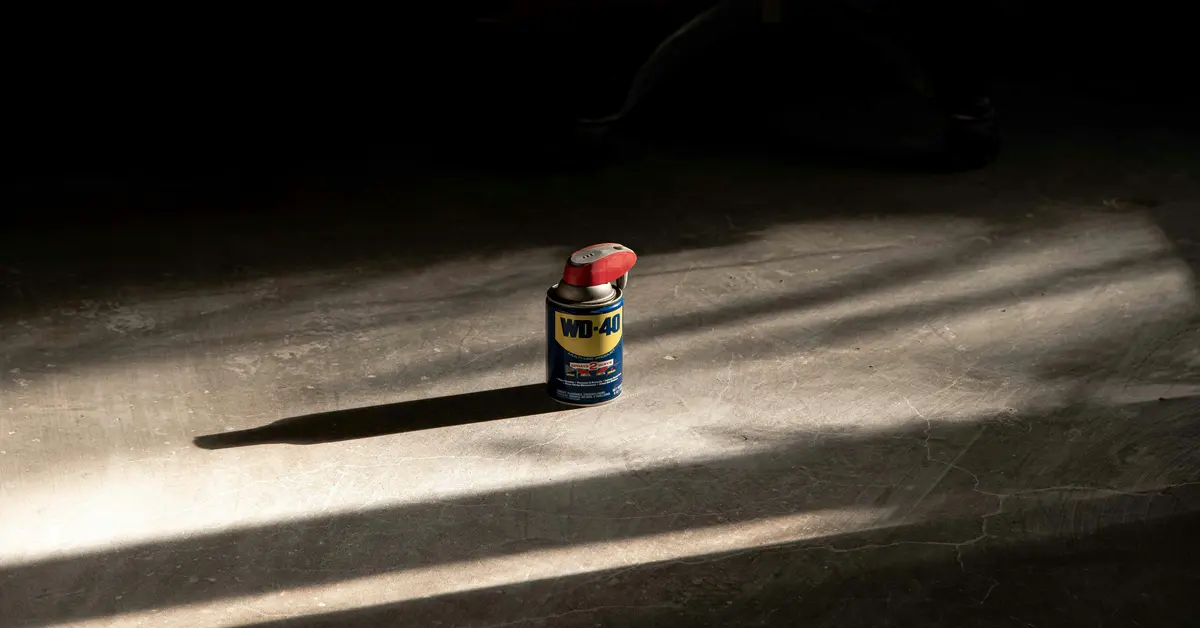
- Degrease: Use a strong degreaser to tackle oil spots, grease stains, and other contaminants. Scrub these areas vigorously and rinse thoroughly.
- Repair Cracks and Pits: Fill any cracks, spalls, or divots with a suitable concrete patching compound. Allow it to cure completely according to manufacturer instructions.
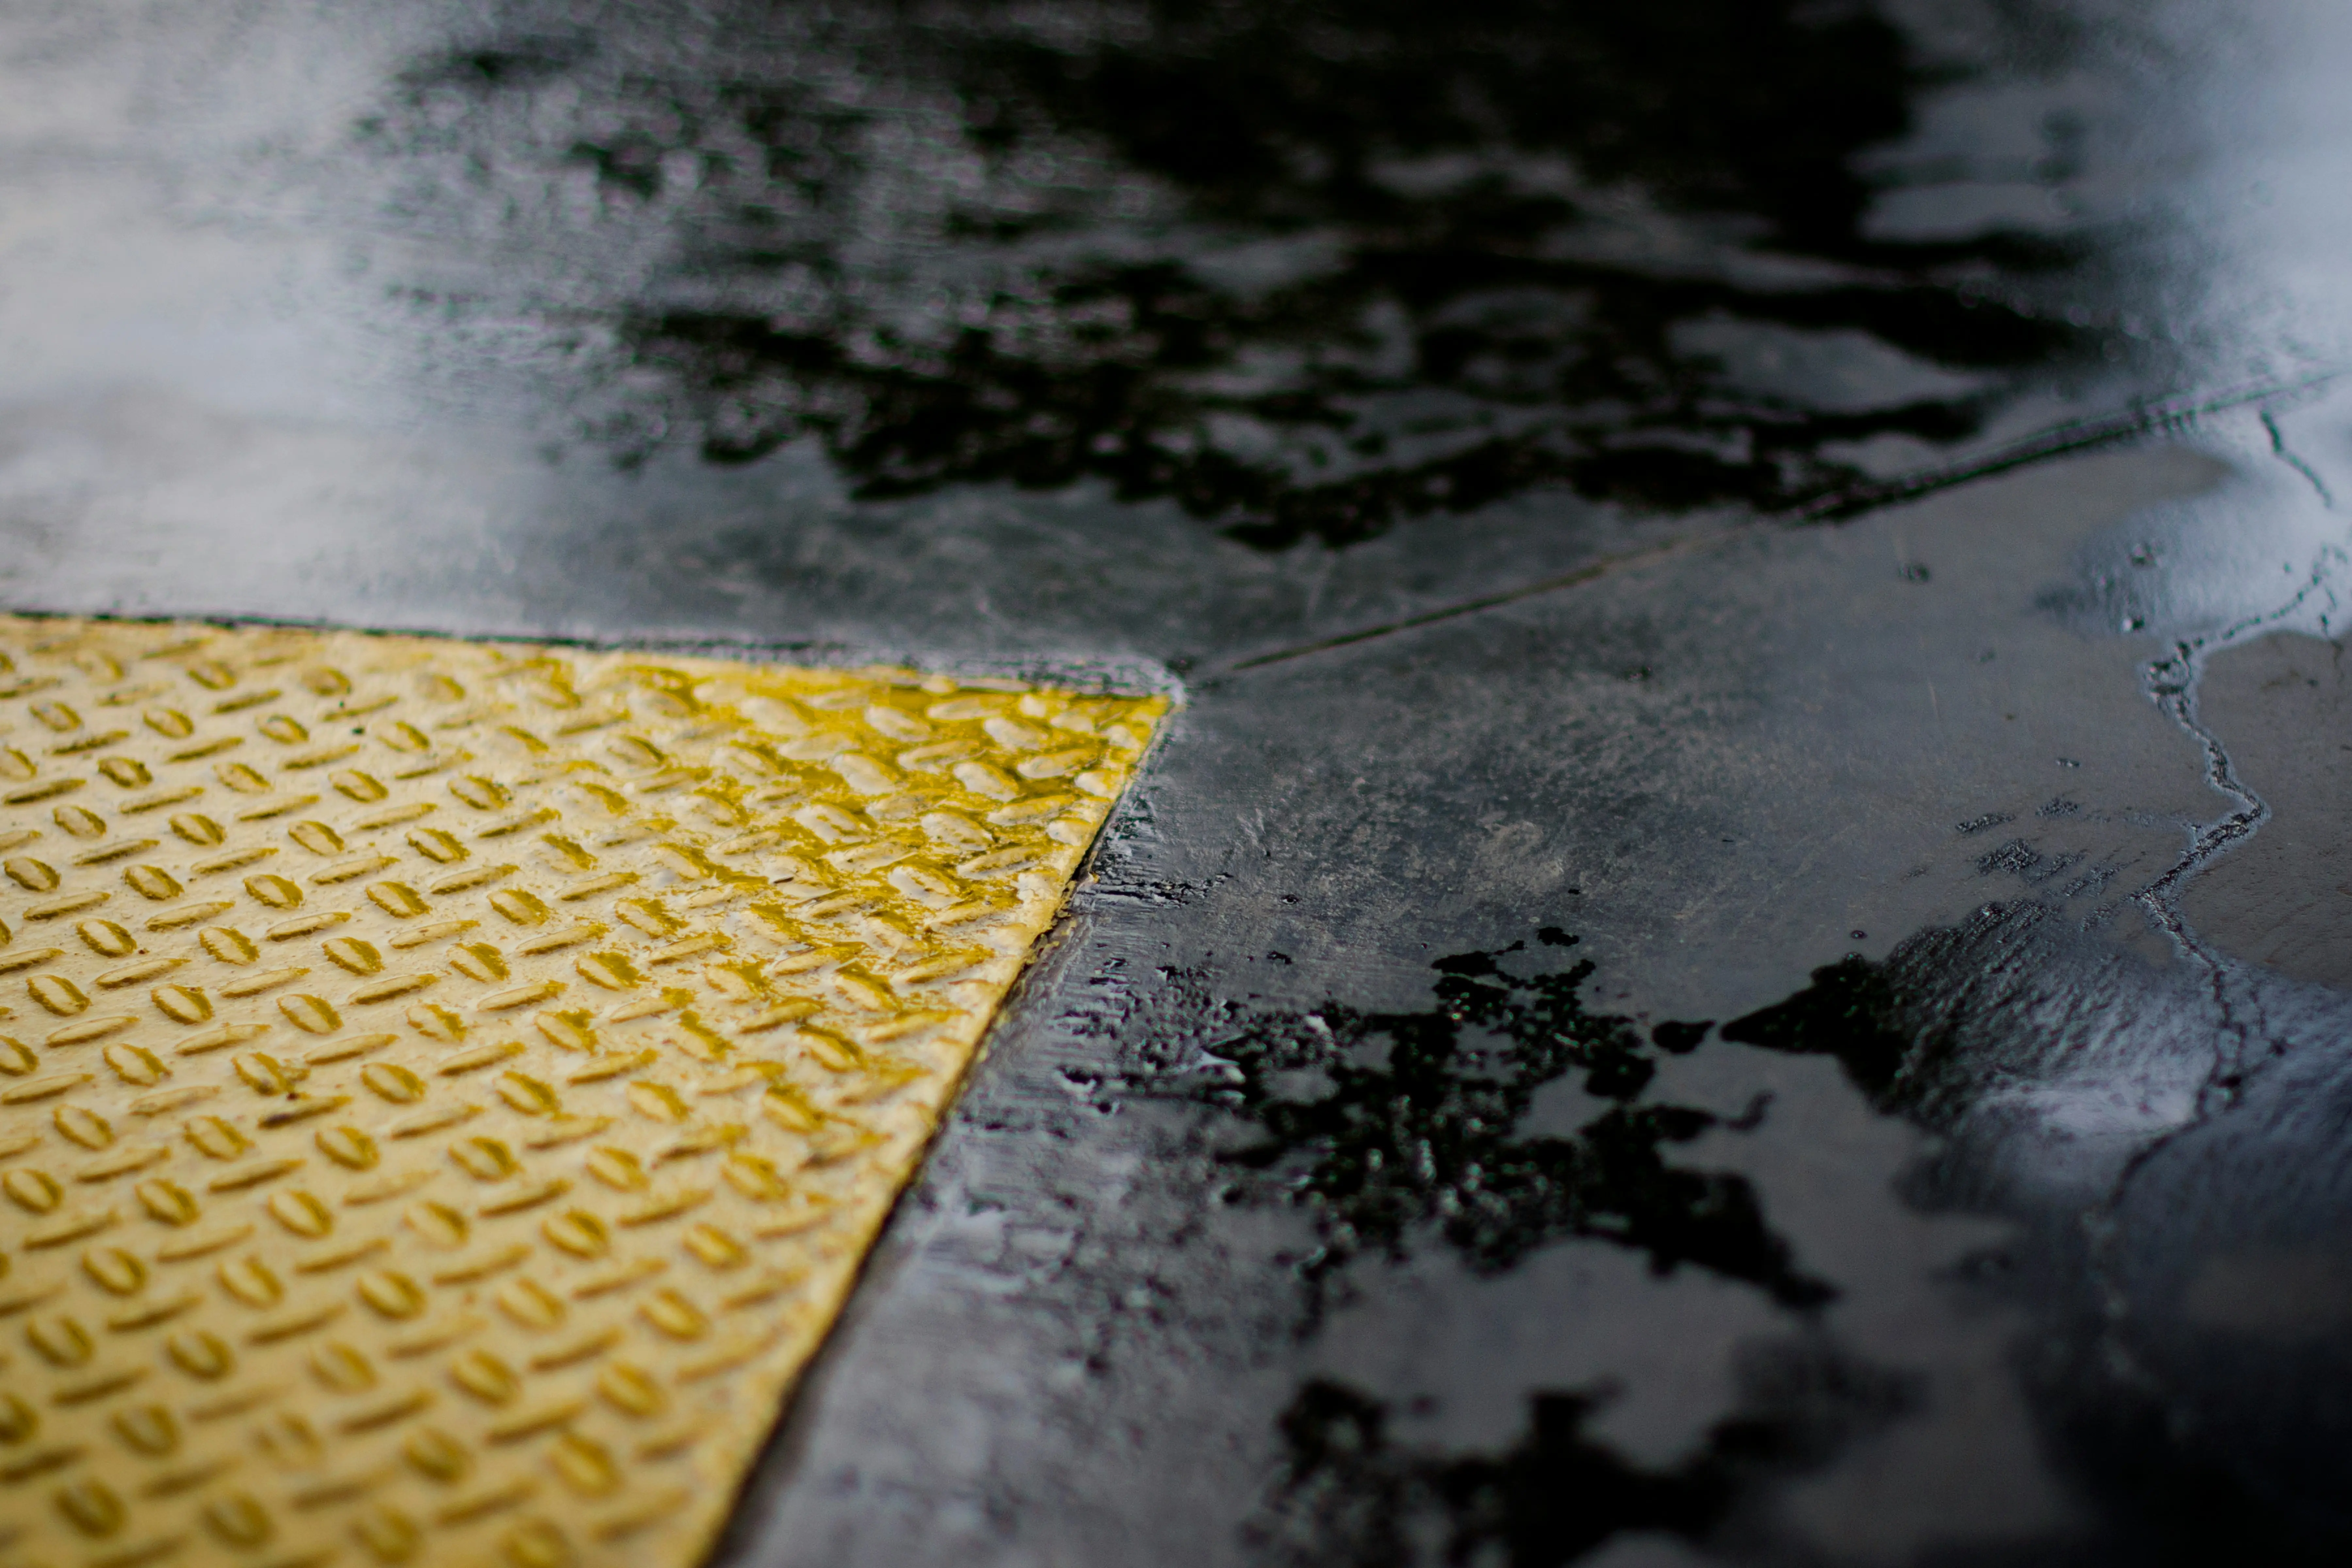
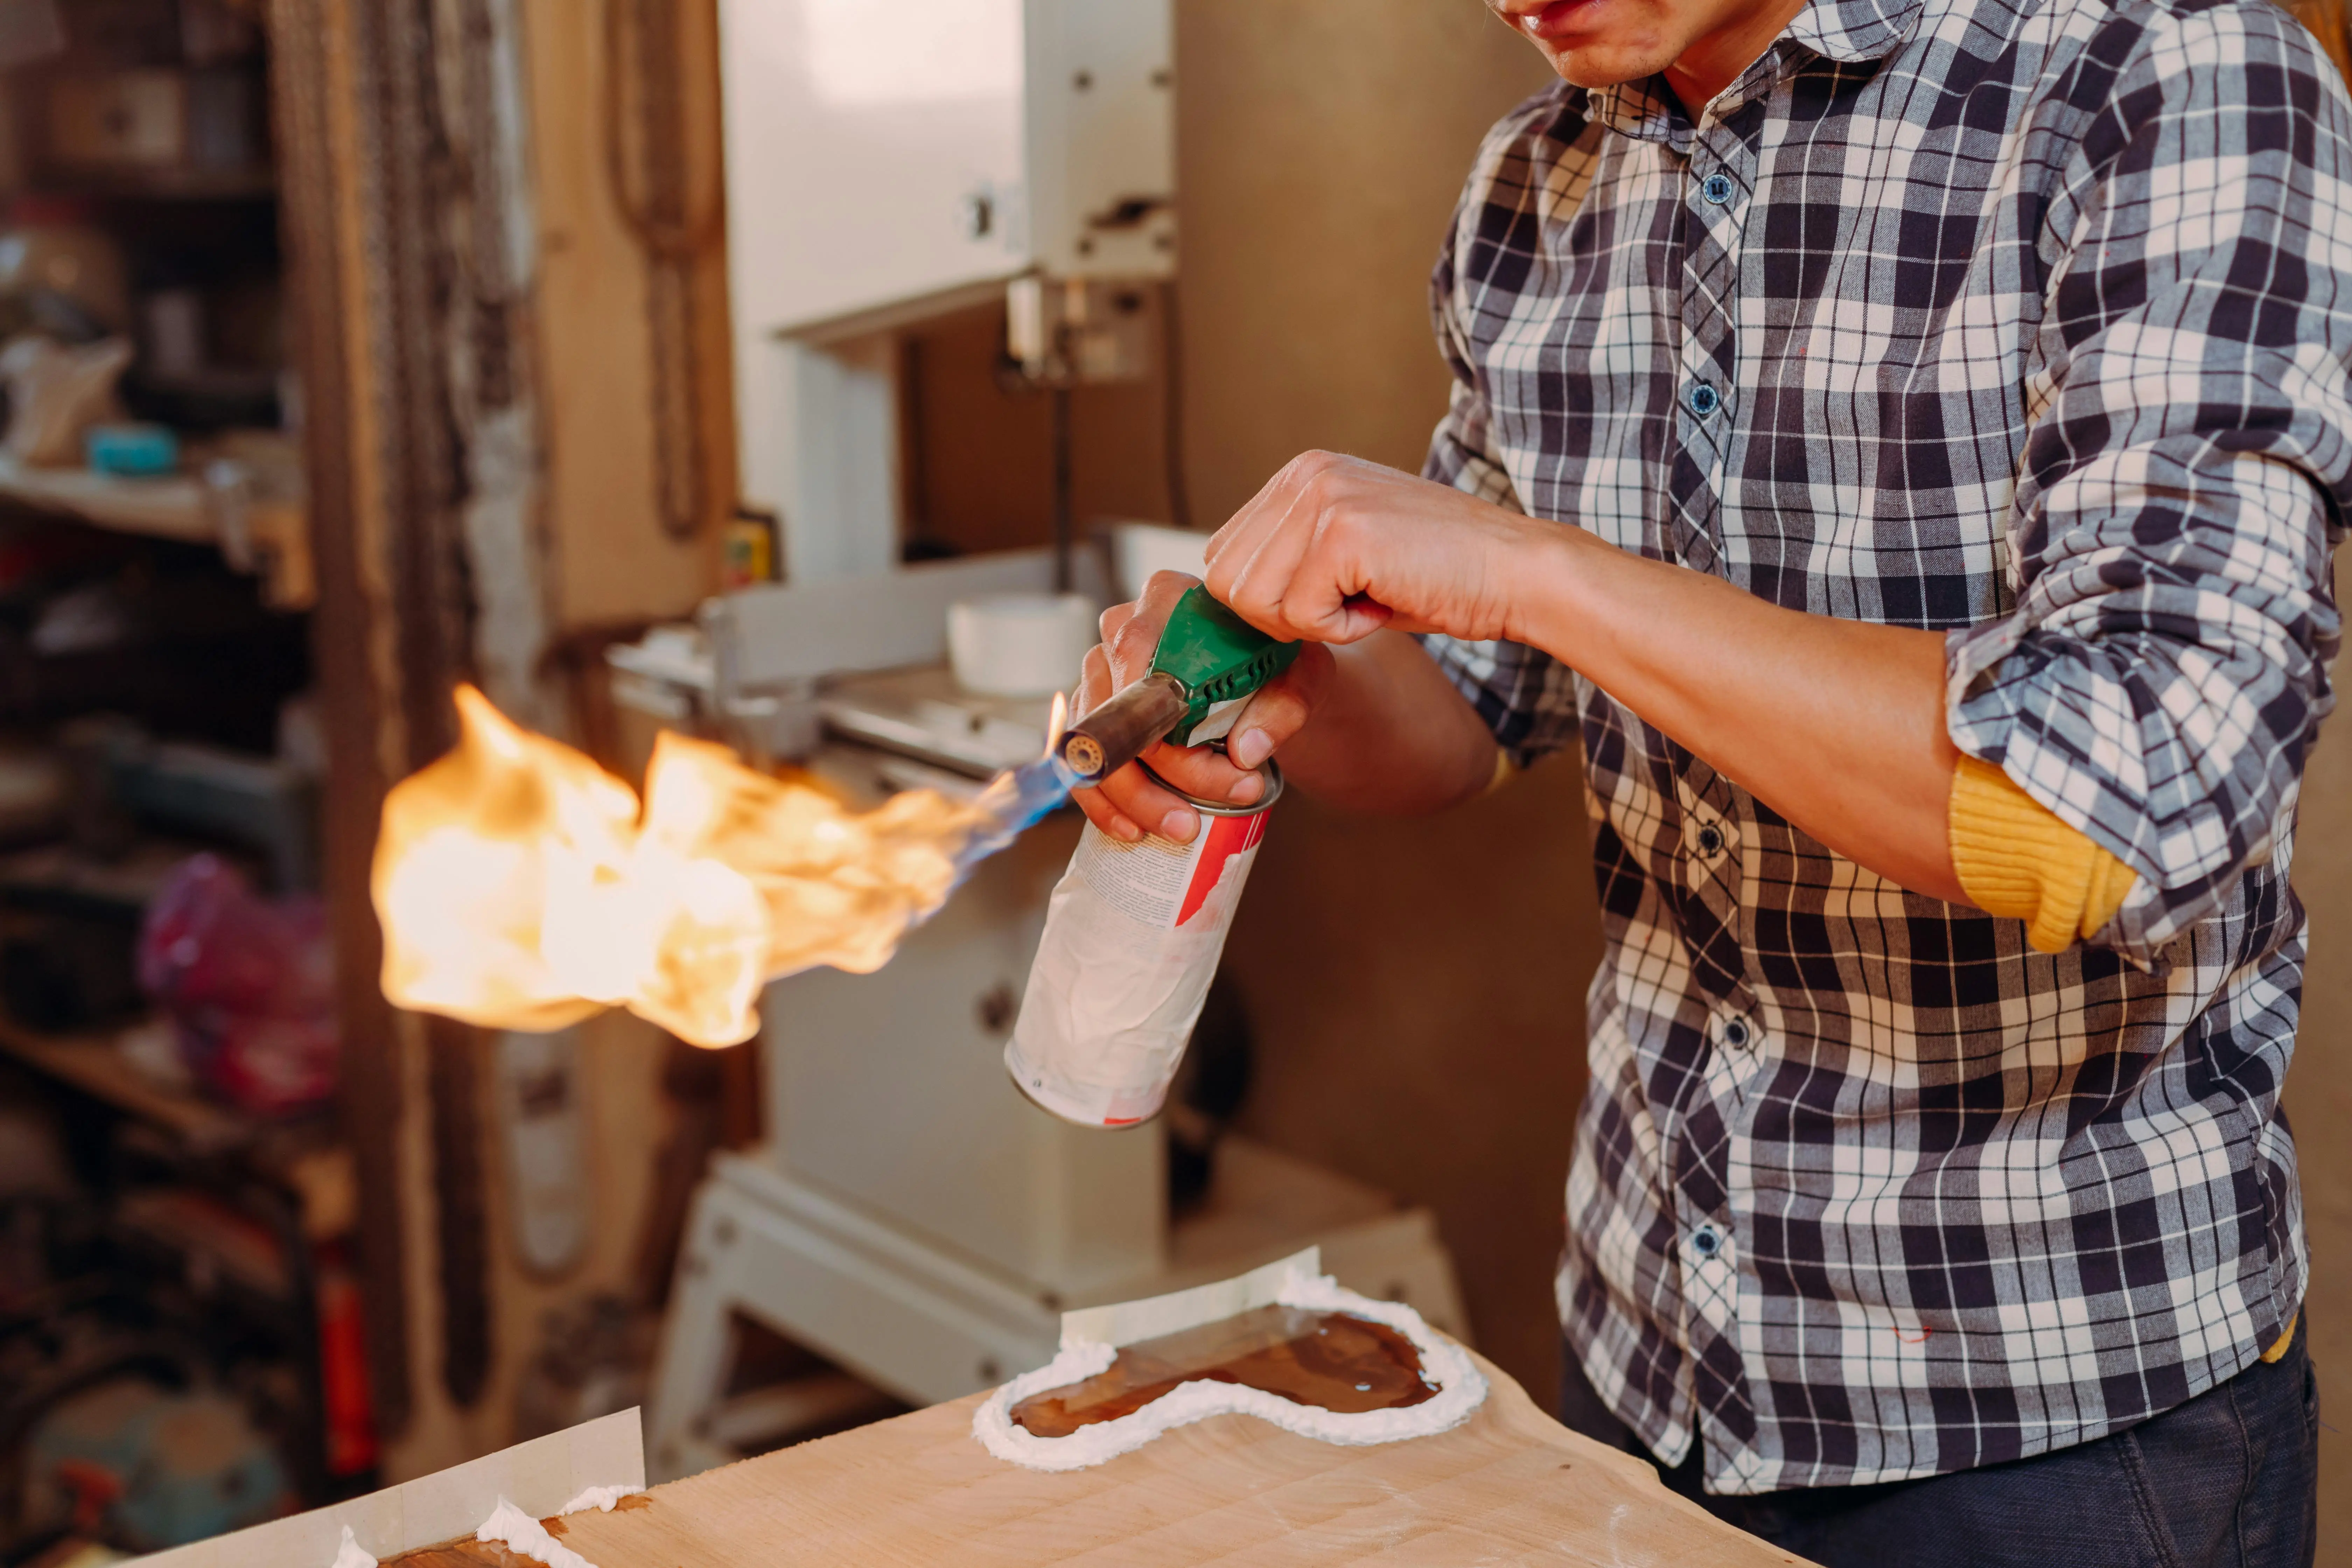
- Acid Etch or Grind: This is a critical step for proper adhesion. Acid etching opens the pores of the concrete, while grinding mechanically abrades the surface. Follow product instructions carefully, ensuring proper ventilation and safety gear. Rinse thoroughly after etching and allow the concrete to dry completely (at least 24-48 hours).
A clean, dry, and properly profiled surface is paramount for your coating to bond effectively and last for years.
Application Techniques for a Professional Result
Applying your diy garage floor coating correctly is key to achieving a smooth, even, and durable finish. Always read the manufacturer’s instructions for your specific product, as techniques can vary slightly.
- Mix Properly: For two-part systems like epoxy or polyurea kits, ensure you mix the components precisely according to the ratio and mixing time specified by the manufacturer. Improper mixing can lead to weak spots or failure to cure.
- Work in Sections: Divide your garage floor into manageable sections using painter’s tape if necessary. This helps prevent the coating from drying prematurely while you’re still working.
- Edge First: Use a brush to cut in along the perimeter of the walls, around posts, and any other obstacles.
- Roll Evenly: Use a high-quality roller with the recommended nap size for your coating. Apply the coating in thin, even coats, working backward towards your exit. Avoid overworking the material.
- Flake Application (if desired): If using decorative flakes, broadcast them immediately after applying the wet coating, ensuring even distribution. This will create a seamless, decorative finish similar to an epoxy basement floor.
- Ventilation: Ensure adequate ventilation throughout the application and curing process to disperse fumes and aid drying.

Maintaining Your New Garage Floor Coating
Once your DIY garage floor coating is fully cured, maintaining its pristine condition is straightforward. Regular cleaning will help preserve its appearance and extend its lifespan. Simply sweep or vacuum away loose dirt and debris weekly.
For spills or tougher grime, use a mild detergent and water with a soft brush or mop. Avoid abrasive cleaners, steel wool, or harsh chemicals that can damage the coating. For best results, clean up oil and chemical spills promptly to prevent potential staining or etching. With proper care, your newly coated garage floor will remain a source of pride for many years, offering both aesthetic appeal and practical benefits.
FAQ: DIY Garage Floor Coatings
How long does a DIY garage floor coating last?
The lifespan depends on the type of coating, preparation, and usage. Epoxy coatings typically last 5-10 years, while a polyurea floor coating can last 15-20 years or more with proper maintenance.
Can I apply a DIY garage floor coating over an old one?
It’s generally recommended to remove old, failing coatings. If the existing coating is well-adhered and in good condition, some products may allow for application over it, but always consult the manufacturer’s guidelines.
What’s the best temperature for applying a garage floor coating?
Most coatings perform best when applied in temperatures between 50°F and 85°F (10°C and 30°C). Avoid extreme heat or cold, as this can affect cure times and adhesion.
Is a primer necessary for a DIY garage floor coating?
While some kits are designed for direct application, a primer can significantly improve adhesion, especially on porous or challenging concrete. Check your product’s recommendations.
How do I make my garage floor coating slip-resistant?
Many kits include or offer anti-slip additives (like fine aggregate) that can be mixed into the topcoat or sprinkled onto the wet coating. This is especially important for safety.
Conclusion
Embarking on a diy garage floor coating project is a fantastic way to upgrade your garage’s functionality and aesthetic appeal. By carefully following the preparation steps, choosing the right coating like a durable polyurea floor coating, and applying it meticulously, you can achieve a professional-grade finish that will protect your concrete for years to come. Remember, patience and attention to detail are your best tools in this process.
A well-executed coating not only enhances the look of your space but also makes it easier to clean and maintain, providing lasting value. Don’t hesitate to take the plunge and transform your garage into a cleaner, brighter, and more resilient area. Start planning your diy garage floor coating project today and enjoy the incredible results!