
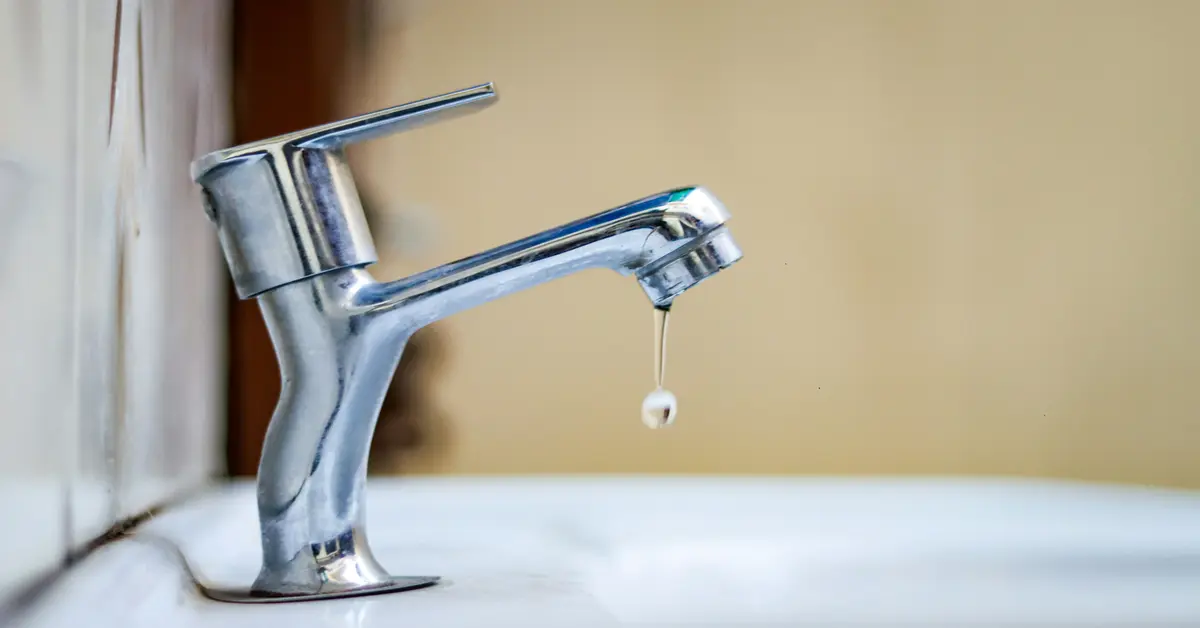
A dripping faucet can be more than just an annoyance; it can waste hundreds of gallons of water annually and inflate your utility bills. If you’re dealing with a vexing drip-drip-drip from your kitchen or bathroom fixture, you’re likely eager to learn how to fix a leaky faucet single handle. The good news is that tackling this common household plumbing issue is often a straightforward DIY project, even for those with limited experience. Most single-handle faucets leak due to worn-out O-rings, rubber seals, or a faulty cartridge. This comprehensive guide will walk you through the process, step by step, ensuring you have the knowledge to silence that irritating drip for good. Dive in to discover the surprisingly simple solution to a persistent leak.
Understanding Your Single-Handle Faucet
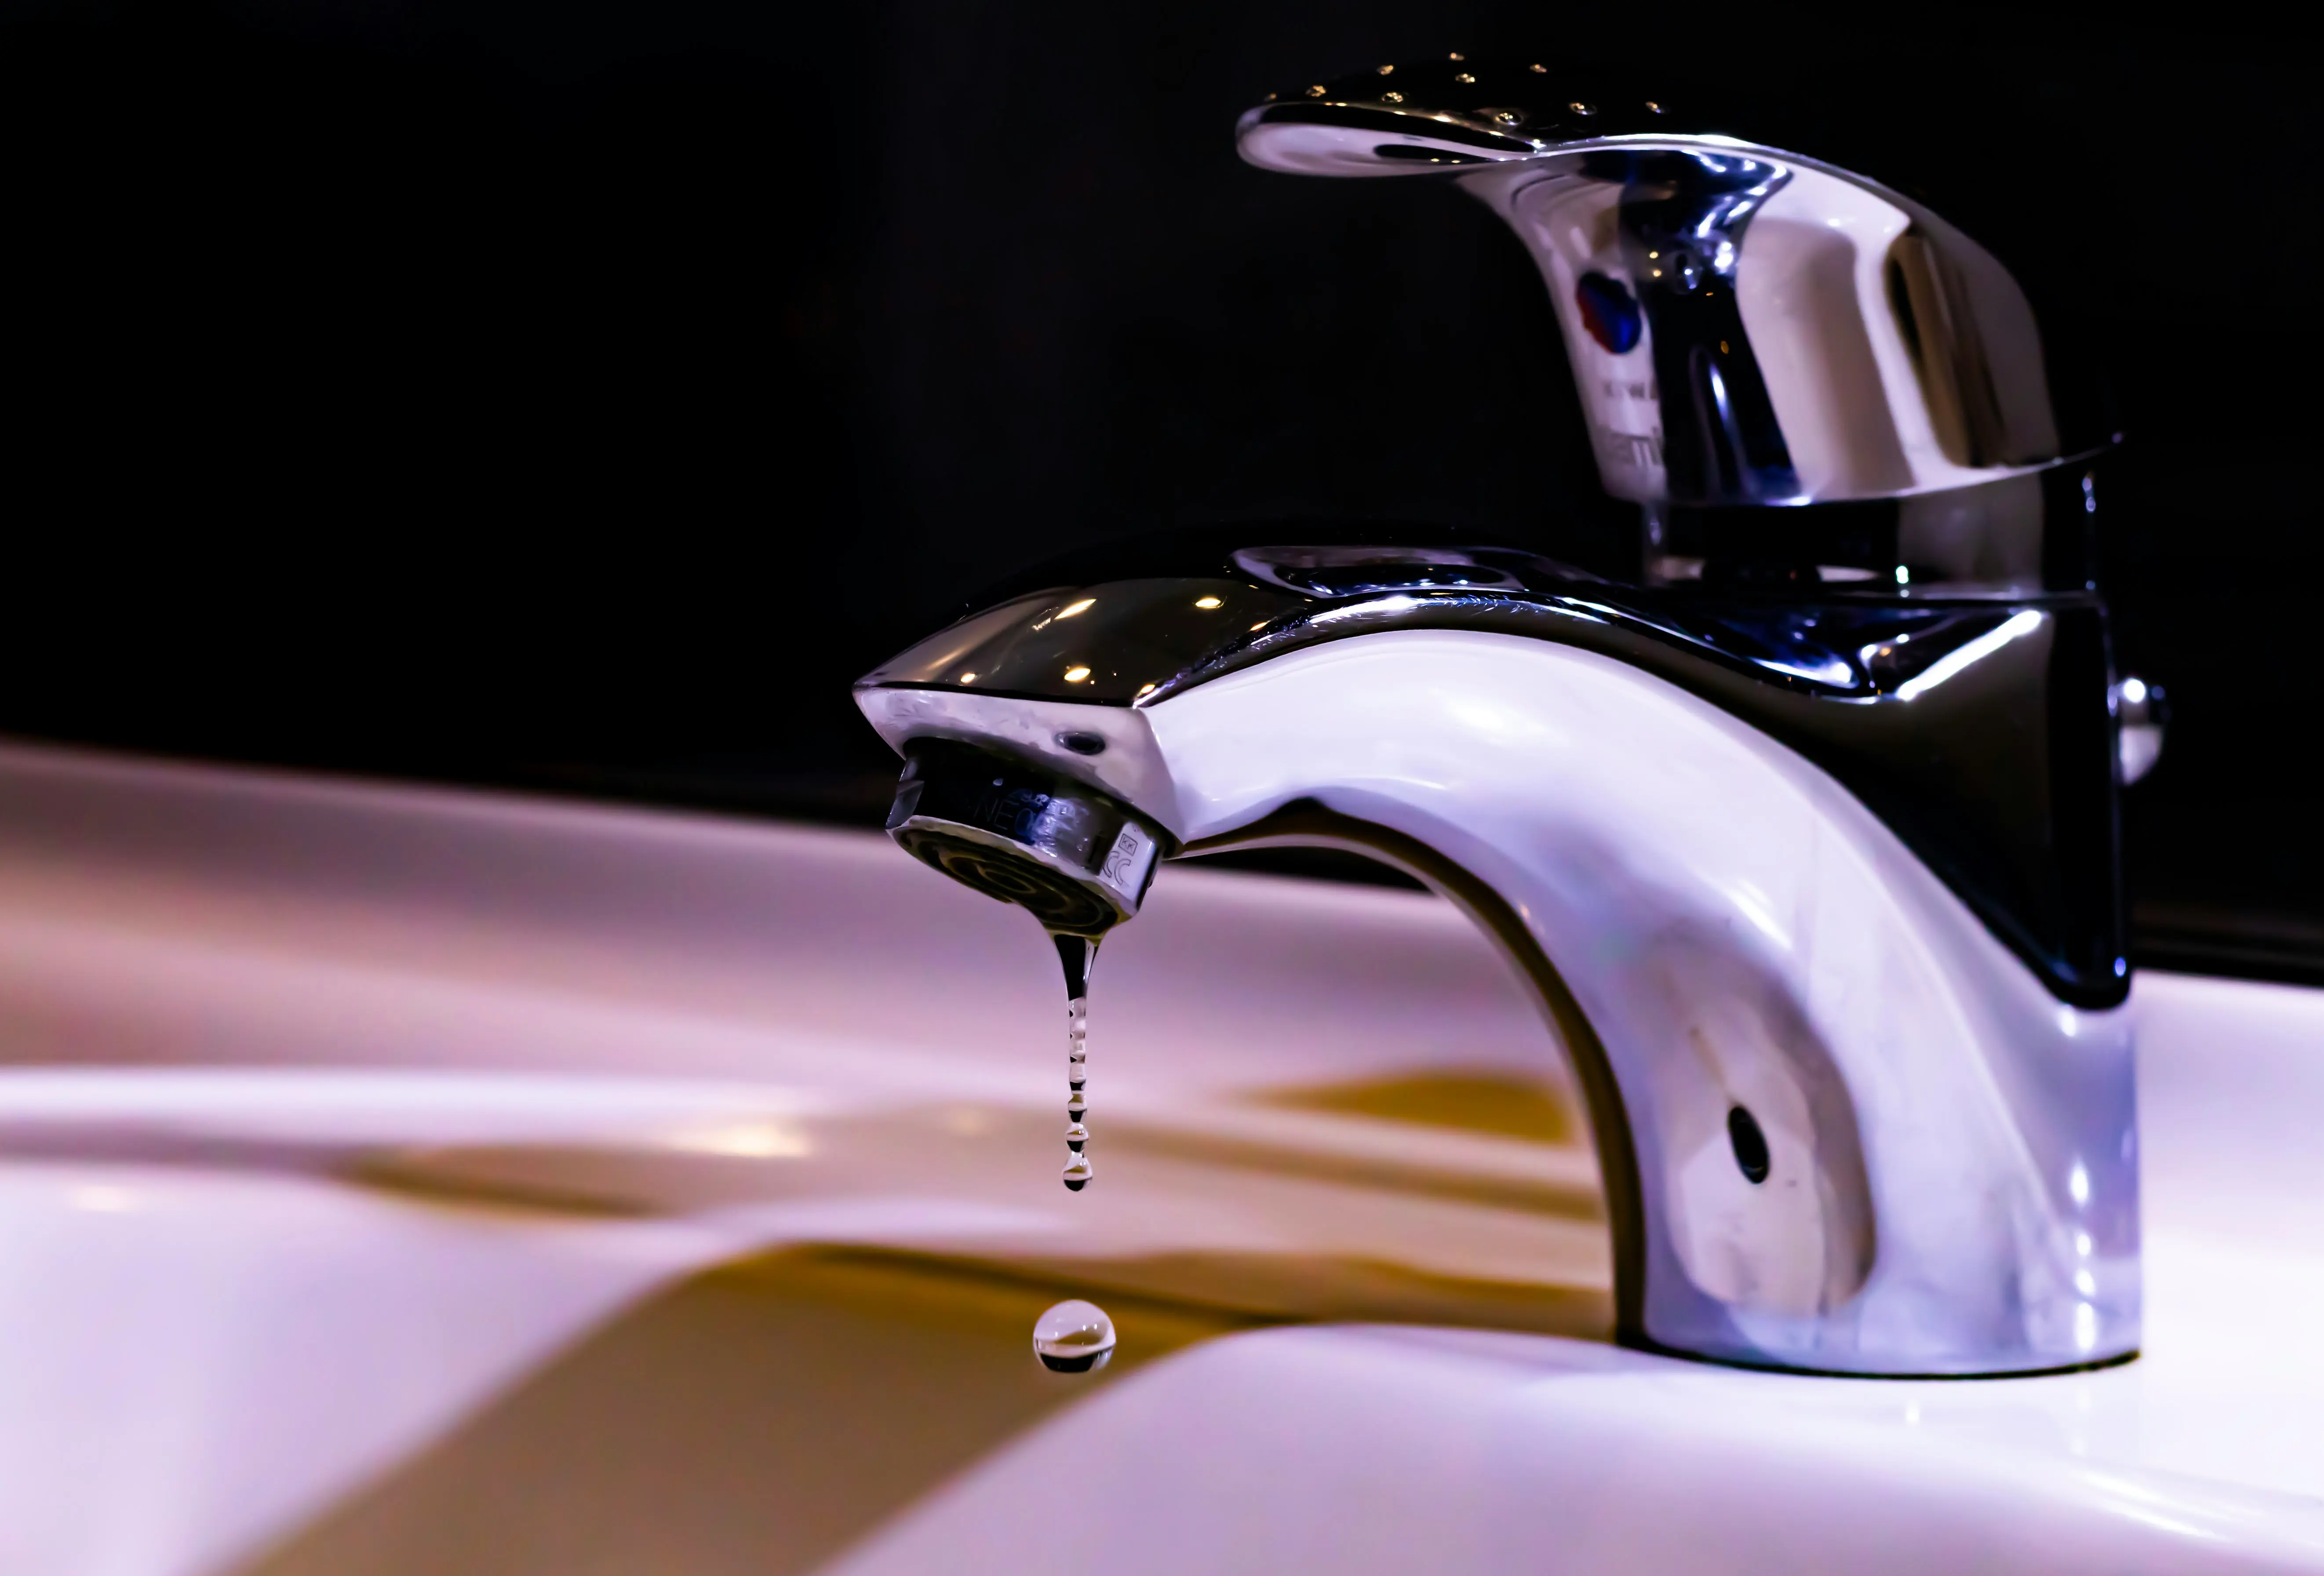
Before you dive into repairs, it’s helpful to understand the basic anatomy of your single-handle faucet. These faucets typically operate using a single lever to control both water flow and temperature. Inside, they house a cartridge or ball valve system that mixes hot and cold water. Leaks often stem from degraded internal components such as O-rings, seals, or the cartridge itself that have succumbed to wear and tear over time. Mineral deposits from hard water can also contribute to component failure, leading to drips and reduced performance. Identifying whether your faucet uses a cartridge, ceramic disc, or ball valve system will be crucial in determining the correct replacement parts you’ll need.
Gathering Your Tools and Shutting Off Water
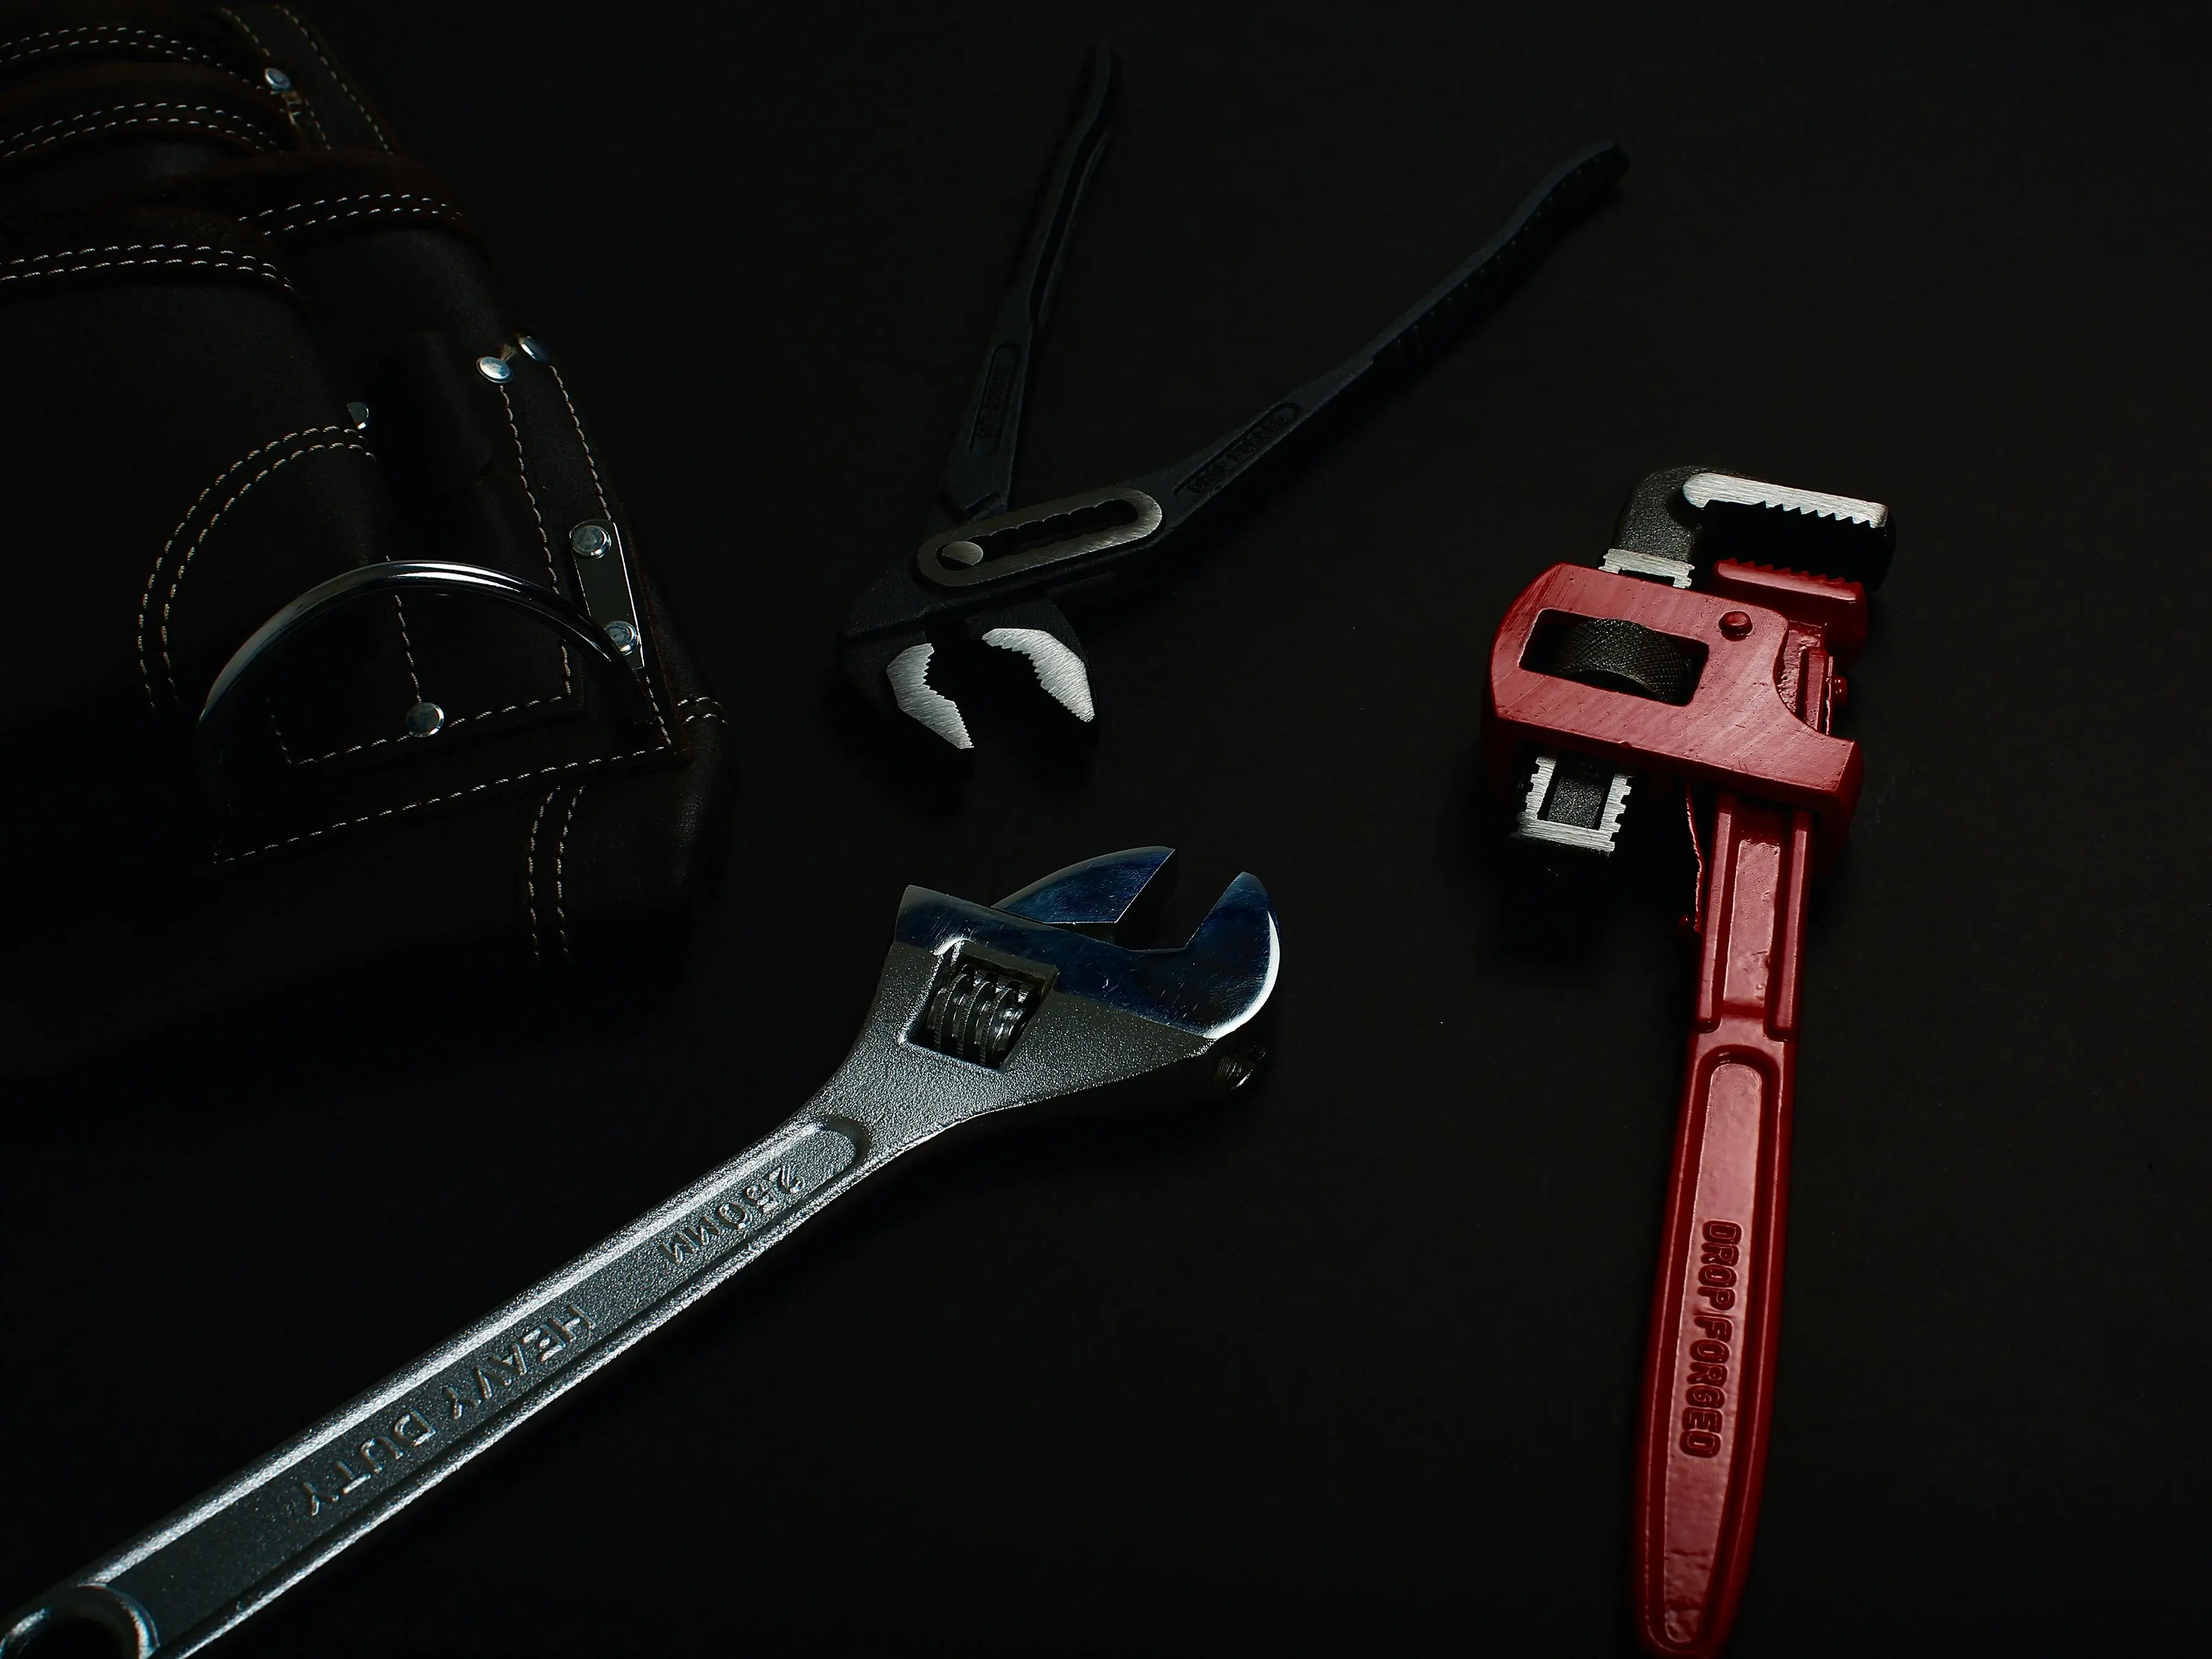
Preparation is key for any successful plumbing repair. To begin with how to fix a leaky faucet single handle, you’ll need a few common tools: an Allen wrench (hex key), a screwdriver (flathead and Phillips), a pair of pliers, and possibly a utility knife or basin wrench. Don’t forget replacement parts, which you’ll typically purchase once you’ve identified the specific problem. The absolute first step in any faucet repair is to turn off the water supply. Locate the shut-off valves typically found under the sink – one for hot water and one for cold. Turn both clockwise until they are completely closed. Then, turn on the faucet to drain any remaining water from the lines. Place a towel in the sink drain to prevent small parts from going down.
Dismantling and Inspecting Your Faucet
With the water off, it’s time to carefully dismantle the faucet. Most single-handle faucets have a small screw, often hidden under a decorative cap on the handle, that secures the handle in place. Use your Allen wrench or screwdriver to remove this screw and lift off the handle. Beneath the handle, you’ll usually find the cartridge nut or retaining ring. You may need pliers or a basin wrench to loosen this. Once removed, you can gently pull out the cartridge or ball valve assembly. Inspect all components for visible signs of wear, such as cracks, breaks, or hardened rubber seals and O-rings. These are often the culprits behind a persistent leak and indicate where the faucet water intake leak is originating.
Replacing Worn Components and Reassembling
If your inspection revealed worn O-rings or seals, carefully remove them and replace them with new ones. It’s often a good idea to bring the old parts to a hardware store to ensure you purchase exact matches, as sizes can vary. If the cartridge itself is damaged or if the leak persists after replacing seals, you’ll need to replace the entire cartridge. Install the new components in the reverse order of removal, ensuring everything is seated correctly and securely. Lubing new O-rings with plumber’s grease can help them seat better and prolong their life. Make sure not to overtighten any screws or nuts, as this can damage components.

Testing Your Repair and Final Steps
Once all the components are back in place and the handle is reattached, slowly turn the water supply back on by rotating the shut-off valves counter-clockwise. Check for any immediate signs of leakage around the base of the faucet and where the handle connects. Run both hot and cold water through the faucet for a few minutes, checking carefully for drips. If you’ve successfully learned how to fix a leaky faucet single handle, the previous dripping sound should be gone, and your faucet should operate smoothly. If you still observe a faucet water intake leak, revisit the previous steps to ensure all parts are correctly installed or consider calling a professional plumber.

Troubleshooting Common Faucet Leaks FAQs
Why is my single-handle faucet still leaking after I replaced the O-rings?
If your faucet continues to leak after O-ring replacement, the cartridge itself is likely faulty. The cartridge is the primary mechanism for controlling water flow and temperature in a single-handle faucet, and its internal components can wear out over time.
How do I identify the correct replacement cartridge for my faucet?
The best way to identify the correct replacement cartridge is to remove the old one and take it to a hardware store. Many cartridges have brand and model numbers etched on them. You can also consult your faucet’s user manual if you still have it.
What is a faucet water intake leak, and how does it differ from a spout leak?
A faucet water intake leak typically refers to a leak occurring at the connection points where the hot and cold water lines connect to the faucet body, often due to loose connections or worn washers. A spout leak, on the other hand, is when water drips directly from the end of the faucet spout.
Can hard water cause my single-handle faucet to leak?
Yes, hard water can significantly contribute to faucet leaks. Mineral deposits from hard water can build up on internal components like O-rings and cartridges, causing them to degrade prematurely and lose their ability to create watertight seals.
When should I call a professional plumber instead of attempting a DIY repair?
If you’ve followed all the steps for how to fix a leaky faucet single handle and the leak persists, or if you encounter issues like seized parts, stripped screws, or difficulty accessing components, it’s best to call a professional plumber to avoid further damage.
Conclusion
Learning how to fix a leaky faucet single handle is a valuable skill that can save you money and conserve water. By understanding the common causes of leaks, gathering the right tools, and carefully following the steps outlined in this guide, you can confidently tackle most single-handle faucet repairs yourself. Remember, patience and attention to detail are your best allies in this process. Don’t let a dripping faucet go unaddressed; take action today. If your efforts curb the dreaded faucet water intake leak, you’ll enjoy peace of mind and lower utility bills. Empower yourself with DIY know-how and conquer that drip!