
unsightly paint chips on your beloved vehicle? They’re not just an aesthetic issue; neglected chips can lead to rust and more extensive damage down the road. Learning how to fix paint chips on repair/”>car is a crucial skill for any car owner, saving you money and preserving your car’s resale value. This comprehensive guide will walk you through the simple yet effective steps to repair chipped paint, making your car look pristine once again. We’ll cover everything from preparation to finishing touches, ensuring a professional-grade car paint chip repair right in your driveway.
Ignoring those small imperfections can have big consequences, transforming minor blemishes into significant problems. By understanding the proper techniques for car paint chip repair, you can tackle these issues head-on, protecting your investment and maintaining your vehicle’s appearance. Get ready to transform your car’s exterior with our expert advice on how to fix paint chips on car.
Gathering Your Car Paint Chip Repair Essentials
Before you begin the car paint chip repair process, having the right tools and materials is paramount for a successful outcome. You’ll need to identify your car’s paint code, usually found on a sticker in the door jamb, glove box, or under the hood. This code is crucial for ordering touch-up paint that perfectly matches your vehicle’s original color. Most auto parts stores or dealerships can help you find the exact match.
Other essential items include fine-grit sandpaper (around 2000-grit), rubbing alcohol or a specialized paint prep solution, a soft microfiber cloth, a small artist’s brush or touch-up pen, clear coat, and car wax. For deeper chips, you might also consider a primer. Ensure you work in a well-ventilated area, preferably out of direct sunlight, to allow for proper paint curing and to avoid dust contamination.

Step-by-Step Guide: How to Fix Paint Chips on Car
1. Clean and Prepare the Area
The first crucial step in learning how to fix paint chips on car is thorough preparation. Begin by washing the chipped area and its surroundings with car soap and water. Once dry, use rubbing alcohol or a dedicated paint prep solution on a clean microfiber cloth to remove any wax, grease, or contaminants. This ensures optimal adhesion for the new paint. If there’s any loose or flaking paint around the chip, gently remove it with a toothpick or the edge of a credit card.
2. Sanding (Optional, for Rough Edges)
For chips with slightly raised or rough edges, light sanding can create a smoother surface for the new paint. Using very fine-grit sandpaper (e.g., 2000-grit) dampened with water, gently sand the immediate area around the chip. Be extremely careful not to sand through the clear coat or paint surrounding the chip. The goal is to feather the edges, not to remove more paint. After sanding, clean the area again with rubbing alcohol to remove any dust.
3. Apply Primer (for Deeper Chips)
If the paint chip has gone through to the bare metal or plastic, applying a primer is essential. Primer creates a protective barrier and helps the touch-up paint adhere better. Use a very small amount of primer with a fine-tipped brush, only applying it directly into the chip. Allow the primer to dry completely according to the manufacturer’s instructions, typically 15-30 minutes.
4. Applying the Touch-Up Paint
Now for the main event of car paint chip repair. Shake your touch-up paint thoroughly. Using a very fine artist’s brush or the applicator from your touch-up pen, apply a thin layer of paint directly into the chip. Avoid over-applying, as it’s better to build up thin layers than to apply one thick, lumpy coat. Allow each layer to dry for several hours (or as recommended by the paint manufacturer) before applying subsequent layers. You want the new paint to be slightly raised above the surrounding surface, as it will shrink slightly as it cures.
5. Clear Coat, Sanding, and Polishing
Once the touch-up paint has fully cured (this can take 24-48 hours), apply a thin layer of clear coat over the repaired area to protect the new paint and restore its shine. Allow the clear coat to dry completely. For a seamless finish, you can then very carefully wet-sand the repaired area with ultra-fine sandpaper (3000-grit or higher) to level it with the surrounding paint. Finish by applying a polishing compound and then car wax to blend the repair perfectly and protect the paint.
FAQ: How to Fix Paint Chips on Car
How long does car paint chip repair last?
A properly executed car paint chip repair can last for many years, often for the lifetime of the vehicle, especially if followed by regular waxing and maintenance. The durability depends on the quality of materials used and the thoroughness of the application.
Can I fix deep paint chips myself?
Yes, deep paint chips that expose bare metal or plastic can be fixed by yourself using primer, touch-up paint, and clear coat. The key is careful preparation and patience during the layering process to achieve a smooth finish.
What if my paint chip is rusted?
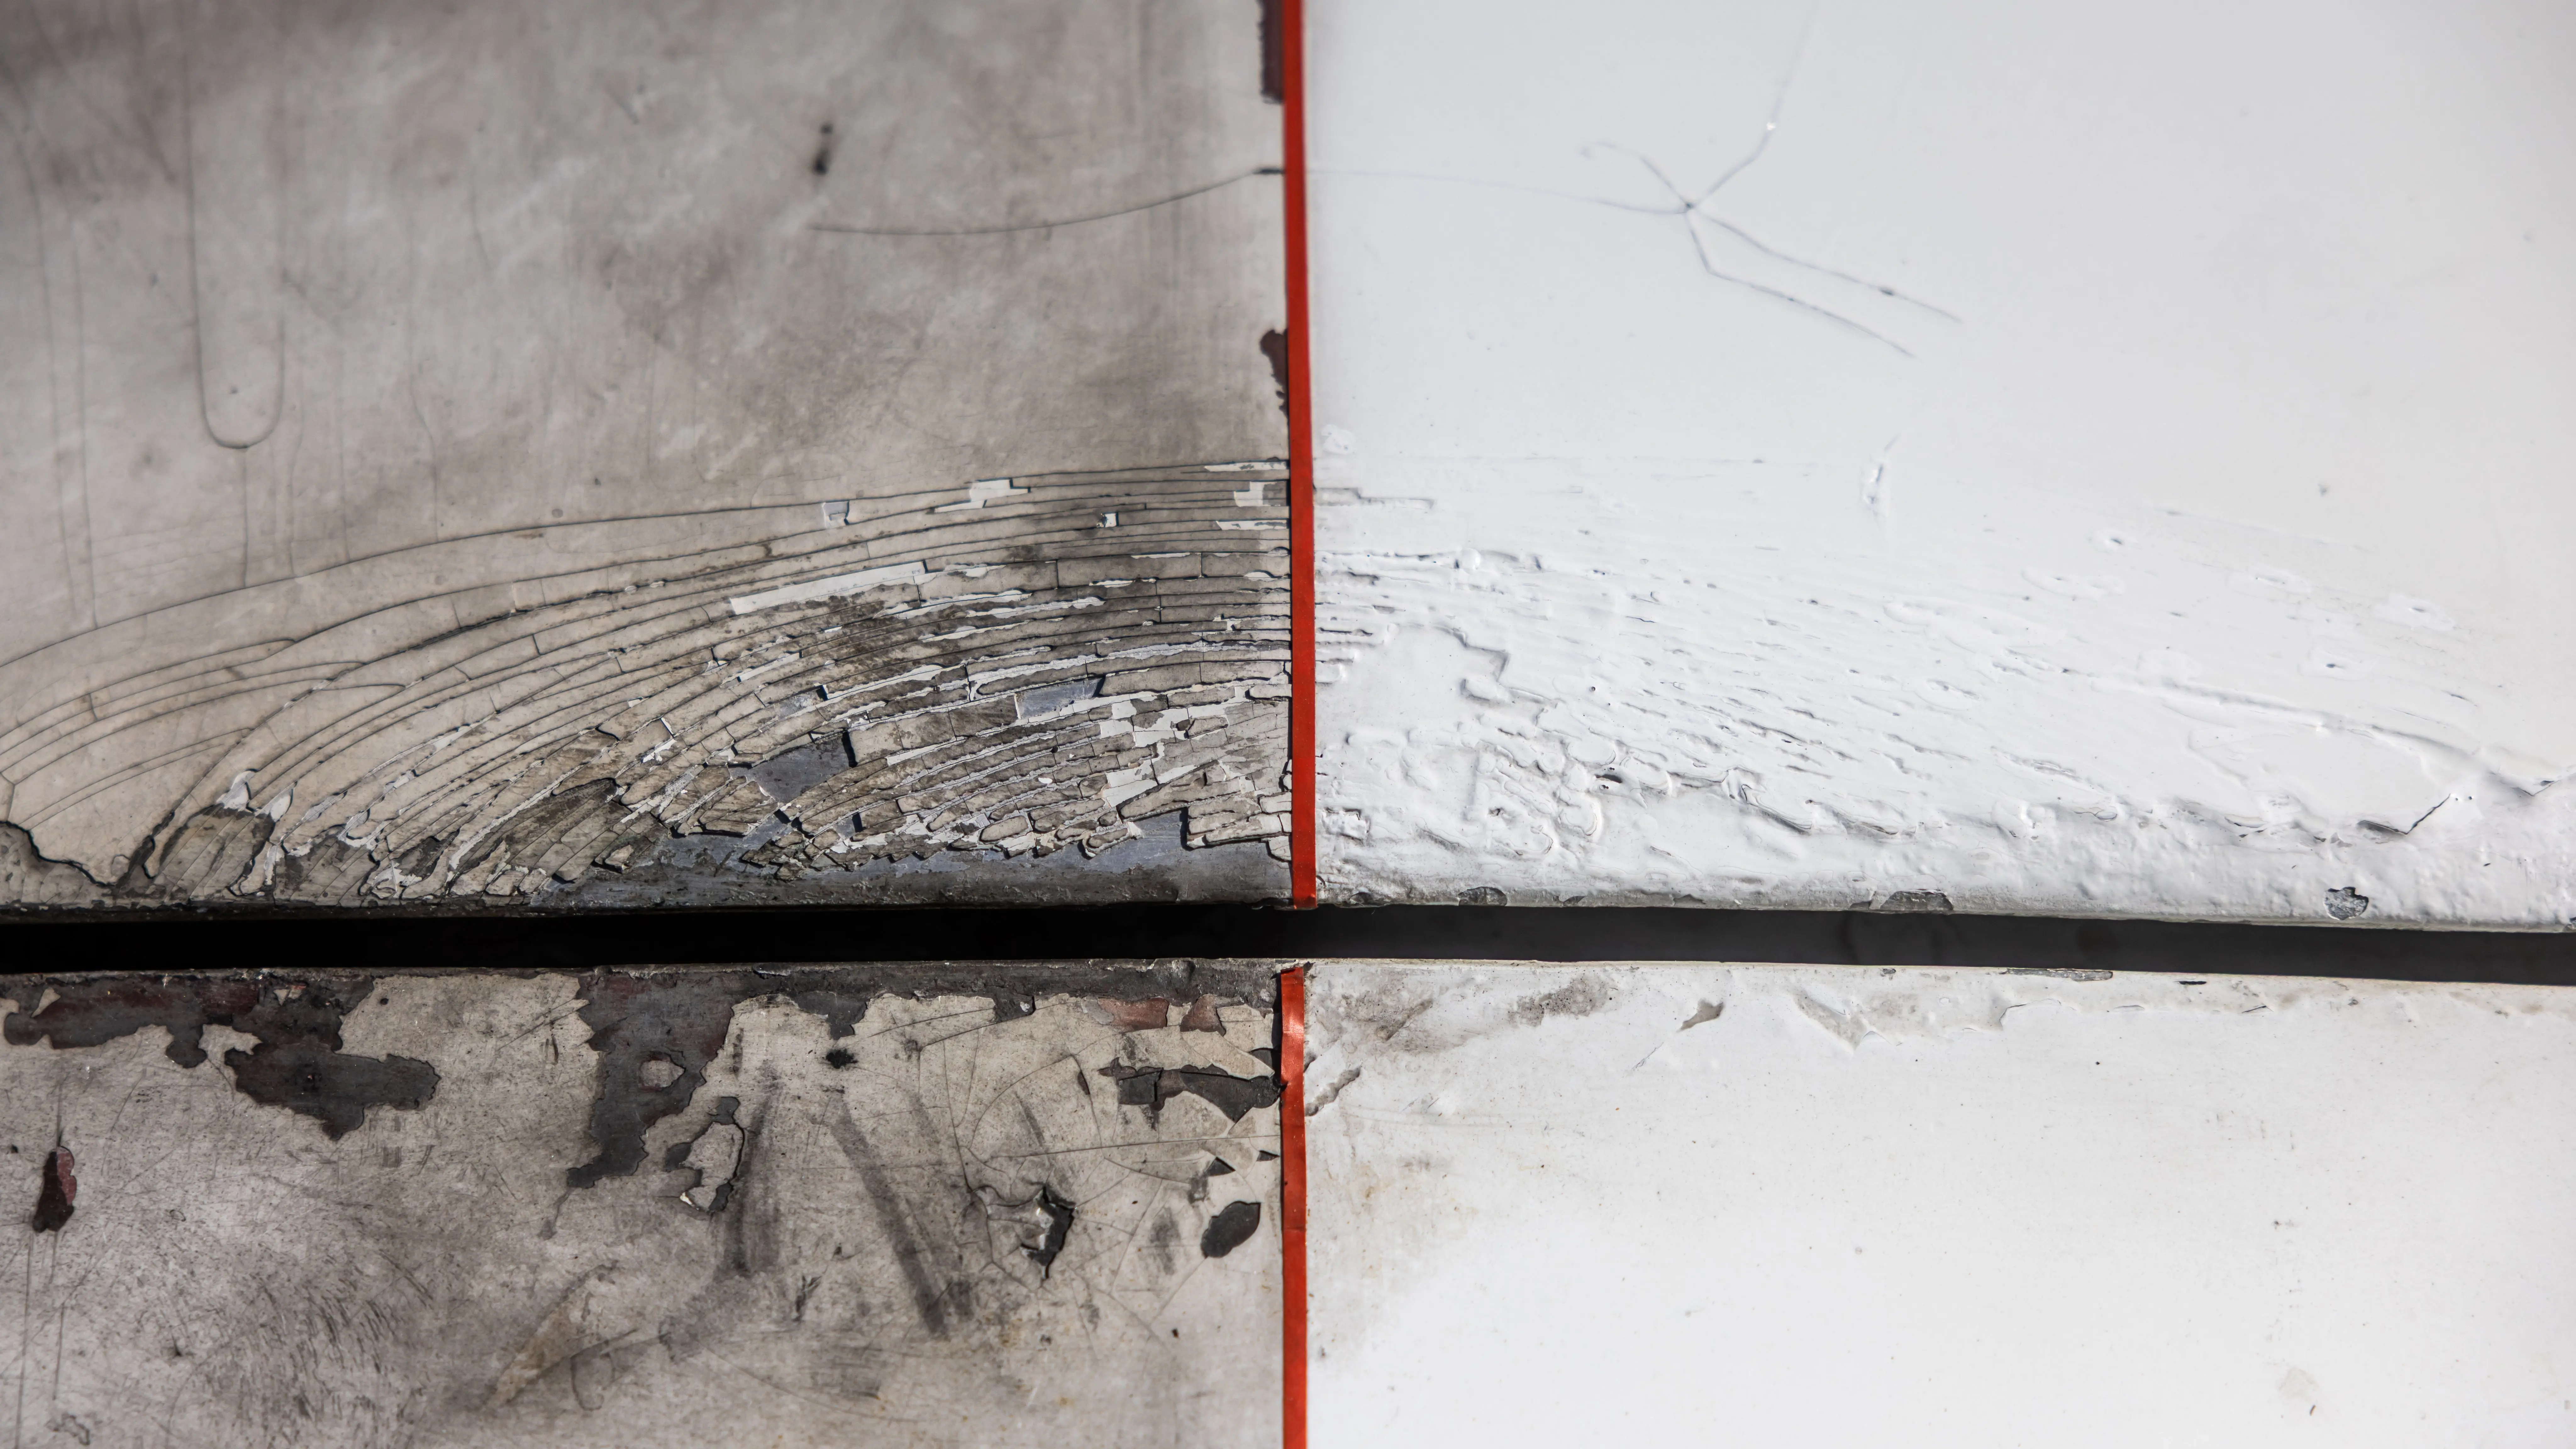
If rust has formed in the chip, it’s crucial to remove all traces of rust before applying primer and paint. Use a rust remover or a small piece of fine-grit sandpaper to gently abrade the rust. Failing to remove rust will lead to it recurring quickly.
Is professional car paint chip repair better than DIY?
For very small, isolated chips, DIY repair can be highly effective and cost-efficient. For larger chips, multiple chips, or those requiring blending over a larger panel, professional repair might offer a more seamless finish. However, for most common chips, DIY is perfectly adequate.
How can I prevent paint chips on my car?
Preventative measures include applying paint protection film (PPF) to vulnerable areas like the front bumper and hood, maintaining a safe following distance from other vehicles (especially trucks), and regularly waxing your car to create a protective barrier.
Conclusion: Master the Art of Car Paint Chip Repair
Mastering how to fix paint chips on car is an invaluable skill that empowers you to maintain your vehicle’s pristine appearance and protect it from further damage. By following these detailed steps for car paint chip repair, you can confidently tackle those unsightly imperfections and restore your car’s finish. Remember, patience and precision are key to achieving professional-looking results. Don’t let minor chips turn into major headaches-take action today!
Regular maintenance, including prompt repair of paint chips, ensures your vehicle not only looks its best but also retains its value over time. Invest a little time and effort into these DIY repairs, and you’ll be amazed at the transformation. Start your car paint chip repair project now and enjoy a flawless finish!