
When you discover an unsightly scratch or chip marring your car’s perfect finish, it can be incredibly frustrating. The good news is that paint chip repair doesn’t have to be a costly or difficult ordeal. With the right approach and a little patience, you can effectively restore your vehicle’s aesthetic appeal and protect its value. This comprehensive guide will walk you through the essential steps and techniques for successful car paint chip repair, ensuring your vehicle looks its best without breaking the bank. Get ready to tackle those imperfections with confidence!
Understanding the Types of Paint Chips
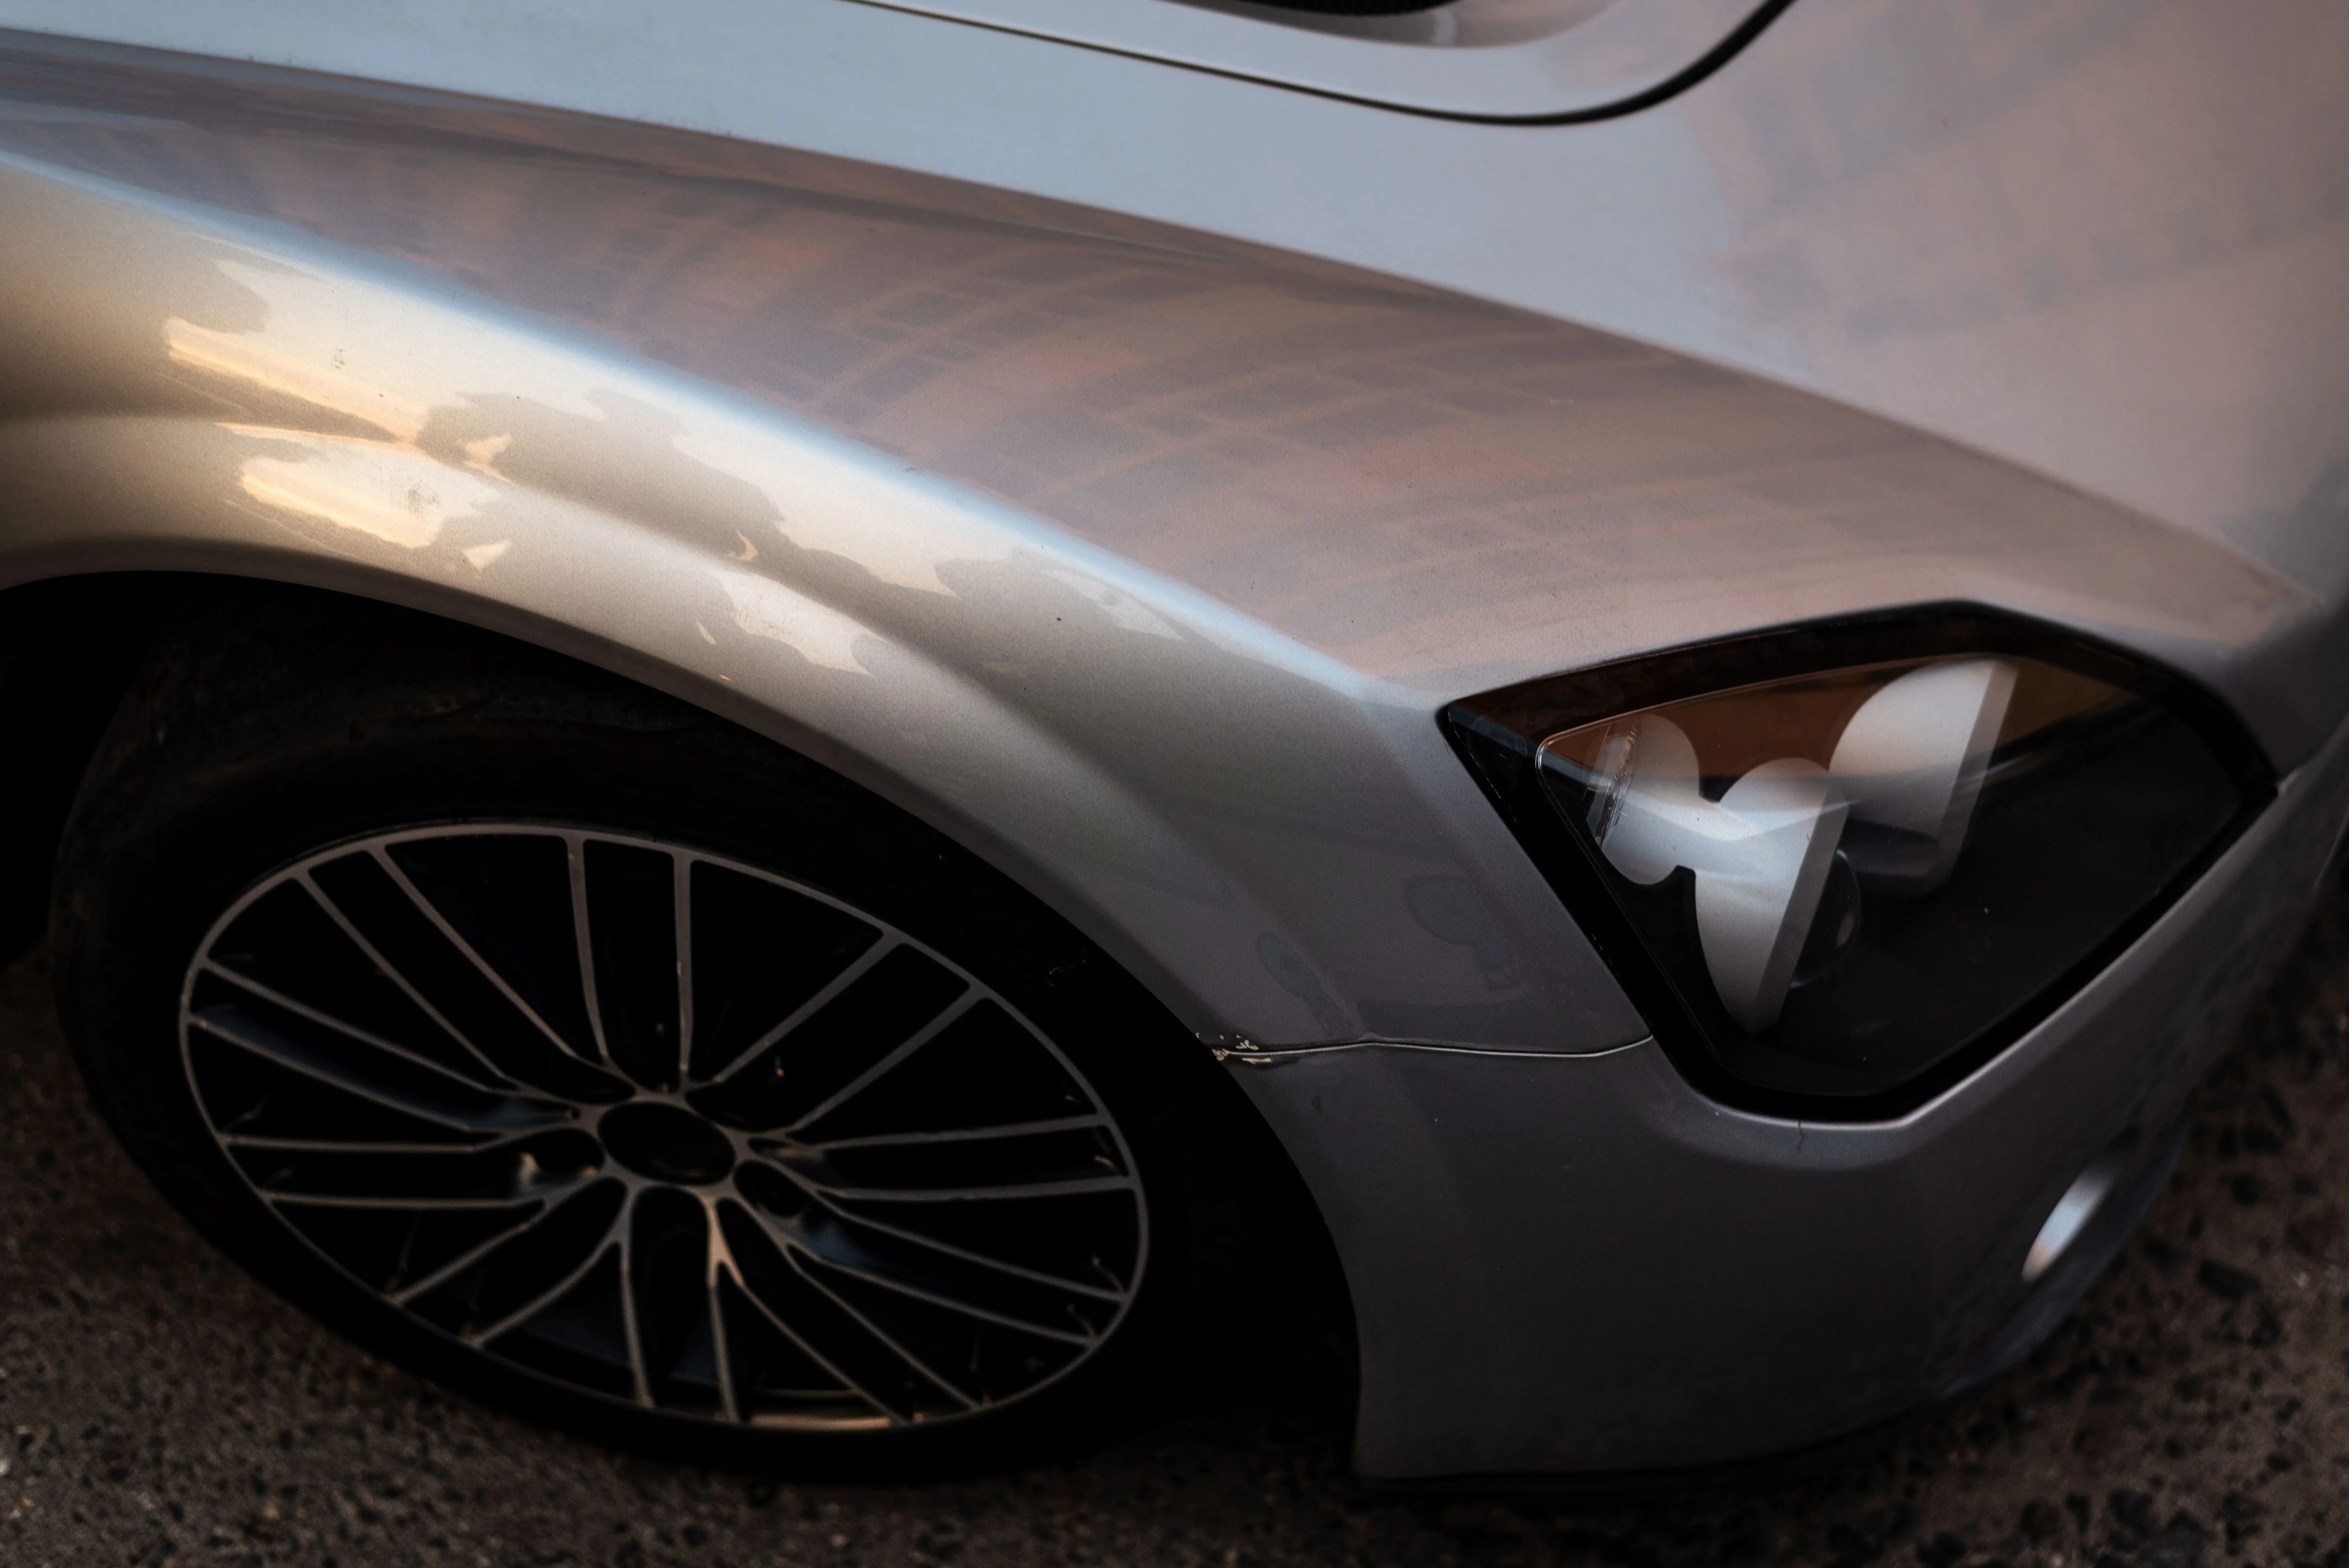
Before diving into the repair process, it’s crucial to understand the different types of paint chips you might encounter. Minor surface scratches, often caused by small debris or light abrasions, might only affect the clear coat. Deeper chips, however, can penetrate through the clear coat, color coat, and sometimes even reach the primer or the metal itself. Identifying the depth of the damage is the first step in choosing the most effective repair method. A simple fingernail test can help: if your nail catches on the scratch, it’s likely deeper than just the clear coat.
Why Timely Repair is Crucial
Ignoring even small chips can lead to bigger problems down the line. Exposed metal can quickly rust, leading to more extensive and expensive bodywork. Timely paint chip repair acts as a protective barrier, preventing moisture and contaminants from reaching the underlying layers and causing further deterioration. This proactive approach saves you money and maintains your car’s exterior integrity.
Essential Tools for Effective Paint Chip Repair
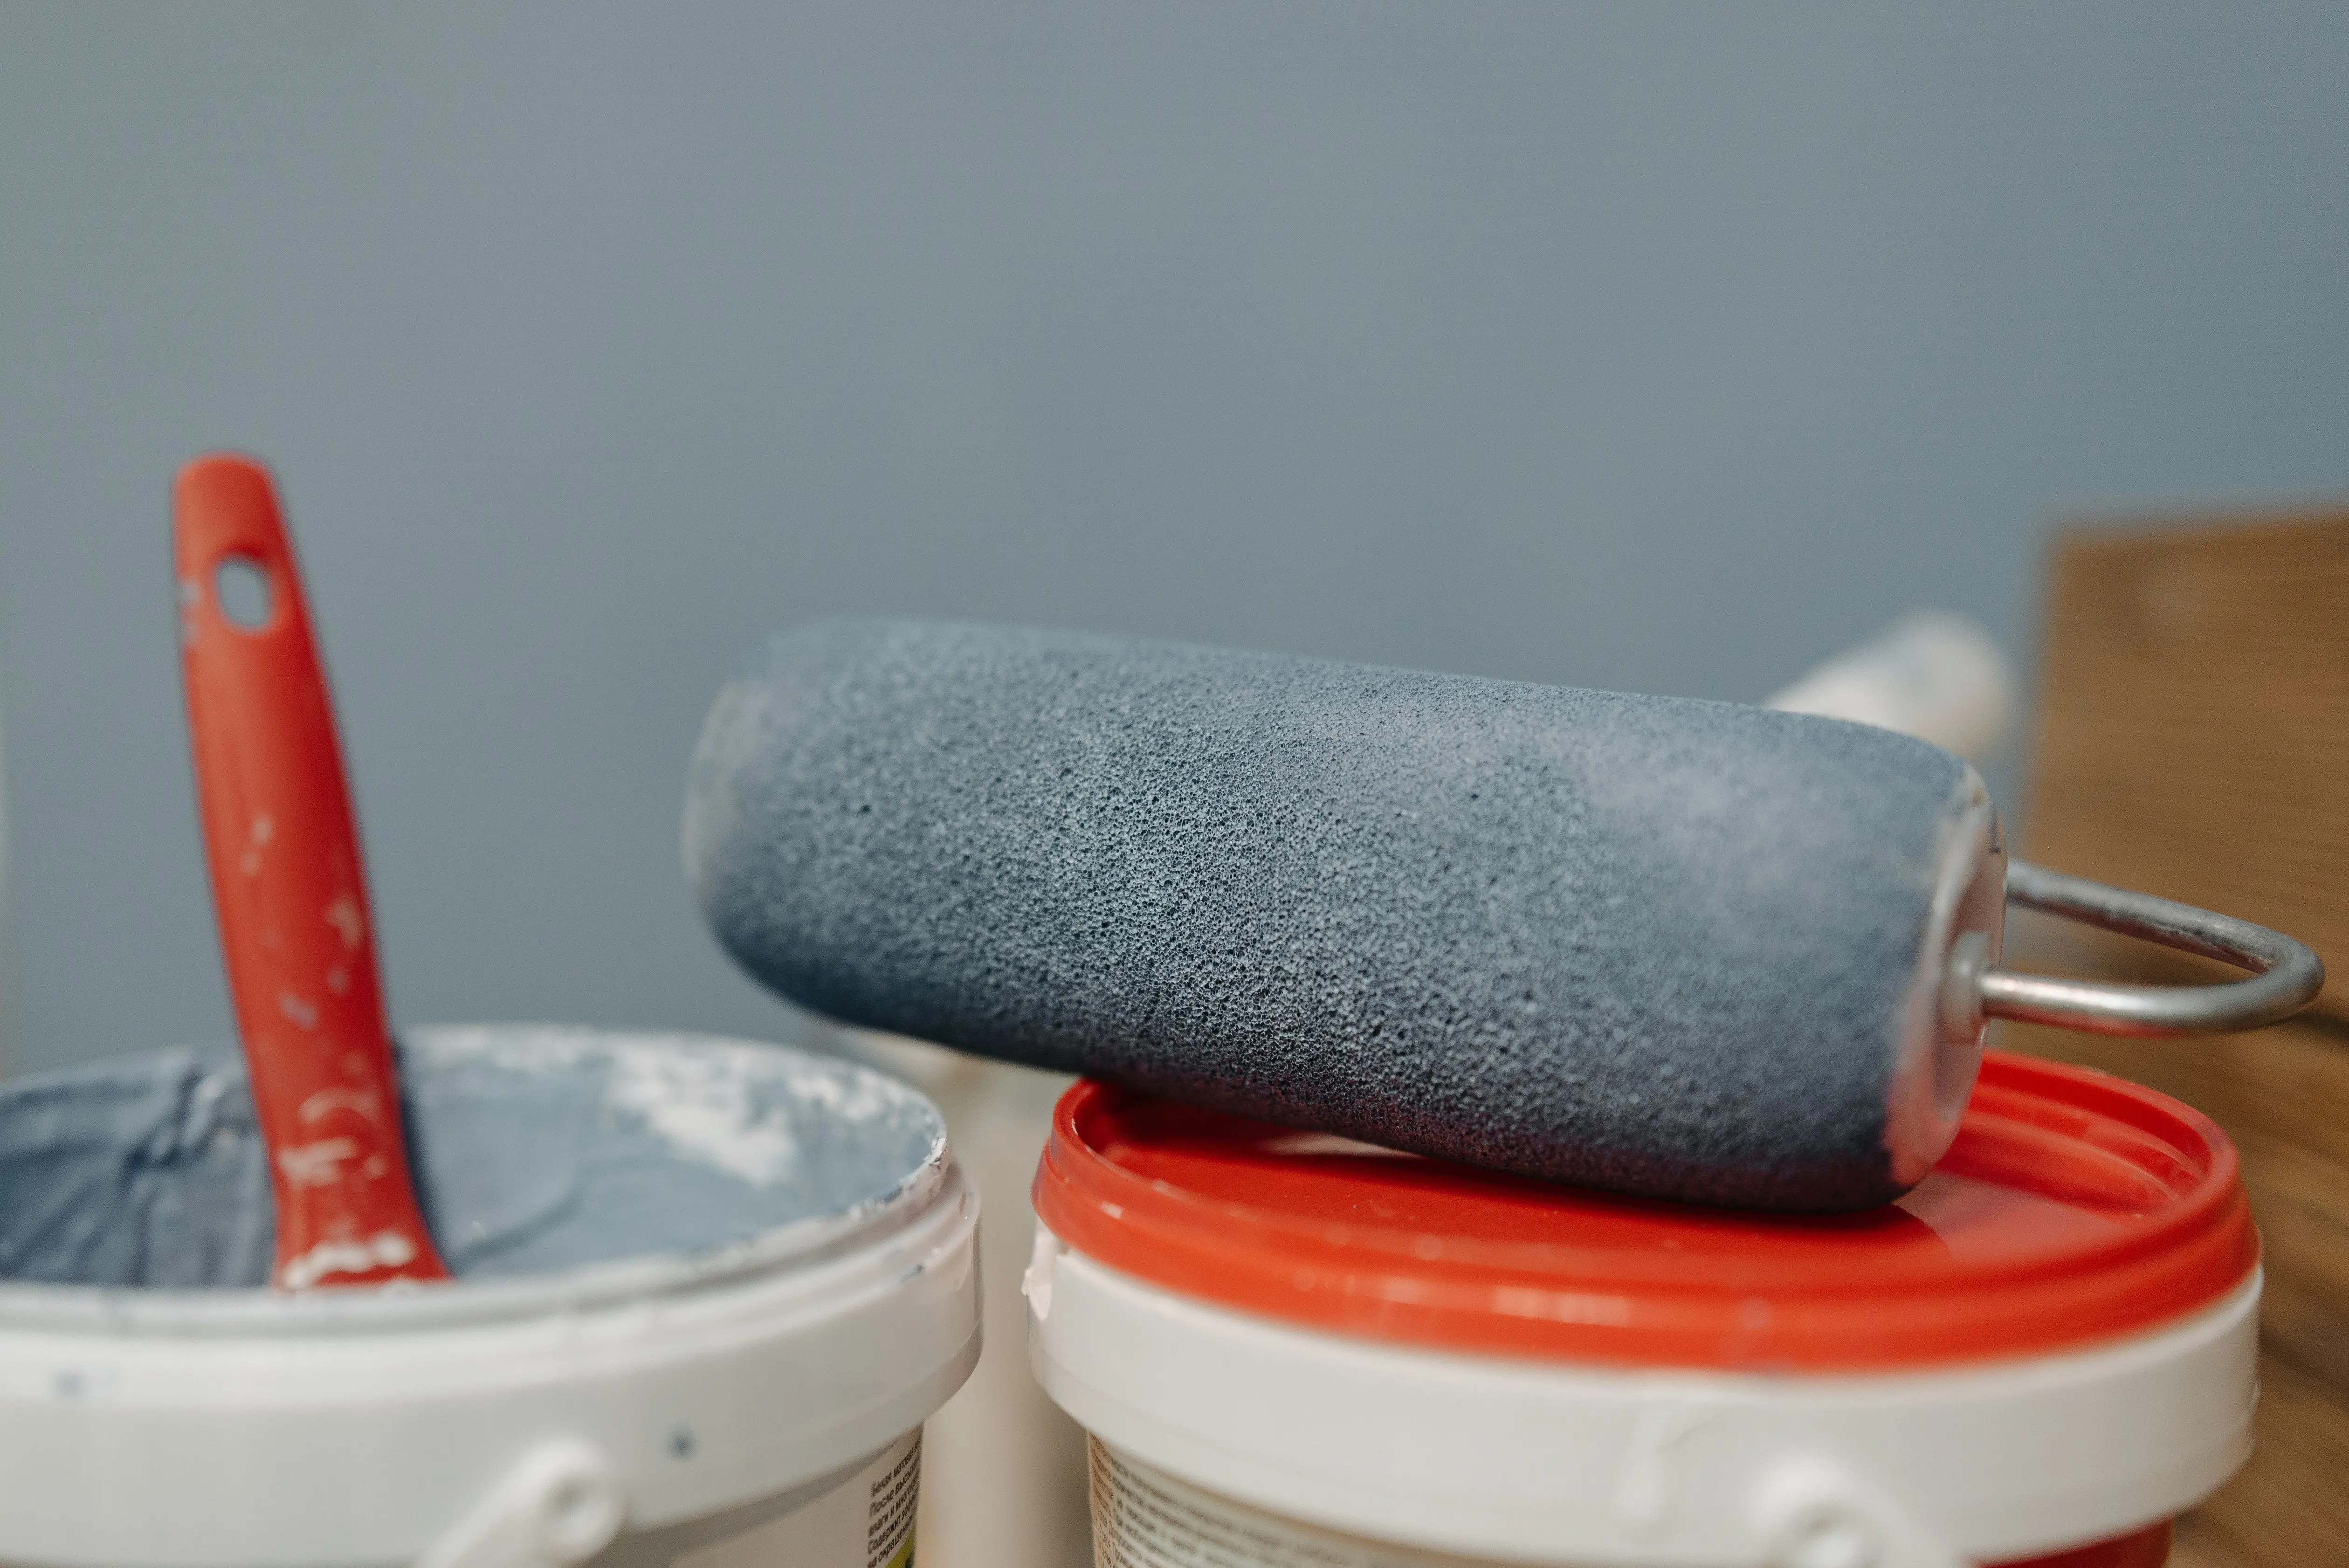
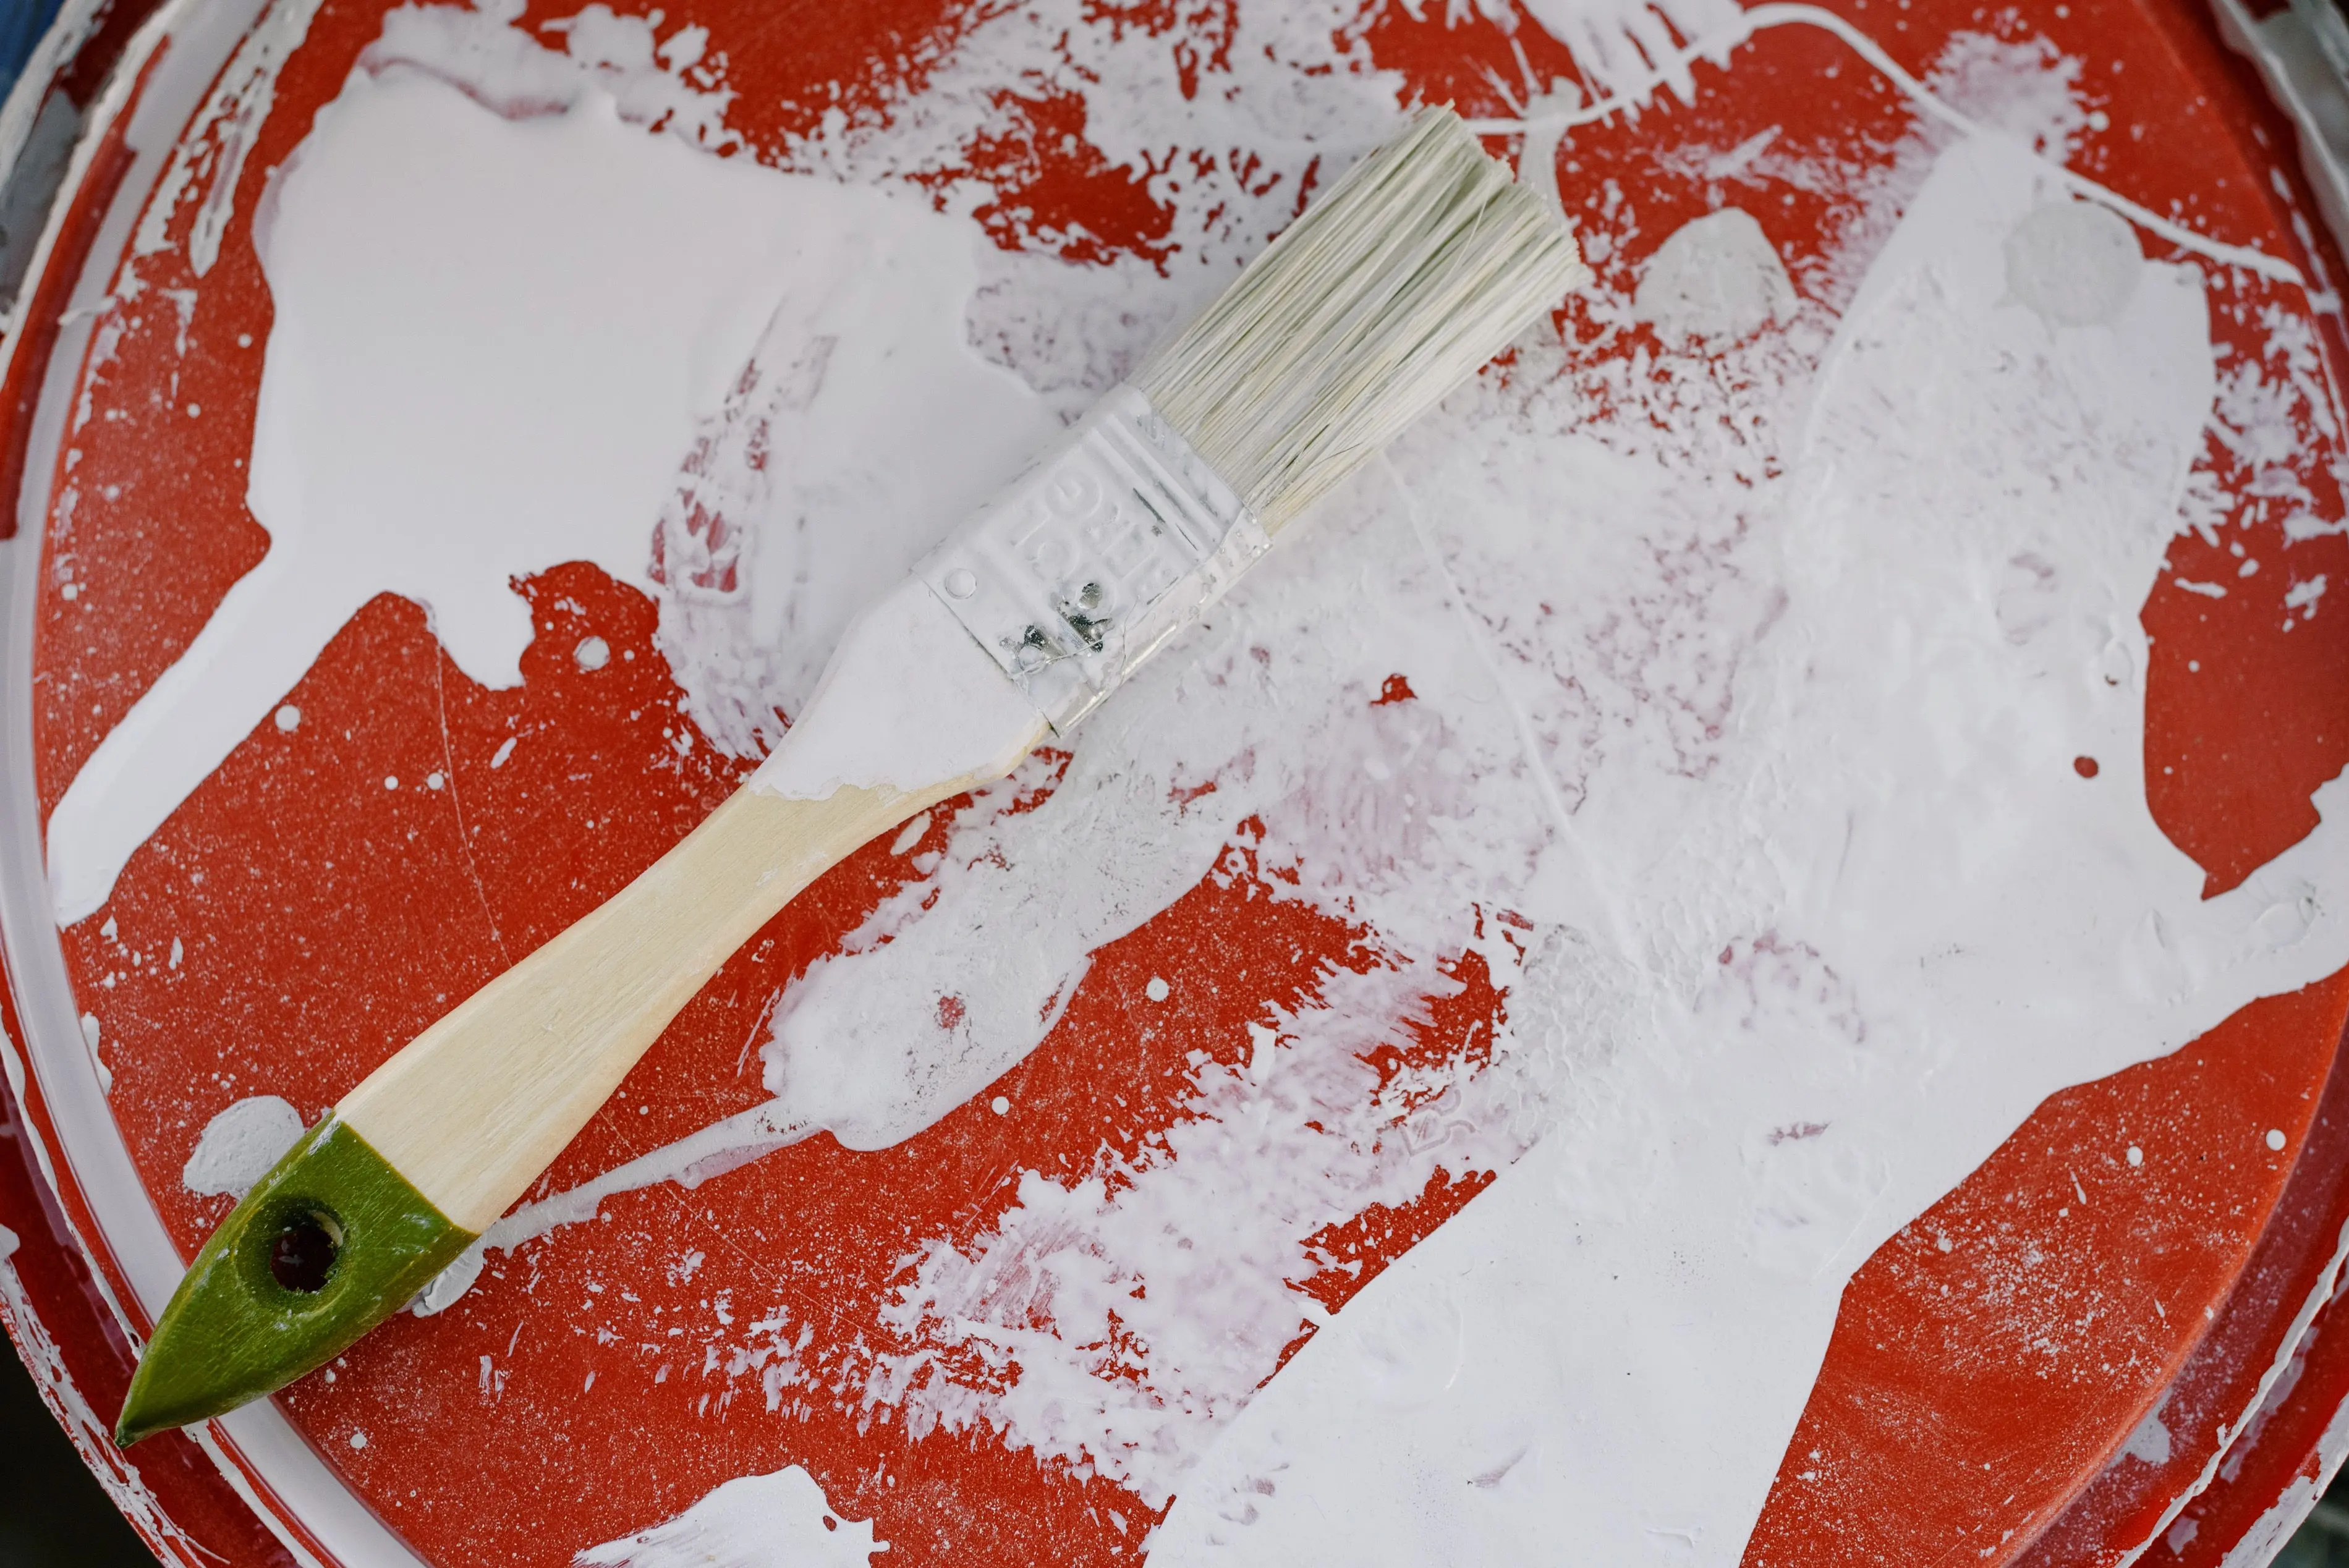
To achieve professional-looking results when you repair chipped paint, you’ll need a few key supplies. These often include specialized car touch-up paint matching your vehicle’s specific color code, a clear coat applicator, rubbing compound, wax, and various cleaning supplies. Microfiber cloths, small brushes or applicators, and automotive masking tape are also invaluable. Having these tools prepared beforehand will streamline the repair process and ensure a smooth, efficient application. Always refer to your car’s owner’s manual or a reputable automotive paint supplier for the correct color match.
Step-by-Step Guide to Car Paint Chip Repair
The process of car paint chip repair can be broken down into several manageable steps. First, thoroughly clean the affected area to remove all dirt, grease, and wax. Next, gently sand or feather the edges of deeper chips to create a smooth surface for paint adhesion. Apply thin layers of touch-up paint, allowing each coat to dry completely before applying the next. Once the color coat is dry, apply a clear coat for protection and shine. Finally, use a rubbing compound to blend the repaired area with the surrounding paint, followed by a protective wax. Patience is key for optimal results.
Advanced Tips for Flawless Finish
For an even more seamless finish, consider using fine-grit wet sandpaper (2000-3000 grit) after the clear coat has fully cured, followed by a polishing compound. This technique helps to level the repaired area with the original paintwork, making the repair virtually invisible. For very small chips, a toothpick or a fine-tipped artist’s brush can provide more precise application than standard touch-up brushes. Working in a dust-free environment and avoiding direct sunlight during the drying process will also contribute to a superior outcome. Remember, practicing on a less visible area or a spare piece of metal can build confidence.
FAQ About Car Paint Chip Repair
What causes paint chips?
Paint chips are commonly caused by small stones, gravel, and other road debris striking the vehicle’s surface, as well as minor impacts or abrasions.
How long does paint chip repair take?
The actual application time is often short, but drying times between coats can extend the total process over several hours or even a day, depending on the number of coats and environmental conditions.
Can I repair deep chips myself?
Yes, deep chips can be repaired DIY, but they require more meticulous preparation, sanding, and layering of primer, color, and clear coats for the best results.
When should I seek professional repair?
You should consider professional repair for very large chips, extensive scratches, chips that have started to rust significantly, or if you’re not confident in your ability to achieve a satisfactory DIY result.
How can I prevent future paint chips?
Preventative measures include maintaining a safe following distance from other vehicles, avoiding driving on freshly graveled roads, and applying paint protection film (PPF) to vulnerable areas like the front bumper and hood.
Conclusion: Restore Your Car’s Shine Today
Don’t let minor imperfections diminish your car’s curb appeal. Mastering paint chip repair is a valuable skill that can save you money and keep your vehicle looking pristine. By following these tried-and-true methods, you can effectively address those annoying chips and scratches, preventing further damage and preserving your car’s finish. Take action today and give your vehicle the care it deserves. Learn more about maintaining your car’s exterior and enjoy a flawless finish!