
Understanding a wiring diagram for single light switch is fundamental for any DIY enthusiast or budding electrician. This guide will demystify the process, ensuring you can confidently tackle your next home lighting project. Whether you’re replacing an old switch, installing a new fixture, or even considering upgrading to a dimmer, knowing the basics of how to wire a single pole switch is crucial for safety and functionality. We’ll break down the essential components, safety precautions, and step-by-step instructions to get your light switch working perfectly.
Understanding the Basics of a Single Pole Switch
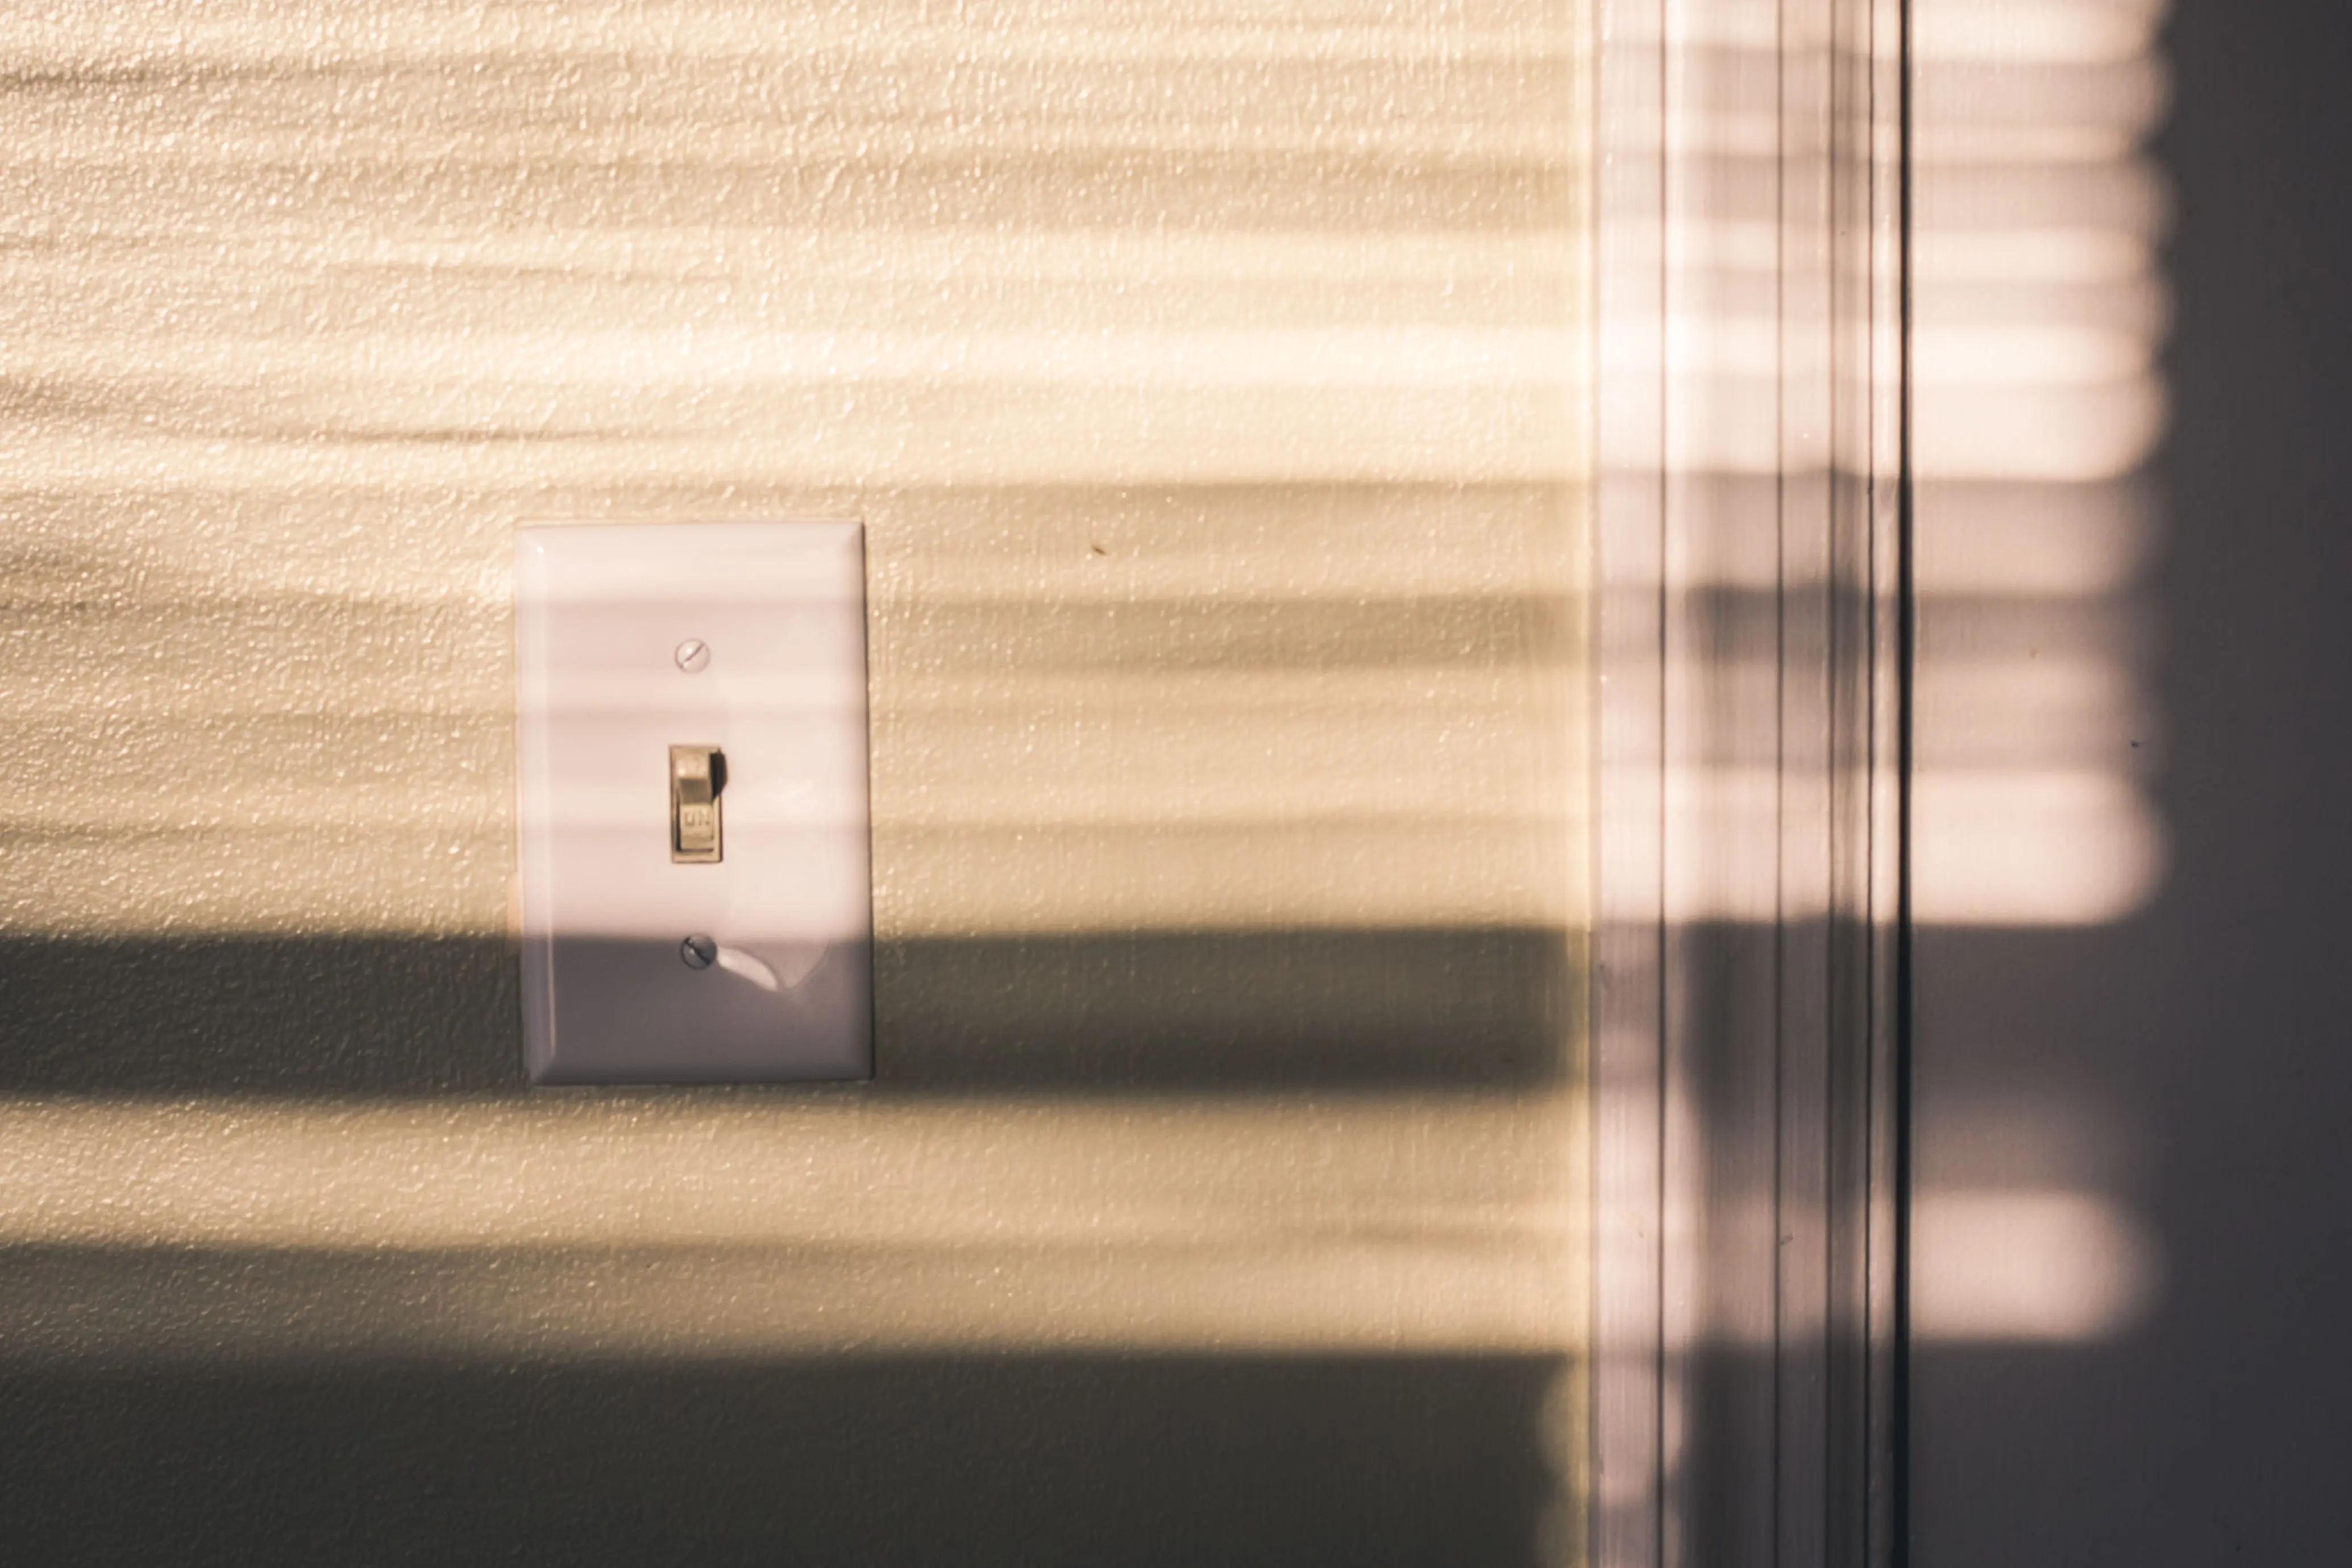
A single pole light switch is the most common type of switch found in homes, controlling one light fixture or outlet from a single location. It has two brass terminal screws, a ground screw, and sometimes a neutral terminal (though not always used for switching). The ‘hot’ wire (typically black) brings power from the circuit breaker to the switch, and the ‘switched hot’ wire (also typically black, or sometimes red) carries power from the switch to the light fixture. The neutral wire (usually white) completes the circuit by carrying unused electricity back to the service panel. The ground wire (bare copper or green) is a critical safety feature, providing a path for electricity to flow to the earth in case of a fault, preventing shocks.
Essential Tools and Safety First
Before you begin, gather your tools: a voltage tester, screwdrivers (Phillips and flathead), wire strippers, electrical tape, and needle-nose pliers. More importantly, always prioritize safety. TURN OFF THE POWER at the circuit breaker before touching any wires. Use your voltage tester to confirm the power is off. Wear appropriate safety gear, such as gloves and eye protection. Never work on live wires. If you’re unsure at any point, consult a qualified electrician.
Following the Wiring Diagram for Single Light Switch
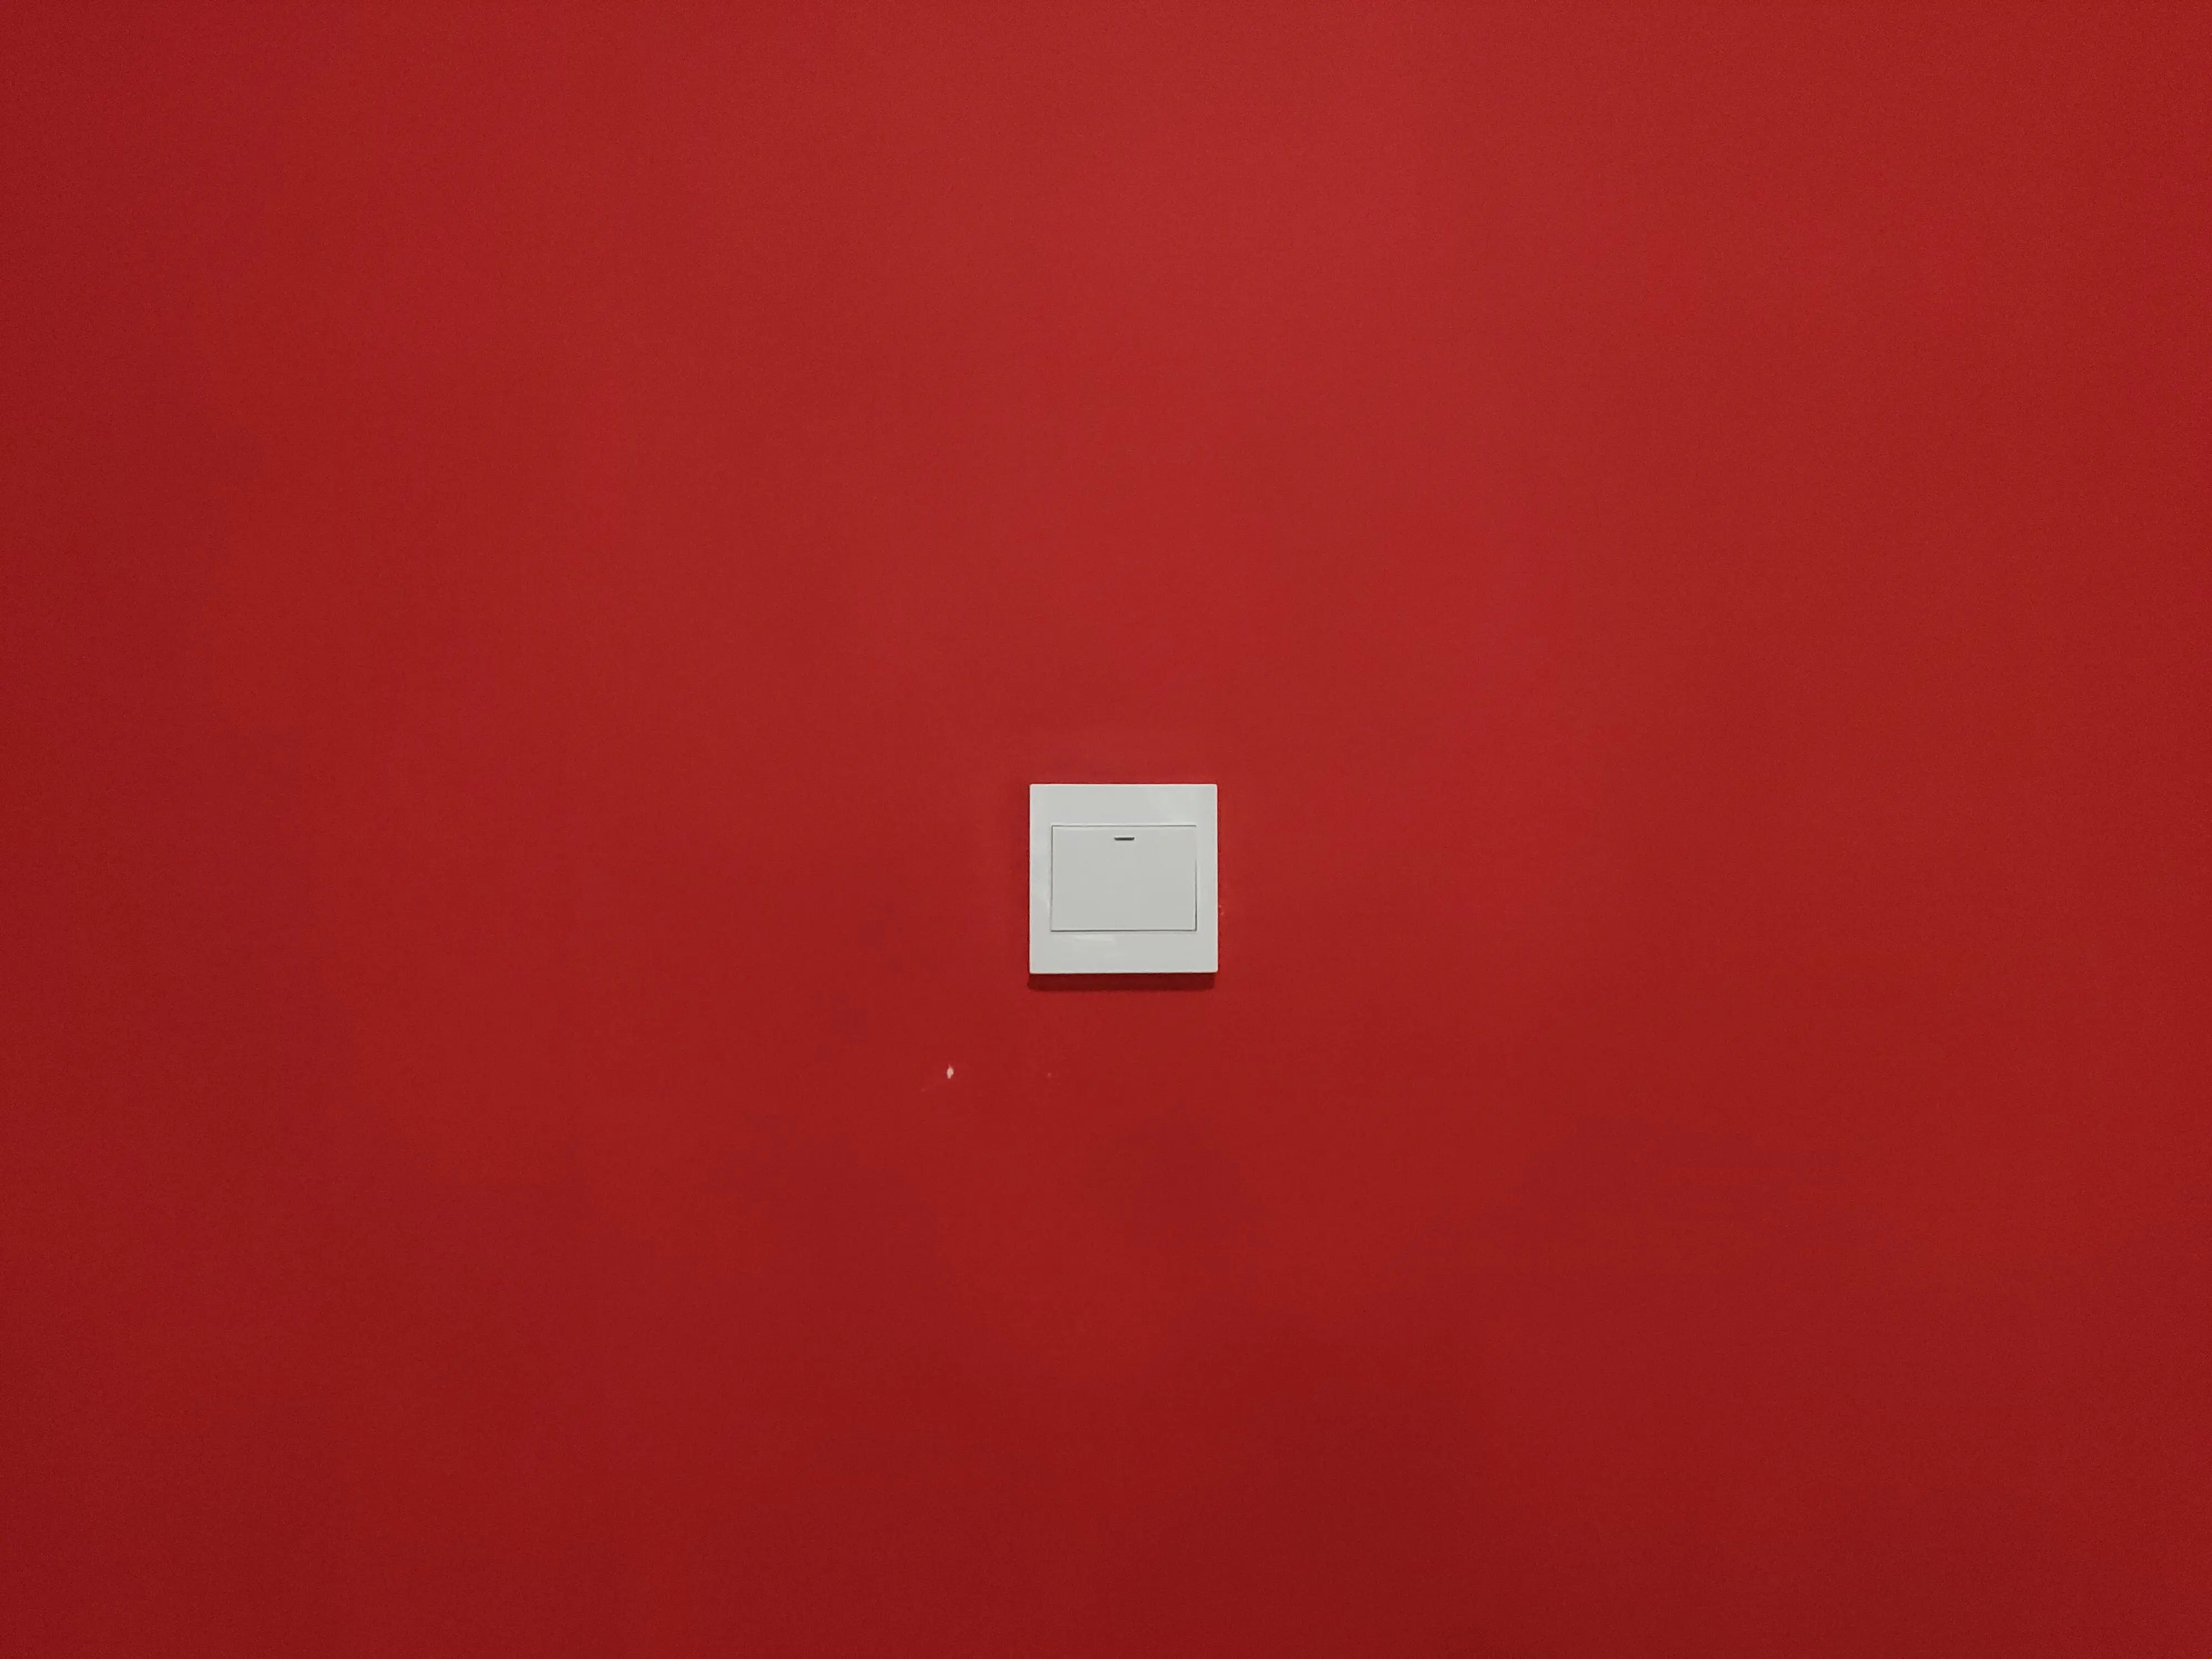
Here’s a simplified breakdown of the wiring process for a standard single light switch. Remember, consistency in wire colors is key, but always verify with a voltage tester. First, ensure the power is off at the breaker. Locate the electrical box where the switch will be installed. You should find a bundle of wires: typically black (hot), white (neutral), and bare copper or green (ground).
Step-by-Step Wiring Process
- Connecting the Ground Wire: Connect the bare copper or green ground wire from the electrical box to the green ground screw on the light switch. This is a vital safety connection.
- Connecting the Hot Wires: Identify the ‘hot’ incoming wire (usually black) from the power source and connect it to one of the brass terminal screws on the switch. Then, identify the ‘switched hot’ wire (usually black, sometimes red) that runs to your light fixture and connect it to the other brass terminal screw. Ensure these connections are tight.
- Tucking Wires and Testing: Carefully push the wires back into the electrical box, ensuring no bare wires are exposed. Secure the switch to the box with screws, then attach the faceplate. Restore power at the circuit breaker and test your new switch. The light should turn on and off smoothly.
Installing a Dimmer Switch: A Simple Upgrade
Upgrading to a dimmer switch often follows a very similar wiring pattern to a standard single pole switch, with a few nuances. Most dimmer switches will have three wires: two for the ‘hot’ connections (power in and power to the light) and one for the ground. Some might also include a neutral wire, depending on the dimmer’s features. Always refer to the specific manufacturer’s instructions that come with your dimmer switch, as wiring can vary slightly between models. The key is to correctly identify the line (power in) and load (power to light) wires. If you are replacing an existing single pole switch, you will simply swap the wires, ensuring the ground is connected and the line/load are properly assigned to the dimmer’s corresponding wires.
Troubleshooting Common Light Switch Problems
Even with a clear wiring diagram for single light switch, issues can arise. If your light isn’t working after installation, first double-check that the power is indeed on at the breaker. Next, remove the faceplate and inspect your connections. Are all wires securely fastened to their terminals? Are there any loose strands? Use your voltage tester to confirm power is reaching the switch. If the problem persists, the issue might be with the light fixture itself, or potentially a faulty switch. Always re-check your work and ensure all safety precautions were followed. If you’re still stuck, it’s time to call a professional electrician.
FAQ: Wiring a Single Light Switch
What is a single pole switch?
A single pole switch is a basic electrical switch used to control a light fixture or outlet from a single location. It has two terminals for hot wires and one for a ground wire.
Can I replace a regular switch with a dimmer switch?
Yes, in most cases, you can replace a regular single pole switch with a dimmer switch, provided the dimmer is rated for the type of bulbs you are using and you follow the manufacturer’s specific wiring instructions.
Why is the ground wire important?
The ground wire provides a critical safety path for electricity to flow to the earth in the event of a fault or short circuit, preventing electrical shocks and protecting your home from damage.
What if my light switch has more than two brass screws?
If your switch has more than two brass screws (excluding the ground screw), it is likely a three-way or four-way switch, which is used to control a light from multiple locations. This guide focuses on single pole switches, which only have two hot terminals.
Do I need to turn off the power at the breaker?
Absolutely. Always turn off the power at the circuit breaker before working with any electrical wiring to prevent severe injury or electrocution. Use a voltage tester to confirm the power is off.
Conclusion: Master Your Wiring Diagram for Single Light Switch
Mastering the wiring diagram for single light switch empowers you to handle common household electrical tasks with confidence. By understanding the components, following safety protocols, and meticulously connecting your wires, you can successfully install or replace a light switch. This knowledge not only saves you money but also gives you a deeper understanding of your home’s electrical system. Remember, safety is paramount. Always double-check your work and never hesitate to consult a professional if you encounter any difficulties. With these insights, your next lighting project will be a bright success!